13 min read
Mold Be Gone: The Ultimate Guide to Eradicating Wall Mold (4 Steps)
Mold in your walls is a serious issue that requires immediate attention. You might think it’s just a cosmetic concern, but it’s a health hazard that can cause severe problems if left unchecked.
I’m here to guide you through identifying and dealing with this pesky intruder.
What I will cover:
🚧 Creating a containment zone to limit spread.
🧼 Applying vinegar for cleansing
💨 Preventing Recurrence
🛡️ Using a mold-resistant sealant
We’ll cover everything from using the best mold test kits to understanding the cost implications of mold remediation. Let’s dive in and learn how to reclaim your home from the clutches of mold.
Causes of Mold Growth
My years of professional experience reveal mold thrives in damp areas.
Mold feasts on materials like particle board, gypsum, and wooden framing constitute your sweet home. Removing its food sources is nearly impossible. But there’s a silver lining – we can control the moisture level.
Water issues are the primary culprits, causing rampant mold growth. Here are the three usual suspects:
- Leaking pipes
- Failed window seals
- Maintenance issues
Should mold take root in your dwelling, it’s crucial to act swiftly. Mold doesn’t just spoil your home’s aesthetics; it gnaws at its structure, posing health hazards for your loved ones. Be vigilant, spot it, and exterminate it before it becomes a major headache.
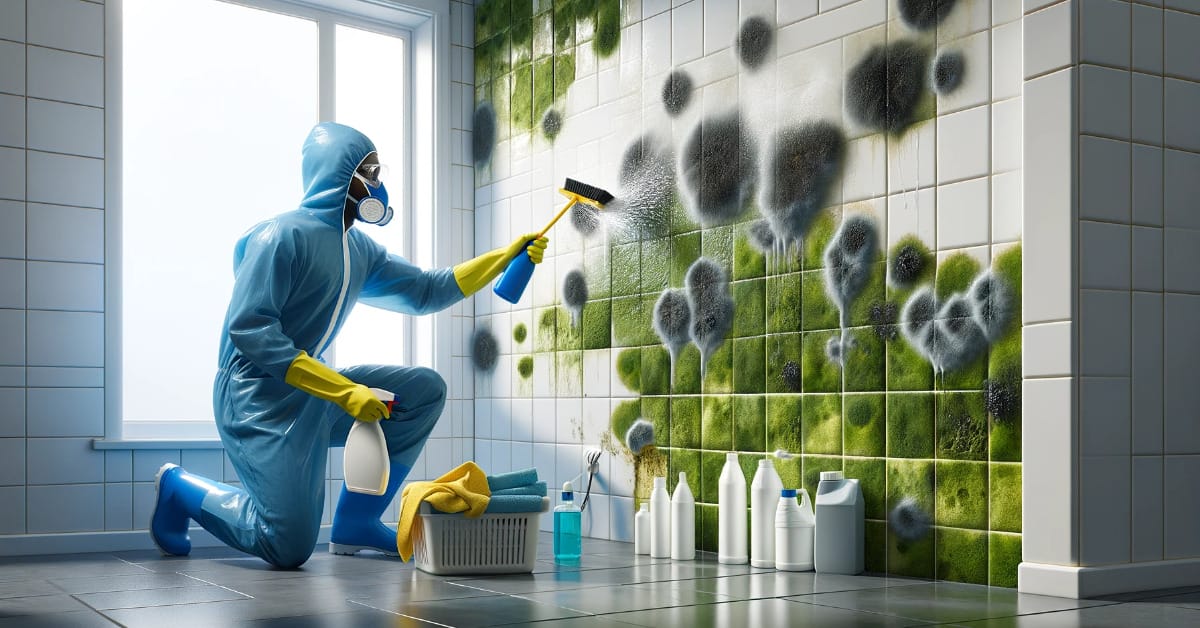
How to Remove Mold from Inside Walls
As we continue navigating the mold removal process, the part that’s quite labor-intensive lies ahead – removing mold from inside walls.
It might sound daunting, but I’ll guide you through the process that’s sure to tackle the issue.
Step 1 – Contain Your Work Area

While it’s tempting – even understandable – to dive right into fixing severe mold issues within our homes, containment isn’t one area where we should cut corners.
- Step 1: Close your windows and seal the ducts to control spore circulation.
- If you’re working in a smaller space, emptying the room of its contents can be a valuable step to avoid the daunting task of decontaminating everything later.

- Step 2: Seal the room with the help of a box fan fitted into a window and a plastic barrier over the doorway. This way, you’re pulling air from the rest of the house and preventing contaminated air from escaping the work area.
Since we’re dealing with such a sensitive issue, wearing protective clothing is wise. And don’t forget to turn off your furnace and air conditioning to contain airborne spores – it’s a small step that can go a long way!
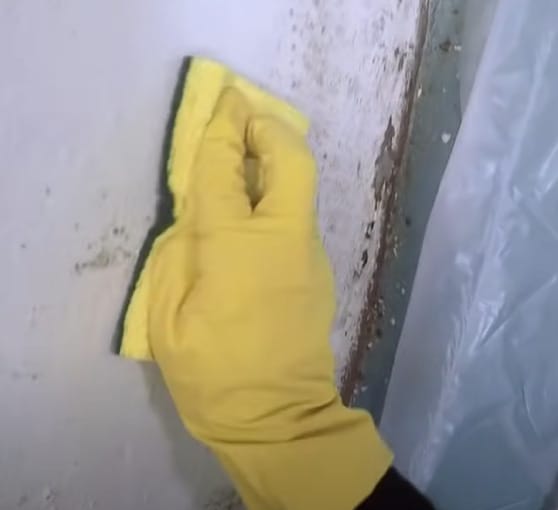
Step 2 – Cleaning the Affected Wall
Unpainted drywall gives free access to mold penetrating inside, making cleaning impossible. Let’s tackle the problem head-on.
- Step 1: Give your problematic walls a good scrub. Using vinegar may be your secret weapon against mold. It’s not only about tackling what’s on the surface; vinegar gets down to the nitty-gritty, hitting mold at its core.

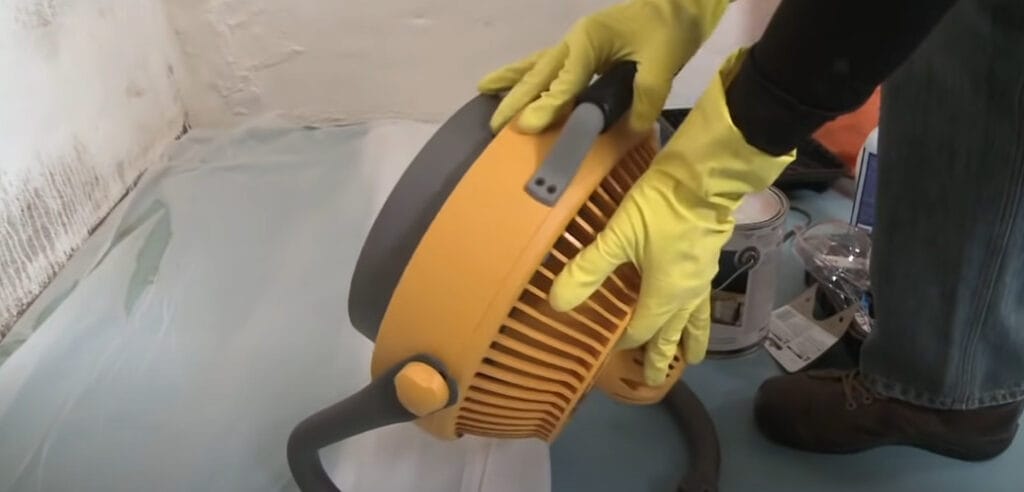
- Step 2: Let your wall surface dry. Speed up the process using a couple of trusty fans pointed straight at them. Though it might take up to 24 hours to dry completely, it’s worth the wait. If mold stains are still visible post-drying, repeat the cleaning process.
- Step 3: Check for any possible hidden mold. If that sneaky fungus still hides under the surface, use mold-killing solutions.

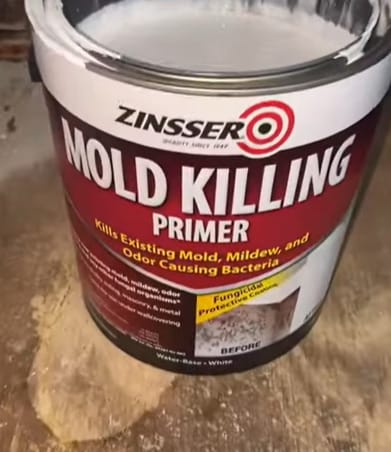
Step 3 – Kill the Mold
Killing mold naturally is as effective as those powerful chemicals — it needs time and patience. Directly exposing mold to air and light for a long enough time can do the trick.
- For a thorough mold knockout, layer on that coat of liquid biocide after the initial scrub-down. A quick tip: Don’t resort to household bleach.
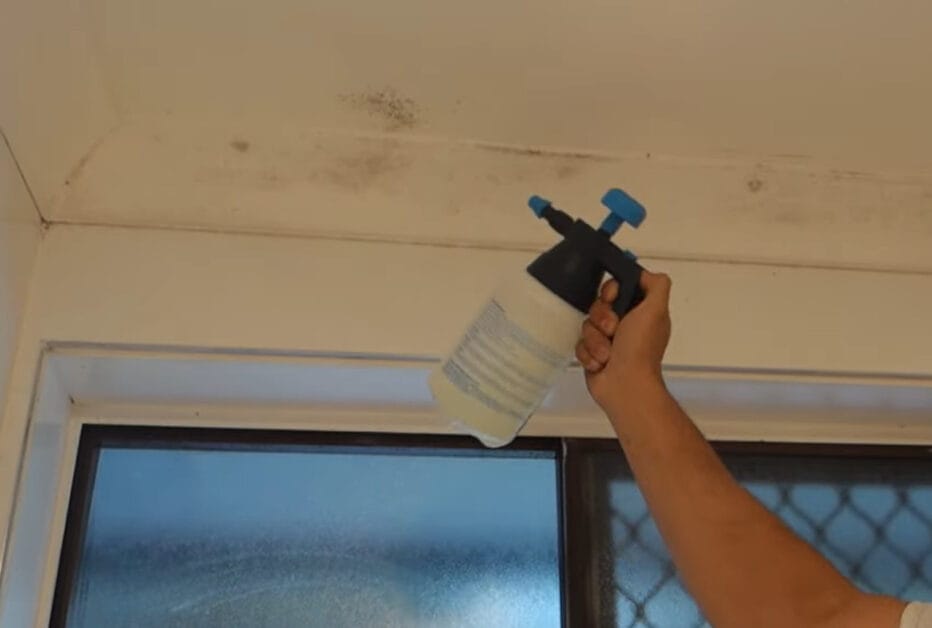
- Give the wall a good and detailed scrub. This ensures you’re hitting mold where it hurts, keeping your spaces clean and clear. Then, let air and light do their natural job.
When it comes to mold-killing solutions, one size fits all. Your choices range from hydrogen peroxide to rubbing alcohol and fungicidal solutions.
Step 4 – Contain and Encapsulate the Mold
Once the solution is dry, you may use a fungicidal mold encapsulant next, something packing calcium hydroxide; ordinary house paint won’t cut.
Encapsulation and sealing are optional but can serve as extra protection against moisture. However, you’ve got to be certain that every mold spore has been taken down and the area’s got good access to ventilation.
When to Call the Experts for Mold Issues
Dealing with mold issues can feel like treading in unknown territory. Sometimes, you may wonder when it’s time to bring in professionals. A few scenarios can point toward the need for expert intervention.
- Size of Affected Area: The size of the affected area is one big indicator. If the mold growth spans more than 10 square feet, the Environmental Protection Agency (EPA) advises engaging professionals.
- Spread Beyond Surface: If your DIY mold cleaning reveals further spread to the back of the drywall, that’s another sign to rope in the pros.
- Severe Damage Risk: If not promptly addressed, molds can lead to severe damage like wood rot, escalating home repairs and restoration costs.
- Professional Cleanup Efficiency: Working on mold cleanup can be challenging, particularly during wet or cold weather, as this can disrupt the comfort of your household for days or weeks.
- Hazardous Mold Types: Certain types of mold are especially hazardous. These molds, often called “black mold,” grow more prevalent with extensive water damage.
- Expert Help for Black Mold: If you come across large amounts of black mold stretching across 10 sq. feet, it’s time to call in expert help.
- Analysis of Mold Samples: If visible mold samples taken for analysis come back positive for toxic black mold or if there’s a large mold spread alongside it, this is another situation where a mold remediation professional becomes essential.
Prevention and timely measures are always the best approach to combat mold. So, make your space a mold-free haven by recognizing the signs and calling in the experts when needed.
Cost Breakdown: DIY vs Professional
Let’s break it down and talk numbers because when mold’s taken up residence in your walls, understanding the costs involved in showing it the door is crucial.
| Aspect | DIY Mold Removal Cost | Professional Mold Removal Cost |
|---|---|---|
| Safety Gear | $50 (for basic gear) | Included in the service cost |
| Testing Kits | $10 – $40 (for home testing kits) | $200 – $600 (professional inspection) |
| Cleaning Supplies | $20 – $100 (depends on products used) | Included in the service cost |
| Equipment Rental | $50 – $200 (dehumidifiers, fans, etc.) | Included in the service cost |
| Structural Materials | $200 – $500 (drywall, insulation, etc.) | Included in the service cost |
| Labor | Free (your own time and effort) | $1,500 – $4,000+ (varies by size of area and severity of mold) |
| Additional Repairs | Variable (depends on the extent of damage) | Included in the service cost |
| Total Cost | $330 – $890+ (excluding your time) | $2,000 – $7,000+ (including all services) |
Maintenance Checklist
Seasonal maintenance is your front-line defense against mold. By staying proactive, you can prevent mold before it becomes a problem. Here’s how to stay on top of things throughout the year:
Spring:
- Inspect & Clean Gutters: Ensure they’re clear of debris to prevent water overflow against your house foundation.
- Check Roof & Flashing: Winter can be tough on roofs. Look for damage where water could enter.
- Service AC Units: Clean or replace filters and clear drain lines to avoid excess moisture.
Summer:
- Dehumidify: Run dehumidifiers in damp areas, especially basements, to keep humidity below 60%.
- Ventilate Bathrooms: Exhaust fans remove steam and moisture after every shower or bath.
- Landscaping: Trim plants away from your home to improve airflow and reduce dampness on exterior walls.
Fall:
- Inspect Windows and doors: Seal gaps with caulk to prevent moisture from seeping in.
- Check Pipes for Leaks: Before it gets cold, fix any leaks to prevent water damage and mold growth.
- Prepare for Heating: Have your heating system checked and serviced to avoid moisture problems from a malfunctioning system.
Winter:
- Monitor Indoor humidity levels: This can spike with increased indoor heating.
- Attic Check: Inspect your attic for insulation issues and leaks, which can lead to mold growth.
- Vent Appliances Outside: Ensure that clothes dryers and other appliances are vented to the outside, not into your attic or crawl space.
Tips for Preventing Mold

Ladies and gentlemen, prevention is always better than repairs, and it rings true for combating wall mold. I always emphasize the same mantra – Act quickly!
- Annual Home Inspection: Inspect your home yearly for moist spots that could be potential breeding grounds for mold.
- Use of Dehumidifiers: In humid climates, employing a dehumidifier can significantly prevent mold growth.
- Venting Systems: To reduce moisture, install air venting systems in areas with steam, such as bathrooms and laundry rooms.
- Mold in Unseen Places: Be vigilant of mold in hidden areas of your home; musty odors and damp spots on walls are telltale signs.
- Mold Remediation: If mold is found inside walls, immediate action may include removing drywall for thorough cleaning and treatment.
- Preventive Measures: Prevention is key; always look for early signs of mold to avoid extensive damage.
- Mildewcide in Paint: Post-removal, use latex paint with mildewcide to shield walls from future fungal growth.
- Moisture Management: Ensure proper moisture control; if moisture persists, mold is likely to return.
- Natural Mold Removal: Use natural ingredients to tackle mold on painted or wallpaper-covered walls.
- Addressing Damp Patches: Be proactive when you spot dampness; mold thrives in moist conditions on porous surfaces.
Frequently Asked Questions
- Can Mold Come Back After Removal?
- Yes, if the underlying moisture issue isn’t resolved. Keep your home dry and well-ventilated to prevent a comeback.
- How Long Does It Take to Remove Mold from Walls?
- It can vary. A small job might be done in a day, while a full professional remediation could take up to a week or more, depending on the extent of the growth.
- Does Homeowners Insurance Cover Mold Removal?
- It depends on your policy and the cause of the mold. Typically, mold from sudden incidents like a burst pipe is covered, but long-term neglect is not.
- How Can I Tell If Mold Is Behind Wallpaper?
- You might see bubbling or peeling, dampness, or musty odor. If in doubt, a professional can check without causing damage.
- What’s the Difference Between Mold and Mildew?
- Mildew is a mold, often white or gray, and thrives on flat surfaces. Mold is usually black or green and infiltrates deeper into materials.
References
Studies:
- Institute of Medicine (IOM) of the National Academies report: “Damp Indoor Spaces and Health”
- Environmental Protection Agency (EPA) research: “A Brief Guide to Mold, Moisture, and Your Home”
Organizations:
- Environmental Protection Agency (EPA). https://www.epa.gov/
- American Industrial Hygiene Association (AIHA). https://www.osha.gov/alliances/aiha/aiha
- Institute of Inspection, Cleaning, and Restoration Certification (IICRC). https://iicrc.org/
Books:
- “Mold: The War Within” by Kurt and Lee Ann Billings. https://www.abebooks.com/9780972101608/MOLD-Kurt-Lee-Ann-Billings-0972101608/plp
- “The Mold Survival Guide: For Your Home and Your Health” by Jeffrey C. May and Connie L. May. https://www.google.com.ph/books/edition/The_Mold_Survival_Guide/gr28YOjG7YEC?hl=en&gbpv=0
Website Resources:
- EPA’s Mold Page. http://epa.gov/mold
- CDC Mold Web Section. http://cdc.gov/mold
- Mold Help For You. https://moldhelpforyou.com/
- Building Science Corporation. https://buildingscience.com/
Video References:
The Mold Insider
Billshowto
Earth Monkey
Twin Home Experts Shorts
WeekendWorkbench