How to Use an Air Hammer (Step-by-Step Guide)
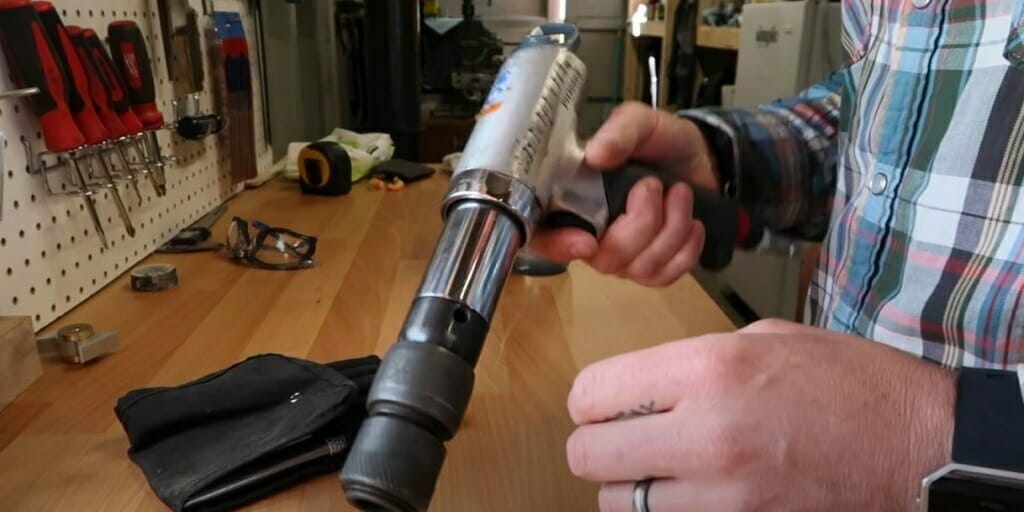
By the end of this article, you’ll know how to use an air hammer safely and easily.
Air hammers have many uses and come in handy in various situations. You can carve in stone with an air hammer and easily cut or break metal objects. You can injure yourself quite easily without the proper knowledge of how to use the hammer, so you’ll need a good understanding of this tool.
In general, to use an air hammer with an air compressor for any task:
- Pick the right chisel/hammer bit for your task.
- Insert the bit into the air hammer.
- Connect the air hammer and air compressor.
- Wear Protection for your eyes and ears.
- Start your task.
You’ll find more details below.
Many Uses of an Air Hammer
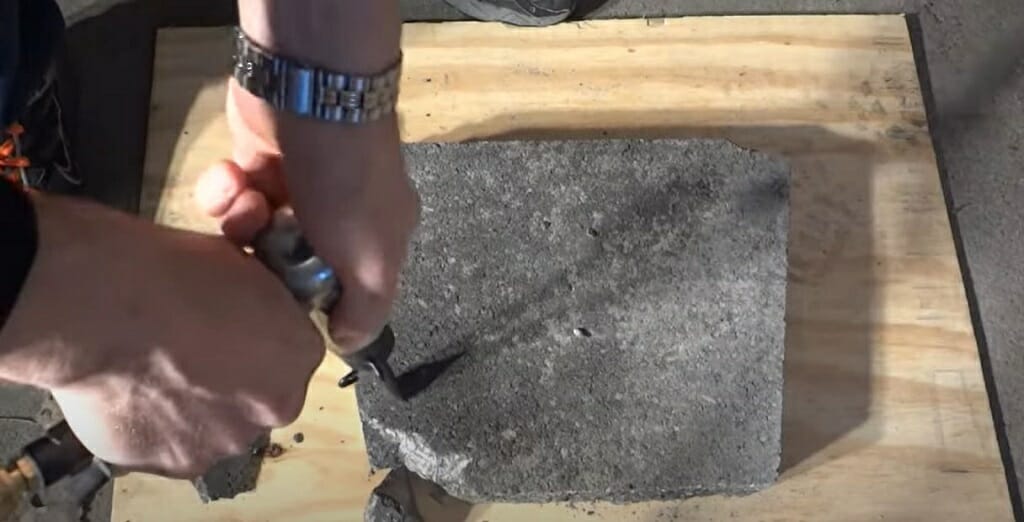
The air hammer, aka air chisel, has many uses for carpenters. With an adaptable toolset and different execution methods, these air hammers come with the following attachments.
- Hammer bits
- Chisel bits
- Tapered punches
- Various separating and cutting tools
You can use these attachments for:
- Loosen corroded and frozen rivets, nuts, and hinge pins
- Cut through exhaust pipes, old mufflers, and sheet metal
- Flatten and shape aluminum, steel, and sheet metal
- Chisel wood
- Separate ball joints
- Chipping and removing bricks, tiles, and other masonry materials
- Break up grout
Do I Need an Air Compressor for My Air Hammer?
Well, that depends on the task.
If you plan to use the air hammer continuously for a long period, you might need an air compressor. For instance, Trow and Holden air hammers require considerable air supply. These air hammers require 90-100 PSI of air pressure. So, having an air compressor at home is not the worst idea.
With that in mind, I hope to teach you how to use an air hammer with the air compressor in this guide.
Easy Steps to Get Started with Your Air Hammer
I’ll first focus on connecting the chisel or hammer bits in this guide. Then, I’ll explain how to connect the air hammer to the air compressor.
Step 1 – Pick the Right Chisel/Hammer Bit
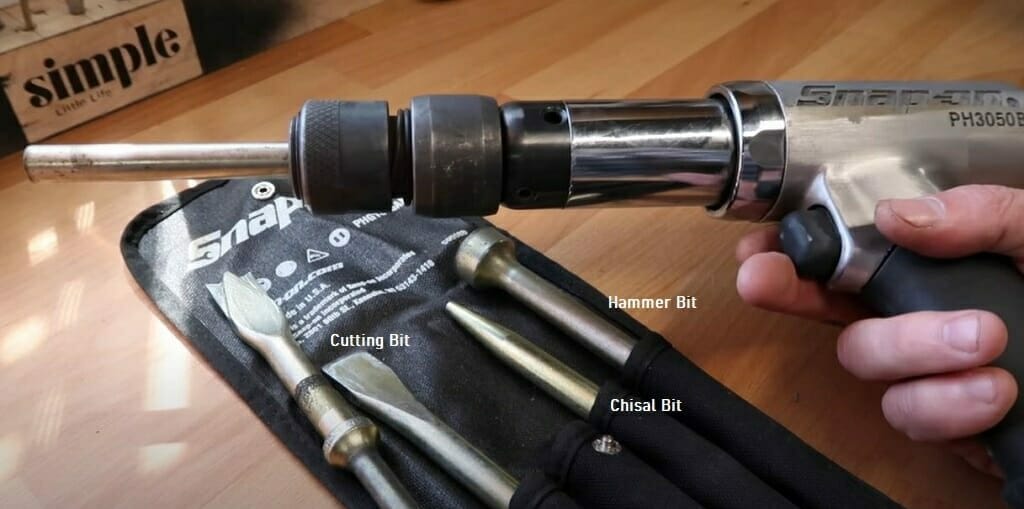
Choosing the right kind of bit entirely depends on the task.
If you plan to hammer something, you must use a hammer bit. If you plan to chisel, use a chisel bit from your set.
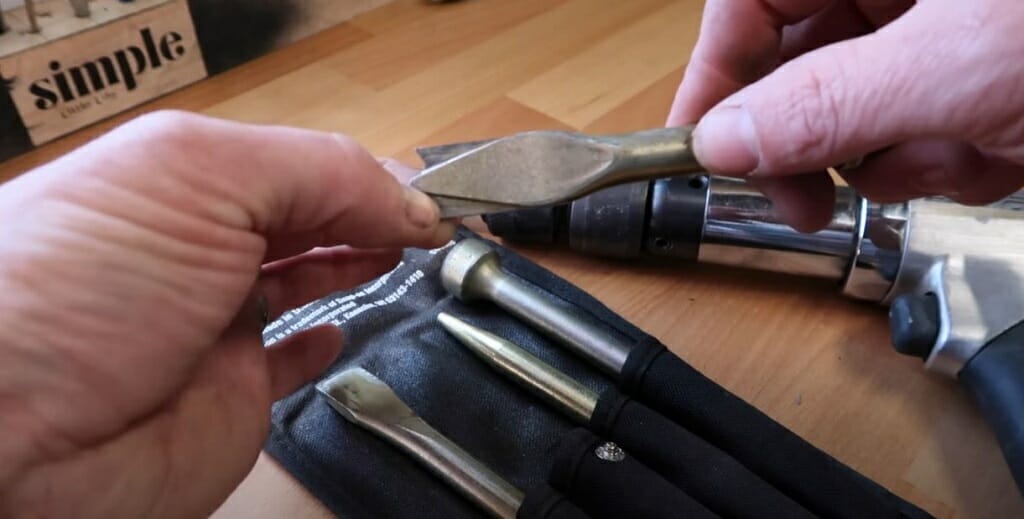
Or use the flattened bit to flatten metal objects. With that in mind, here are some guidelines you should follow while choosing any bit.
- Don’t use worn-out or cracked bits.
- Only use a bit that fits perfectly with the air hammer.
Step 2 – Insert the Bit Into the Air Hammer
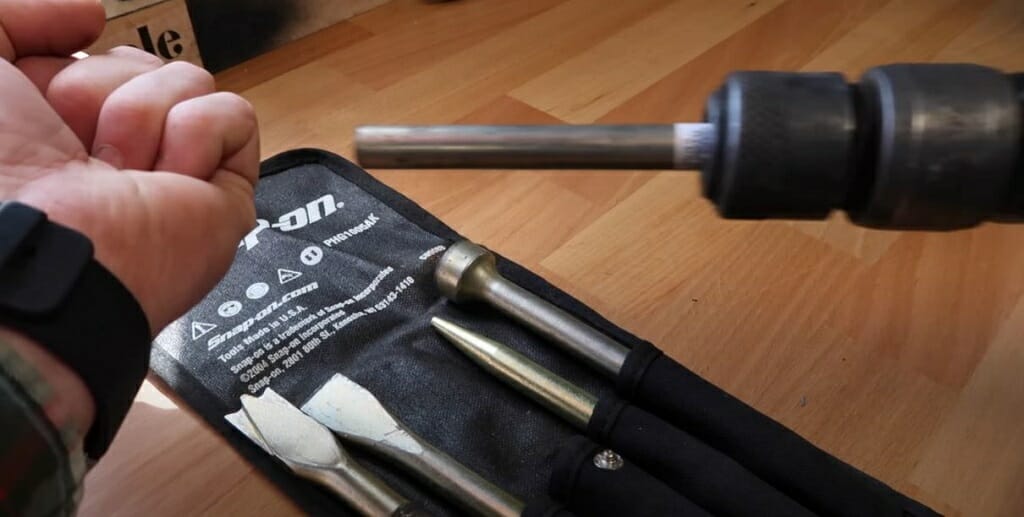
After that, get the user’s manual for your air hammer model. Find the “How to Insert the Bit” part and read the instructions carefully.
Be mindful of the following: It is important to read the manual. Depending on the type of air hammer, you may have to change the technique while inserting the bit.
Now lubricate the air hammer and the bit with suitable oil. You might be able to find this type of oil in a hardware store.
Then, insert the bit into the air hammer and tighten the chucks.
Step 3 – Connect the Air Hammer and The Air Compressor
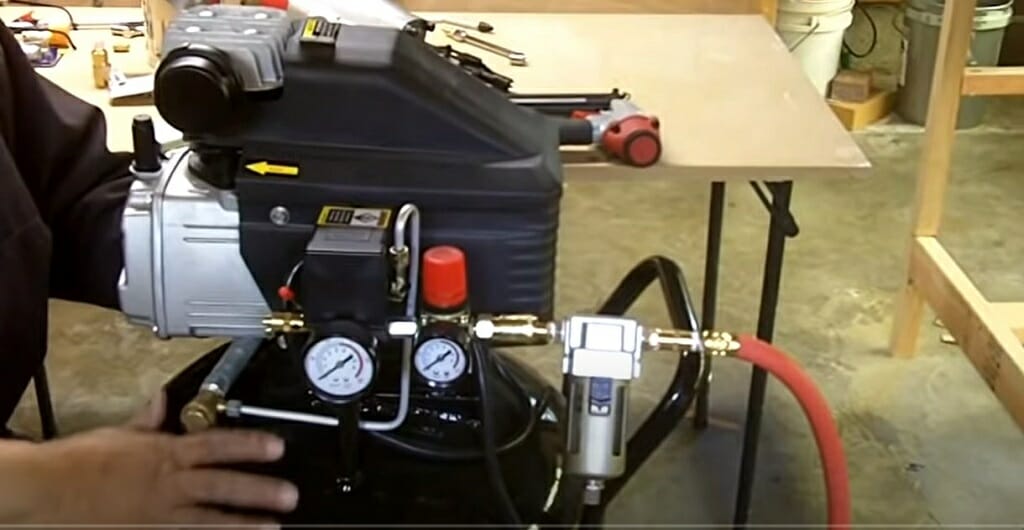
For this demonstration, I’m using a portable air compressor. It has a capacity of 21 gallons, which is more than enough for my air hammer. If you use a more powerful air hammer, you may need a larger air compressor. So, always check the rated PSI value of the air tool with the air compressor PSI rating.
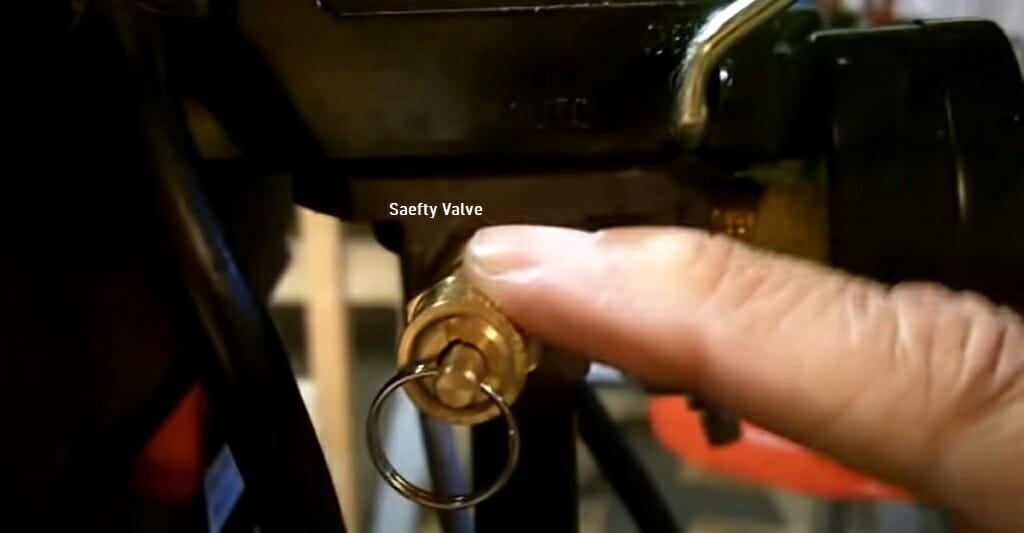
Next, check the safety valve. This valve will release the compressed air in case of an emergency, such as unsafe air pressure in the tank. So, make sure the safety valve is working fine. To test it, pull the valve toward you. The valve works if you can hear the sound of released compressed air.
Tip of the Day: Use an air compressor to check the safety valve at least once a week.
Set Up the Hose Line
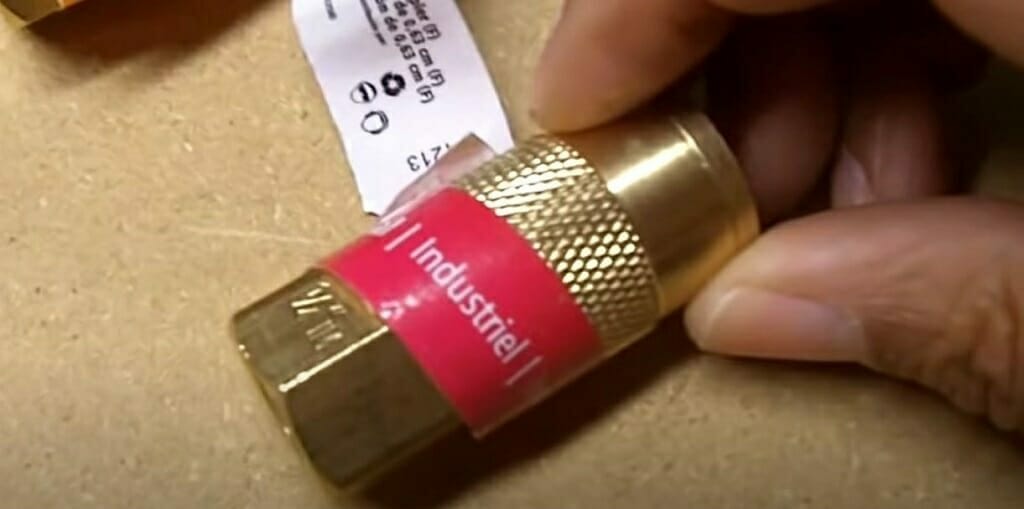
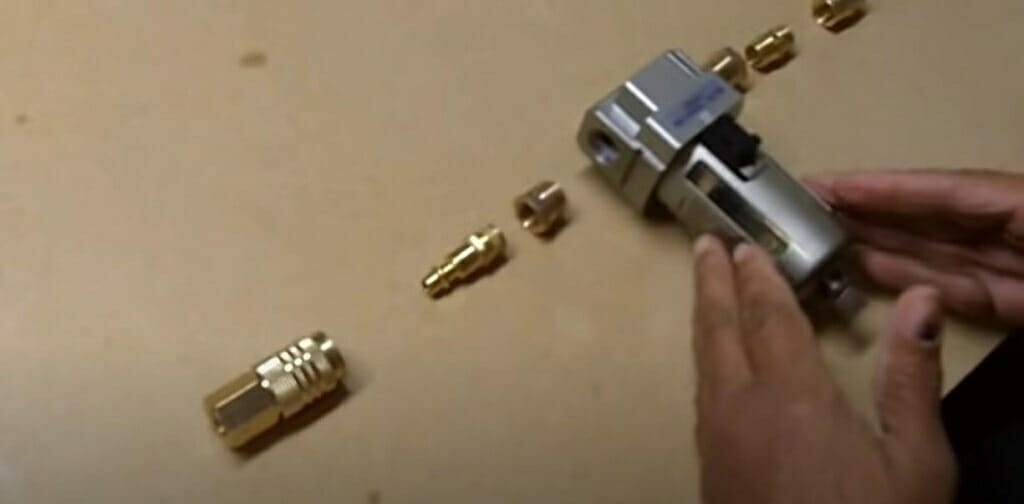
Next, choose a suitable coupler and plug for your air hammer. Use the industrial coupler for this demonstration. Connect the coupler and plug. Then, connect the filter and the other parts together.
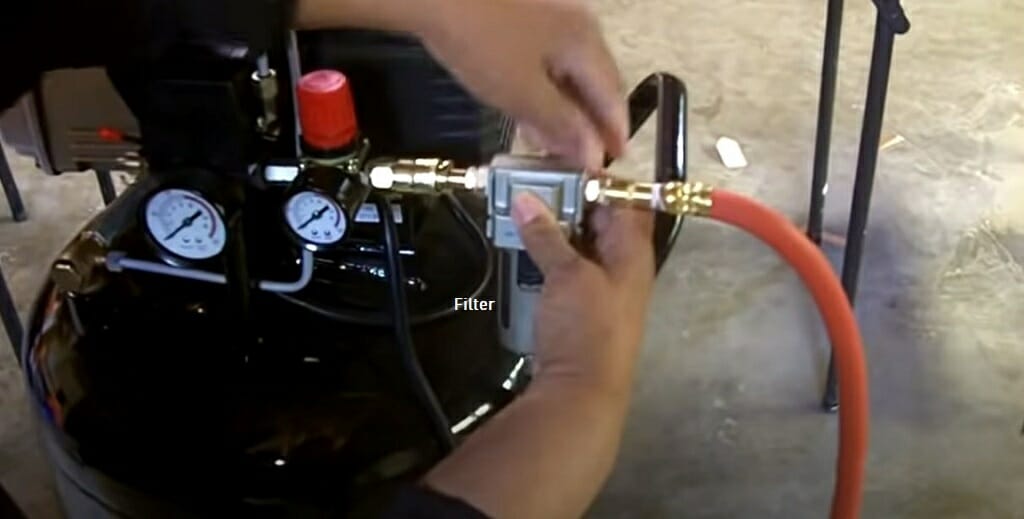
The filter can remove the dirt and moisture in the compressed air before it travels to the tool. Lastly, connect the hose to the air hammer. Connect the other end of the hose to the air compressor’s filtered line.
Step 4 – Wear Safety Gear
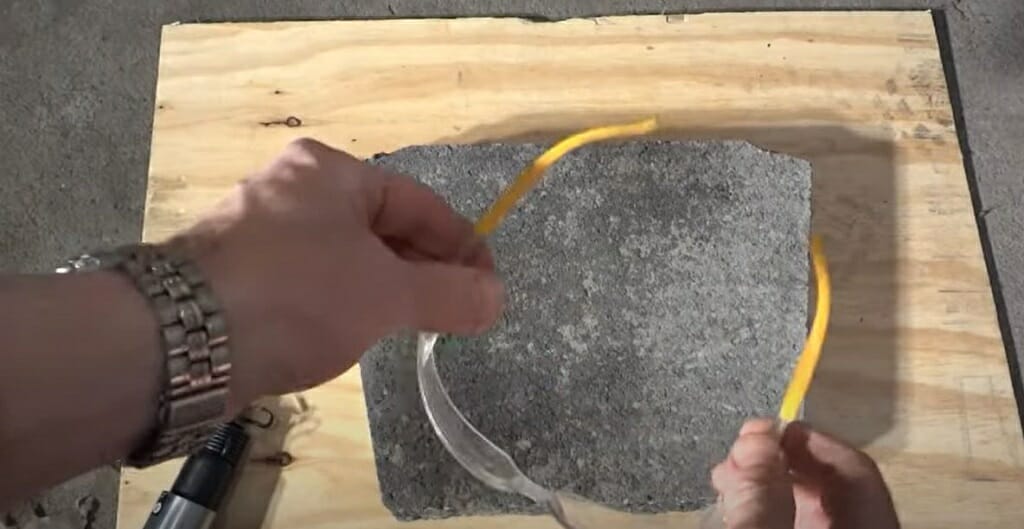
Before using the air hammer, you’ll have to wear the appropriate safety gear.
- Wear safety gloves to protect your hands.
- Wear safety glasses to protect your eyes.
- Wear some earplugs or earmuffs to protect your ears.
Be mindful that wearing earplugs or earmuffs is a must-follow step while using an air hammer.
Step 5 – Start Your Task
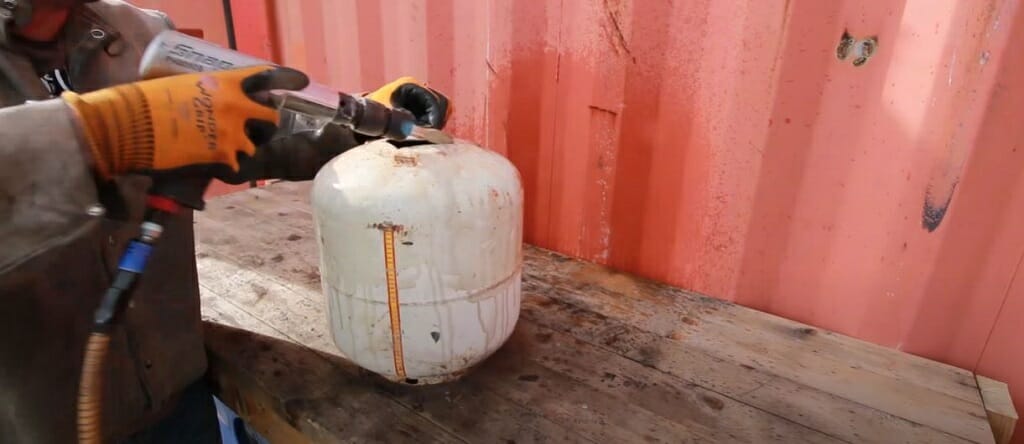
If you follow the above four steps correctly, you can start working with the air chisel.
Always start with low settings. If needed, increase the speed gradually. Also, hold the air hammer tightly while it is operational. For instance, when you use a hammer bit with high speed, the air hammer produces a considerable amount of force. So, hold the hammer tightly.
Be mindful: Check the locking mechanism between the chunks and the bit. Without a proper locking mechanism, the bit might fly away unceremoniously.
References
Website Resources:
- moisture. https://www.epa.gov/mold/what-are-main-ways-control-moisture-your-home
- amount of force. https://study.com/academy/lesson/what-is-the-formula-for-force-definition-lesson-quiz.html
Video References:
Simple Little Life
seejanedrill
RJ The Bike Guy
