17 min read
5 Kitchen Ingredients That Magically Remove Rust from Metal (Guide)
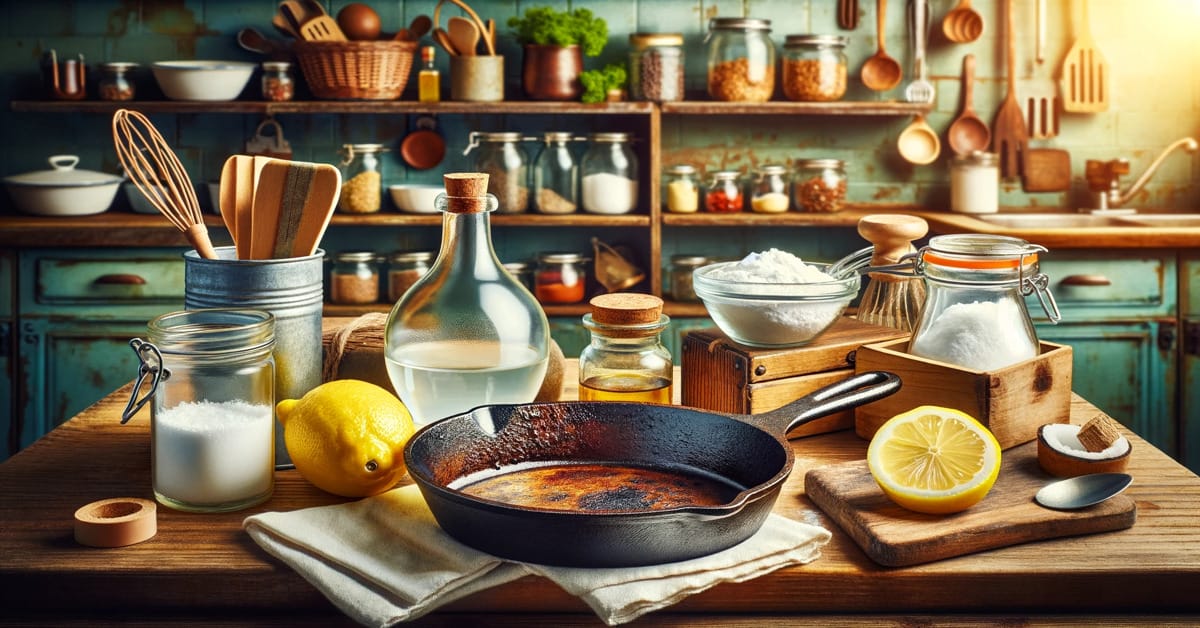
Ever found yourself staring at your favorite kitchen tools, pissed off about the unsightly rust marks that have taken up residence? I’ve been there, and I’m here to tell you there’s a solution hiding right in your pantry.
Yes, you read that right! Common kitchen ingredients can work magic to banish those stubborn rust stains. Here’s what I’ll cover:
🍋 Vinegar – An acidic wonder for banishing rust.
🍈 Lemon – Citrus power against stubborn rust.
🥔 Potato – Nature’s oxalic acid rust-remover.
🍅 Ketchup – Surprising rust-fighting condiment.
🥤 Coca-Cola – Soda magic for tough rust.
I’ll share some surprising DIY rust removal methods.
How to Remove Rust With Vinegar
Get ready to return those rusty items to their former glory with patience and vinegar power. Let’s roll up our sleeves and get started on this rust-busting adventure!
Step 1: Prepare Rusted Metal Objects for Soaking
So, got some rusty belongings you’re itching to restore to their former glory? No worries, let’s roll up our sleeves and dive right in.
The first thing you want to do with your rusted metal items is to prepare them for soaking in a special mixture of salt and vinegar.
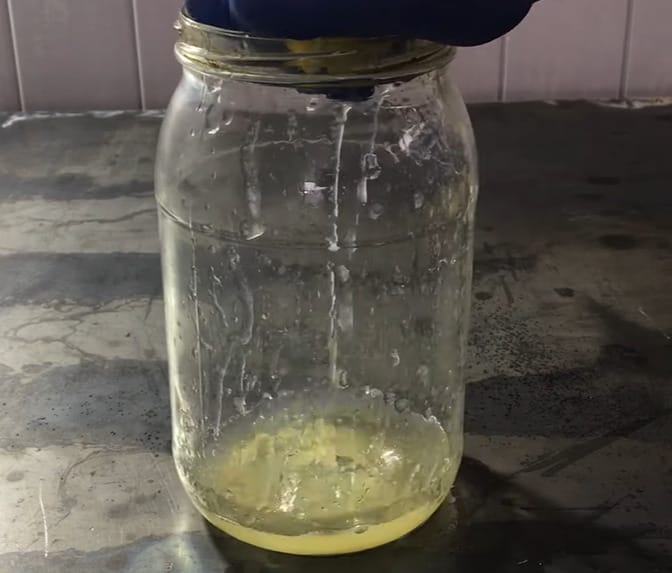
Step 1: Grab a big bucket or tub. Pour ½ cup of salt into ½ gallon of undiluted distilled white vinegar.

Step 2: Stir this until the salt fully dissolves; you have a DIY rust-removing bath.
Step 3: You might want to disassemble rusted items with nonmetal parts, like wooden or plastic handles.
Step 4: Add the rusty metal pieces to this vinegar solution, letting them soak for about 12 hours.
Step 2: Remove and Rinse Metal After Soaking

Once your items have had their vinegar bath, it’s time to take them out, but first, make sure you have your dishwashing gloves on.

Safely transfer the metal items to the sink and bid farewell to the vinegar concoction down the drain. Now comes the crucial part: rinse each piece thoroughly under running water.
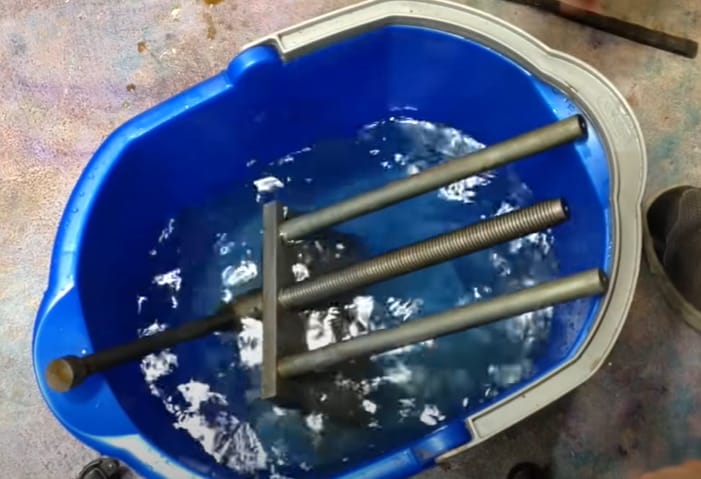
Step 3: Briefly Soak the Pieces in a Baking Soda and Water Mixture
Alright, you’re doing great. But we’re not done yet. Those metal pieces need another quick soak.
This time, you’ll be using a baking soda and water mixture.
Step 1: Back in the tub they go, but now with ½ gallon of water and ½ cup of baking soda.
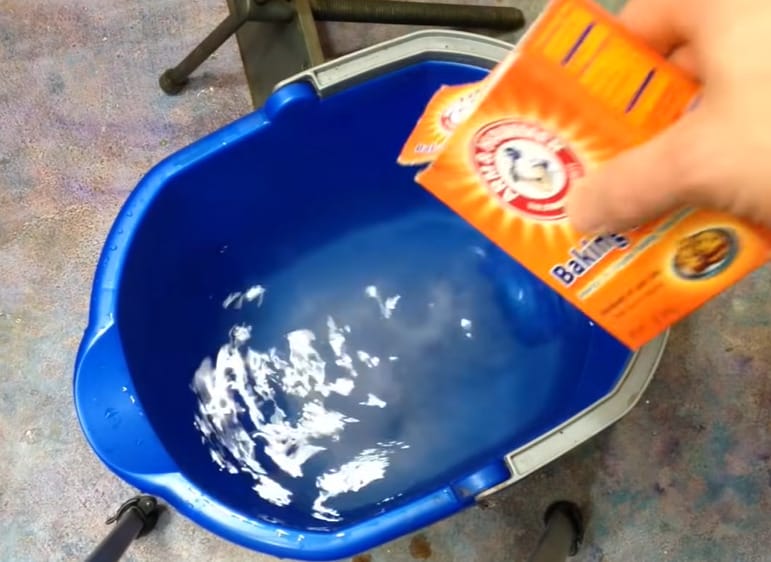
Step 2: Mix until the baking soda completely dissolves and let the metal sit in the solution for about 10 minutes.
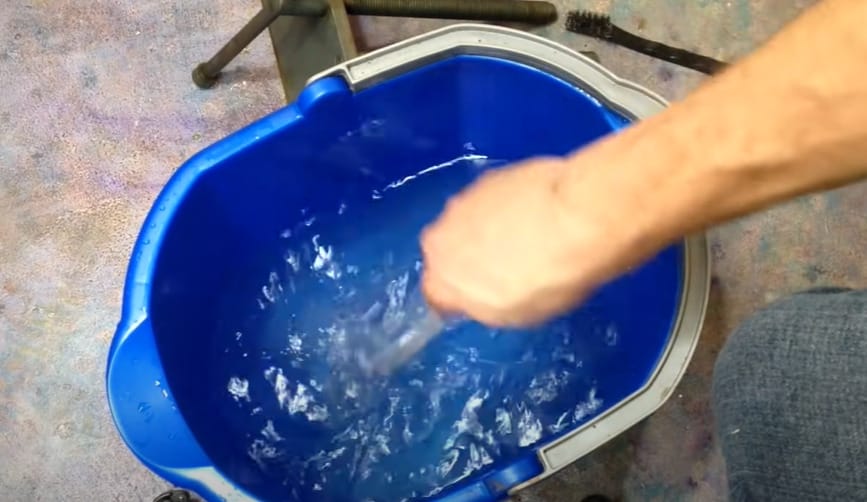
Step 3: Then it’s back to the sink again, ready for another rinse.
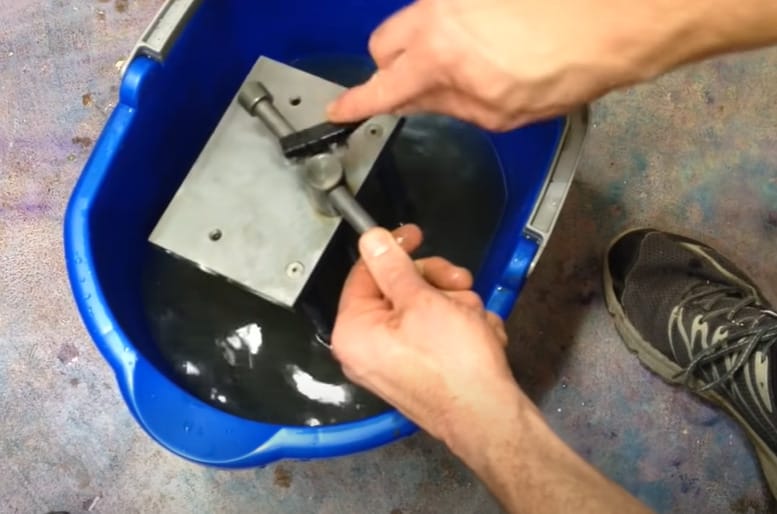
Step 4: Wipe Down, Rinse, and Dry the Metal
Almost there, champ!
Step 1: Remove the metal pieces from the baking soda solution; give them a good scrub with steel wool or brush to bring a nice sheen to your tool without stripping off the patina.
Step 2: Wipe them down with a rag soaked in denatured alcohol. This little trick helps wick away any leftover moisture on the metal, ensuring rust doesn’t return to haunt you.
Step 3: A light coat of camellia oil can add a protective layer to ensure no new rust sets in.
How to Remove Rust With Lemons
You’re probably thinking, “Really, can lemons help get rid of rust?” Let’s dive into the process, and I’ll show you how.
Step 1: Coat the Rusted Area(s) With Lemon Juice
If you’ve got rusty cooking pans, gardening tools, or other metal items, here’s a handy fix from your kitchen.
Step 1: Start by laying out the item on a suitable workspace. Identify any rust spots.
Step 2: Take a fresh lemon, cut it in half, and give a good squeeze directly over the salt-topped rust areas. The acidity of the lemon juice teams up with the abrasiveness of the salt, effectively countering the rust.
Step 2: Allow the Lemon Juice and Salt to Sit on the Metal Surface
Leave it be once you’ve sufficiently coated the rust spots with lemon juice and salt. Let this citric fix sit on the surface for at least hours.
For especially rusty tools or hardware, lightly scrub the mixture into the metal surface before allowing it to rest. This step is crucial as it gives our homemade rust remover time to dissolve the rust successfully.
Step 3: Wipe, Rinse, and Dry the Surface Completely
It’s time for the final cleanup. Use a clean cloth or brush to remove the lemon juice from the metal. Faucets are your best friend here, or if that’s not an option, use a damp cloth.
Give a thorough rinse to remove any residue. Now, take a close look. If the treated rust spots still glare at you but have reduced in size or color, don’t worry.
Repeat the above steps till the metal’s all shiny sans rust. Have you got the clean-up right? Good! The last step is to dry the surface completely. I recommend a dry microfiber cloth for best results.
How to Remove Rust With Potatoes
Don’t let that frown crinkle your face. I see you doubting the humble potato, but let me introduce you to a game-changer. It’s true! We can beat rust using a potato.
This heart-shaped carbohydrate offering from nature is packed with oxalic acid, which can help expel stubborn rust. Here’s a quick step-by-step approach!
Step 1: Cut a potato in half and coat the cut end with soap and salt.
Nothing gets done as swiftly and inexpensively as a potato covered with soap and salt.
Step 1: Comfortably hold a freshly cut potato half – no peel needed – and give it a quick dip in dish soap.
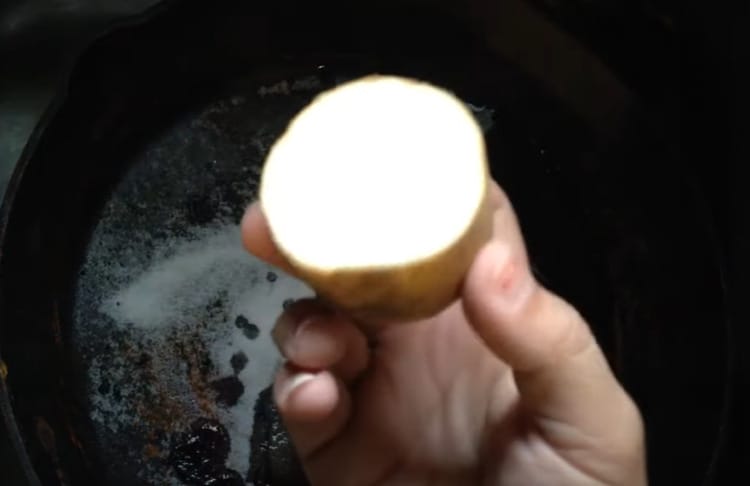
Step 2: Now gently rub salt or baking soda on that tool. Add dish soap as well. Here’s a quick tip – slice the potato lengthwise if you’re dealing with larger rusted surfaces and crosswise for smaller ones.

Step 2: Rub the cut end of the potato onto the rusted surface.

Once your potato is soap and salt-ready, it’s time to scrub it! Apply moderate pressure and move the cut end of the potato against the metal surface.
Make sure you focus on visibly rusted spots. Continue this until you see a significant reduction in rust. If the potato gets slick, don’t worry.
Cut off the slick end, apply more salt or baking soda, and return to scrubbing. Repeat this as many times as necessary!
Step 3: Thoroughly rinse and dry the metal.
Removing the salt and soap from the metal is just as crucial as the scrubbing part.
Step 1: Use a clean cloth or a toothbrush (anything you’re comfortable with) to remove the mixture from your metal surface.

Step 2: Carefully rinse the surface under a tap or damp cloth. Do ensure you’ve left no soapy residue behind.

To avoid any chance of rusting again, it’s incredibly important to dry the clear metal surface fully. You could use a microfiber cloth for this.
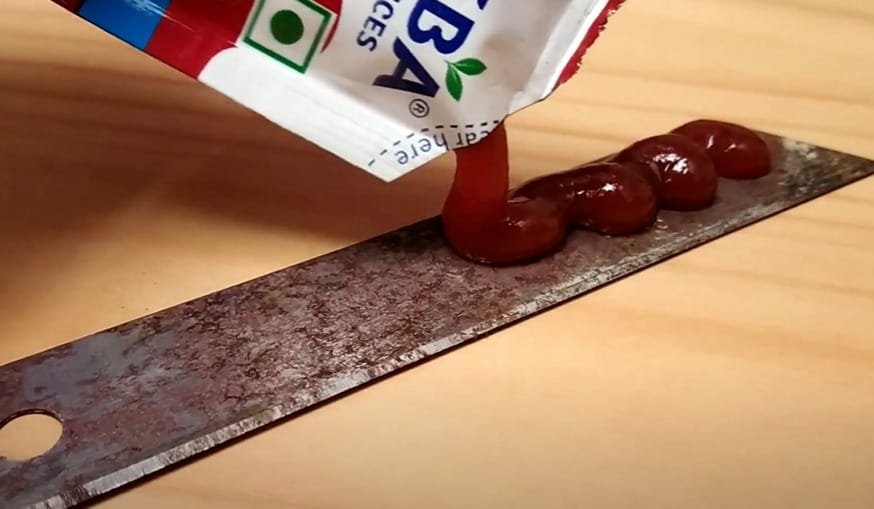
How to Remove Rust With Ketchup
Have you ever thought, “Could that ketchup bottle in my fridge double as a rust remover?” Well, let me tell you, the answer is yes. Let’s take these simple steps to turn that condiment into a potent cleaning agent.
Step 1: Apply the ketchup to the rust
Dispense a thick layer of ketchup right on top of it. Let the magic happen for up to two hours.
Step 2: Rinse and dry the metal surface fully

Once your ketchup has had its time, use paper towels or cloths to wipe it away. You’ll want to scrub a bit to ensure you’ve got every bit of that rust.
Afterward, thoroughly rinse the surface with warm tap water or a damp cloth. The final touch? Dry the surface completely with a clean microfiber cloth.
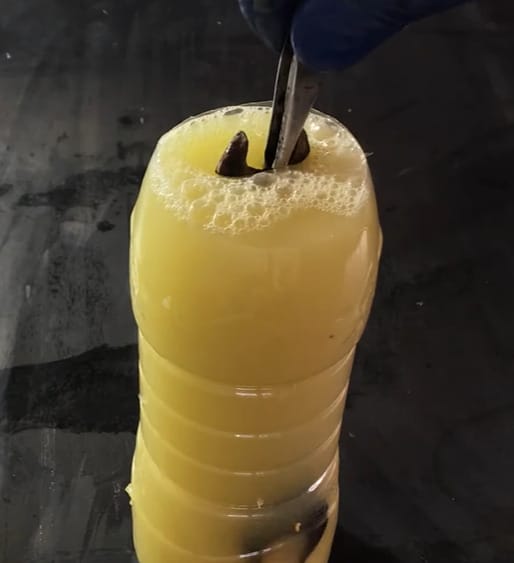
How to Remove Rust With Coca-Cola
If you thought Coca-Cola was just for your drinks, I’ve got the news: this soda is a game-changer for rust removal. Let’s walk through the steps together.
Step 1: Prepare the Rusted Area and Cola Application
Begin by locating all the rusted spots on your item. This method works best for surface-level rust rather than deep corrosion.

Pour enough cola to cover the rusted areas fully. You can use a bowl or container for smaller items or directly pour cola over larger surfaces.
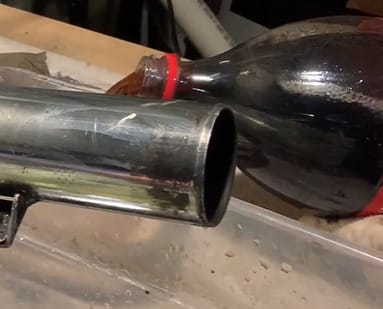
Allow the cola to sit on the rusted areas for about an hour. For severe rust, you might need to soak it for up to a few hours.
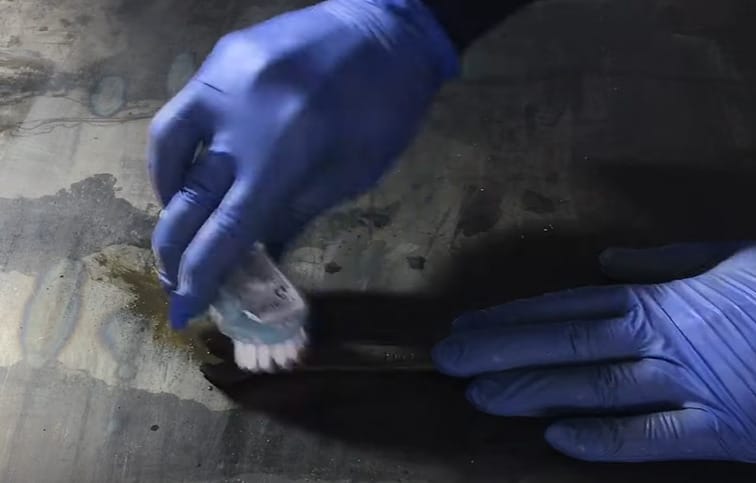
Step 2: Scrubbing with Aluminum Foil
Tear off a piece of aluminum foil from the roll. Crumple it into a ball, but not too tightly – you want some flat surface area to make contact with the rust.
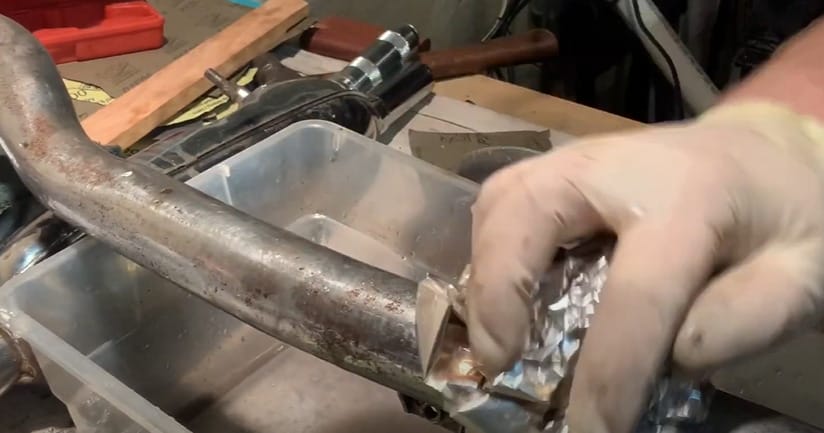
Use the aluminum foil ball as a scrubber. Scrub gently at first, then increase pressure as needed. The aluminum foil is a mild abrasive, and the cola’s chemical reaction helps lift the rust.
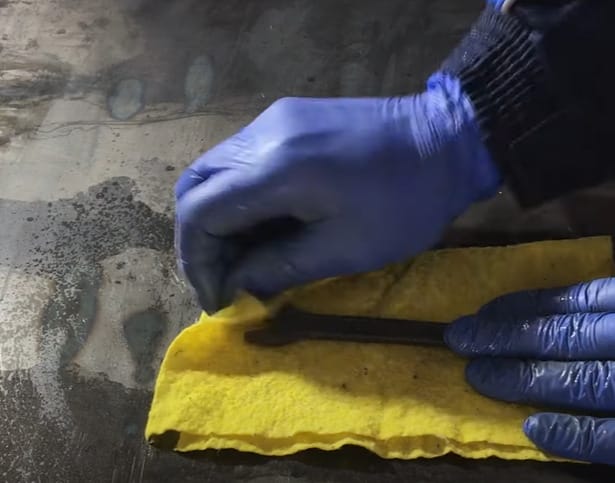
Step 3: Rinsing and Drying
Once the rust has been removed, rinse the item thoroughly with clean water. This step is crucial to remove any cola and rust residue.
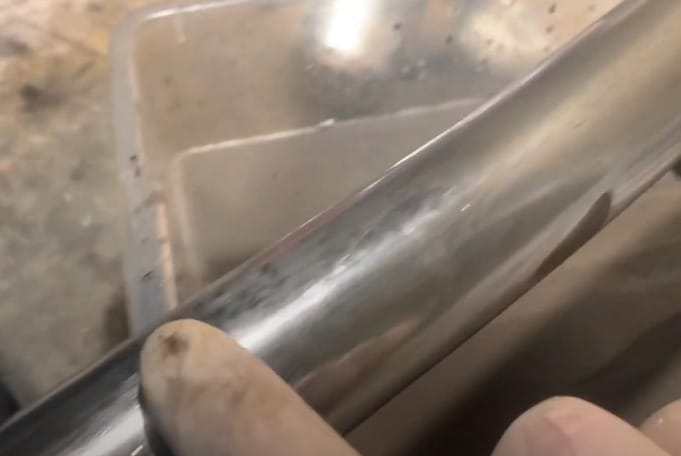
Immediately dry the item with a clean, dry cloth. Ensure it is completely dry to prevent any new rust from forming.
Inspect the item for any remaining rust spots. If rust persists, repeat the process or consider a different rust removal method for tougher spots.
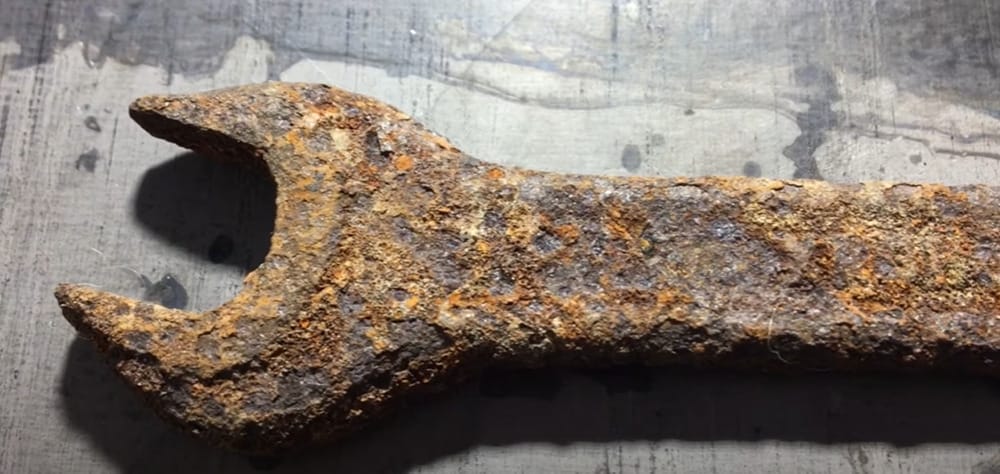
Long-Term Care Tips: Keeping Your Metal Items Rust-Free
Alright, DIYers! You’ve banished rust from your metal treasures, but the journey doesn’t end there. It’s all about keeping them in shipshape for the long haul. Here’s how to make sure that rust doesn’t make an unwelcome comeback:
- Keep It Dry: The golden rule in metal care – moisture is not your friend! After using metal items, especially in the kitchen or outdoors, ensure they’re thoroughly dried before storing them. Even water can invite rust, so keep things nice and dry.
- Regular Cleaning is Key: Dirt and grime can trap moisture. Regular cleaning of your metal items will keep them shining and rust-free. Use mild soaps and avoid harsh chemicals that might damage the metal surface.
- Proper Storage Matters: Store your metal goods in a dry, cool place. If you’re storing metal tools in a shed or garage, consider using silica gel packets or a dehumidifier to control moisture levels.
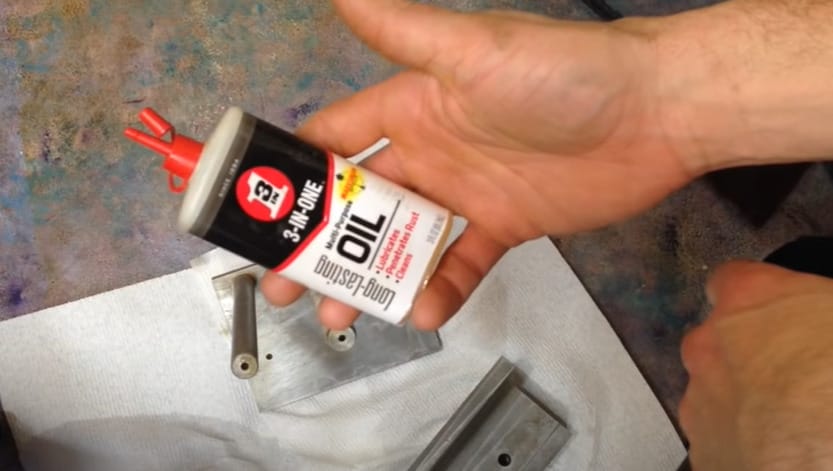
- Protective Coatings for the Win: Apply a protective coating for items prone to rust, like garden tools or bicycles. Waxes, oils, or a simple layer of clear nail polish can seal the metal from air and moisture. Reapply as needed to maintain the protective layer.
- Inspect Regularly: Make it a habit to check your metal items for any signs of rust or damage. Early detection means easier maintenance!
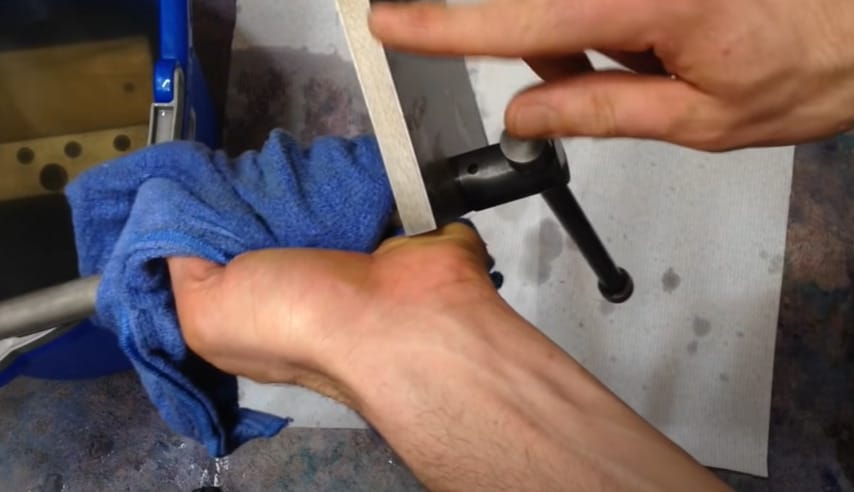
- Lubricate Moving Parts: If your metal items have any moving parts, keep them lubricated. This not only prevents rust but also ensures they operate smoothly.
- Handle with Care: Avoid dings and scratches on metal surfaces. Once the protective layer is compromised, rust can get a foothold.
By following these simple yet effective tips, you’re preserving your metal items and saving time, money, and effort in the long run. So, let’s keep those metal beauties looking good and functioning well for years to come!
Frequently Asked Questions
- Can I Use These Rust Removal Methods on All Types of Metal?
- Most methods work well on common metals like iron and steel, but be cautious with delicate or specialty metals. Always test on a small area first.
- How Often Should I Apply Protective Coatings?
- Generally, reapply protective coatings once a year, but this can vary depending on usage and exposure to elements.
- Are These Rust Removal Methods Safe for Antique Items?
- With antiques, it’s best to proceed with caution. Use gentler methods and avoid abrasive materials to preserve the item’s integrity.
- Is It Safe to Use Rust Removers Near Food Areas?
- Natural methods like vinegar or lemon juice are safe, but ensure thorough rinsing and drying before using kitchenware for food preparation.
- Can I Prevent Rust On Outdoor Metal Furniture?
- Apply rust-inhibiting paint or sealant, and cover the furniture during adverse weather conditions.
References
Organizations:
- American Chemical Society (ACS). https://www.acs.org/
- National Association of Corrosion Engineers (NACE). https://inspectioneering.com/tag/nace
Books:
- “Rust: The Longest War” by Jonathan Waldman. https://www.barnesandnoble.com/w/rust-jonathan-waldman/1119884053?ean=9781451691603
Website Resources:
- Instructables.com. https://www.instructables.com/
- WikiHow.com. https://www.wikihow.com/Main-Page
- TheRustStore.com. https://www.theruststore.com/
Video References:
Brian Hilson
Make Stuff
Life with Sylvia
Last explorer
Keep On Wrenching