10 min read
How to Fix an Injector Circuit Open Cylinder (1, 2, 3, 4)
If your vehicle’s injector circuit has a problem, how can you tell which cylinder is the problem, what to check, and how to fix it?
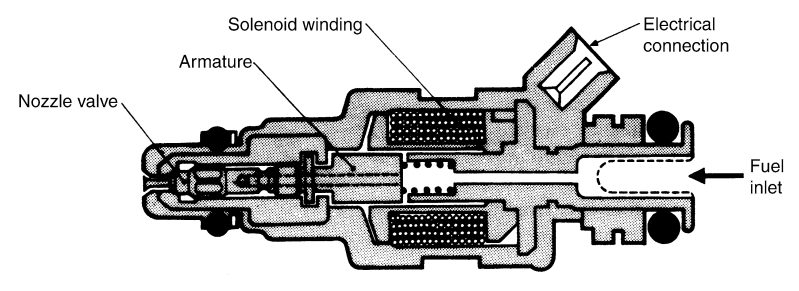
When a fuel injector, which supplies fuel (in the form of a mist) to a vehicle’s combustion engine, becomes faulty, it triggers a fault code. But there may be other related problems. You will need to identify possible causes, recognize the symptoms before they get more serious, know exactly what has to be checked and fixed, and know-how.
The fault indicates problems with the injector circuit open cylinder codes P201, P202, P203, and P204. Common causes are the injector itself for that cylinder, its wiring, or its control module, and common symptoms include poor engine performance, misfiring, slow acceleration, and reduced fuel efficiency. To fix the problem, you must scan the vehicle and check the fuel injector, circuit wiring, control module, voltage, grounding, resistance, etc.
In this article, I will show you exactly what to look for and how to do all these checks.
The Injector Circuit and PCM/ECM
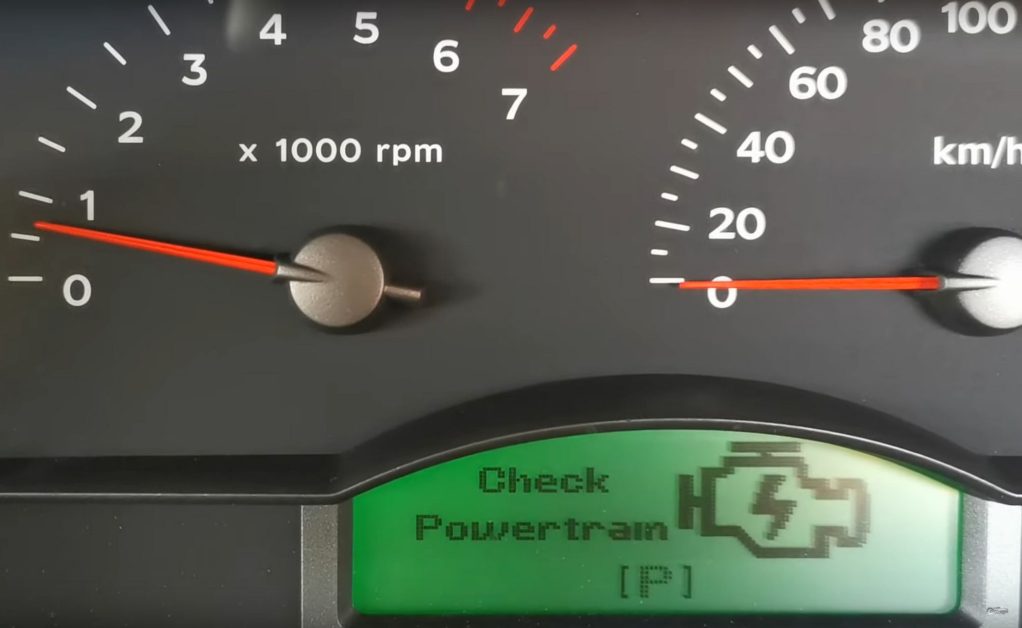
An injector circuit malfunction occurs when the PCM (Powertrain Control Module) or ECM (Engine Control Module) detects a problem in an injector of one of the cylinders or the wiring.
While the injector is off, it checks whether the voltage is close to the battery voltage, which should be high. The PCM then checks again when the injector is activated if the voltage is low or near zero. If this is the case, this situation causes a Diagnostic Trouble Code (DTC) to be displayed, called an engine light or OBD fault code. The PCM also monitors the circuit’s resistance in case it falls very low or rises very high.
There are several light codes, but we focus on problems in cylinders 1 to 4 to learn how to fix them.
Diagnostic Codes, Causes, and Symptoms
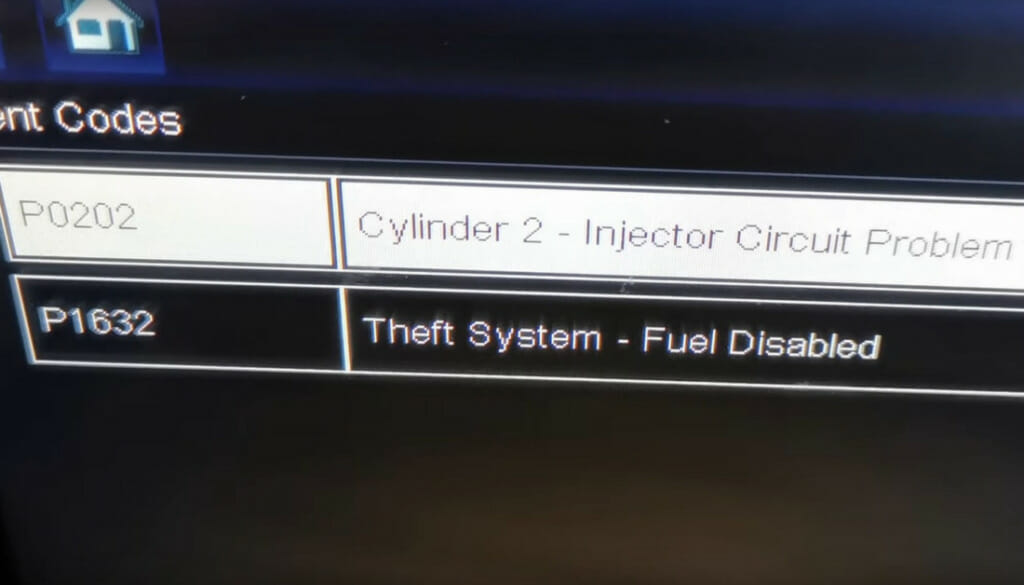
In general, if the engine light code is P20X or P020X (where X is 1, 2, 3, or 4), the cylinder X injector circuit is open or short, usually due to a problem in that cylinder or its wiring.
| P | 0 | 2 | 0 | 2 |
| Power Train | Generic Code | Fuel or Air | Injector Circuit Malfunction | In Cylinder X (1, 2, 3, or 4) |
Use our handy chart below to know what the different engine light codes mean for codes P201 to P204 and the main symptoms besides the indicator light.
| Engine Light Code | Possible Causes | Symptoms |
| P201 (Problem in cylinder 1) | • Faulty cylinder 1 injector • Poor electrical connection in the connector’s wiring harness • Faulty ECM • Opening in injector’s wiring harness • Short circuit in the injector’s wiring harness | • Engine misfires • Rich or lean conditions • Poor running • Stalled engine • Non-smooth operation • Unable to restart • Slow acceleration • Lack of power • Low mileage |
| P202 (Problem in cylinder 2) | • Faulty cylinder 2 injector • Breakage in the fuel injector • Dirt in cylinder 2’s injector nozzle • Faulty ECM • Faulty or weak wiring around the cylinder 2 injector • Damaged circuit | • Rough or missing engine performance • Low or poor acceleration • Reduced fuel efficiency • Complete engine failure (engine fails to start) |
| P203 (Problem in cylinder 3) | • Failed injector • Fault in the injector circuit • Problem with the PCM | • Engine misfiring • Engine stalling • Engine cranks but fails to start |
| P204 (Problem in cylinder 4) | • Defective power supply wiring • Corroded or otherwise bad injector • The injector is clogged • Break/Open in the wiring • Short circuit in the wiring • Connector or harness fault • Bad PCM | • Misfiring • Poor fuel economy • Rough running of engine • Rich or lean running • Limp-in mode • Hard-start condition • Engine damage |
Many causes and symptoms are common to all the codes, but the exact code will identify in which particular injector circuit the cause lies.
If you only observe one or more of the above symptoms, it does not necessarily mean a problem with the injector circuit. For instance, if the engine runs poorly, it can also be due to excess fuel flow. I’ve shown common symptoms when you see one of the above four fault codes.
I will now tell you exactly what you should do if that happens, i.e., what to inspect and check.
Fixing an Injector Circuit Open Cylinder
Doing a Visual Inspection Yourself
Before taking your vehicle to a mechanic, you can conduct a visual inspection, as it might resolve the problem.
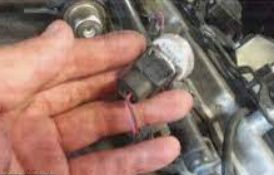
You need to check for any signs of damage to the cylinder concerned and to the wiring connected to it. As with any troubleshooting, you need to narrow down the possible causes until you pinpoint the exact source of the problem.
If you cannot locate the problem, you must take your vehicle to a professional mechanic and have the vehicle checked by a professional mechanic familiar with such codes and working on the fuel injector and injector circuit.
General Procedure
The general procedure below may be applied in all four cases (P201, P202, P203, P204). I’ve mentioned 9 things to check. Although you can do checks 1 to 8 in any order, it’s better to check in the sequence indicated to narrow down from the most likely possibility.
Check 1: Scan the Vehicle
The mechanic should scan the vehicle to see under what conditions the fault code occurs.
The scanner should be more advanced than a simple OBD scanner to ensure a thorough scan is done. The mechanic should scan for the particular DTC you brought the vehicle for and all other fault codes.
If any cylinder is misfiring, check the injector circuit for that cylinder using the scan tool. Scroll down where we cover using a noid light for how to do this.
Check 2: Check the Fuel Injector
Check the fuel injector to see if it is working or faulty using an injector tester and/or by replacing it with another injector to see how it affects the code.
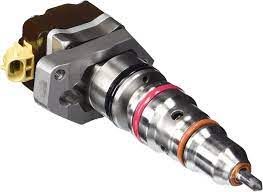
Start by checking in case dust or dirt has accumulated in the injector.
Check 3: Check the Injector Circuit Wiring
Also, check the injector circuit wiring for any openings, shorts, or damage, especially if the injector is working properly.
Check-in for any loose or poor connections, damage to the wiring, and corroded pins.
Check 4: Check Using a Noid Light
You can also install a noid light in the injector’s wiring to check the injector circuit. Connect one end of the test light to the injector connector and the other to the B+ pin. If it fails to light up, it could indicate a problem. The injector might not be getting power, or it is not properly grounded.
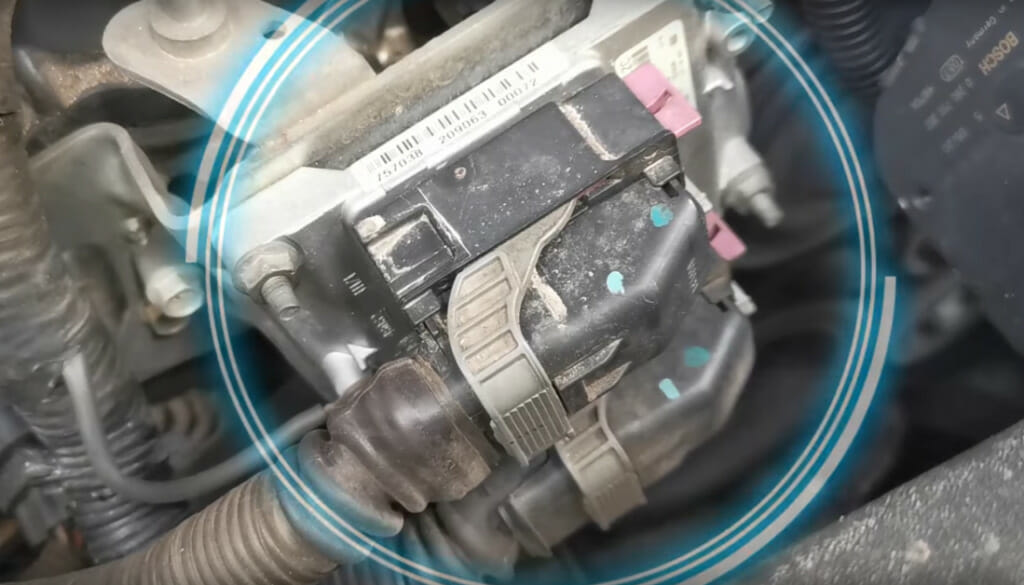
Check 5: Check the PCM/ECM
If no problem is found with the injector or its wiring, check the PCM/ECM by looking at the freeze frame data. You can remove the driver wire when you know which one that is and ground it.
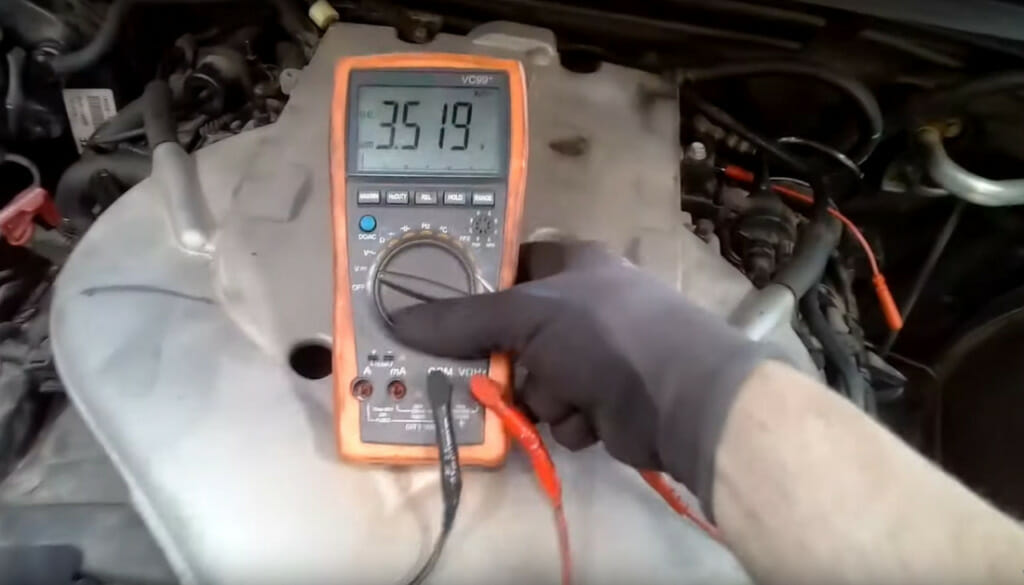
Check 6: Check the Voltage
After fixing the problem, check the PCM to confirm the voltage is within the acceptable range.
Normally, it should not fall below 10V. In the picture below, the voltage reading of 3.5V is low, which confirms a problem in the fuel injector circuit.
Check 7: Check for Grounding
To check that the PCM is grounded properly to the injector, attach one end of the test light to the injector connector’s ground side and the other to the battery. Cranking the engine should illuminate the light. If it doesn’t, there might be a problem with the PCM or its wiring.
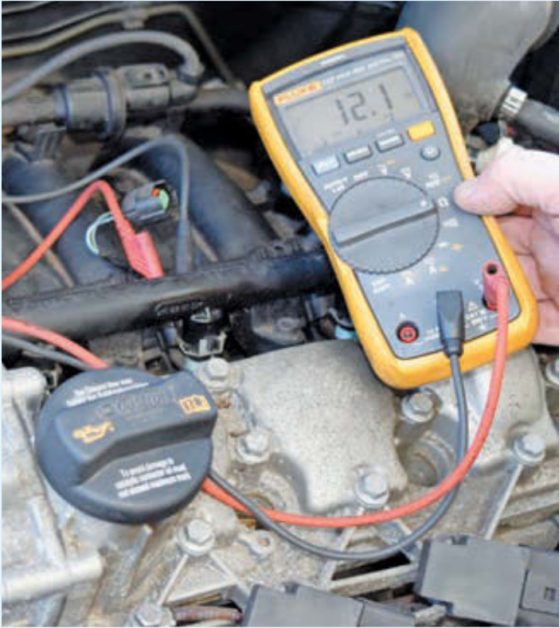
Check 8: Check the Resistance
Check the fuel injector circuit’s resistance using an ohmmeter/DVOM to confirm it is also within the acceptable range.
To check for continuity, connect one probe to the injector connector’s harness and the other to its pin on the PCM. If the resistance is over the limit, the injector might be drawing too much current, which can damage the PCM driver. If it’s over the limit, the circuit may be open somewhere; otherwise, you can suspect the PCM to be the problem.
Also, get readings for the electrical resistance of each injector. Set the probes across the two terminals of the injector. It should normally be between 12 and 15 ohms. Check your vehicle’s manual for the exact range.
A more thorough resistance test is carried out using an oscilloscope. The waveforms will show whether the injector is operating properly or faulty.
Check 9: Drive the Vehicle
Drive the vehicle for some time to see that the fault code does not come back on. In case the fault code shows up again, note the condition under which it occurred and have the injector circuit checked more thoroughly this time.
Further Checks
If identifying the problem is hard for you after all these checks, other things you may need to check are:
- Check the fuel pressure.
- Check the injector’s spray pattern.
- Check for any vacuum leaks.
- Check the engine’s compression.
Solutions to Injector Circuit Open Cylinder Problems
Once you have identified the source of the problem, you can proceed to fix it.
The likely solutions to the injector circuit open cylinder problems, whether it is cylinder 1, 2, 3, or 4, are:
- If the fuel injector itself is faulty, then replace it.
- If there is any loose wiring, then fix the wiring.
- If there is any damage to an injector circuit wiring, replace it.
- If the problem is located in the PCM or ECM, have it repaired; if that is not possible, replace it.
- If there are multiple or unidentifiable problems, you may need to replace the entire fuel injector circuit.
References
(1) V. A. W. Hillier, Peter Coombes & David Rogers. Hillier’s fundamentals of motor vehicle technology. 5th edition. Book 2: Powertrain electronics. Nelson Thornes. 2006.
(2) Car Mechanics Expert. Electronic Diagnostics, vol. 1. Kelsey Publishing Ltd. 2022.