8 min read
How to Find the Ignition Wire for Your Car Stereo
Trying to figure out where your ignition wire is located in your car to use for your stereo can be frustrating.
You will see several wires, so it can look daunting, especially if it’s your first time wiring the stereo. The best way to find the ignition wire for your car stereo is to find the car’s wiring diagram.
The exact model, make, and year matter because the wiring can differ and, thus, confuse you further. But if you cannot find it or the diagram itself is confusing, you will need to learn to identify the ignition wire.
Below, I will help you find the ignition wire easily and quickly using a multimeter (or test lamp).
In general, you will need to test a few wires. We need to look for a wire that only has power when the ignition is on and remains at a constant of ~12 volts.
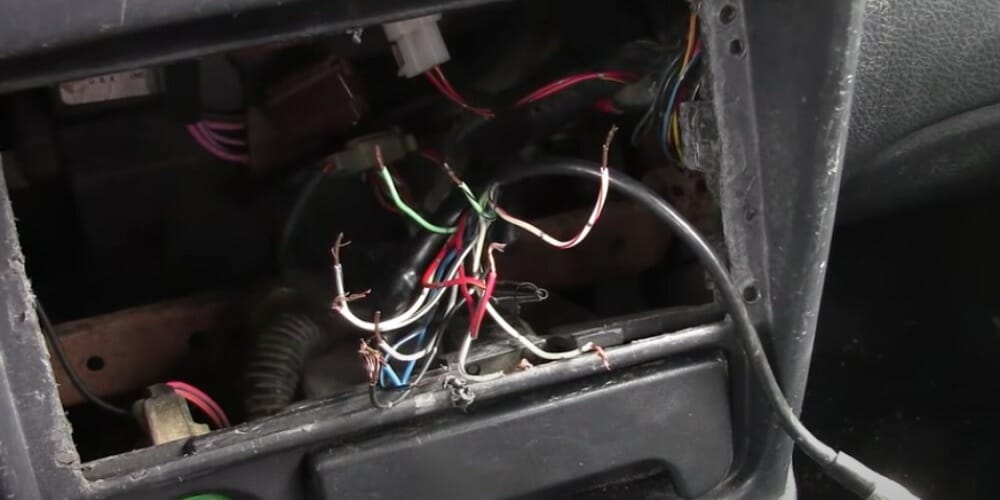
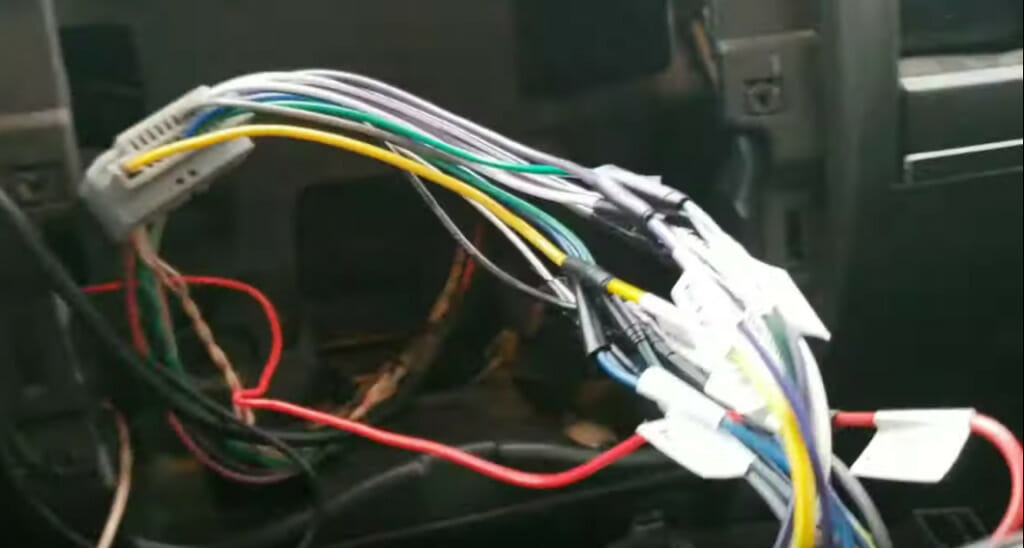
First, remove the stereo to access them and connect the multimeter’s clamp to a good ground. Usually, the ignition wire is one of the red wires, but you will have to do some testing to make sure.
After ruling out the constant power wire, which should show 12 volts while the ignition is off, and the dimmer wire, which reduces the voltage when dimmed (while the car is on), the ignition wire will be the one that remains at ~12 volts.
Looking at the Wiring Diagram
You might not need to test the wires if you have the wiring diagram for your car’s stereo.
The sample wiring diagram below shows that the ignition wire is the red wire connected to the terminal marked with the number 12.

Unfortunately, even if you have the wiring diagram, the wires in the car may be different.
This might be because the wiring diagram is not for the exact model, make, and year and the manufacturer changed the wiring. Or else the car may have been rewired, or the stereo may not be the factory-supplied one and have different terminals.
The only way to know which wire is the ignition wire is to test the wires yourself.
Requirements for Self-Testing
The only thing you will need for testing the wires is a multimeter.
You can use a test lamp instead, but a multimeter will be better. The method using a test lamp is detailed further on.
Before testing the wires using the multimeter, you will have to clear the path to the wires. So remove the stereo so you can easily access the wires behind it.
Then locate a good ground for the multimeter and connect the clamp to it.
Self-Testing: Identifying the Ignition Wire
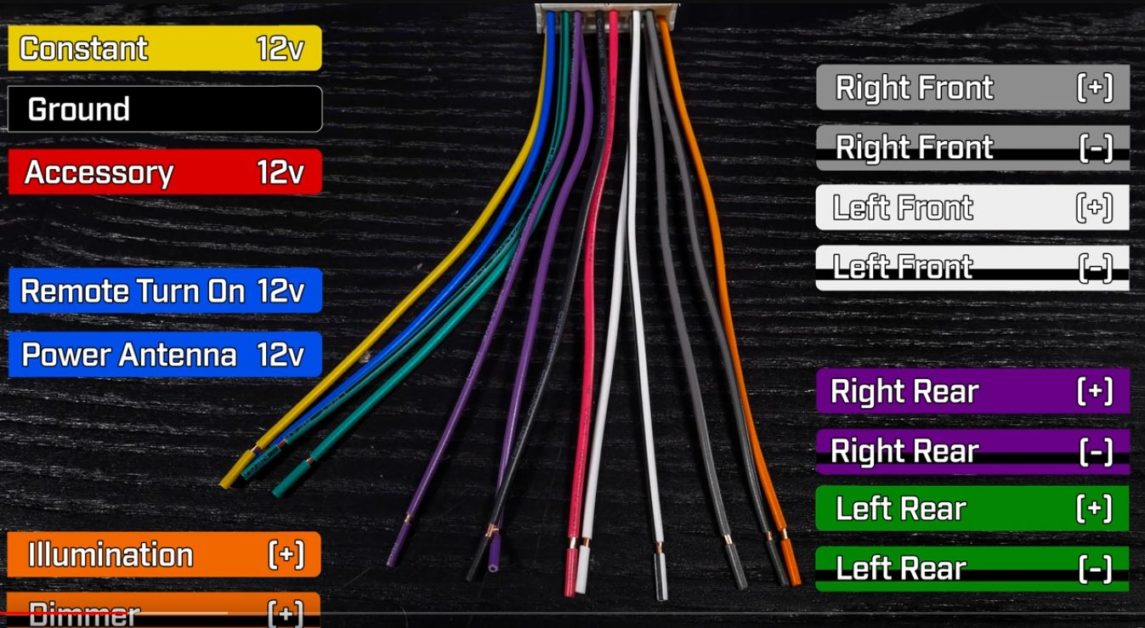
The types of wires and their normal colors are indicated in the table below.
However, the color scheme is not guaranteed to be as shown here. There might even be more than one wire of the same color. That’s why we will have to test the wires to be sure which wire is what.
| Type of Wire | Multimeter Reading | Color (Normally) |
| Ignition (accessory) | 12 volts | Red |
| Power | 12 volts (constant) | Yellow |
| Ground | 0 volts | Black |
| Dimmer | Variable (0-12 volts) | Red or orange |
| Speaker | – | Multicolored |
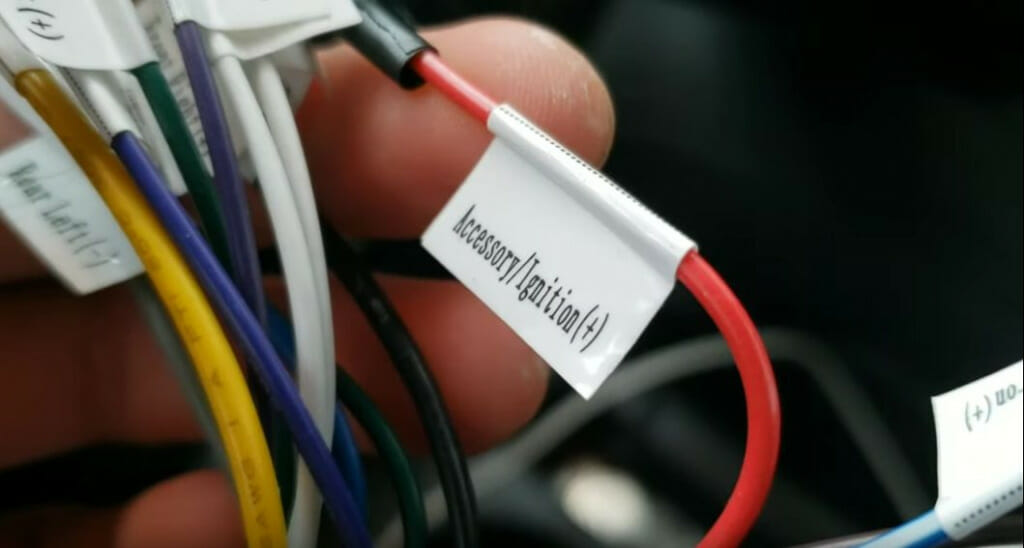
Note that if labeled, the ignition wire might be marked ‘Accessory’ instead.
Step 1: Find the Constant Power Wire
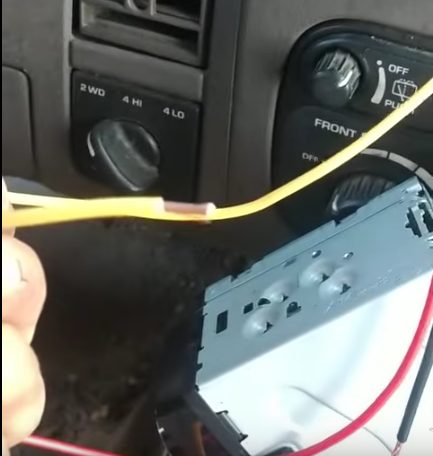
Firstly, we should find the wire used to supply constant power to rule it out.
Car stereos are usually supplied with constant power. This gives them power even when the car’s ignition is turned off. It enables the stereo to store presets in memory and display information, including time. One of the wires, usually the yellow one, is the one that supplies the stereo with constant power.
To identify the constant power wire, make sure the car is off. Then connect the multimeter’s probe to each non-grounded wire while the ignition is off. It should give a reading of 12 volts.
Once identified, I would advise you to label it, especially if it’s not yellow-colored.
Step 2: Find the Dimmer Wire
Having found and marked the constant power wire, we will test a couple more wires.
Start the car and turn the headlights and dimmer to their maximum. Connect the multimeter’s probe to other wires until you find two more that read 12 volts (or a little more). For each one, with the probe still connected to the power wire, dim the light and observe the reading.
If the voltage reading falls while dimming, that wire is the dimmer wire.
Step 3: Find the Ignition Wire
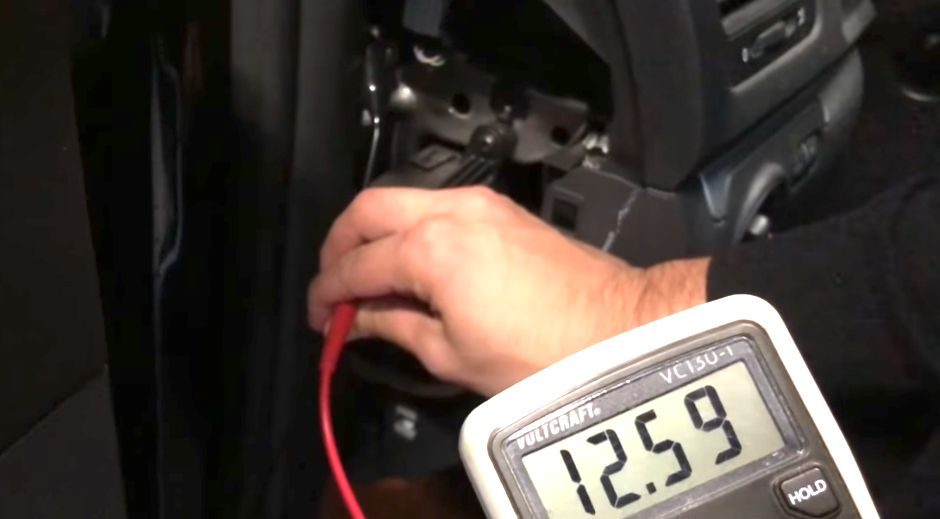
The ignition wire is the remaining wire that is not the constant power or dimmer.
While doing the second part of the test to find the dimmer wire, you will have noticed that the voltage reading when the probe is placed on one of the other (non-constant power) wires remains at the same level, even while dimming the light. In other words, the multimeter reading did not change while dimming.
This remaining wire is mostly likely to be the ignition wire.
When all three (constant power, dimmer, and ignition) are positively identified, you should mark them.
The rest of the wires, normally multicolored ones, go to different speakers in the car.
But if neither of the red wires is the ignition wire, you will have to check the remaining wires until you find one that gives a constant 12-volt reading (only while the car is switched on). That wire will then be the ignition wire, even if it has a different color.
Alternative Method: Using a Test Lamp
I said you could use a test lamp instead of a multimeter in case you don’t have a multimeter at hand.
The testing procedure is the same, but you can use a test lamp instead of a multimeter. The lamp must be capable of dimming, so you won’t be able to use one that doesn’t.
Use one wire of the test lamp as the ground and connect the other end to the wires to be tested, as if it is a multimeter probe.
The light should be fully on to show you have a 12-volt reading. The test lamp’s light should dim when testing the dimmer wire by dimming the headlights. This would indicate that it is getting less than 12 volts.
After ruling out the constant power wire, if the light does not dim, then that wire is the ignition wire.
Recommendation
Once you’ve identified which wire is which, I recommend you label them to make it easier when you need to work on the stereo wiring again.
Video References
Carpar Automotive
DajjaD
David Phipps
Manny Kyro
Quality Mobile Video