7 min read
How to Connect Bose Speaker to Regular Speakers Wire (With Photos)
Boss Lifestyle speakers are great for home theatre or stereo. They have pre-installed wires with a plug that should be connected to a Bose amplifier, or any other sound system. However, you may also connect your Bose speakers to a different stereo setup or attach them to a new receiving model. If you want to know how, well this guide is for you.
People often end-up guessing the connections which leads to poor sound output and damage. Today we have an experienced guest writer and friend, Eric Pierce – with 10 years of experience in home theater installations to help. Let’s get started.
Quick Summary: Connecting Bose speakers to regular speaker wires is easy.
- First, plug the Bose speaker into a compatible jack and strip the speaker wires off the insulation at the terminals (about ½ inch).
- Now connect one end of the red and black speaker wires to the positive and negative ports on the Bose speaker.
- Attach the other end to the receiver/amplifier.
- Finally, plug in your respective parts and turn on your receiver. Tune in and enjoy the music.
Connecting Bose Speaker to a Regular Speaker Wire – The Procedure
There are several methods that you can choose to connect the Bose speaker to a regular wire linking to an amplifier or receiver. The connection (binding the wires) will function normally with a 10-gauge receiver cable. Using bare wires or banana plugs allows the users to choose the wire length needed for the system.
The following steps will help you connect the Bose speaker to a regular speaker wire:
- Insert the Bose speaker plug into the compatible jack on the Bose speaker adapter.
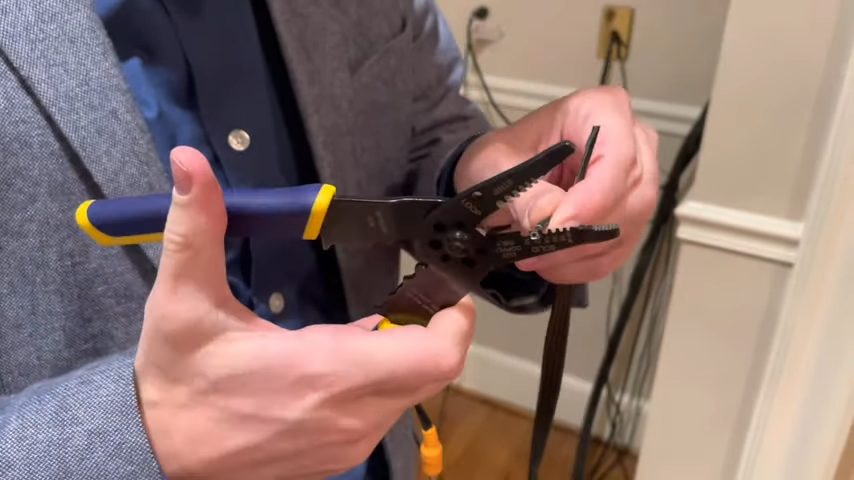
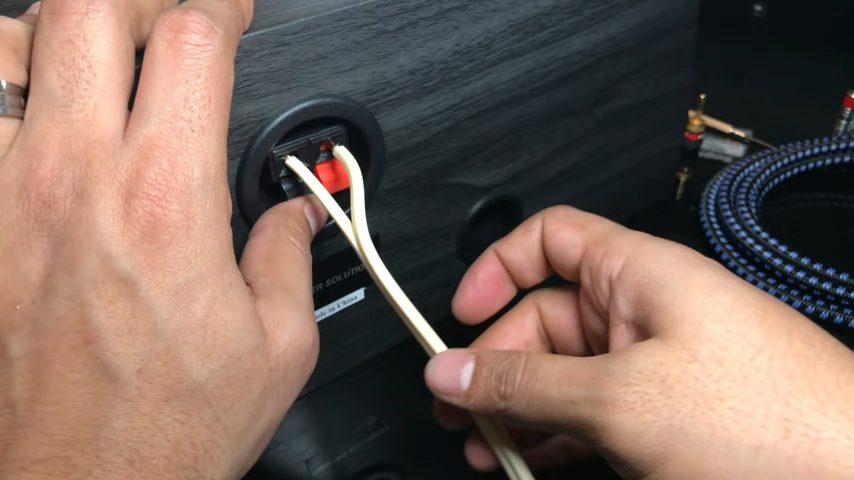
- Use a wire stripper to peel off ½ inch of the insulation coating of each two strands on one end of the speaker wire.
- Attach the red speaker wire into the red station cavity on the Bose speaker. Lift the red spring strap to expose the hole where you need to attach the wire.
- Connect the black wire to the black station on the Bose speaker. Attach it the same way you did the red speaker wire.
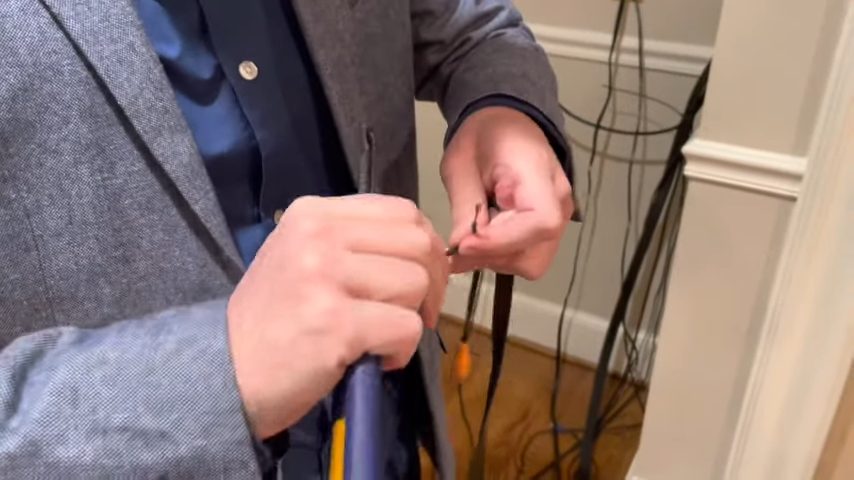
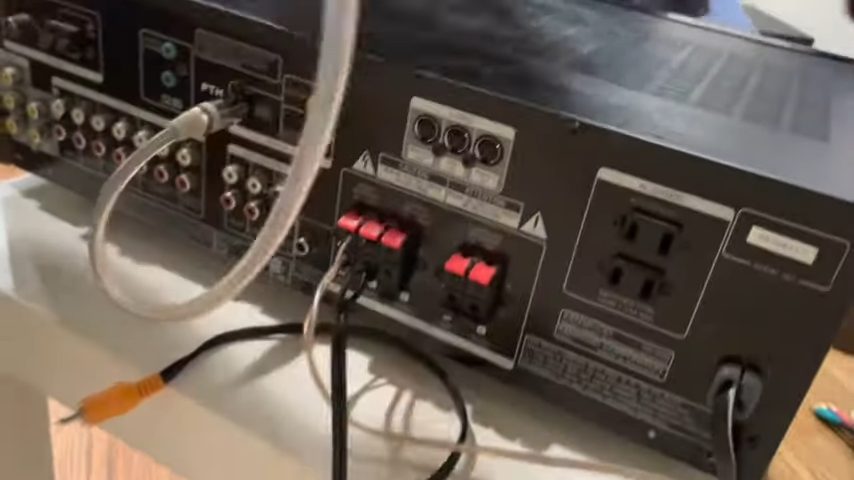
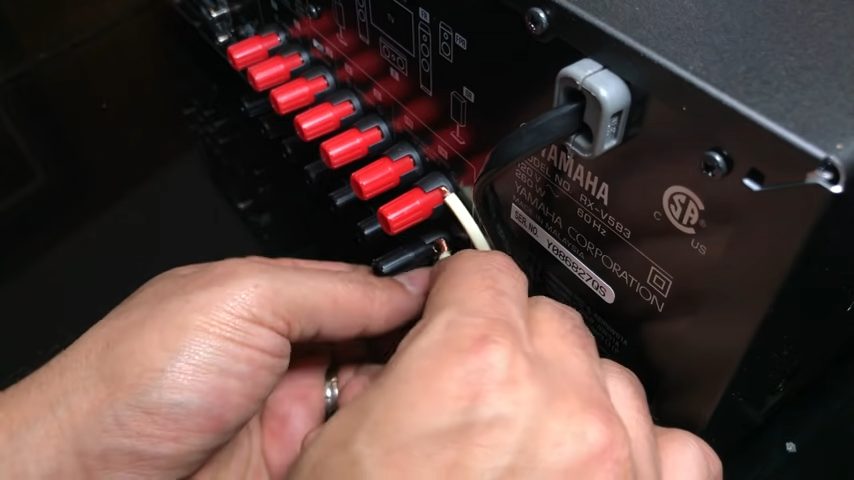
- Now focus on the other end of the speaker wire. Use the stripper to remove the insulation coating on both wire strands. Strip about ½ inch of the insulation. Go on and attach the naked strands to the series of ports behind the receiver.
At this point, turn on the receiver by switching the correct speaker switch on the speaker dashboard. Go ahead and trigger a pair of the wired Bose Speakers.
(For Bose Lifestyle speakers they are usually attached to the Speaker System 1 console. So, press the button/switch for that sound system. You may adjust the volume to the right levels on the dashboard.)
Bose 12-Gauge Speaker Wire Compatibility
The two-conductor audio wire is ideal for connecting sound systems directly to a receiver/amplifier. The oxygen-free copper wires (with high-strand count) have a polarity wire to distinguish positive or negative polarity tracking. That allows the subwoofer wire to be perfect for custom equipment.
Always use a 2-conductor audio wire with banana plugs, bent pin devices, and spade tips. The wire is usually wound around a hard spool. Measure out the length you need, cut, and store it properly.
You can also use strong and versatile PVC sealed jackets for home and automotive applications. It guides your stereo system to produce high-quality sound by eliminating distorted sound frequencies.
Splicing the pre-supplied audio wire from your Bose system in the central portion with another wire enables you to measure the length. I advise using a length of 50 feet to stretch out the existing wire.
Use a third-party wire with the right connectors. When using an AC2 device, attach the individual speakers to a wall-plate package to enable the outlet connection to a primary device. Such adapters are available at Bose.
How to Set Up Bose Lifestyle System Music Centre
Proceed as follows to set up your Bose Lifestyle system:
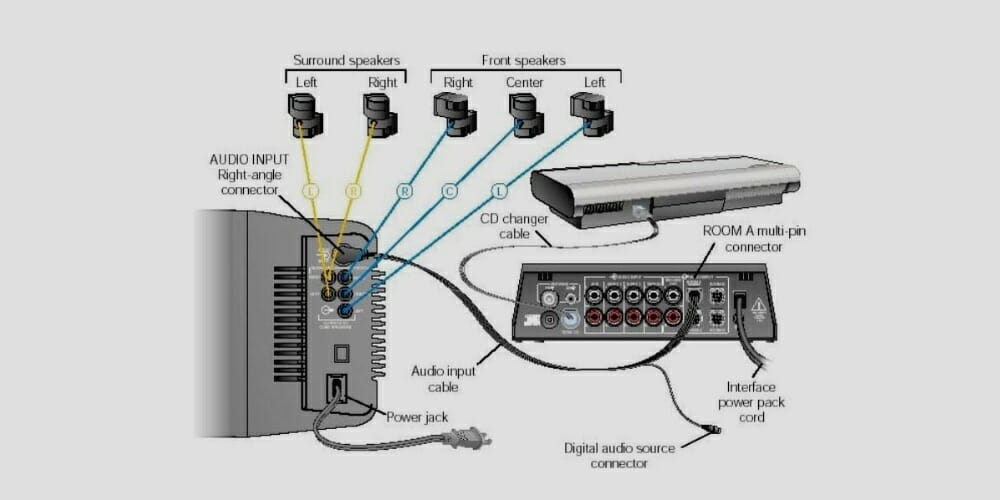
- Install the RCA connectors to fixed output cords at the Music Centre’s audio input wire. (1)
- Connect a 3.5 mm plug into the one-jack control systems.
- Now put the eight-pin tube inside the input jack on the Acoustimass device – located opposite the audio input connector.
Connecting the Speakers to the Regular Speaker Wires
Step 1: Decode the Wires
The blue cables are for the front speaker wires. Their plug housing is coded L, R, and C. Red collars are labeled LEFT, RIGHT, and CENTER on a positive wire.
The orange plugs have L and R formed into the control panel. The Left and Right are indicated by red collars on the positive wire. (2)
Step 2: Connect Each Speaker
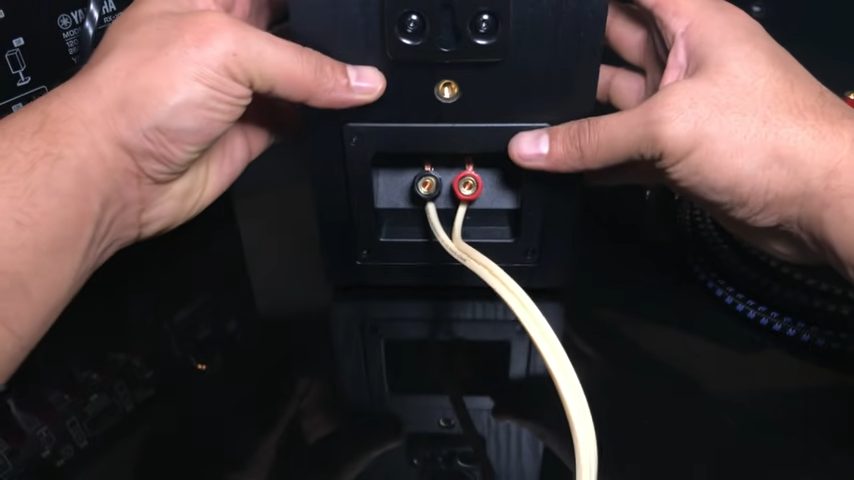
Attach the positive/red wire to the red port, and then the negative/black wire to the black terminal – connecting each speaker. Do not insert the cable sleeve into the node holes, only the naked terminals should be installed.
Step 3: Integrate the Right Speaker Wire
The right speaker wire should go to the Acoustimass device.
Connecting Bare Wires to the Speaker Wires
Set up the Bose Lifestyle Music Centre and then proceed as follows:
Step 1: Remove the Top Caps
The black and the red caps represent the negative and positive ports respectively. The caps support the binding posts; remove them to reveal the small holes.
Step 2: Connect Positive and Negative Connections to the Receiver/Amplifier
First, alter you’re bare speaker wires to produce a single wire element, and then insert each side of the cable into the cap’s free openings.
Now link the connection running to the positive post to the positive terminal on the receiver. Proceed to connect the negative post to the black ports on the receiver.
Step 3: Secure the Connection Line In Place
Make sure that the line is properly tightened up.
Take a look at some of our related articles below.
- How to strip speaker wire
- Is red wire positive or negative
- How to remove wire from push-in connector
References
(1) Music – https://www.britannica.com/art/music
(2) control panel – https://www.sciencedirect.com/topics/engineering/
control-panel
U Can Fix Anything
Techno Dad