3 min read
How to Change a Makita Drill Bit (4 Steps)
I’ll teach you how to change a Makita drill bit in this article.
As a handyman, I have used a Makita drill before and know how to change Makita drill bits. Makita drills are easy to operate. Drill bits usually wear over time depending on the frequency of usage and the type of materials they drill — most tough materials cause the drill bit to wear. You will have to switch the drill bit to improve output.
Quick Summary: Swapping drill bits on a Makita drill is easy:
- Put the Makita drill in reverse function or counter-clockwise by pushing the button switch in
- With the Makita drill in reverse mode, gently grab the front half of the chuck firmly and press the trigger
- Grab the new drill bit and insert the end portion into the chuck
- Tighten the chuck once the drill bit fits snugly in the chuck
To cover more detail in the sections below.
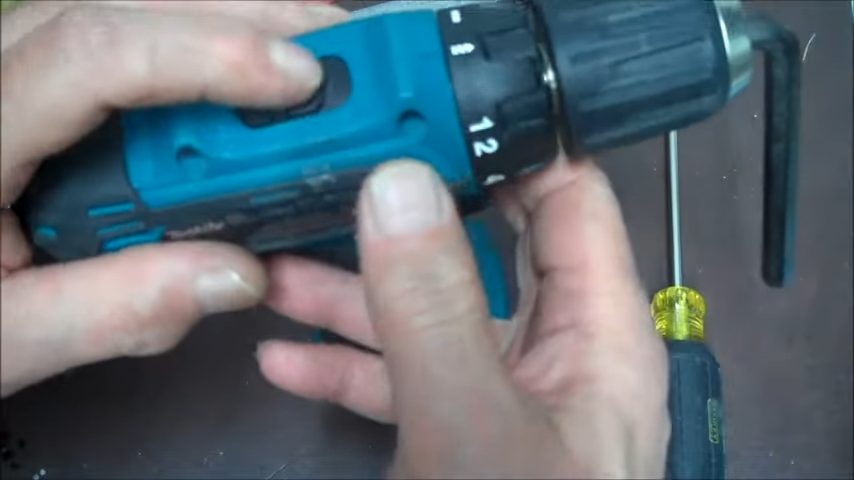
Step 1: Switch the Makita Drill Into the Counter-Clockwise Position
Before you switch the Makita drill into a counter-clockwise orientation, confirm the battery is attached well.
Makita cordless drill has a reverse and forward function that you can select by flipping a push-button switch.
Now, put the drill in reverse function or counter-clockwise by pushing the button switch — it should have an arrow pointing toward the back of the Makita drill or show a counter-clockwise circle.
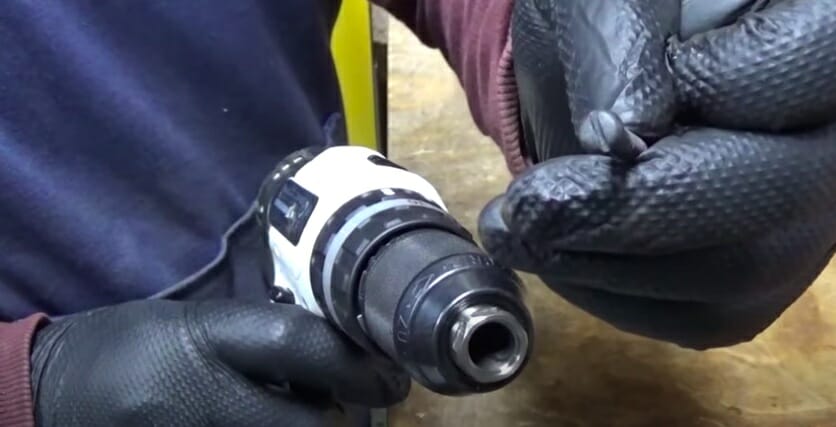
Step 2: Squeeze the Trigger
With the drill in reverse mode, gently grab the front half of the chuck firmly. Then, press the trigger on your Makita drill. The chuck will disengage. Now, you can freely extract the old drill bit.
Step 3: Install the New Drill Bit
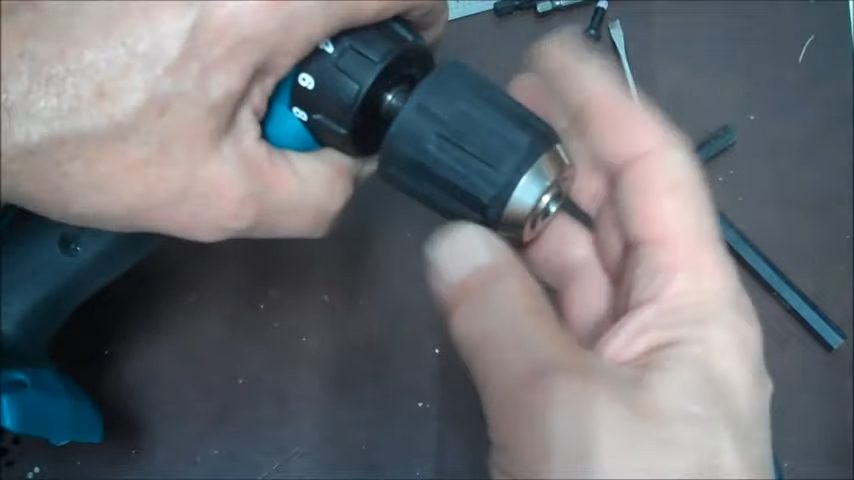
To insert the new drill bit, ensure the chuck is open enough. Now, revert to the push button switch and restore the forward or clockwise mode on the drill.
How to insert the new drill bit:
- Hold the drill bit sturdy at the center of the chuck
- Grab the new drill bit and insert the end portion into the chuck
- Grab the chuck firmly all the way through
- Press the trigger, and the chuck will start to close up
- Tighten the chuck once the drill bit fits snugly in the chuck
- Press the trigger again to ensure a firm hold
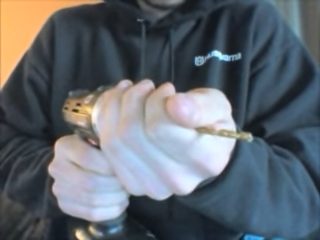
TIP. Ensuring the drill bit is visually centered in the chuck as it tightens is vital. Also, maintain a firm grip on the chuck all through the process.
References
Video References:
ShedTV
Fix It Yourself!
Garrett LaForce