11 min read
How to Remove a Milwaukee Drill Chuck
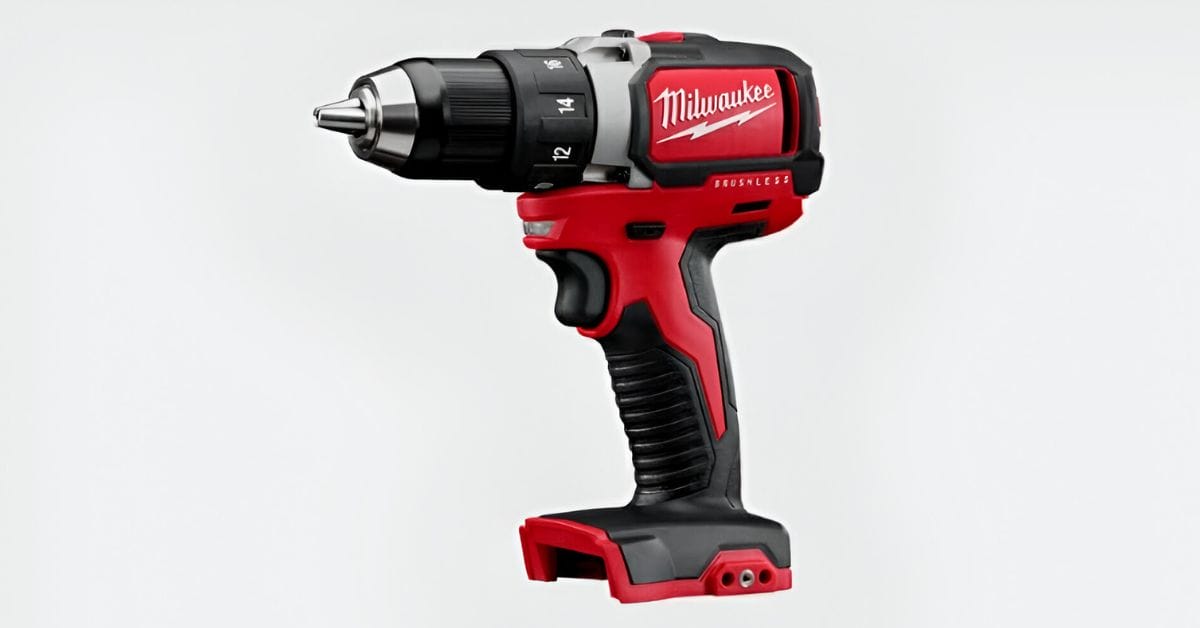
Hey there, fellow DIYers and tool enthusiasts! We’re tackling a task that might seem daunting initially but is a game-changer for your projects: removing a Milwaukee drill chuck.
Whether you’re dealing with a chuck that’s seen better days or just itching for an upgrade, I’m here to guide you through the process, step by step.
- Step 1: Pop out that battery or unplug it if it’s corded.
- Step 2: Crank that transmission low and flip the clutch to drilling mode.
- Step 3: Twist open that chuck and find the screw inside – remember, it’s a bit backward, so clockwise to loosen.
- Step 4: Grab your tool (Phillips, Torx, or Allen) and unscrew that quirky reverse-threaded buddy.
- Step 5: Wedge a hefty Allen wrench in there, give it a good tighten, and then a quick hammer tap.
- Step 6: Spin the new chuck onto the spindle, getting it nice and cozy by hand.
- Step 7: Throw open the chuck, slip the screw back in, and crank it counterclockwise.
I’ll be right here, walking you through each phase, ensuring you have the confidence and direction to get the job done. Ready to get started? Let’s do this!
Tools and Material
Giving your drill a fresh chuck is like giving it a whole new lease on life—it’s all about making those projects smoother and more efficient. So, here’s what we’re going to need to make this magic happen:
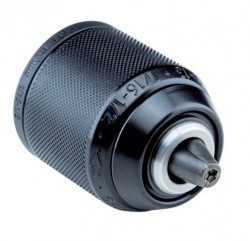
A New Drill Chuck
First off, you’re going to need a shiny new chuck. This little hero is the key player in our renovation show today. It’s the part of the drill getting the VIP treatment, so make sure you’ve got the right model that fits your drill like a glove.
Required Tools
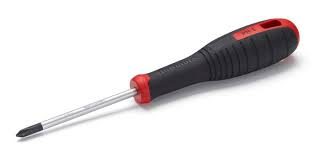
- Phillips Screwdriver: This classic tool is your trusty sidekick. It will help us dive into the drill and get that old chuck out.
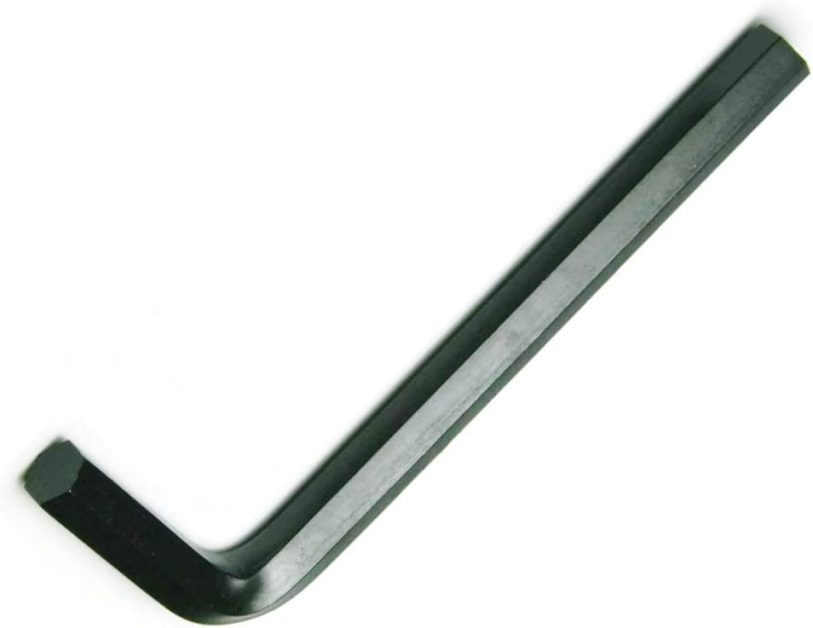
- Allen Wrench/Key: This little guy is crucial for the heavy lifting. We’ll use it to loosen the chuck and prepare it for its grand exit.
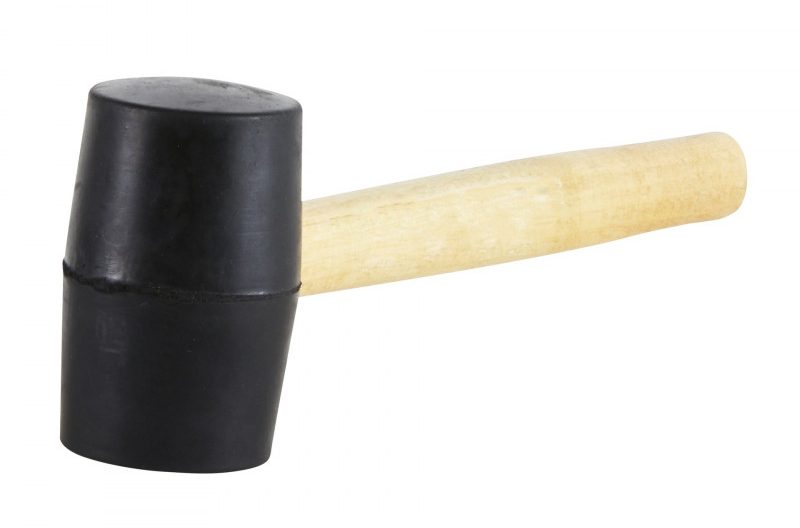
- Rubber Mallet: Sometimes, things need a little nudge—or, in this case, a gentle whack. Our rubber mallet is here to provide just the right amount of persuasion without causing a scene.
With these tools, we’re ready to roll up our sleeves and get to work. It’s about turning that drill from “well-loved” to “well, look at that!” Let’s get this drill makeover started!
Quick Guide to Replacing a Milwaukee Cordless Drill Chuck
Replacing the chuck on your Milwaukee cordless drill might seem daunting, but it’s a straightforward process that can breathe new life into your trusted tool.
Let’s dive into the 7 key steps to get this job done safely and effectively
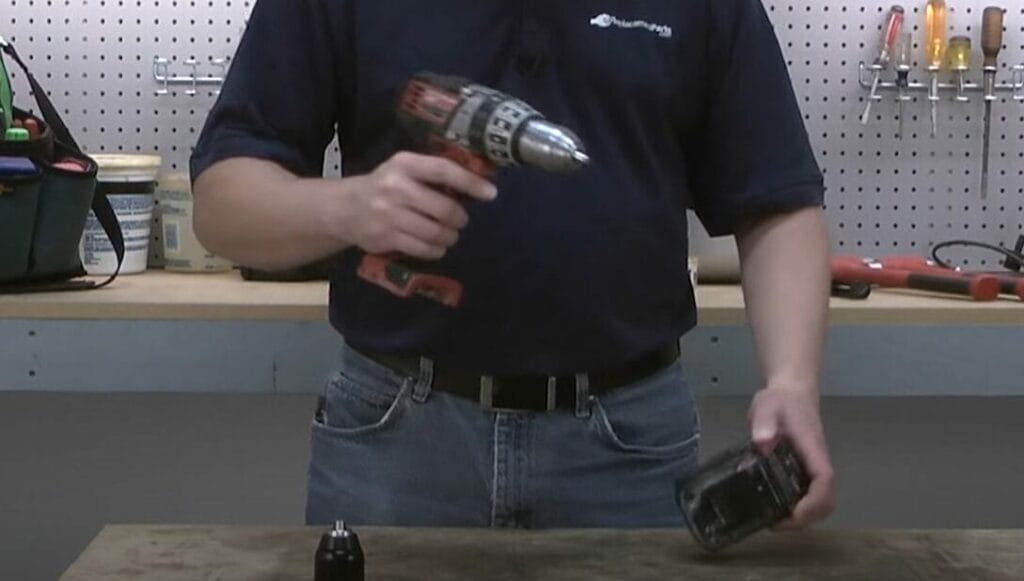
Step 1: Remove the Battery
If the Milwaukee drill that needs its chuck changed is cordless, first remove the battery. If it’s corded, then remove the plug.
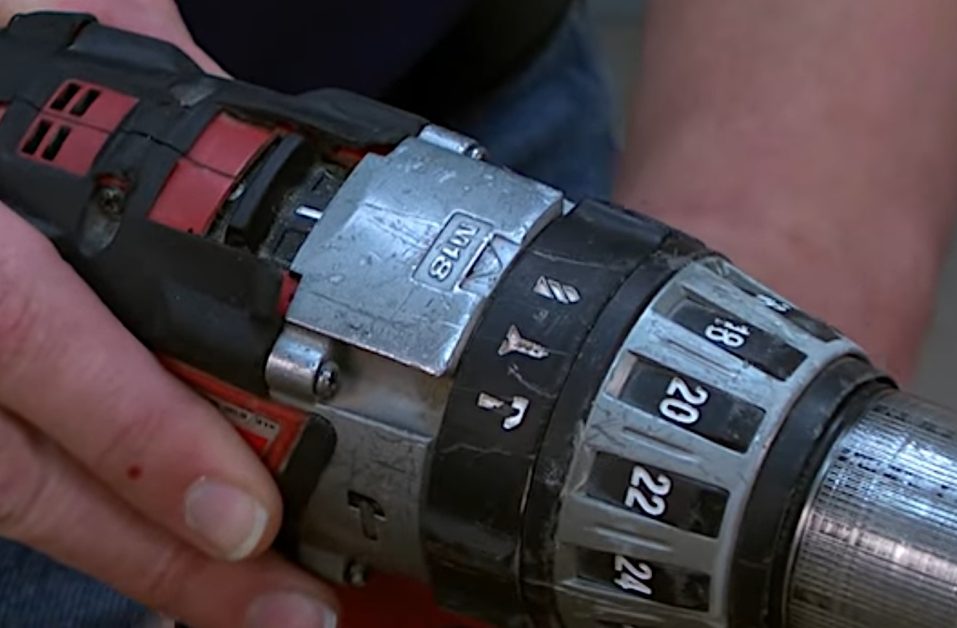
Step 2: Prepare the Drill
Set the transmission to low gear and adjust the clutch to drilling mode to stabilize the drill for the operation.
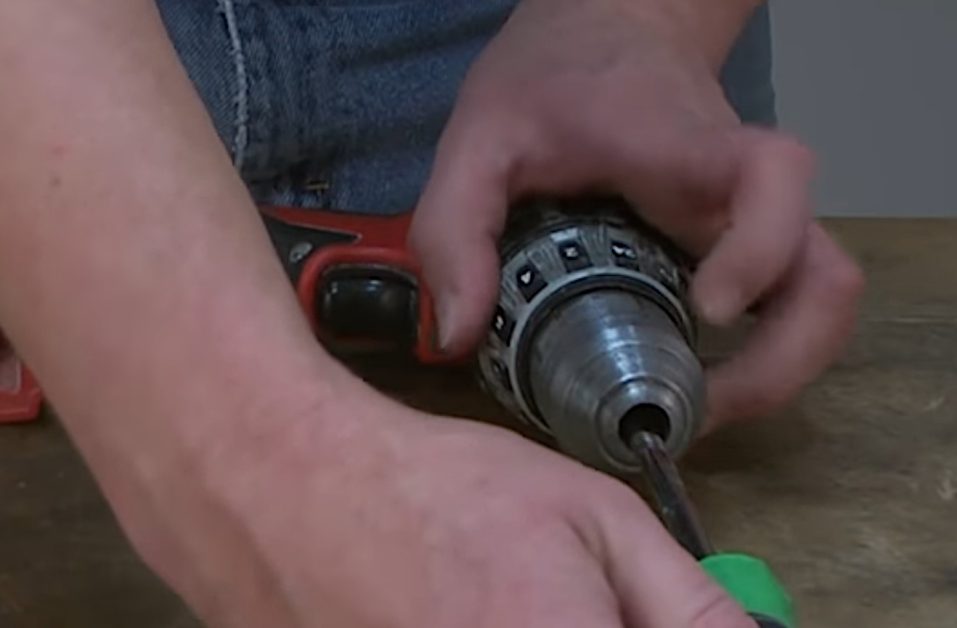
Step 3: Access the Chuck Screw
Open the chuck to reveal the screw inside. It’s reverse-threaded, so you’ll turn it clockwise to loosen.
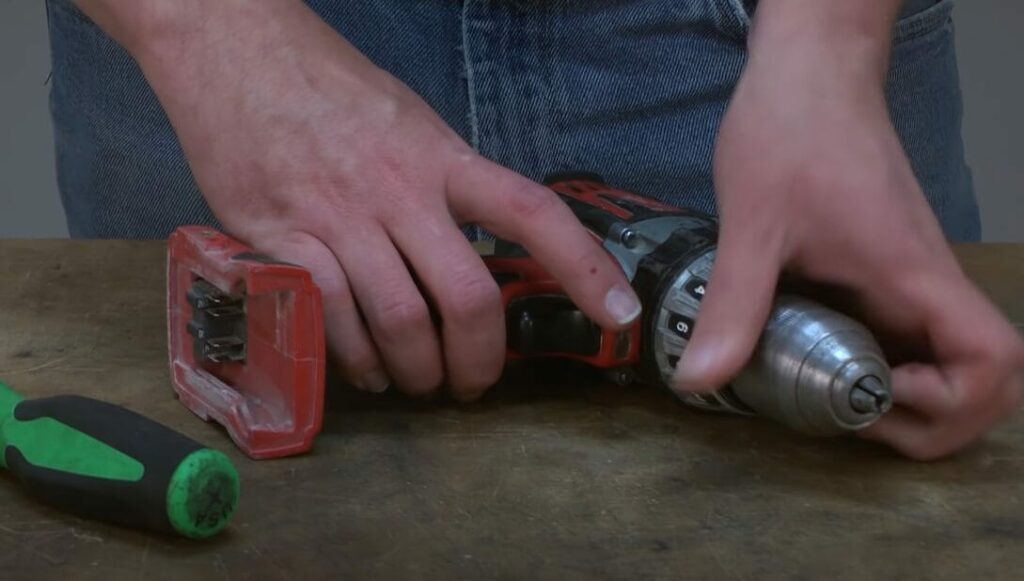
Step 4: Remove the Chuck Screw
Use the appropriate tool (Phillips screwdriver, Torx wrench, or Allen wrench) to remove the reverse-threaded screw inside the chuck.
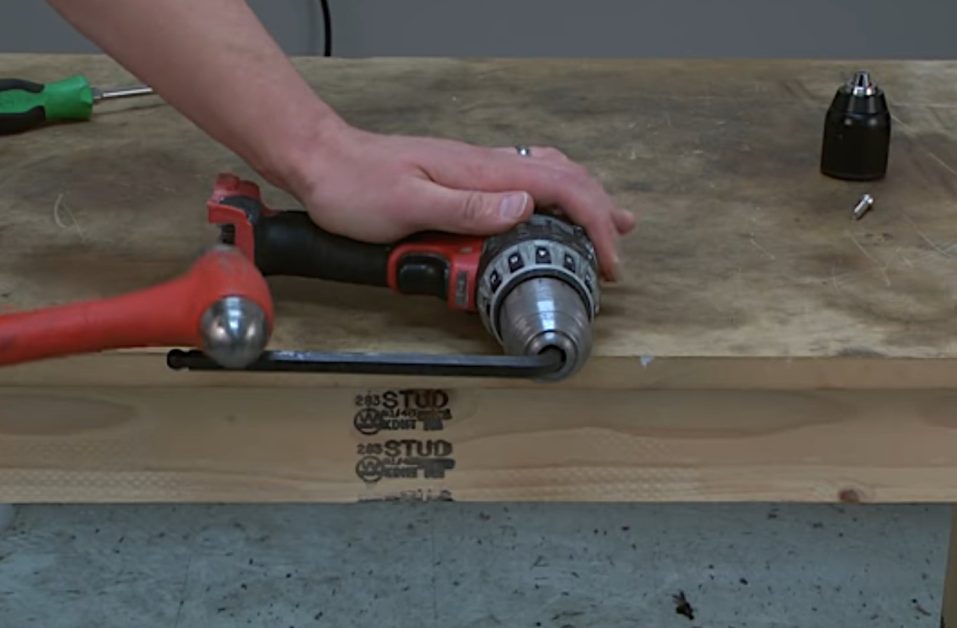
Step 5: Loosen the Old Chuck
Insert a large Allen wrench into the chuck and tighten it. Strike the Allen wrench with a hammer to loosen the chuck from the spindle.
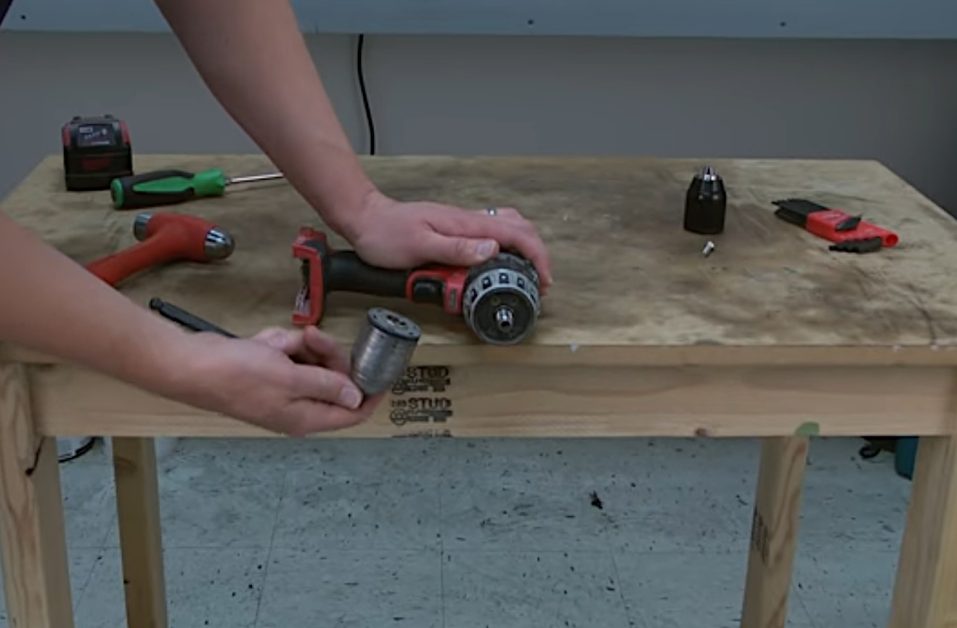
Step 6: Install the New Chuck
Thread the new chuck onto the spindle by hand, ensuring it’s snug and secure.
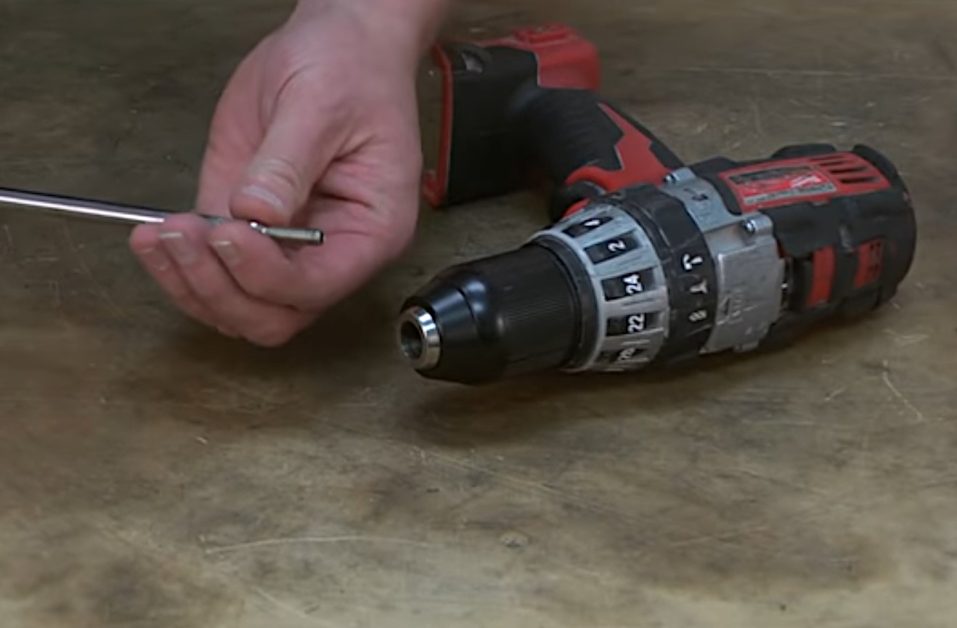
Step 7: Secure the New Chuck
Open the chuck, reinsert the reverse-threaded screw, and tighten it counterclockwise to secure the new chuck firmly.
This step-by-step guide simplifies the chuck replacement process on a Milwaukee cordless drill, ensuring that even those new to power tool maintenance can successfully complete the task.
RELATED How to Fix a Milwaukee Battery
Troubleshooting Tips for Removing a Drill Chuck
Tackling your own tool repairs can be incredibly rewarding, and I’m here to guide you through a common hiccup or two you might encounter when changing the chuck on your drill.
| Problem | Solution |
|---|---|
| Chuck Jams When Loosening | If the chuck jams as you try to loosen it, this might indicate debris or corrosion. Apply more penetrating oil and let it sit longer. Tapping the chuck lightly on the sides with a mallet can help dislodge debris. |
| Allen Wrench Slips | If your Allen wrench keeps slipping, ensure it’s the correct size. A wrench that is too small won’t provide enough grip. Consider wrapping the short end with a thin layer of duct tape to increase its diameter for a tighter fit. |
| Can’t Find the Chuck Screw | Some chucks may seem screwless at first glance. Open the chuck jaws fully; the screw might be deep inside. If it’s a model without a screw, the chuck might be threaded directly onto the spindle and will require direct unscrewing. |
| Chuck is Corroded onto the Spindle | Extreme corrosion can fuse the chuck to the spindle. After applying penetrating oil, you may need to heat the chuck slightly with a heat gun to expand the metal and break the corrosion’s grip. Proceed with caution to avoid overheating. |
With these extra tricks up your sleeve, even the most stubborn chuck won’t stand a chance. Remember, safety first—wear protective gear and work carefully to avoid injury or damage to your drill.
Drill Chuck Maintenance Guide
Keeping your chuck well-maintained isn’t just about extending its life; it’s about making sure your drill is always ready for action when you are.
Here’s how you can keep that chuck spinning smoothly, project after project:
Regular Cleaning Schedule
- After Every Use: Give it a quick wipe! Use a clean, dry cloth to remove debris or dust from the chuck’s exterior. This simple step prevents buildup and keeps things running smoothly.
- Monthly: It’s time for a deeper clean. Open the jaws wide and use a small brush (an old toothbrush works wonders) to scrub away any stubborn dirt or grime. A blast of compressed air can help dislodge particles from hard-to-reach places.
Lubrication Tips
- Every 3 Months: A drop or two of machine oil on the chuck’s moving parts can keep things moving like a dream. Please don’t overdo it; a little goes a long way. Open and close the chuck a few times to work the oil in evenly.
- Annually: Consider applying a thin layer of grease around the chuck’s body where it meets the drill. This helps prevent corrosion and ensures smooth operation.
Wear and Tear Checks
- Bi-Annually: Take a moment to inspect your chuck closely. Look for any signs of wear, such as rust, cracks, or areas where the metal seems to be wearing thin. Check that the jaws open and close evenly and smoothly. If you notice any irregularities, it might be time to consider another replacement to keep your drilling precise.
- As Needed: If your drill bit is slipping or the chuck is not holding as tightly, it’s time for an immediate check. This could be a sign of internal wear or needing adjustment or cleaning.
With these simple steps, you’re ensuring your drill is always ready to perform at its best, just like you. Keep on building, and remember, a well-maintained tool is a happy tool!
Frequently Asked Questions
- Does Changing The Chuck Affect My Drill’s Warranty?
- Always check your warranty first. Some manufacturers might have specific conditions, but you should be clear if you follow the guidelines and use compatible parts. When in doubt, a quick call to customer service is your best bet.
- What’s The Best Way To Dispose Of An Old Chuck?
- Think green and recycle. Metal recycling centers will gladly take your old chunks. Just give it a quick clean before dropping it off to help out the planet and keep your workspace clutter-free.
- How Do I Pick The Correct Chuck Size?
- Check your drill’s manual for the recommended chuck size, typically 1/2-inch or 3/8-inch. Compatibility is crucial, so ensure the new chuck matches your drill model for smooth operation.
- Can I Replace Chuck Myself?
- Absolutely! With the right tools and a bit of patience, you can handle this job. Just follow the steps carefully, and remember, it’s all about precision, not force.
- Will Any Chuck Fit My Drill?
- Not all chucks fit all drills. You must match the chuck to your drill’s model and specifications, including the size and thread pattern. Always refer to your drill’s manual or manufacturer’s recommendations for guidance.
- How Tight Should The New Chuck Be?
- When installing the new chuck, hand-tighten it as much as possible, then give it a final tighten with the Allen wrench. It should be secure but not overtightened, as this could damage the chuck or the drill.
- Does Replacing The Chuck Improve Drill Performance?
- Absolutely! A new chuck can improve the precision of your drilling, provide a better grip on drill bits, and generally make your drilling tasks smoother and more efficient.
References
Organizations:
- Milwaukee Tool. https://www.milwaukeetool.com/
- Power Tool Institute. https://www.powertoolinstitute.com/
Books:
- “The Complete Guide to Home Carpentry: Carpentry Skills & Projects for Homeowners” by Editors of Creative Publishing. https://www.buildersbook.com/the-complete-guide-to-home-carpentry.html
- “Tools: A Complete Illustrated Encyclopedia” by Garrett Wade. https://www.abebooks.com/first-edition/Tools-Complete-Illustrated-Encyclopedia-Garrett-Wade/301705624/bd
Website Resources:
- eReplacementParts.com. http://ereplacementparts.com/
- Instructables (Workshop section). https://www.instructables.com/workshop/
Video References:
FIX Tech Guides