9 min read
How to Charge a Milwaukee M18 Battery without a Charger
If you’ve damaged, misplaced, or lost your Milwaukee M18 battery charger, you might be wondering how to charge the battery.
Don’t worry; you’re not stuck with a useless cordless Milwaukee M18 drill without its charger. There are other ways you can charge its battery, too. If the battery is in good condition, recharge it and resume using the drill. But how you might ask?
You can charge a Milwaukee M18 battery without the official charger using a universal battery charger or adapter that can provide 18-20V DC output. However, the best way to charge it is by using an 18-20V laptop charger. Alternatively, you can charge it using 12 or 13 regular AA batteries connected in series by replacing it with another drill battery or a solar panel.
I’ll describe these 5 different options available to you below.
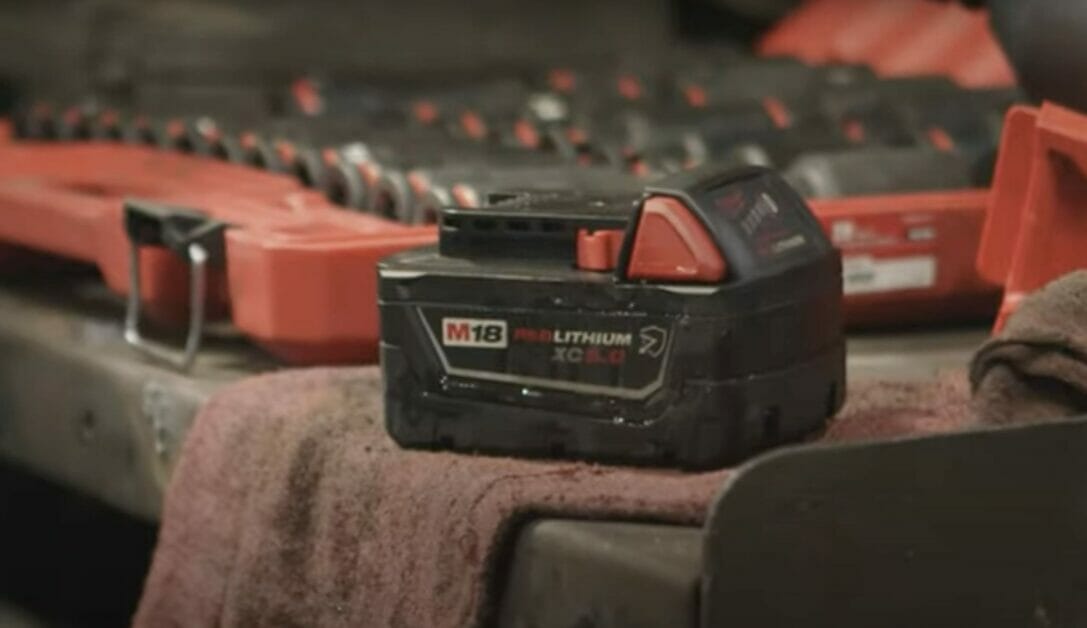
The Milwaukee M18 Battery
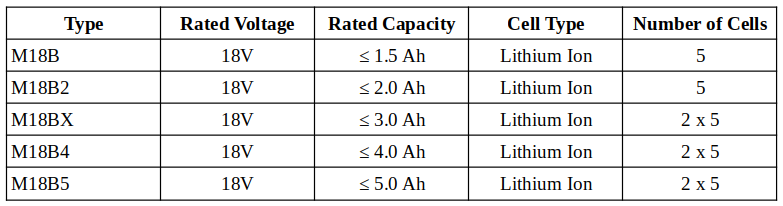
The Milwaukee M18 battery comes in 5 types.
They are all lithium-ion batteries with the same rated voltage of 18V but with different cells and capacities (see the table below).
Regardless of the specific type of M18 series battery in your Milwaukee drill, you can apply any of the options for charging it, which I will list and describe next.
RELATED Solar Panel Testing (3 Methods)
Options for Charging a Milwaukee M18 Battery
You have the following 5 options for recharging your Milwaukee M18 battery:
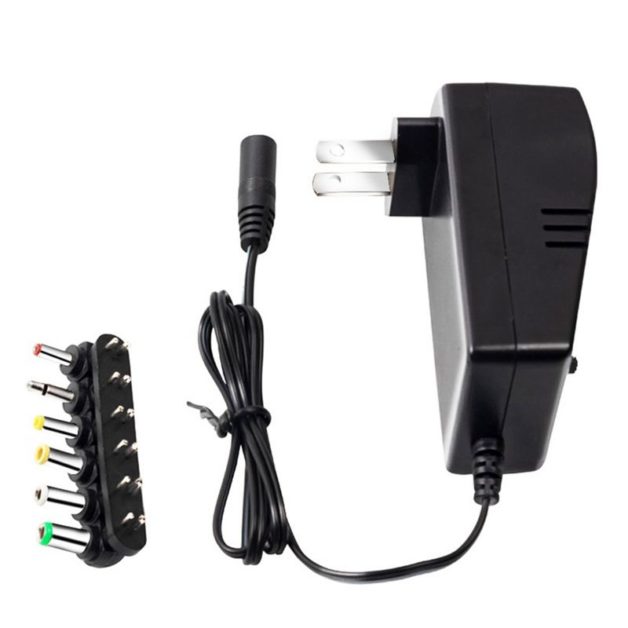
- Use a universal battery charger or adapter.
- Use an 18-20V laptop charger. (Recommended)
- Combine 12 regular AA batteries
- Replace it with another drill battery.
- Use a solar panel.
Option 1: Universal Battery Charger
Universal battery chargers or adapters can charge various batteries.
You can usually adjust the output voltage from 3V to 24V. Set it within the range of 18-20V. It might also have a built-in multiple safety protection system and a host of connectors.
As long as this voltage range (18-20V) is available, you can use it to charge the Milwaukee M18 battery.
Option 2: 18-20V Laptop Charger (Recommended)
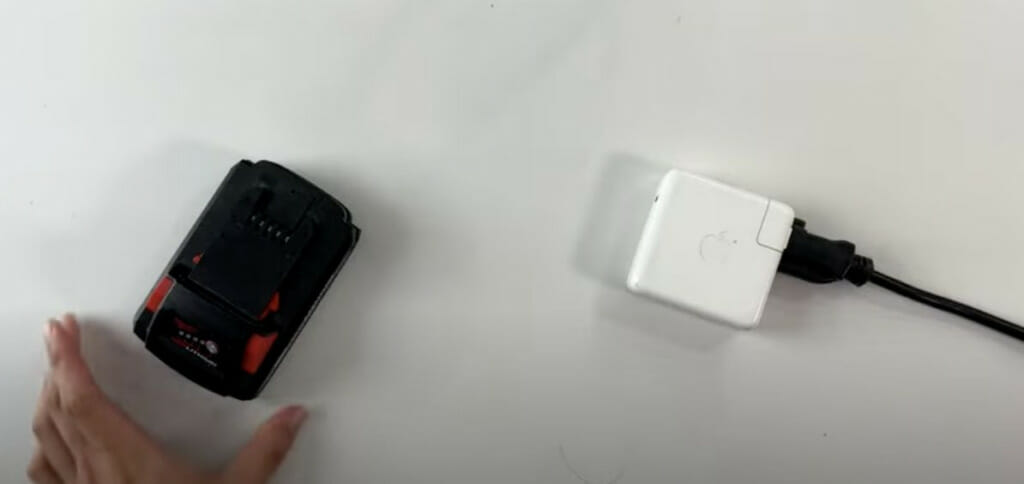
Many laptop chargers are rated for 18-20V, making them suitable for charging an 18V Milwaukee battery.
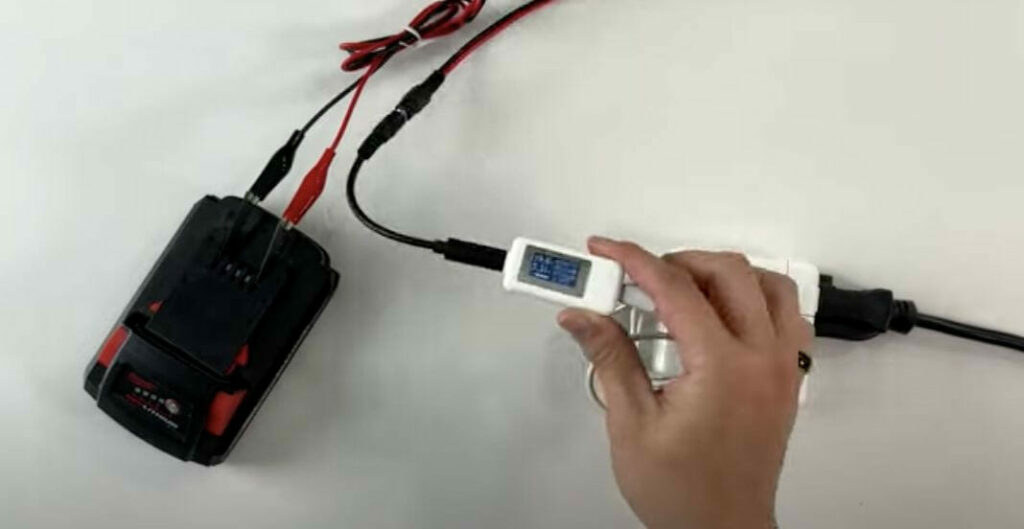
Check the output voltage on the laptop charger before connecting it. It must be within the range of 18V to 20V. If confirmed, you can simply cut the cable (with the charger NOT plugged in) and connect the wires directly to Milwaukee’s battery.
Here’s an expanded guide on how to charge your Milwaukee M18 battery using a laptop charger:
Equipment Needed
- Laptop Charger: This needs to be within the range of 18V to 20V, as the Milwaukee M18 battery requires this voltage to charge properly.
- Wire Stripper/Cutter: This is necessary for stripping and cutting the laptop charger cable.
- Soldering Iron & Solder: Required if you plan on permanently connecting the laptop charger to the battery.
- Heat Shrink Tubing or Electrical Tape: For insulating the soldered connections.
- Female Connector: This should match the connector on your laptop charger. You’ll need this if you’re going to solder a permanent connection.
Procedure
- Check the Voltage: The first step is to ensure that your laptop charger output voltage is suitable. It should ideally be within the 18V-20V range to safely charge the Milwaukee M18 battery.
- Prepare the Charger Cable: Unplug the charger from the wall socket and the laptop. Using a wire cutter, cut off the end of the laptop charger that usually plugs into the laptop. You should now have a charger with a cable that ends in two wires.
- Strip the Wires: You need to expose the inner conductors of the charger cable. Using a wire stripper, carefully strip about half an inch of the outer insulation from each wire. Be careful not to damage the inner wires. Typically, one wire will be positive, and the other will be negative. They are usually color-coded (red for positive, black for negative), but this can vary. If unsure, you can check with a multimeter.
- Direct Connection: If you’re looking for a quick and temporary solution, you can directly connect the stripped wires to the corresponding terminals on the Milwaukee battery. Make sure to match the polarities: positive to positive (red to +) and negative to negative (black to -). Be aware that this connection might be unstable and could easily disconnect.
- Soldering for a Permanent Connection: If you want a more permanent setup, you can solder a female connector to the battery’s terminals. This female connector should match the one on your laptop charger. Start by soldering the positive wire from the connector to the positive terminal on the battery. Then, do the same for the negative wire.
- Insulation: After soldering, it’s crucial to insulate the exposed wires. Slide a piece of heat shrink tubing over the soldered connections and apply heat to shrink it into place. Electrical tape can also be used if you don’t have heat-shrink tubing.
- Charging the Battery: Now, you can plug the modified laptop charger into your Milwaukee M18 battery and then plug the charger into the wall socket.
I recommend this option as the best way to charge your Milwaukee M18 battery without its charger.
Option 3: 12 Regular AA Batteries
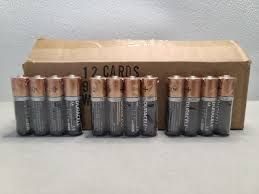
You can connect 12 regular AA batteries in series to provide 18V.
This is a slow, inefficient, and expensive method, but it will work nonetheless. If you choose to apply it, I recommend connecting an extra 13th battery in series to provide 19.5V, although the slowness and inefficiency will be the same.
If you have this many spare AA batteries, go for it.
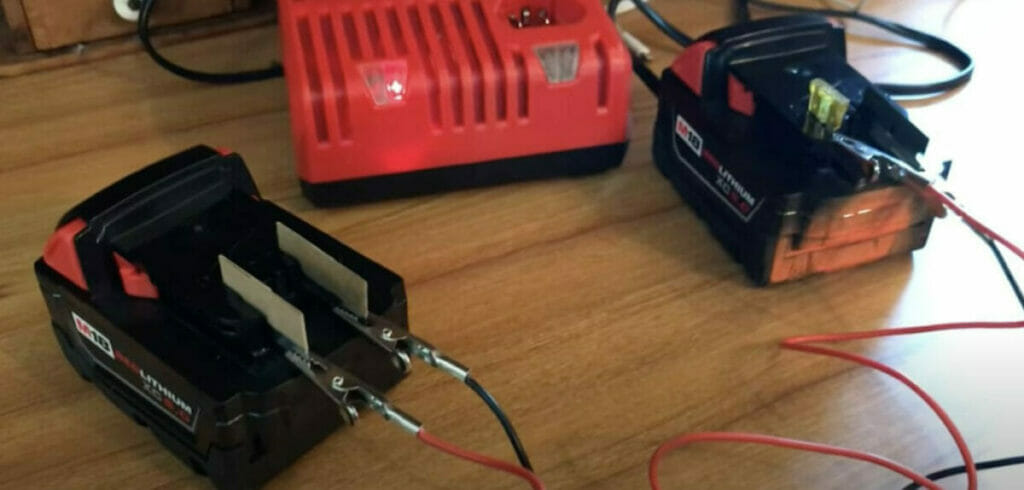
Option 4: Another Drill Battery
If you have 2 Milwaukee M18 drills, just use the battery from the other one (or its charger). Or, you can buy or borrow another drill battery instead.
Alternatively, you can use the second battery to charge the first, i.e., jump charge. The procedure is simple. Remember to connect only like terminals, i.e., positive with positive and negative with negative.
Option 5: Solar Panel
Charging a Milwaukee M18 battery, or any other power tool battery, with a solar panel requires a few steps and equipment pieces to do so safely. Here’s a simple guide:
Equipment Needed
- Solar Panel: A solar panel with an output voltage of around 18V to 24V. The panel’s wattage will determine how fast you can charge the battery, but remember that higher-wattage panels are also larger and more expensive.
- Solar Charge Controller: A charge controller regulates the voltage and current from the solar panels and ensures the battery isn’t overcharged.
- AC Inverter: The Milwaukee M18 battery charger is designed to run on standard AC power, so you’ll need an inverter to convert the DC power from the solar panel to AC power. Make sure the inverter can handle the wattage of the Milwaukee charger.
- Battery: This could be a deep cycle battery to store the energy from the solar panel and provide a steady output to the inverter. However, this is unnecessary if you only plan to charge the Milwaukee battery while the sun shines.
Steps
- Connect the solar panel to the solar charge controller.
- Connect the charge controller to the battery (if you’re using one).
- Connect the AC inverter to the battery or the charge controller if no battery is used.
- Plug the Milwaukee M18 battery charger into the AC inverter.
- Insert the Milwaukee M18 battery into the charger.
Always follow the manufacturer’s instructions when connecting and setting up solar panels, charge controllers, inverters, and batteries. Solar energy systems involve high voltages and currents, which can be dangerous if incorrectly handled.
Also, please note that charging efficiency can vary based on the intensity of the sunlight, the angle of the panel, the capacity of your solar panel, and the overall efficiency of your setup. Depending on these factors, the whole process could take several hours to a day.
RELATED How to Fix a Milwaukee Battery
References
Connect 12 AA batteries in series to provide 18V. https://www.ebay.com/itm/185544906688
Universal Adapter. https://www.daraz.pk/products/multi-voltage-3vdc-adaptor-adjustable-power-adapter-universal-charger-supply-converter-cable-6-plugs-us-plug-i213691992.html
Video References
Milwaukee Tool
S&M Lock & Key
Sunny Days