9 min read
5 Easy Ways to Find a Wall Stud Without Special Tools (Guide)
Have you ever tackled a home project and realized you’re missing a crucial tool? I’ve been there. Specifically, I’m talking about the stud finder, a handy device for interior construction projects.
Not everyone has one, and it’s not always worth buying for a one-time use. So, what do you do when you need to locate a stud in your wall, but a trip to the hardware store isn’t on the cards? Here’s the low down:
🧲 The Magnet Hack: Locate studs with magnetic precision.
🔦 The Flashlight Hack: Illuminate studs for easy spotting.
🔨 The Finishing Nail Hack: Tap and find studs effortlessly.
📏 The Tape Measure Hack: Measure and detect studs with accuracy.
🚪 The Knocking Hack: Knock to uncover hidden studs.
In this article, I’ll share some savvy tips and tricks to find a wall stud without using a stud finder.
1. The Magnet Hack
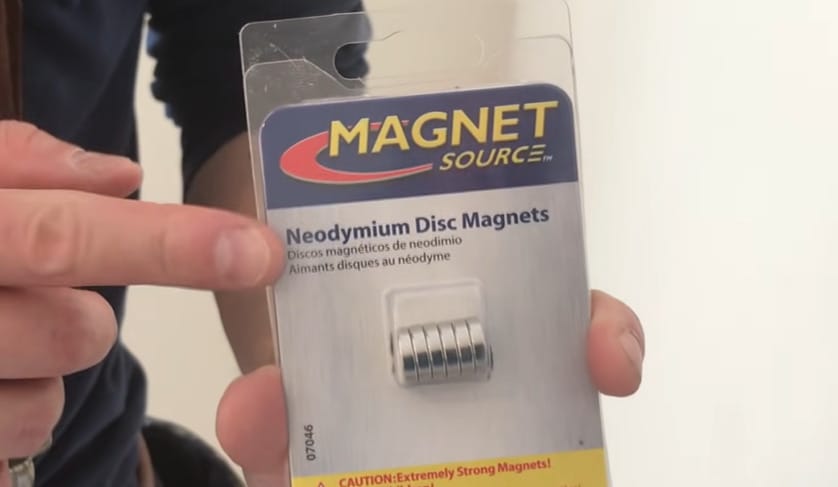
Going deeper into non-electronic, budget-friendly methods, there’s an increasingly popular approach termed The Magnet Hack.
This method is ingenious and straightforward. It uses small yet potent magnets, like neodymium magnets, easily available online. Aside from revealing hidden studs, these magnets serve a dual purpose – they’re great for hanging art on the refrigerator while not in use.
The primary purpose of these magnets in this context is to latch onto drywall screws, which are always driven into studs. When a magnet secures itself against the wall, you’ve got a stud beneath it.
The process is as follows:
- Step 1: Get your magnet and cover it with tape or paper – the goal is to avoid wall markings.
- Step 2: Position the magnet on the wall approximately where the stud might be.
- Step 3: Move it vertically and laterally on the wall’s surface.
The attraction between the magnet and the drywall screw will cause the magnet to stick, marking the location of the stud. A side tip, though: be patient. It requires a certain kind of stealth movement and could be time-consuming.
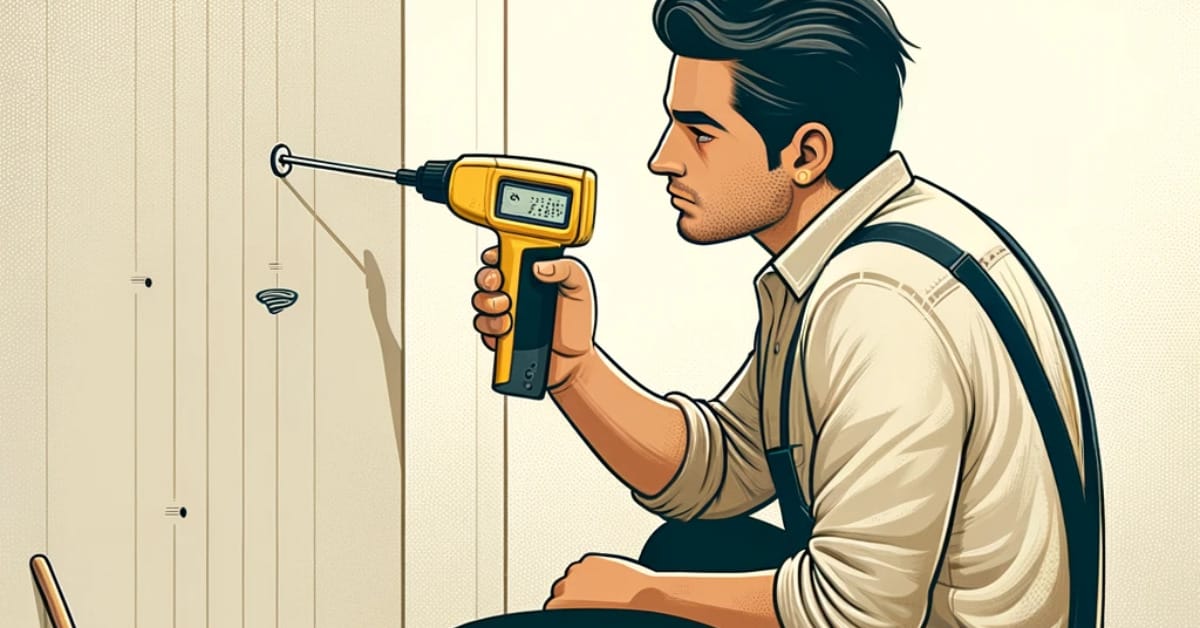
2. The Flashlight Hack

Here’s a trick I’m sure many of you haven’t tried yet: The Flashlight Hack. Let’s face it: our phones are practically glued to our hands these days, so why not put them to good use?
This method might seem out there, but trust me, it works. You must grab a flashlight or phone, turn off the room lights, and glow the flashlight across the wall.
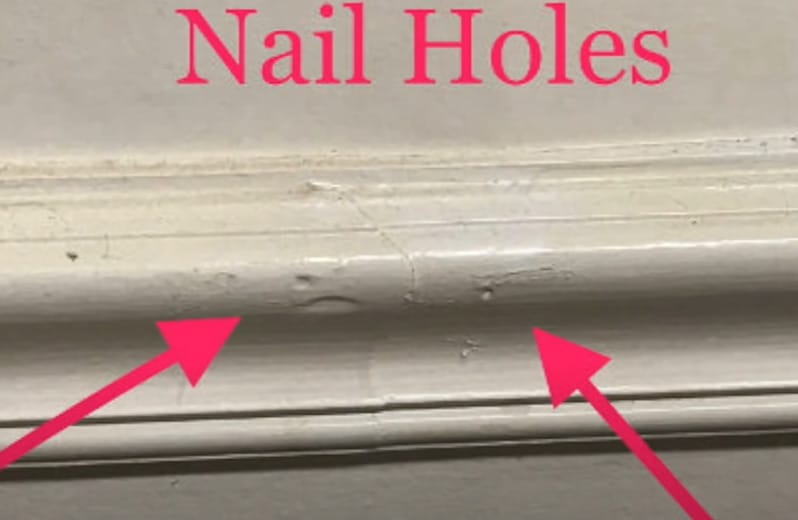
Your flashlight will reveal hidden treasures on the wall, screw heads filled with joint compounds that are seemingly invisible under normal conditions.
Want to be doubly sure? Look for small circular dips on the wall surface. These dips often betray the presence of drywall screws, indicating the placement of the stud.
3. The Finishing Nail Hack
Here’s an interesting trick: for a larger object you’re planning to mount, it’s far more likely that a few tiny holes in your drywall will be completely out of sight once the object has taken place. If that’s the case, you’re in luck! This method involves a small hammer and a finishing nail.
When you tap a finishing nail into drywall – right where you think a stud should be, you feel a noticeable resistance if you’ve hit the stud. Did you miss the stud?
Easy, you’ve pushed the nail through the drywall effortlessly. It’s a simple yet ingenious technique to locate those elusive studs on your wall.
Don’t sweat it if you didn’t succeed on the first attempt. Pull the nail out, then give it another go, about an inch to the left or right. You’ll feel the satisfying ‘thump’ of hitting a stud sooner or later.
Avoid creating unwanted holes at eye level, though. Try this trick around the baseboards. Trust me, it wouldn’t draw unwanted attention even if you’ve missed patching up a hole or two.
4. The Tape Measure Hack
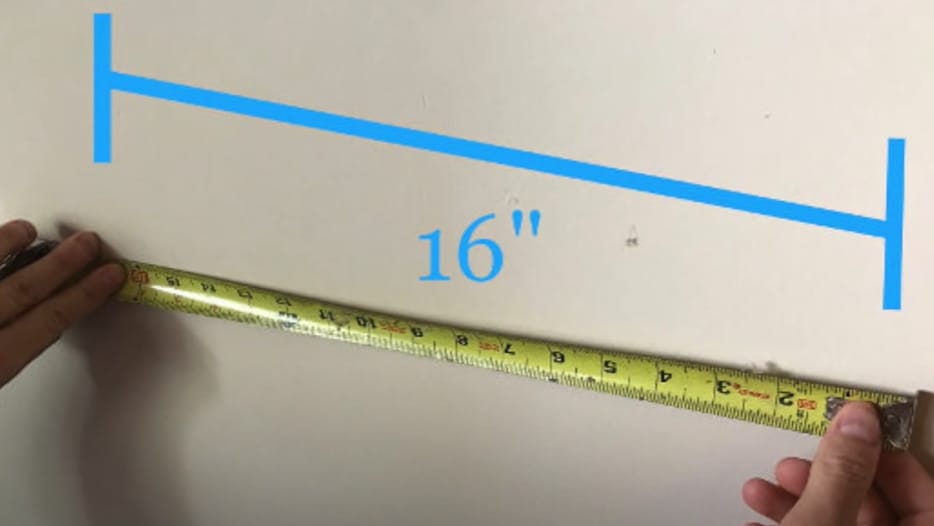
Studs are typically spaced about 16 inches apart, center to center. So here’s a trick: start measuring from a corner of your room.
Also, corners are almost always a sure bet for finding a stud. It’s a structural necessity for framing. So, if you start at a corner and measure 16 inches (or sometimes 24 inches, depending on the build), you’re likely to hit another stud.
Remember that not all rooms are perfectly divided by 16, meaning you might find a stud less than 16 inches from a corner.
Remember, this trick has its best shot if you’re working with an exterior corner of your house. It’s worth trying before you start making a bunch of test holes in your walls, wondering about the mysterious spacing of your studs.
5. The Knocking Hack
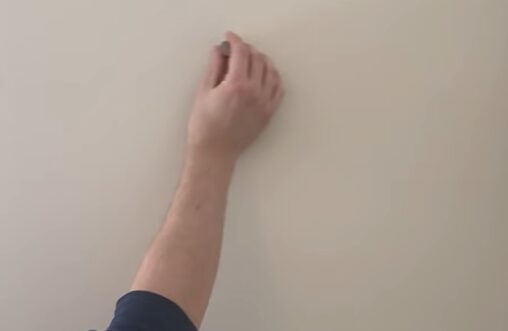
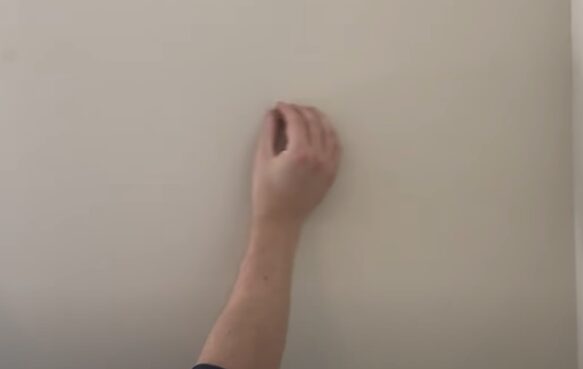
Diving further into the world of stud-finding hacks, let me introduce the evergreen knocking trick. It’s one of those age-old methods with a simplicity that sends modern technology running for its money.
Remember how the phrase goes – simplicity is the ultimate sophistication? Well, it’s particularly true in this case. You can effectively locate a wall stud by merely knocking on the wall and using your sense of hearing.
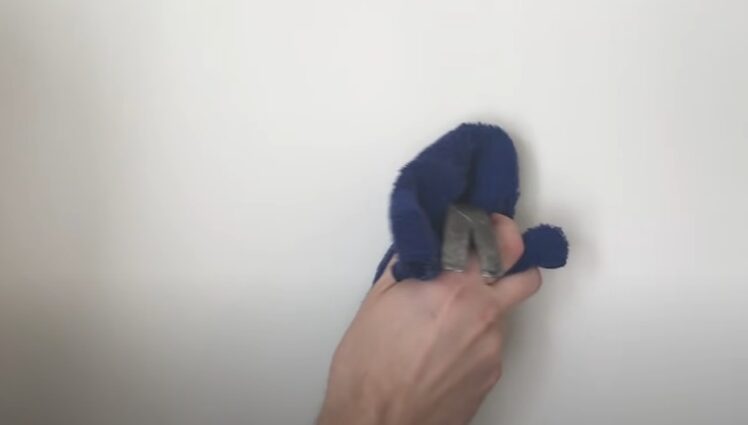
Starting from where you suspect a stud, put your ear against the wall and gently tap at the surface. You can use a hammer wrapped in a towel to knock on your wall safely.
Gradually move towards the side, knocking as you proceed. If you knock anywhere except a stud, you’ll hear a hollow sound that echoes slightly.
The moment you hit a stud, the song changes – it’s no longer a hollow echo but a solid sound. If it still sounds hollow, move half an inch left or right and knock again. Continue this until the echoes turn solid – bingo! You’ve landed on a stud.
Troubleshooting Common Stud-Finding Hacks
Diving into DIY can sometimes mean hitting a few snags, especially when playing detective with those elusive wall studs. But don’t sweat it!
I’ve compiled a handy table to troubleshoot some common hiccups you might encounter while using these stud-finding hacks. These tips will help you smooth out those little bumps in the road so you can return to the fun part – transforming your space!
| Issue/Mistake | Solution & Tips |
|---|---|
| Magnet Not Sticking | Ensure you’re using a strong enough magnet. Neodymium magnets are ideal. Slow down and move the magnet in a grid pattern for better chances of finding a screw. |
| Inconsistent Results with Flashlight | Ensure the room is dark enough for the shadows to show up clearly. Use a bright flashlight and shine it at a shallow angle. |
| Nail Hack Causing Wall Damage | Use the smallest nail possible, and aim for less visible areas like near baseboards. If you’re repeatedly missing studs, reassess your starting point. |
| Misjudging Sounds in Knock Test | Practice knocking on known studs and hollow areas to familiarize yourself with the sound difference. Remember, studs sound more solid and less echoey. |
| Difficulty with Tape Measure Method | Double-check from multiple starting points for accuracy. Remember, the 16-inch rule might not always apply, especially near doors or windows. |
Remember, these hacks may require a bit of practice and patience, but they can save you a trip to the store and make your DIY projects a lot smoother. Keep at it, and you’ll get the hang of it!
Frequently Asked Questions
- What If My Magnet Trick Isn’t Working?
- Sometimes, the magnet may not stick due to paint thickness or non-metallic elements.
- Can I Use Any Flashlight for the Flashlight Hack?
- Yes, but brighter flashlights work best. Your smartphone’s flashlight can work in a pinch, but a dedicated, brighter flashlight is more effective.
- How Do I Avoid Wall Damage with the Nail Hack?
- Start with a small, thin nail and tap gently. If you’re off-target, fill the tiny hole with spackling paste. Also, try this near the baseboard, where small mistakes are less noticeable.
- Is the Tape Measure Method Reliable for All Walls?
- It’s a good starting point, but remember, the 16-inch rule might vary, especially in homes with custom or non-standard construction.
- Are There Any Risks with These Hacks?
- The biggest risk is minor wall damage, like small nail holes, which are easily fixable. Always proceed with caution and patience to minimize any potential damage.
- What Should I Do if I Still Can’t Find a Stud?
- If these methods don’t work, consider investing in an inexpensive stud finder or consult with a professional, especially for larger projects.
References
Organizations:
- National Association of Home Builders (NAHB). https://www.nahb.org/
Books:
- “Black & Decker The Complete Guide to Walls & Ceilings. https://www.abebooks.com/9781591866459/Black-Decker-Complete-Guide-Walls-1591866456/plp
- “Drywall: Professional Techniques for Great Results” by Myron R. Ferguson. https://www.buildersbook.com/drywall-professional-techniques-for-great-results-4th-edition.html
- “The Complete Guide to Home Carpentry” by Creative Publishing International. https://www.thriftbooks.com/w/the-complete-guide-to-home-carpentry–carpentry-skills–projects-for-homeowners-black–decker-home-improvement-library_creative-publishing-international/259147/
Website Resources:
- Family Handyman Website. https://www.familyhandyman.com/
- This Old House. https://www.thisoldhouse.com/walls/21015220/how-to-find-a-wall-stud
Video References:
The Honest Carpenter