8 min read
How to Put Batteries in a Flashlight (3 Methods)
It’s normally easy to put or change batteries in a flashlight, but not every flashlight is the same.
The process is quite easy with most flashlights, but you might find one where it’s not so straightforward and requires more effort. Once you’ve read this article, you can put batteries into flashlights no matter what model it is or how different it is to accomplish the task.
I cover several flashlights and methods below.
Flashlights and Battery-Changing Methods
I found that flashlights generally fall into at least 3 different types when it comes to where the battery compartments are accessed and 5 types of methods of putting new ones in.
They are:
- Remove the end (or tail) cap by twisting, pressing, or unscrewing it.
- Remove the head by twisting it.
- Open the body by removing the screws.
The first type (A) is the most common. Its structure is typically like the following one taken from a flashlight manual:
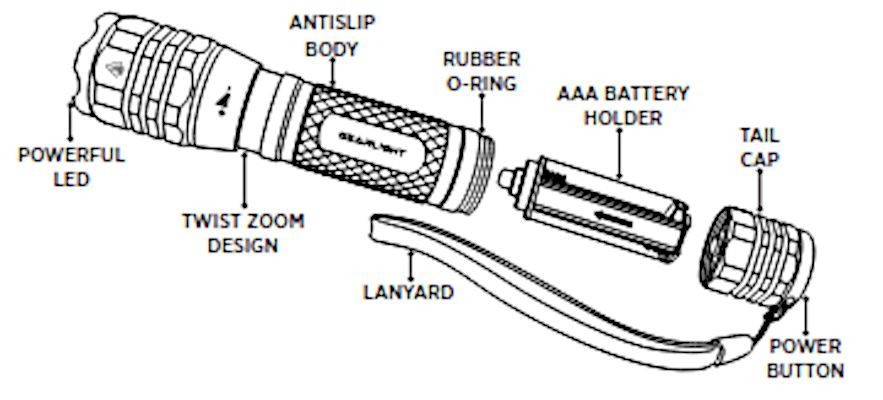
We’ll go through the methods for each type below. Note that you can skip the steps about removing the battery if you’re putting a new battery inside the flashlight for the first time.
The batteries required are typically AA or AAA batteries unless it has a large and thick body, which might take size C batteries. Your flashlight might take 2 to 4 of them.
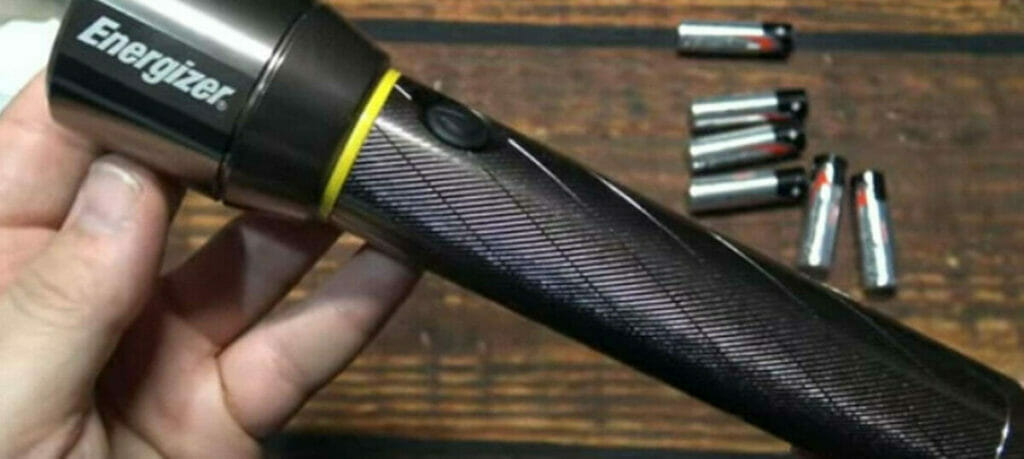
Method 1. Putting Batteries in a Flashlight by Removing the End Cap
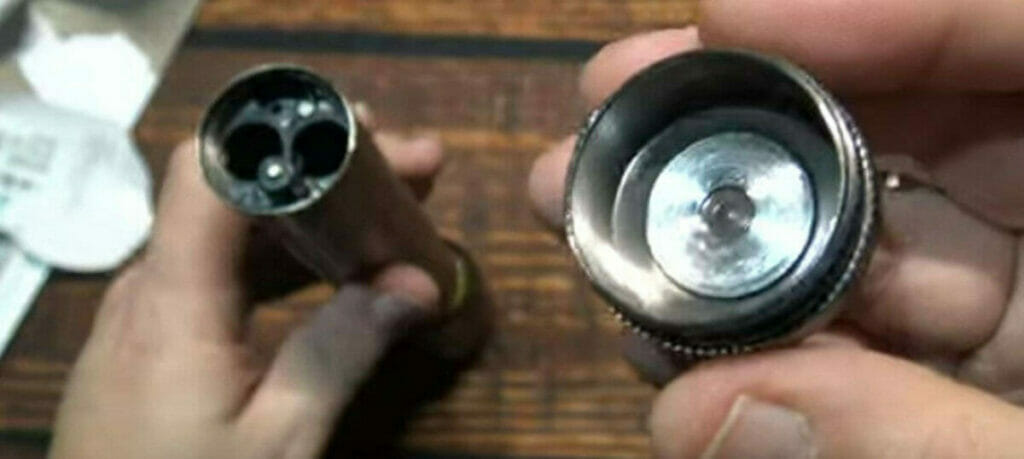
You access most flashlights’ batteries by removing the bottom end cap.
But there might be one of three ways to remove it: twisting the cap, pressing it down, or unscrewing it.
Examples of this type are the Energizer and Streamlight flashlights.
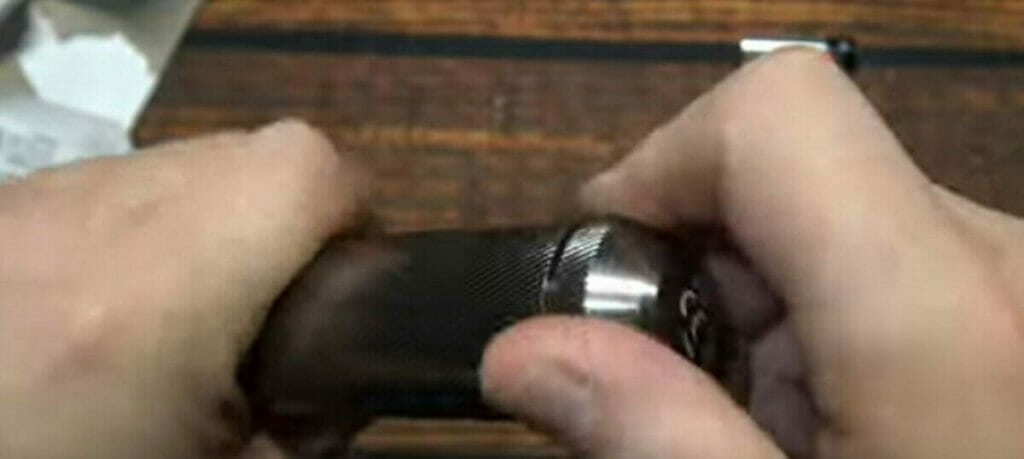
Step A1: Remove the End Cap
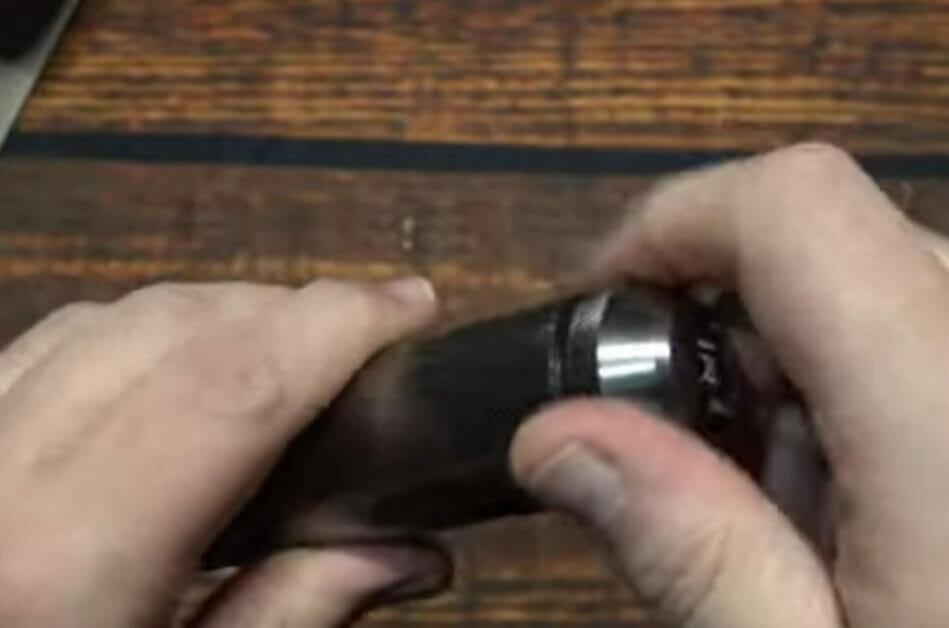
Remove the end cap by either twisting it, pressing it down, or unscrewing it from the rest of the body.
If you need to twist it, it’s usually counterclockwise.
Step A2: Position the Flashlight with the Cap Down
This is only necessary if you need to remove an existing battery to make it easy for it to come out.
Step A3: Push or Pull Out the Battery
If the battery doesn’t come out easily, tap its head end gently, as it might push out. Otherwise, grab it with your fingers or a tool and pull it out.
Step A4: Insert the New Battery
Once removed, or if you’re ready to put a battery in for the first time, insert the new battery in place.
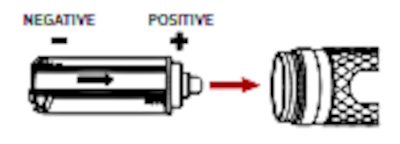
Ensure you put the battery or batteries inside by observing the correct polarity. Flashlights usually require multiple batteries, and the direction of each is indicated inside. Otherwise, you can tell by the type of connector. A solid connector is typically the positive (+) end, and the spring connector is the negative (-) end.
Also, it is usually the opposite for each adjacent battery. Insert the positive end first.
Some battery compartments are fixed to the body, but some come out easily as a battery holder, like the one shown below. In this case, pull out the holder, insert the batteries inside, then insert the holder back inside the flashlight (positive end first).
Step A5: Replace the End Cap
Replace the end cap after inserting the new battery.
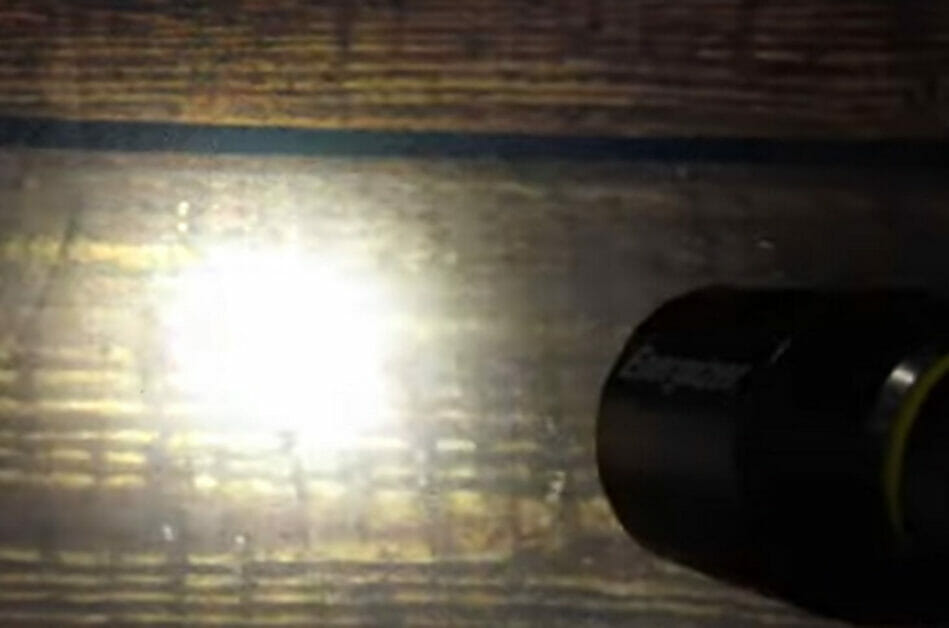
If it’s the twist type, twist it clockwise. The flashlight is ready to use, but test it before using it.
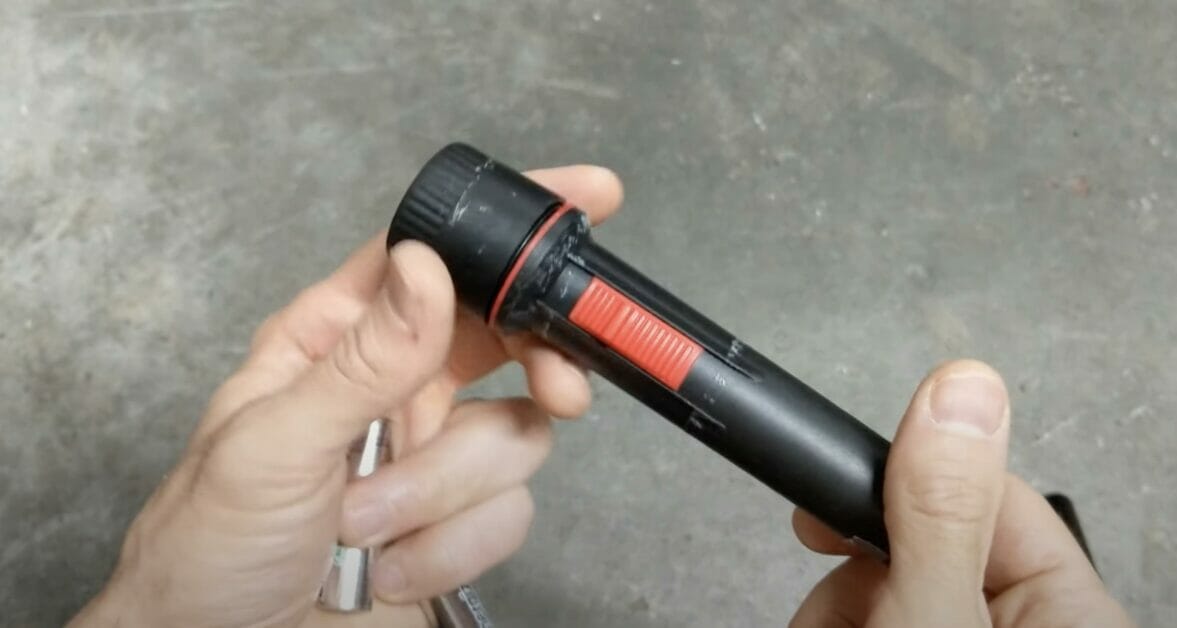
Method 2. Putting Batteries in a Flashlight by Removing the Head
In another type of flashlight, you have to remove the head (the bulb or LED end) to access the battery, usually by twisting it.
An example of this type is the Maglight Flashlight.
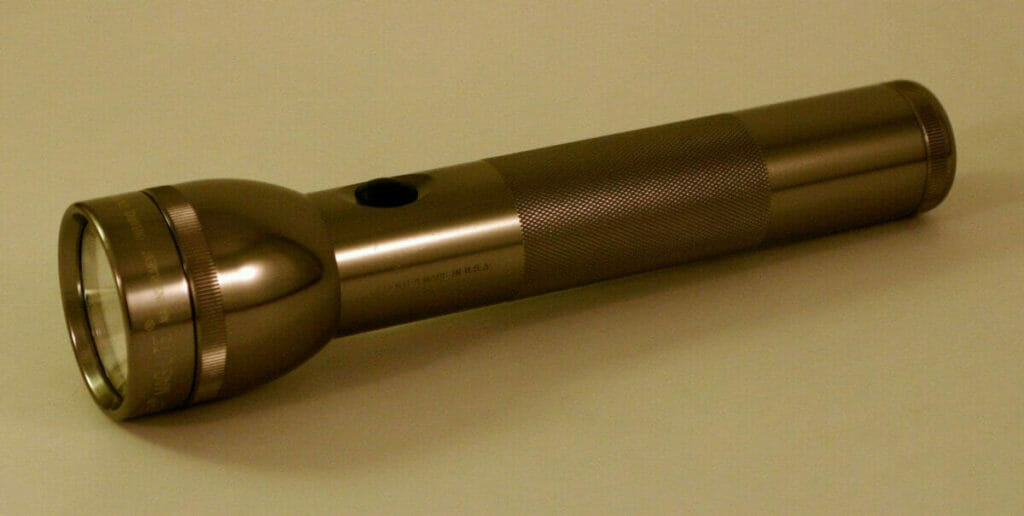
Step B1: Remove the Head
You usually access the battery compartment in this flashlight by twisting and removing the head.
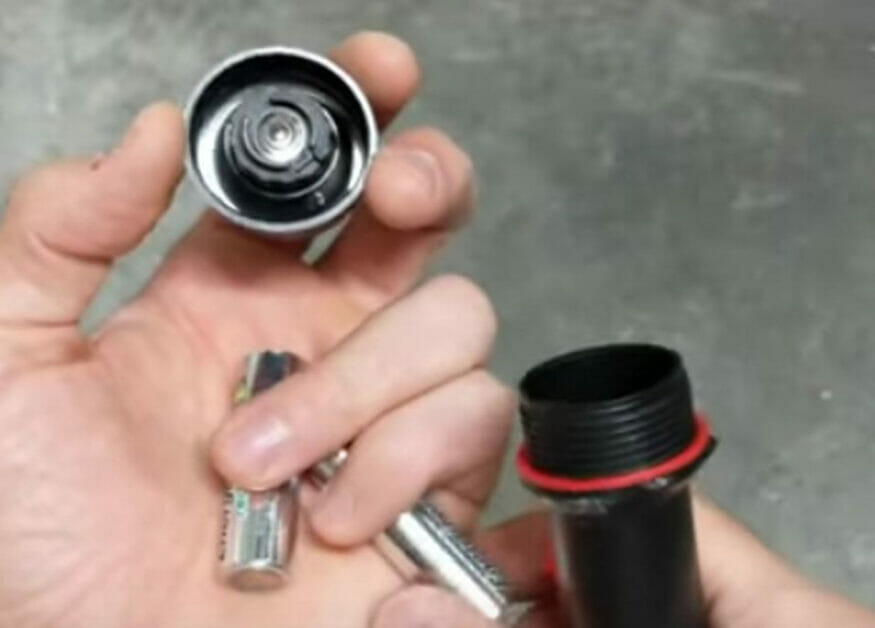
Step B2: Insert a Battery
Remove the old battery when the head is separated, and insert the new one. Remember to observe the correct polarity (see Step A4 above).
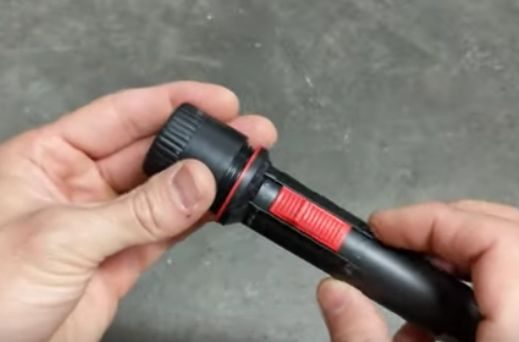
Step B3: Close the Head
Test the flashlight before closing the head securely.
RELATED How to Twist Wires Together
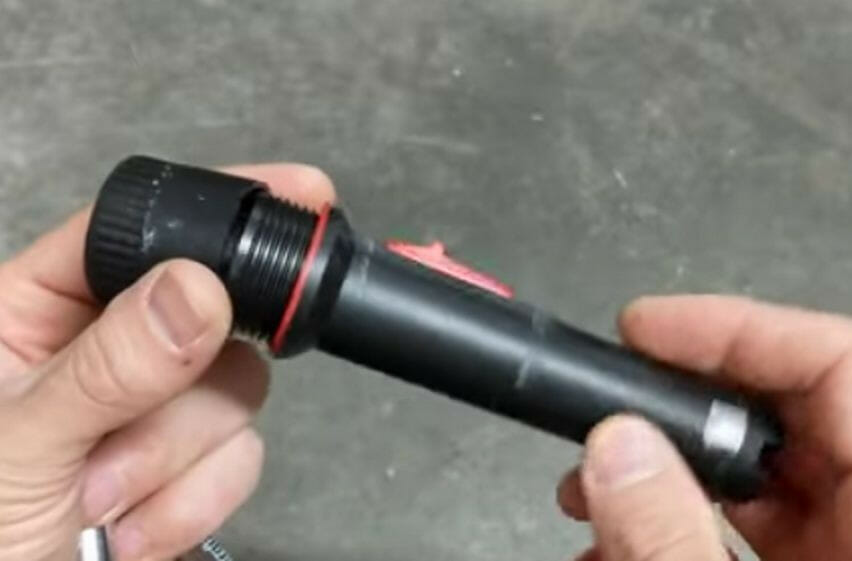
Method 3. Putting Batteries in a Flashlight by Opening Its Body
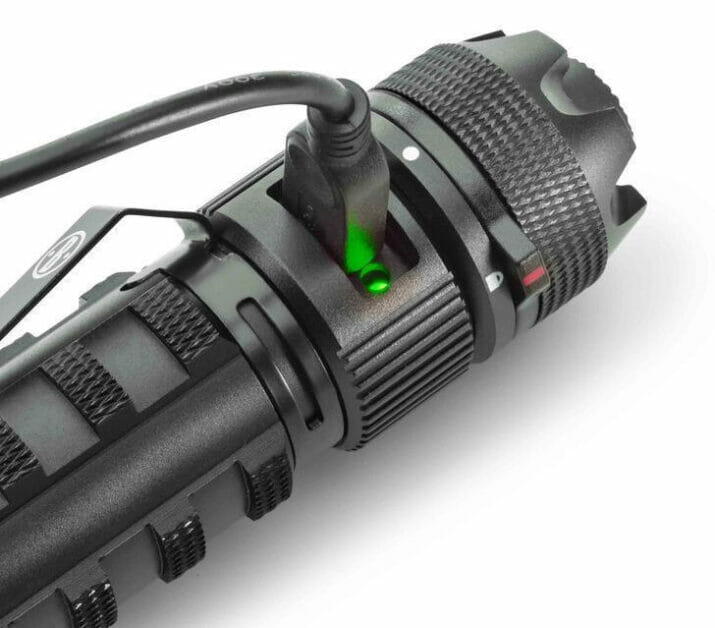
If you need to open a flashlight’s body to access the battery, it’s either an old flashlight or a rechargeable one.
They are designed not to be opened easily because you shouldn’t need to do that regularly. You only need to open a rechargeable flashlight to fix something inside or replace the battery when it’s too weak to recharge.
Otherwise, there is no need to put a battery in. You attach it to a power source to recharge its internal battery, usually via a micro-USB or USB-C lead.
If and when you need to access the battery compartment, you will likely need to remove some screws on the body.
Tips for Maintaining a Flashlight
Finally, here are some tips for maintaining a flashlight and its battery:
- Don’t mix different types or brands of batteries in the same flashlight.
- Always keep the lens clean.
- Replace any worn-out or damaged parts promptly.
- Store the flashlight in a cool, dry place.
Observe the following, especially if you’re going to take the flashlight somewhere far:
- Check the battery to ensure it is healthy or the flashlight is fully charged.
If it’s a rechargeable flashlight:
- Charge the flashlight regularly.
References
Coleman Graphite Flashlight. https://www.ebay.com/itm/224952197246
Maglite flashlight. https://commons.wikimedia.org/wiki/File:Maglite_Flashlight.jpg
Rechargeable flashlight. https://www.bushnell.com/additional-products/lighting/bushnell-pro-1000-lumen-rechargeable-flashlight/BU-BLP50009.html
Utilitech flashlight. http://toolinghouse.com/320lumensutilitechflashlight.aspx.
Tactical flashlight user manual. https://idm.publichealth.uga.edu/wp-content/uploads/2022/01/Tactical-Flashlight-User-Manual.pdf
Video References
Charles BridgTec
Cutlerylover
ETPC EPIC TIME PASS CHANNEL