5 min read
How to Wire Inverter to RV Breaker Box (Guide)
The task may sound complicated but, with proper tools and know-how, you can do it in a matter of minutes. Just make sure you know which type of inverter you are wiring to the RV breaker box, which will determine where you will keep your inverter. In this guide, I will go through in detail of how I personally go through an RV inverter installation.
In general, wiring an inverter to an RV breaker box is a walkover task. Place the inverter close to the batteries and wire it into a 120-volt breaker for AC power. Next, wire the inverter to a battery charger and link the breaker box together via the negative and positive terminals. Now connect each wire to the old RV’s breaker box and take off unused wires. Finally, turn on all the breakers except one, and plug in the necessary appliances.
Location of the Inverter
String inverters are often installed indoors, whereas micro-inverters are installed near or under solar panels. In general, the owner’s requirements, and the installer’s instructions determine where to place the inverter.
Another factor that determines the location of the inverter is its (inverter’s) safety. They should always be shielded from direct moisture and sunlight. I recommend installing the inverter in a shaded spot and far from the other circuit components for convenience.
The inverter should be located within a short distance from the batteries, and the cable length should not exceed 10 feet. The connection is such that, power from an external AC source is brought to the inverter via a simple AC cable. And then another AC wire conveys power back to the original RV breaker box.
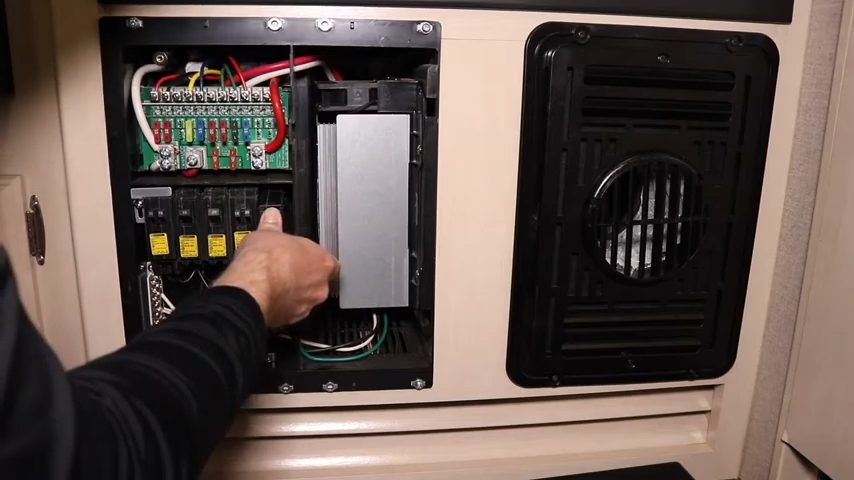
How to Wire an Inverter to a Breaker Box
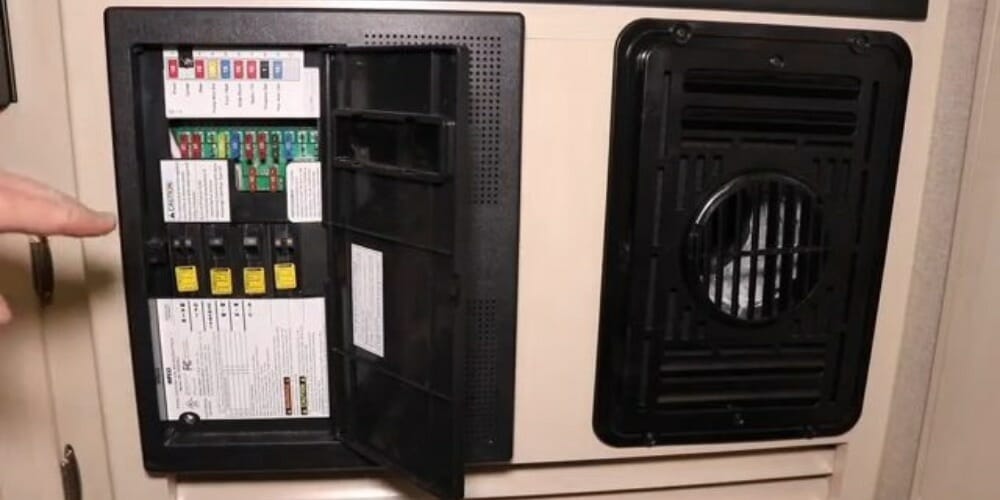
The basic precaution in wiring inverters to breaker boxes is ensuring that there is no power on the charger converter. You can verify the absence of power using a multimeter to obtain the most accurate results – check the ground, neutral, and live or hot connections. You should take off the inverter’s fuse panel before doing that (use a screwdriver). Otherwise, you may think there is no power until you get a nasty surprise. So, always use a multimeter in such situations. (1)
Before you proceed with the installation of the new breaker box on the blank space in the inverter box, make sure your new inverter fits into the space.
Also, check the voltage on your DC system using a multimeter that’s been switched to volts.
Follow the following steps to wire an inverter to your breaker box.
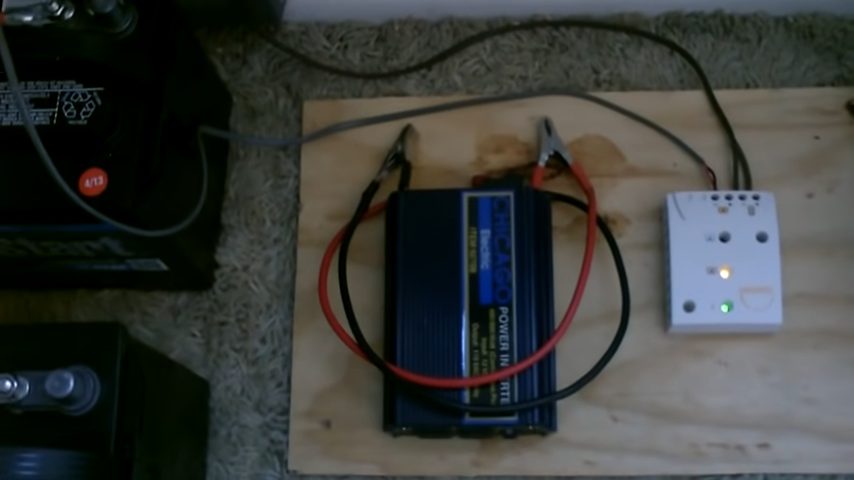
Step 1: Wire the Inverter Into a Breaker (120-volt) for AC Power
To do that, connect it directly or via a wire extension cord that’s plugged into two wall outlets on both sides of the room. Also, hook up both the negative and the positive cables.
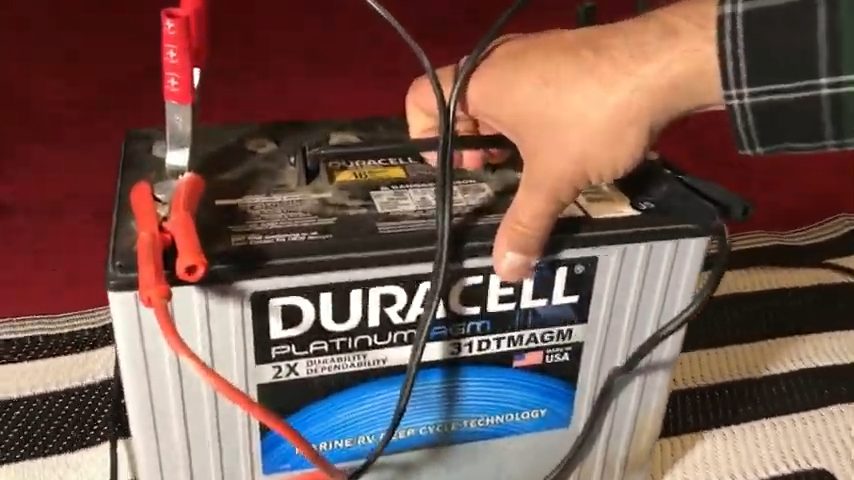
Step 2: Connect Your Inverter to a Battery to a Charger
Go ahead and plug the inverter (connected to a battery charger) into an outside wall outlet. I recommend labeling the new breaker specifically for the charge control. That will help you to identify and flip it off while charging the batteries. You will also evade the possibility of double charging the batteries. (2)
Step 3: Connect the Breaker Box
Bridge the positive terminals in your RV and the negative terminal of the new breaker box with one wire. Next, connect one wire from all but one breaker in the old RV breaker panel to your new breakers.
Step 4: Connect One Wire to Each of Your Old RV’s Terminals

Now attach one wire to the RV’s positive terminal, and then to the negative terminals on the new breaker box. Next, remove the wires that are not being used (spectator wires) in the breaker panel. At this point, you should reinstall the fuse panel cover, and make sure it clicks – otherwise, it can fall off and expose your breakers to dangerous conditions.
Step 5: Turn On All the Breakers – Except One
Turn all the breakers back on except the one you left disconnected. And then plug your new breaker box into the outside outlet.
Step 6: Plugin any necessary appliances
Finally, plug in the appliances such as the light, or anything else on the extension cord.
Take a look at some of our related articles below.
- How to test solar panels with multimeter
- How to test PC power supply with multimeter
- Where to connect remote wire for amp
References
(1) nasty surprise – https://www.fastcompany.com/1670007/how-to-turn-a-nasty-surprise-into-the-next-disruptive-idea
(2) wall – https://www.britannica.com/list/of-walls-and-politics-5-famous-border-walls
Video Reference