7 min read
How to Test Amp Output with Multimeter
In this article, I’ll teach you how to test an Amp Output with a Multimeter quickly and efficiently.
Some amplifiers are not suited for different stereo systems. So you have to test the amp with a multimeter to check its validity before using it. As someone that worked in a car stereo shop, I often needed to verify if an amp is compatible to avoid damaging your speakers by testing it with a multimeter. This way, I avoided blowing up your speakers if the amp was too powerful.
In general, the process of testing your amp’s output beforehand is simple:
- Locate the external amplifier
- Check the amp’s wiring to know which wires to test– refer to a manual
- Turn the car’s ignition on
- Test the wires and note the readings
I will cover more details below.
The Purposes of an Amplifier
I want to remind you of the amplifier’s purpose before you begin the test so you will understand what to perform.
The input, the output, and the power are the three basic components of an amplifier. When you test the amplifier, you must pay close attention to these components.
Power: A 12-volt wire attached to the side of the battery supplies power to the amplifier. An additional ground wire will be attached to the chassis ground. You can turn on the amplifier with the aid of a different wire.
Input: The RCA wire is where the input signal is sent.
Output: You will receive your primary output over the output wire.
Learn How to Use a Multimeter to Test Amplifier Output
Remember that all amplifiers perform the same goal despite having different looks to be sure you’re choosing the appropriate one for the job.
Imagine you need to know their location and how they operate to test a car’s amplifier. You can learn to do these things by consulting the vehicle’s manual.
How to Use a Multimeter to Check Amplifier Output
Find the testing wire and plan to use it when the amplifier is in your hands or in front of you. Multiple wires may present, and you must locate the main plug among them. If the central pin does not have the typical marking of 12V, then use a near mark instead.
You can begin the exam process now that you have the fundamentals prepared.
Get the Multimeter Ready
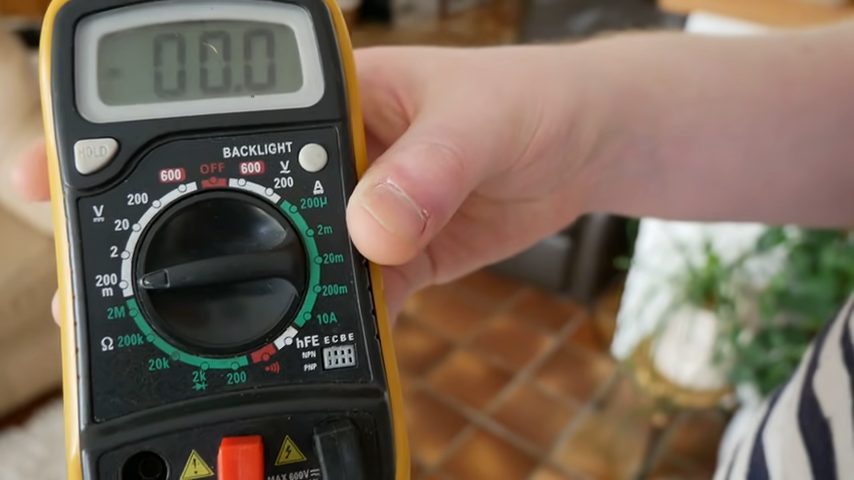
Configuring the multimeter is the first step in learning how to test amplifier output with a multimeter.
Configuration is a straightforward process. To begin the work, you must first identify the proper cables and sockets. Start by inserting the black probe into the common socket, usually marked with the letter COM. You can then insert the red wire (red probe lead) into an A-labeled port on the multimeter.
Use the one with the highest amperage if you are unsure about the size of the amp. Once everything is prepared, set the multimeter’s center dial to the proper position. The configuration must be appropriate. The configuration could appear differently on other devices, but you must remember that everything is done using the same procedure.
Testing Amplifier Output with Multimeter – Steps
The steps below will help you to test your r amp output accurately:
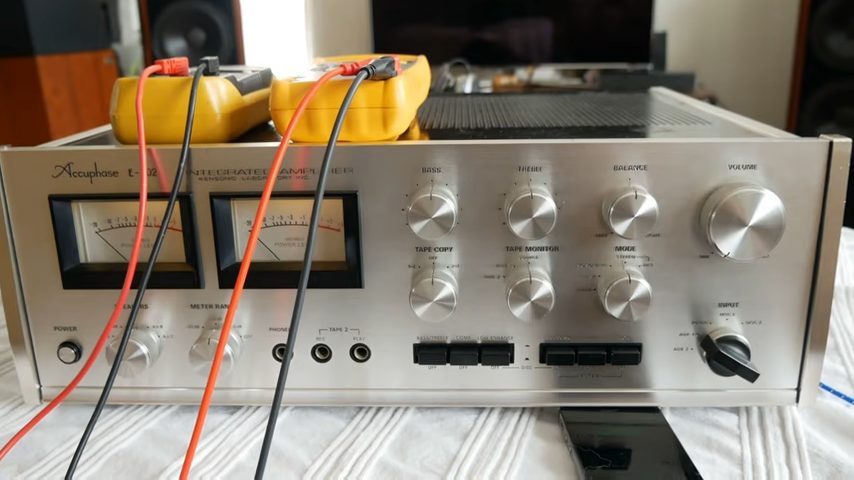
Step 1: Locate the Eternal Amplifier
You shouldn’t have trouble locating an external amplifier if you use it frequently. It’s found that the new models of vehicles have a hidden amplifier setting. As for the old ones, you can locate them around instantly.
Step 2: Check the Amp’s Wire Settings
Then, you need to check the wires of the amp. Amplifiers may have varying wire settings; thus, you need a handbook or a manual to refer to. That way, you will know which wires to test. After finding the proper one, turn it on. The multimeter’s meter can determine how well the amplifier performs. If you experience more trouble, you can seek professional assistance.
Step 3: Turn on The Ignition
The wire must be hot or live to get a reading from a wire. To start the car without turning the engine on, you can push the engine switch to start the car.
Step 4: Note the Readings
Place the multimeter probes on the listed input wires after setting your multimeter to DC voltage.
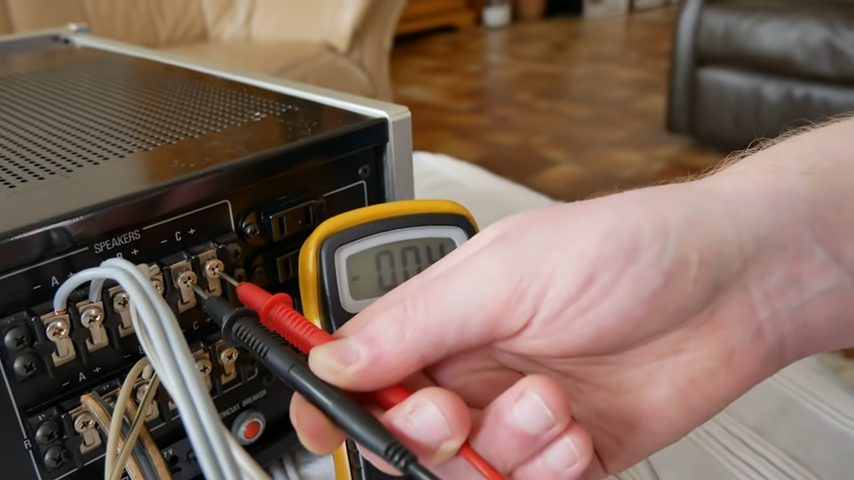
Place the multimeter’s black (negative) probe on the ground wire and the red (positive) probe lead on the positive wire.
You should get a reading between 11V and 14V from a reliable power supply.
Important Points
Below are some hints for understanding the issue.
You must detach everything if protected mode is activated and re-enter the program from scratch. If the issue persists, your speaker or another device may have issues.
If you discover any output issues, you should double-check everything, including the volume and output source.
Check and clear all the variables, then test the settings again if the output is distorted or low. You can adjust the volume up and down. If the issues persist, your speakers may be compromised.
Restart the entire system if the amplifier repeatedly turns on and off. Additionally, you need to examine the wiring system and double-check the electricity source.
Frequently Asked Questions
What is an Amplifier’s Output Voltage?
The output voltage of an amplifier is the voltage it produces in the last stage. The power of the amplifier and the number of connected speakers will affect the output voltage.
Is the Amp’s Output AC or DC?
Direct current is referred to as DC, and alternating current is called AC. Typically, an external source, such as a wall socket, provides AC power to the amplifier. Before being sent to a device, it is converted to DC by a transformer or inverter.
Does an Amp Increase Voltage?
Amplification does not raise the voltage. An amplifier is a tool that increases a signal’s amplitude.
An amplifier makes it stronger by boosting a weak electrical signal’s voltage, current, or power output, from commonplace electronics like radios and speakers to more complex gadgets like telecommunications systems and high-power microwave amplifiers. (1, 2)
How Can I Troubleshoot My Amp?
Check if the amplifier is plugged in and getting power before continuing if it still won’t turn on. If so, the fuse or switch can be the source of the issue. If this is not the case, look inside the amplifier to see if any connections are loose.
Wrapping Up
That concludes the discussion on testing an amplifier’s output with a multimeter.
You must follow these instructions precisely because there is a chance that you could make a mistake. Checking is advised before using an amplifier, as it will prevent damage to your current equipment and speakers. The testing procedure is simple to complete and reasonable. So why not ensure that everything is in proper order to save your device?
Take a look at some of our related articles below.
- What is the pink wire on car stereo
- How to attach wires to a circuit board without soldering
- How to test a car ground wire with a multimeter
References
(1) gadgets – https://time.com/4309573/most-influential-gadgets/
(2) telecommunications systems – https://study.com/academy/lesson/the-components-of-a-telecommunications-system.html
Video Reference