22 min read
Overnight Magic: 12 Ways to Clean Your Home in Your Sleep
I don’t know about you, but I always look for ways to make my life easier. And when it comes to cleaning, I’m all for anything that saves me time and effort.
I discovered ways to clean your home while you sleep. Here’s a sneak peek of what I will cover:
🚿 Soak A Showerhead
🧼 Use The Self-Clean Function On Your Washing Machine
🍳 Soak The Burner Plates Overnight
🧺 Remove Set-In Stains From Clothing
🏠 Remove Stains From Your Carpet
🗑️ Freshen Your Garbage Disposal
🍳 Speed-Clean Your Oven With A Baking Soda ‘Scrub.’
Let’s delve deeper into these overnight cleaning strategies. Think of them as your secret arsenal for maintaining a sparkling home with minimal effort.
1. Soak a Showerhead
If you’re tired of a weak showerhead that doesn’t spray evenly, it may be time to clean it well. Over time, mineral buildup from hard water can clog the showerhead, leading to reduced water pressure and an uneven spray.
The buildup can also harbor bacteria and mold, which you do not want to be showering in.
To tackle this problem, I like to soak my showerhead overnight with hot water and vinegar.
- Step 1: Fill a plastic bag with equal parts hot water and vinegar.
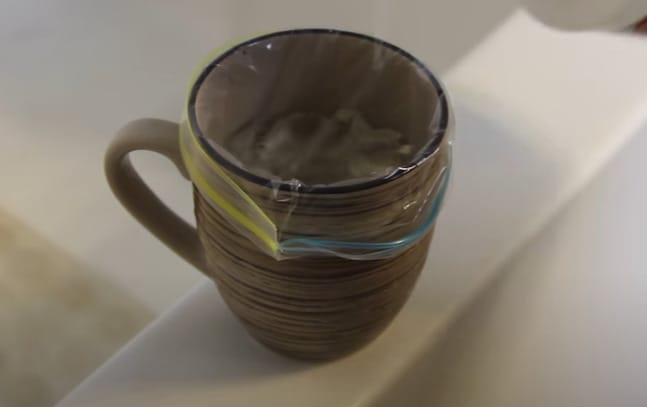
- Step 2: Then secure it around the showerhead with a rubber band.
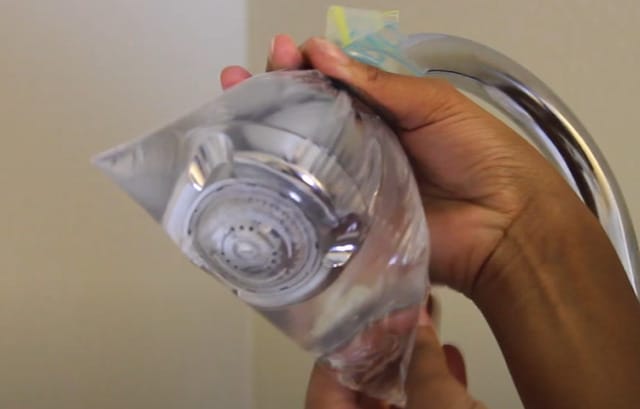
- Step 3: Let it sit overnight, and in the morning, remove the bag and run hot water through the showerhead to rinse any remaining buildup.

This method will remove calcium deposits and other buildup, and the vinegar will also kill any bacteria and mold lurking in your showerhead. Plus, the hot water will help to dissolve any remaining residue, leaving your showerhead looking and functioning like new.
2. Use The Self-Clean Function On Your Washing Machine
When it comes to laundry, I’m all about efficiency. But did you know that your washing machine could be harboring dirt and germs that can affect the cleanliness of your clothes? That’s why I always recommend using the self-clean function on your washing machine.
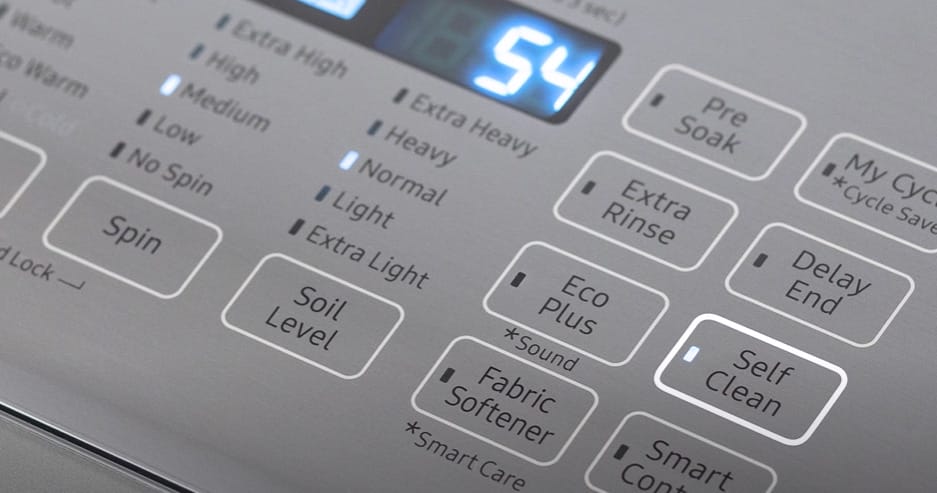
The self-clean function is a cleaning hack that can save you time and money in the long run. The American Cleaning Institute recommends it, and is available on most modern appliances.
Follow your washing machine’s manual instructions to use the self-clean function. Typically, you’ll need to add a cleaning solution to the drum, select the self-clean cycle, and let it run. It’s that easy!
Not only will using the self-clean function keep your washing machine running smoothly, but it will also help keep your clothes clean and fresh. Plus, it’s a great way to extend the life of your appliance.
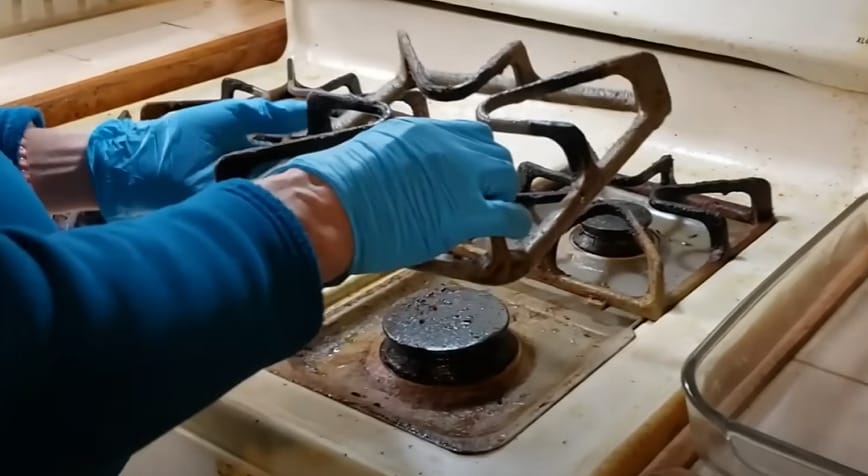
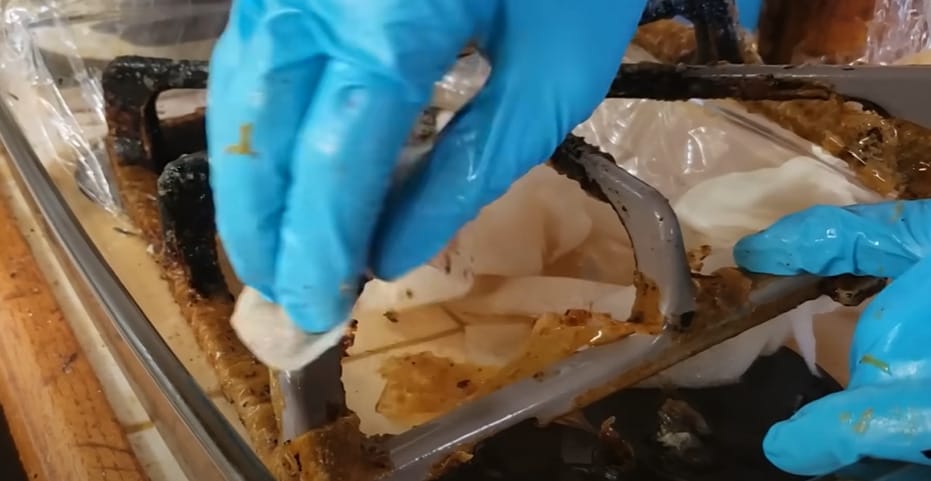
3. Soak The Burner Plates Overnight
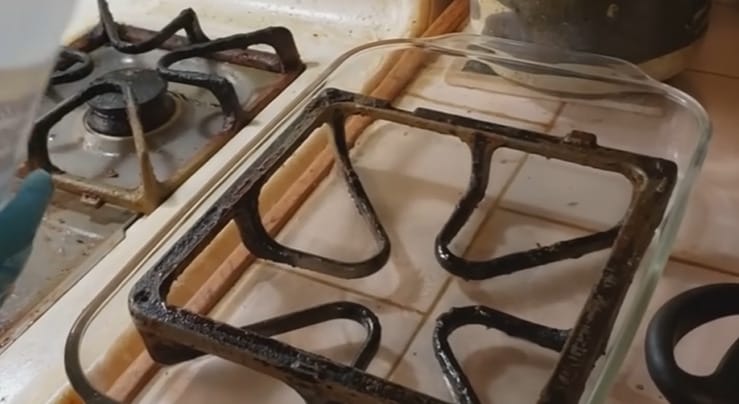
I have found that one of the most challenging cleaning tasks is dealing with dirty burner plates. These plates bear the brunt of spills, grease, and stains and can be a real hassle to clean.
However, I have discovered a simple and effective solution that requires minimal effort on your part: soak the burner plates overnight.
- Step 1: Remove the burner plates from the stove and place them in a sink or large bowl.
- Step 2: Fill the sink or bowl with hot water and add a generous cleaning solution. You can use dish soap, baking soda, or other cleaning products.
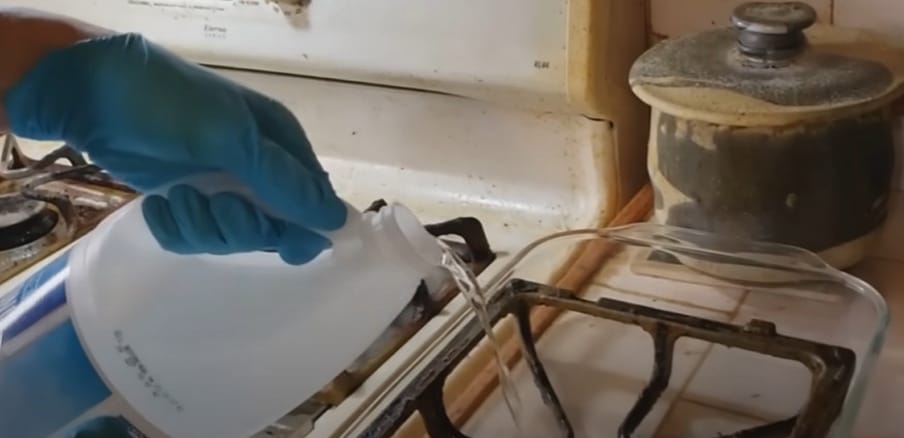
- Step 3: Ensure the burner plates are completely submerged in the solution.
- Step 4: Leave the burner plates to soak overnight. The hot water and cleaning solution will work together to break down dirt and stains, making them much easier to clean in the morning.
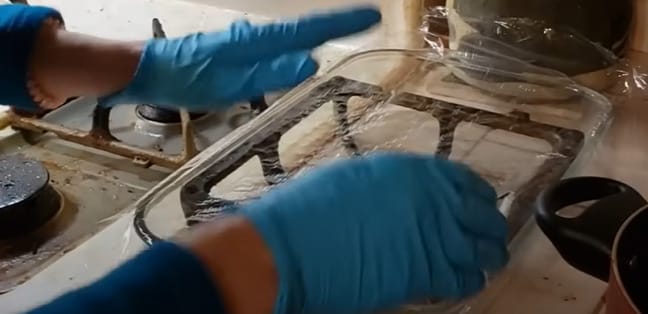
- Step 5: When you wake up, remove the burner plates from the solution and wipe them down with a sponge or cloth. You should find that most of the dirt and stains come off easily.
Use a scrub brush or scouring pad to scrub the burner plates gently if there are any stubborn stains or burnt-on residue. Be careful not to scratch the surface of the plates, as this can cause damage.
Once you have finished scrubbing, rinse the burner plates with hot water and dry them thoroughly.
4. Remove Set-In Stains From Clothing
I don’t know about you, but I always get stains on my clothes that just won’t come out. It’s especially frustrating when a set-in stain has been there for a while.
But fear not because I have some cleaning hacks to help you remove those stubborn stains from your clothes while you sleep!
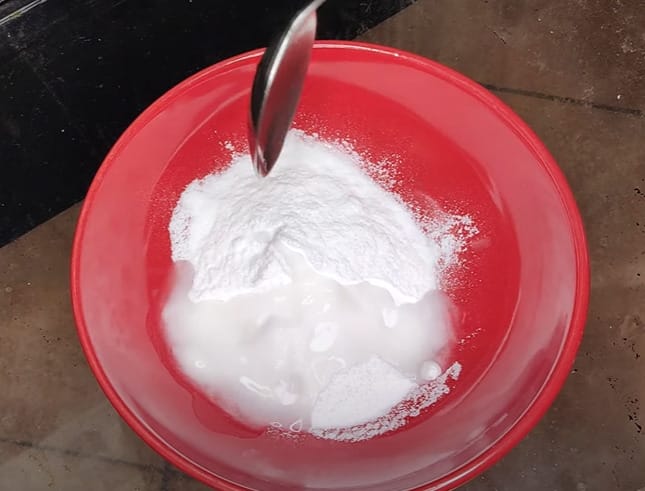
One of the best ways to remove set-in stains from clothing is by using white vinegar and baking soda.
- Step 1: Saturate the stained area with white vinegar.
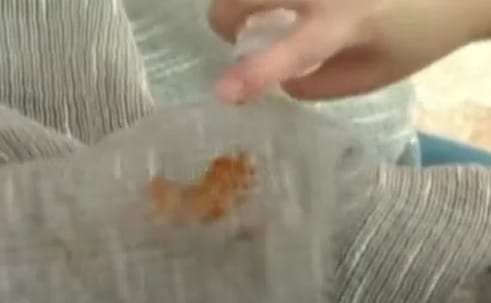
- Step 2: Sprinkle baking soda in the stain.
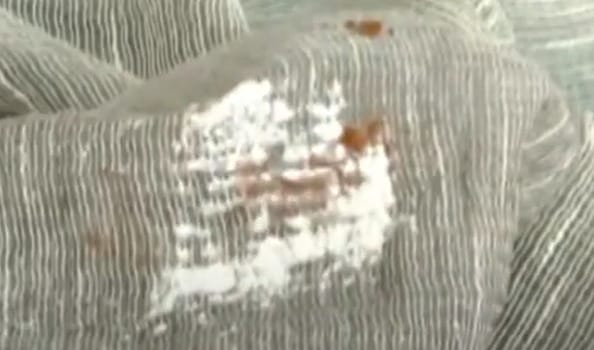
- Step 3: Put vinegar again in the baking soda. Let it sit overnight or overnight.
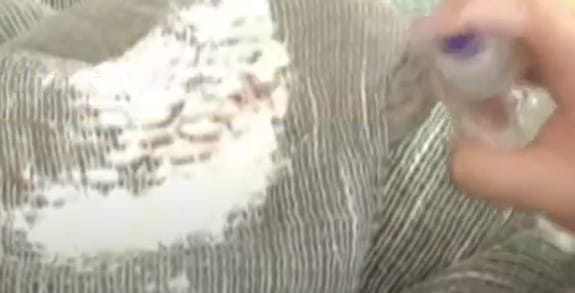
- Step 4: Wash the garment as usual; the stain should disappear!

You may need bleach if you’re dealing with a particularly tough stain. However, it’s important to be mindful of the environment when using bleach.
Look for a bleach alternative that is chlorine-free and made with hydrogen peroxide instead. This will be gentler on your clothes and the environment.
5. Remove Stains From Your Carpet
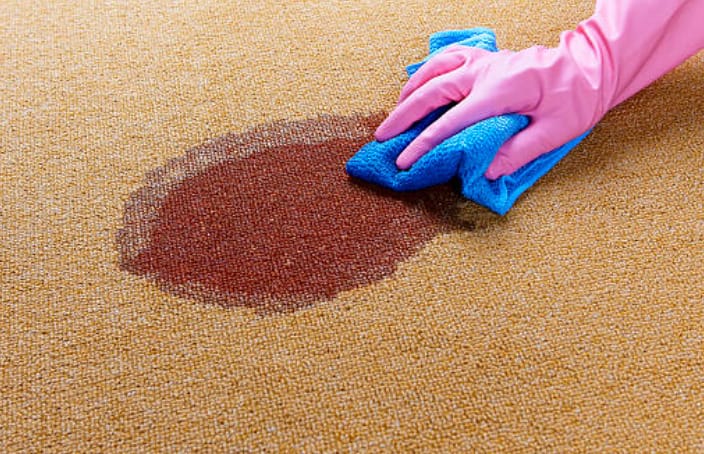
As a homeowner, I know how frustrating it can be to have a stain on your carpet. It can make the whole room look dirty and unkempt. But don’t worry; with these tips, you can remove those pesky stains while you sleep!
One of my favorite cleaning hacks is to use baking soda.
- Step 1: Mix it with warm water to make a paste and apply it to the stain.
- Step 2: Let it sit overnight, then vacuum it up in the morning. The baking soda will absorb the stain and clean your carpet.
Another great cleaning solution is a mixture of dish soap and white vinegar.
- Step 1: Mix one tablespoon of dish soap with 1/4 cup white vinegar and two cups of water.
- Step 2: Apply the solution to the stain and let it sit overnight. In the morning, blot the stain with a damp cloth to remove any soapy residue.
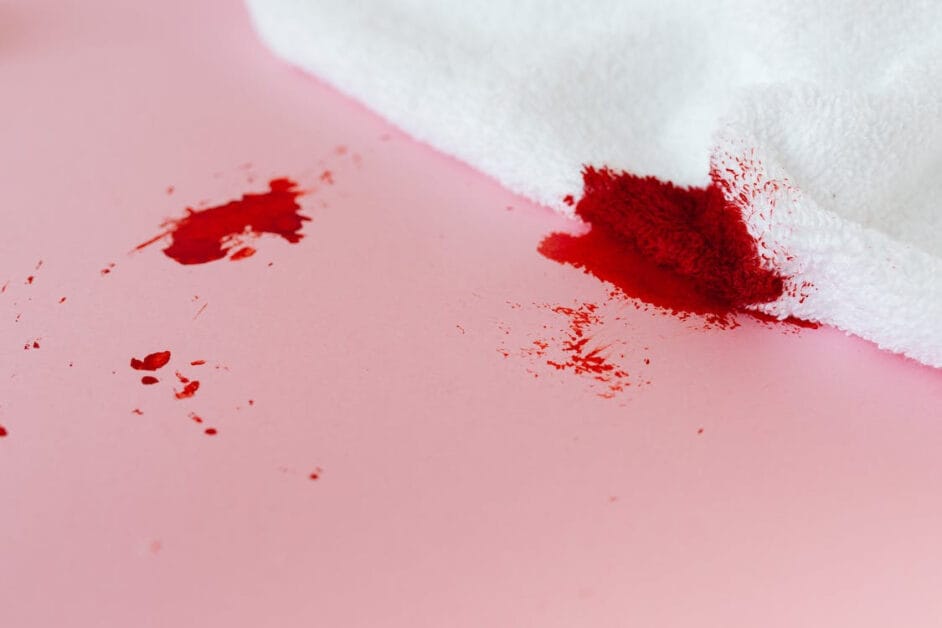
If you’re dealing with a red wine stain, don’t panic!
- Step 1: Sprinkle salt over the stain and let it sit for a few hours. The salt will absorb the wine and make it easier to remove.
- Step 2: Then clean the stain with dish soap and hydrogen peroxide.
For tougher stains, you can use a carpet brush to scrub the stain before applying any cleaning solution. This will help to loosen the stain and make it easier to remove.
6. Freshen Your Garbage Disposal
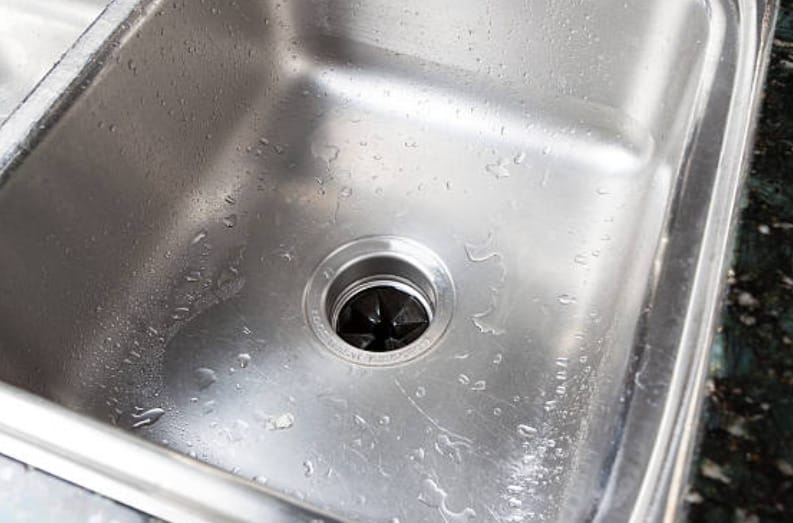
I don’t know about you, but sometimes my garbage disposal can get funky. Luckily, I’ve learned a few tricks to freshen it up while I catch some z’s.
One of my favorite ways to freshen up my garbage disposal is with lemons. Cut up a lemon into small pieces and drop them down the disposal. The lemon’s natural oils will help kill bacteria and leave your sink smelling fresh and clean.
Another trick I’ve learned is to use a dryer sheet. Yes, you heard me right! Toss a used dryer sheet down the disposal and turn it on. The sheet will help freshen up the sink and eliminate any lingering odors.
If you’re dealing with serious bacteria or germs, try mixing baking soda and vinegar. Pour half a cup of baking soda down the disposal, followed by a cup of vinegar. Let the mixture sit for about 15 minutes, and then turn on the disposal while running hot water down the sink.
With these simple cleaning hacks, you can freshen up your garbage disposal and garbage can while you catch some Z’s. Sweet dreams!
7. Speed-Clean Your Oven With A Baking Soda ‘Scrub.’
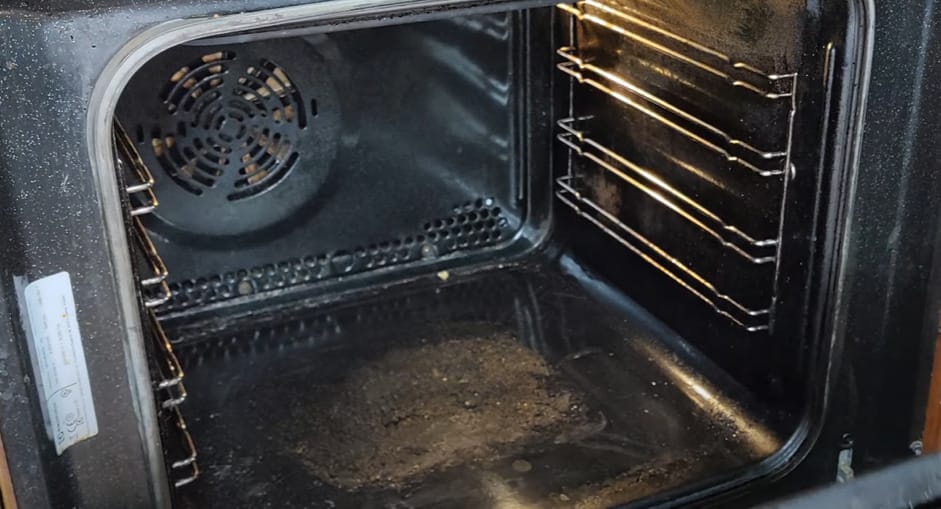
I don’t know about you, but cleaning the oven has always been one of my least favorite chores. It’s time-consuming, messy, and requires a lot of elbow grease.
But what if I told you you could clean your oven while sleeping? Yes, you read that right! You can wake up to a sparkling clean oven with a simple baking soda scrub without lifting a finger.
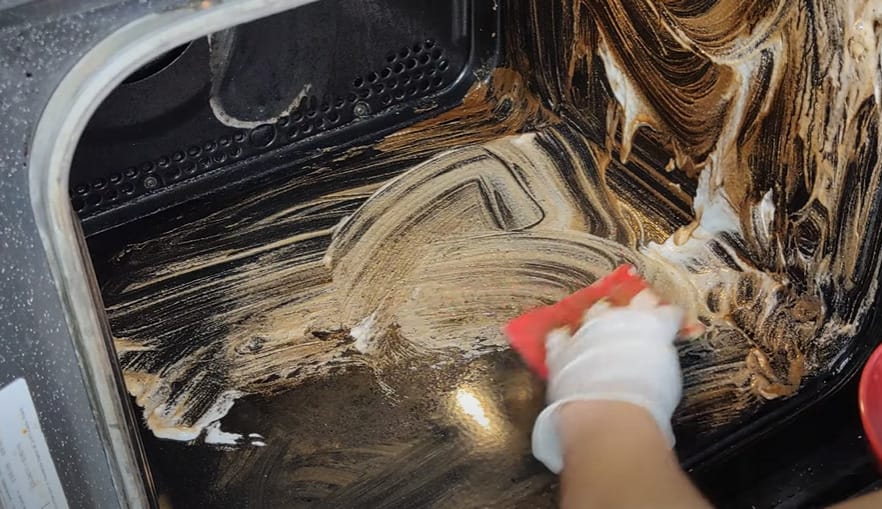
- Step 1: Remove any large food or debris from your oven.

- Step 2: Mix a paste of baking soda and water together. Apply the paste to the interior of your oven, making sure to avoid the heating elements.
- Step 3: Let the paste sit overnight, and in the morning, wipe away the dirt and grime with a damp cloth or sponge. Voila! Your oven will look like new.
8. Let Your Bathtub Sparkle With Supercharged Salt
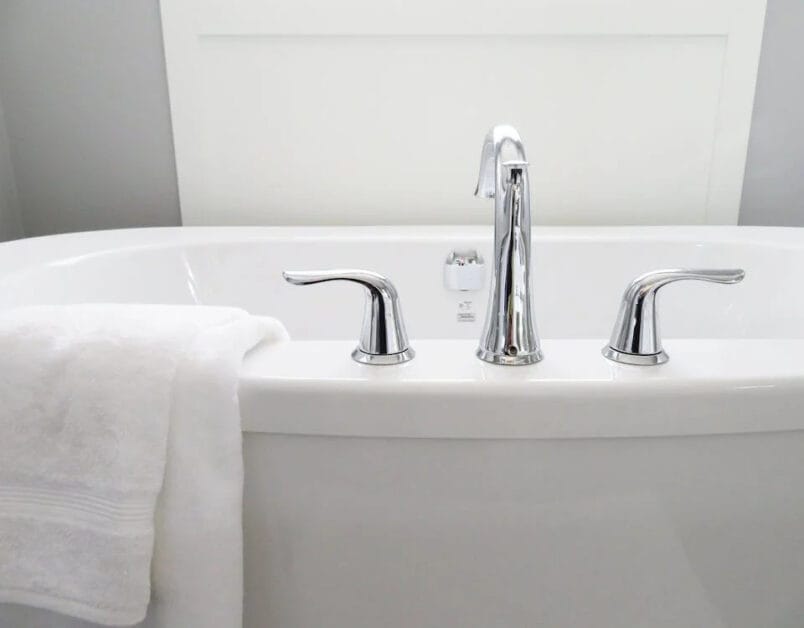
I have a super easy and effective cleaning hack for your bathtub that will leave it sparkling clean in the morning. All you need is some salt and a bit of elbow grease.
Salt is a natural abrasive and a powerful cleaning agent that can help you get rid of dirt, grime, and stains in your bathtub. It’s also a great way to kill bacteria and germs that can accumulate in your tub.
Here’s how to do it:
- Step 1: Start by filling your bathtub with hot water. Add about 2 cups of salt to the water and stir it well.
- Step 2: Let the water sit for a few minutes to dissolve the salt.
- Step 3: Use a sponge or a cloth to scrub the entire surface of your bathtub. Focus on areas that are particularly dirty or stained.
- Step 4: Let the salt water sit in your bathtub overnight.
- Step 5: In the morning, drain the water and rinse your bathtub with clean water.
Your bathtub will be sparkling clean and free of bacteria and germs. This cleaning hack is easy and requires no harsh chemicals or expensive cleaning solutions.
Give it a try, and let me know how it works for you!
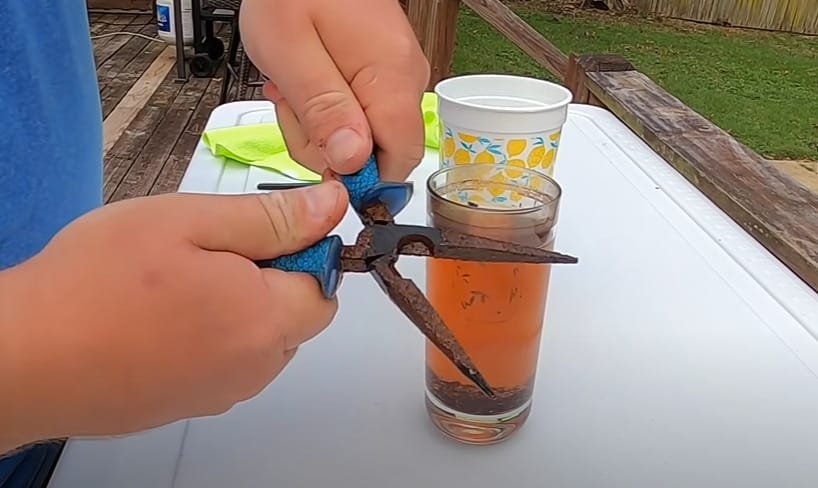
9. Banish Rust From Tools
Tools are essential for any DIY project, but rust can easily damage them. Rust is not only unsightly, but it can also weaken the metal and make it harder to use. Fortunately, there is a simple solution to banish rust from your tools while you sleep.
Vinegar is one of the most effective ways to remove rust from tools. Vinegar is a natural, non-toxic cleaning solution that can dissolve rust and dirt. To clean your rusty tools, soak them in vinegar overnight. The vinegar will break down the rust and dirt, leaving your tools looking brand new.
To clean your tools with vinegar, follow these simple steps:
- Step 1: Fill a container with enough vinegar to submerge your tools fully.
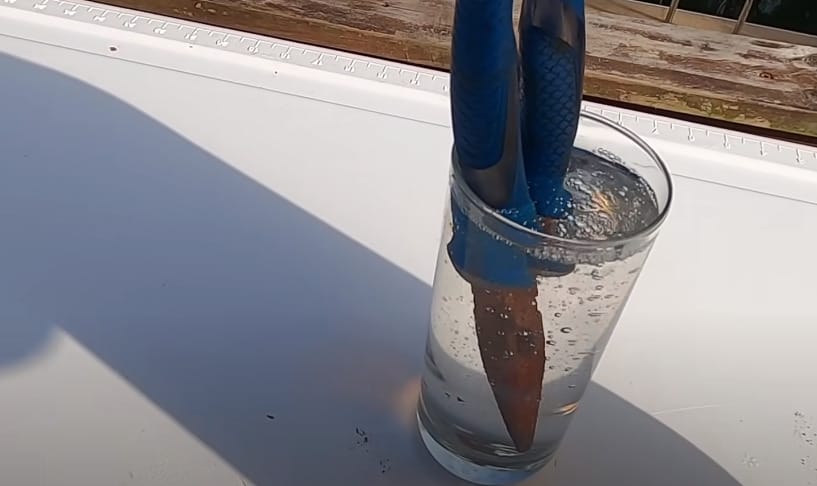
- Step 2: Leave the tools to soak overnight.
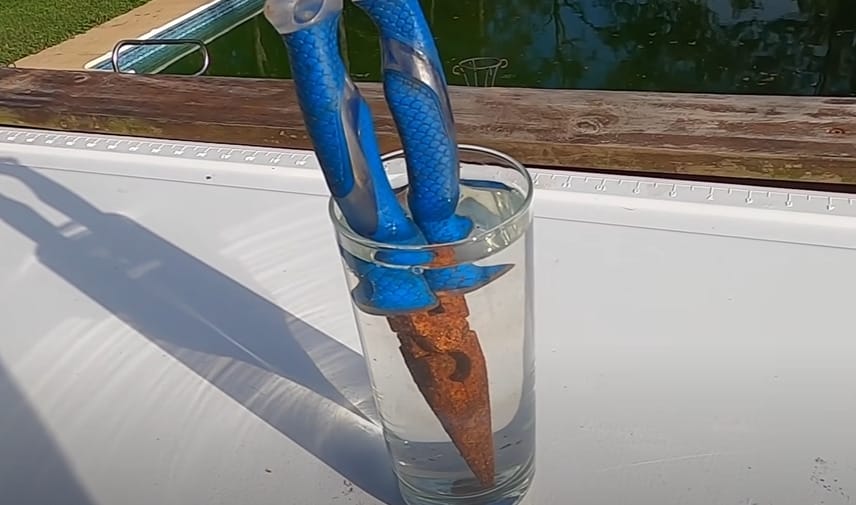
- Step 3: Remove the tools from the vinegar and rinse them with water.
- Step 4: Dry the tools thoroughly with a clean cloth.
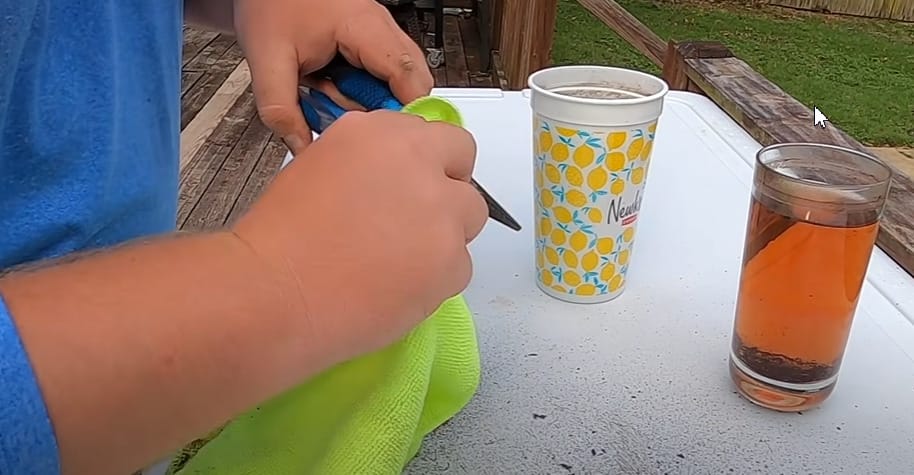
If your tools are heavily rusted, you may need to repeat this process a few times. You can also use a wire brush or steel wool to remove rust or dirt.
10. Clean Bath Toys
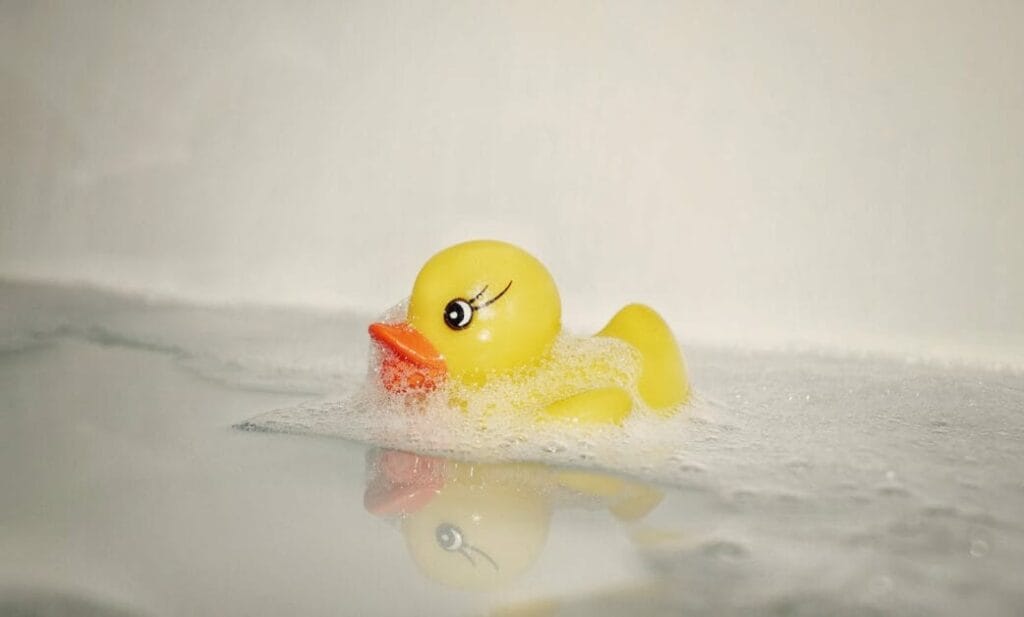
As a parent, I know how important it is to clean bath toys. If not cleaned regularly, they can be a breeding ground for mold, bacteria, and dirt. Here are some tips to ensure your child’s bath toys are clean and safe to play with:
- Vinegar Solution – A vinegar solution is one of the easiest and most effective ways to clean bath toys. Mix white vinegar and water in a bowl or bucket, then soak the toys for 10 minutes. Rinse them with clean water and let them air dry.
- Boiling Water – Another way to clean bath toys is by boiling them. Fill a large pot with water and bring it to a boil. Throw in the bath toys and boil them for 1-2 minutes. Note that most plastic will not withstand high temperatures, so be careful not to melt the toys.
- Net Bag – A great way to clean bath toys is by using a net bag that can be hung above the bath to keep the toys away from water when not used. This will help prevent mold and bacteria from growing on them.
- Weekly Cleaning – Experts recommend cleaning bath toys at least weekly and more often if someone in your home is sick. To disinfect bath toys with bleach, add ½ cup of regular bleach per gallon of water and soak the toys for 10 minutes. Rinse them with clean water and let them air dry.
Keeping bath toys clean ensures your child’s bath is good, clean, and fun. Remember to clean them regularly and use a net bag to keep them dry when not in use.
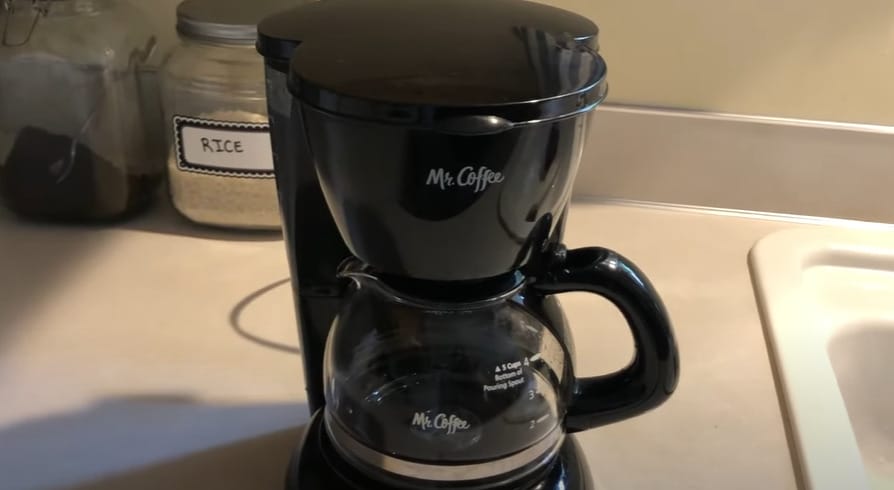
11. Clean Your Coffee Pot
I love waking up to the smell of fresh coffee, but I don’t like drinking a cup brewed in a dirty coffee pot. That’s why I always clean my coffee pot before bed. It’s an easy task that doesn’t take long, and it ensures that I have a fresh, clean pot to brew my morning coffee in.
To clean your coffee pot:
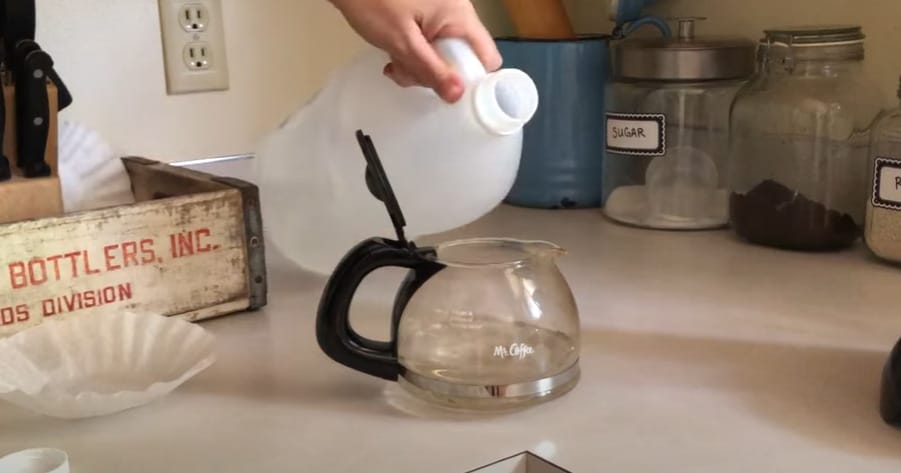
- Step 1: Fill the reservoir with equal parts white vinegar and hot water.
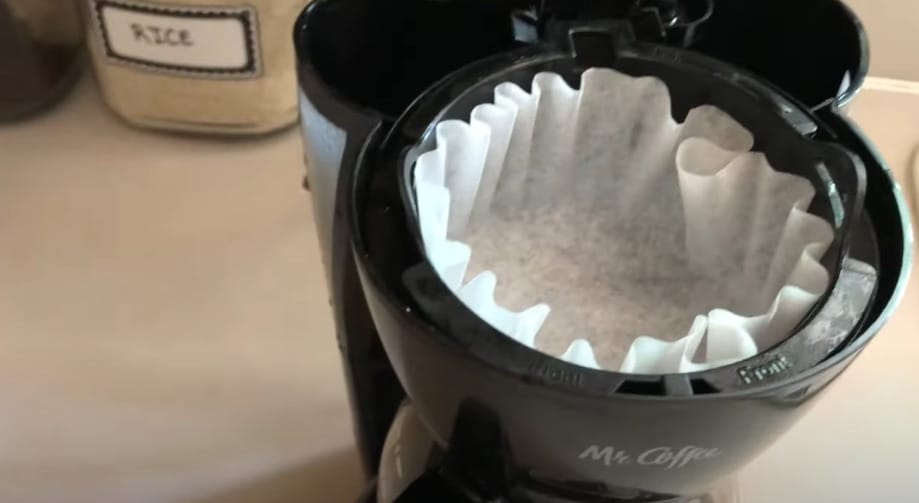
- Step 2: Place a coffee filter in the basket and turn the coffee maker on. Let the mixture run through the machine until the reservoir is empty.
- Step 3: Once the reservoir is empty, rinse it with hot water and fill it with fresh water.
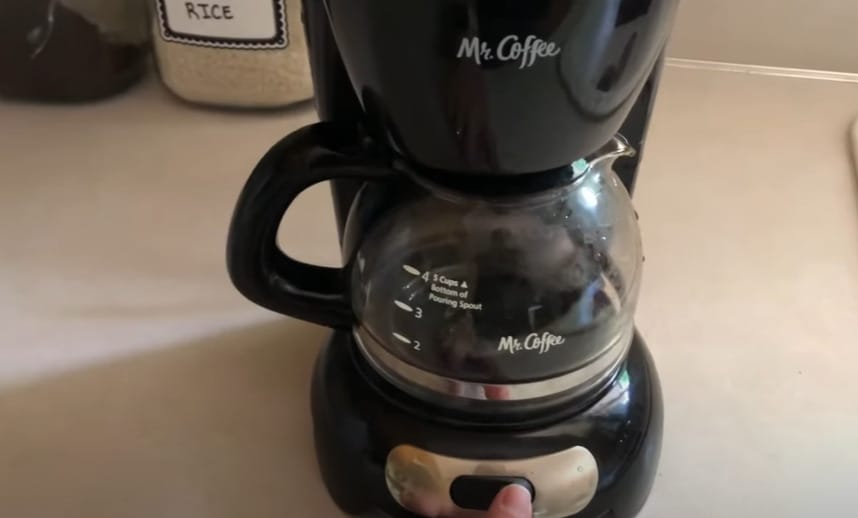
- Step 4: Run the coffee maker with water to rinse any remaining vinegar residue.
You may need to run it through a few times to ensure all the vinegar is gone.
If your coffee pot is particularly dirty, add a drop of dish soap to the water and vinegar mixture. This will help to break down any grease or grime that may be stuck inside the pot.
12. Dry Your Dishes Overnight
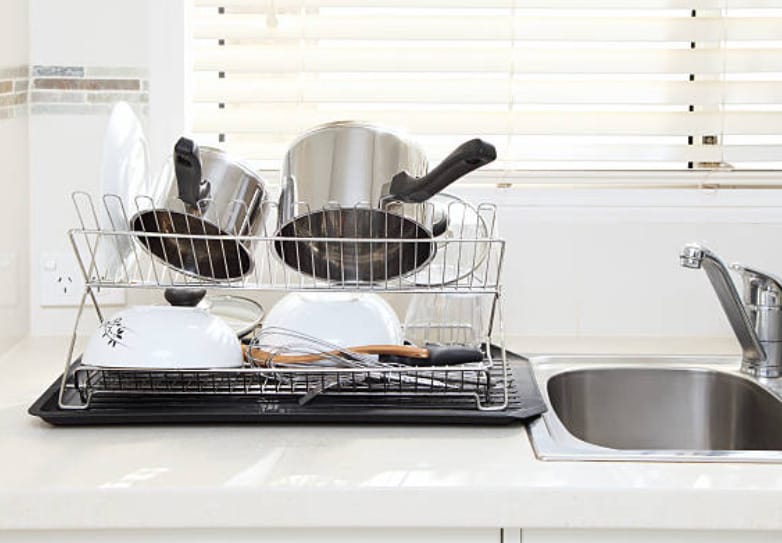
Efficiency is key when it comes to using your dishwasher. One simple but effective way to make the most of this appliance is by allowing your dishes to air dry overnight.
Letting dishes air dry overnight is a smart move for several reasons. First, it saves energy. Most dishwashers have a heated drying cycle, which consumes significant electricity.
By skipping this cycle and letting dishes dry naturally, you’re cutting down on energy usage, which is good for both the environment and your utility bills. Also, air drying is gentler on your dishes, especially items prone to heat damage or warping.
Furthermore, air drying can be better for your dishwasher’s health. When you use the heated drying cycle, the dishwasher remains damp for a prolonged period, creating an environment conducive to mold and mildew growth.
Maintenance Advice
Alright, you’ve got these great overnight cleaning hacks down, but what’s next? Keeping that spick-and-span look in your home isn’t just a one-time thing. Let’s dive into some practical maintenance advice to keep your home consistently clean.
- Regular Routines Matter: Consistency is key. For instance, after using the vinegar soak on your showerhead, make it a monthly routine. This prevents build-up and maintains a strong, even water flow. The same goes for your washing machine. Running a self-clean cycle every month keeps it in top-notch condition, ensuring your clothes always come out fresh.
- Preventative Measures: It’s not just about cleaning; it’s also about preventing messes before they happen. Use protective covers on stove burner plates to catch spills and splatters. This way, when it’s time for that overnight soak, there’s less gunk to deal with. For fabrics prone to stains, please treat them with a stain repellent. Small steps like these can significantly reduce your cleaning load.
- Post-Cleaning Care: Post-cleaning care is just as important. After cleaning your coffee pot, wipe it down and leave it open to air out after each use. This prevents mold and maintains its cleanliness. Occasionally, remove and clean the filter for your dishwasher to prevent odors and maintain efficiency.
- Stay Ahead of the Curve: Lastly, staying proactive is the best strategy. Tackle spills and stains immediately, and don’t let them set. A quick response often means distinguishing between an easy clean-up and a tough stain removal job.
Implementing these simple yet effective maintenance tips ensures your home stays clean and inviting. It’s about turning these tasks into habits that fit seamlessly into your lifestyle. Clean smarter, not harder, and maintaining your home’s cleanliness becomes a breeze.
References
Organizations:
- American Cleaning Institute. https://www.cleaninginstitute.org/
- Environmental Protection Agency (EPA). https://www.epa.gov/
Books:
- “Home Comforts: The Art and Science of Keeping House” by Cheryl Mendelson. https://www.thriftbooks.com/w/home-comforts-the-art-and-science-of-keeping-house_cheryl-mendelson/252971/
- “The Naturally Clean Home” by Karyn Siegel-Maier. https://www.hachettebookgroup.com/titles/karyn-siegel-maier/the-naturally-clean-home-3rd-edition/9781635863802/
- “Clean My Space: The Secret to Cleaning Better, Faster, and Loving Your Home Every Day” by Melissa Maker. https://www.barnesandnoble.com/w/clean-my-space-melissa-maker/1125140690
Website Resources:
- The Spruce. https://www.thespruce.com/
- Good Housekeeping. https://www.goodhousekeeping.com/
- Energy Star. https://www.energystar.gov/
Video References:
ehow
Emily Wilson
Samsung Care
Clean Freak & Germaphobe
Home Tips
Southern Salt
UNTV News and Rescue