26 min read
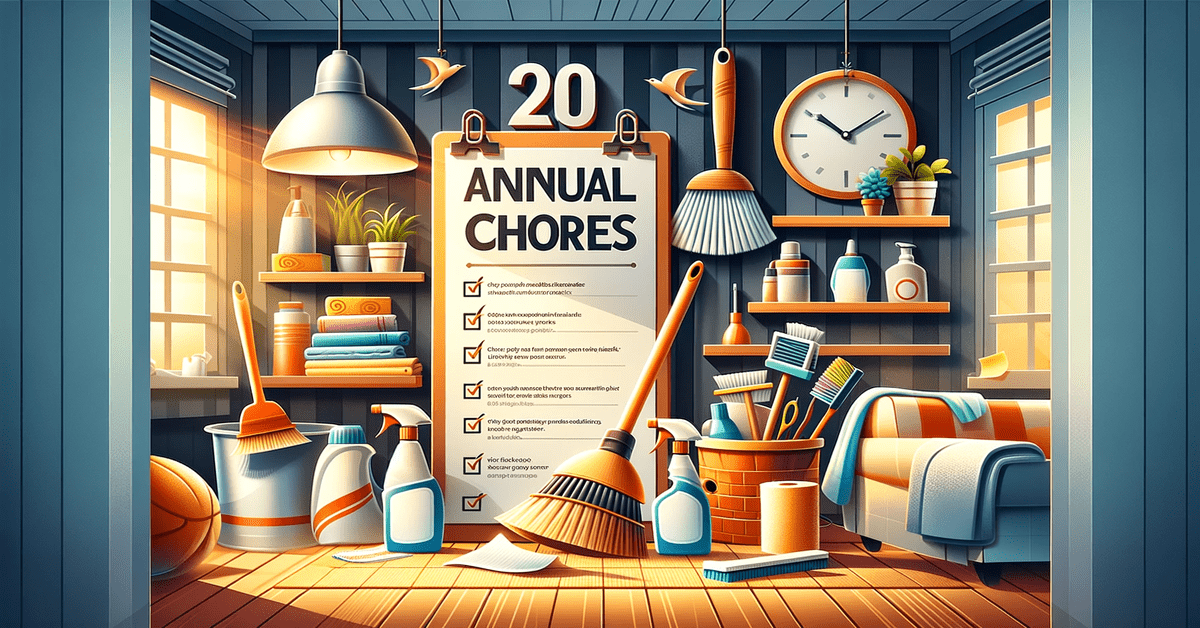
Effortless Home: Tackle These 20 Chores Just Once a Year and Relax (Guide)
Cleaning can be daunting, especially when there are many areas to cover. But fear not. Certain chores only need to be done once a year.
By scheduling these tasks, you can tackle them all at once and forget about them until next year. Here’s what I will go through:
| ✅ | Chore |
|---|---|
| ✔️ | 🌟 Get Behind the Appliances |
| ✔️ | 🧼 Shampoo Upholstery |
| ✔️ | 🛁 Refresh the Bathroom Storage |
| ✔️ | 🔥 Deep Clean the Oven |
| ✔️ | 🖌️ Wash Walls and Touch Up Paint |
| ✔️ | 🚗 Sweep and Organize the Garage |
| ✔️ | 💎 Brighten Up Those Windows |
| ✔️ | And more… |
Let’s explore more about it below.
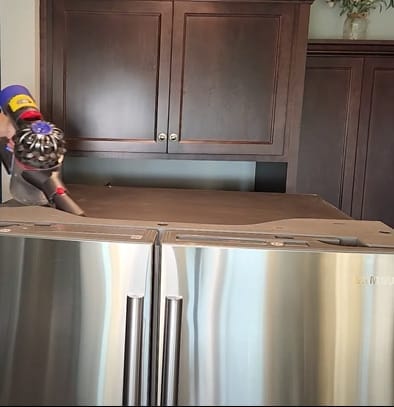
1. Get Behind the Appliances
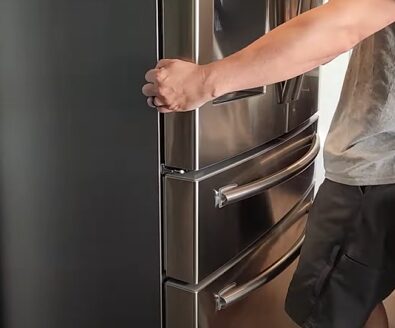
Moving major appliances like the fridge, stove, and laundry machines away from the wall can be annoying, but doing it at least once a year is essential.
This allows you to perform a thorough cleaning, which can extend the lifespan of these workhorses. Here are the steps to clean:
- Step 1: Vacuum the fridge coils and clean the dryer vents.
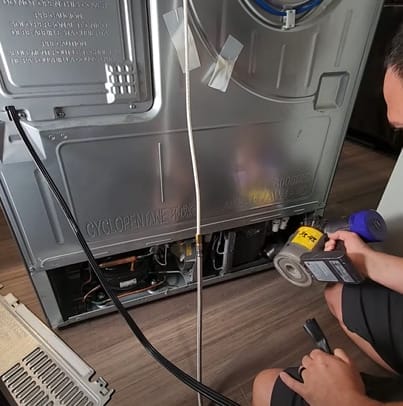
- Step 2: Wipe all the rear surfaces with a lightly dampened dust cloth or vacuum it.
- Step 3: Don’t forget to sweep or vacuum the floor to remove year-old dust.
Be extremely careful not to disconnect any water or gas lines when moving the appliances.
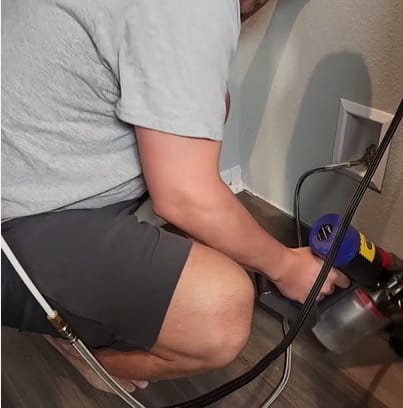
2. Shampoo Upholstery
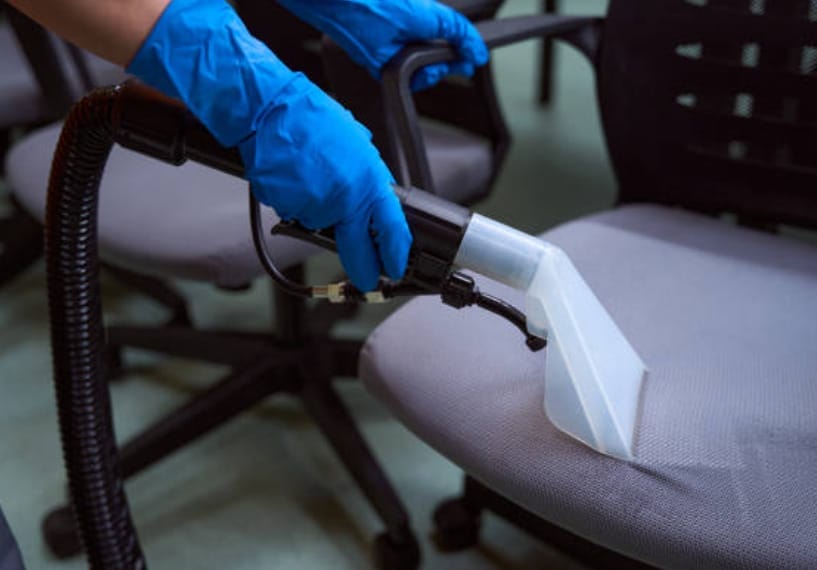
I always make sure to give my upholstered furniture a good scrubbing once a year to keep them looking fresh and clean.
- Step 1: Use steam cleaners or spray bottles with a brush attachment. These tools help me to gently lift dirt from the upholstery without damaging the fabric.
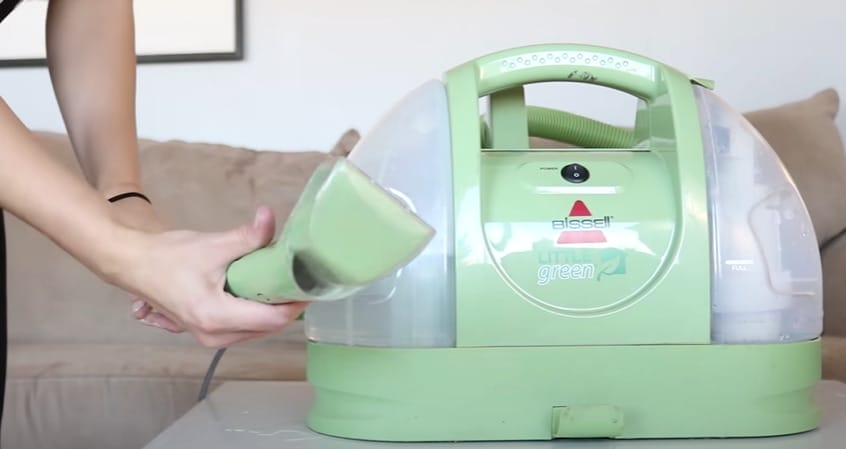
- Step 2: Before using a new cleanser, always test it inconspicuously. This can ensure the fabric’s color and texture look good once the cleanser has dried. Once the cleanser is safe, apply it to the rest of the surface.
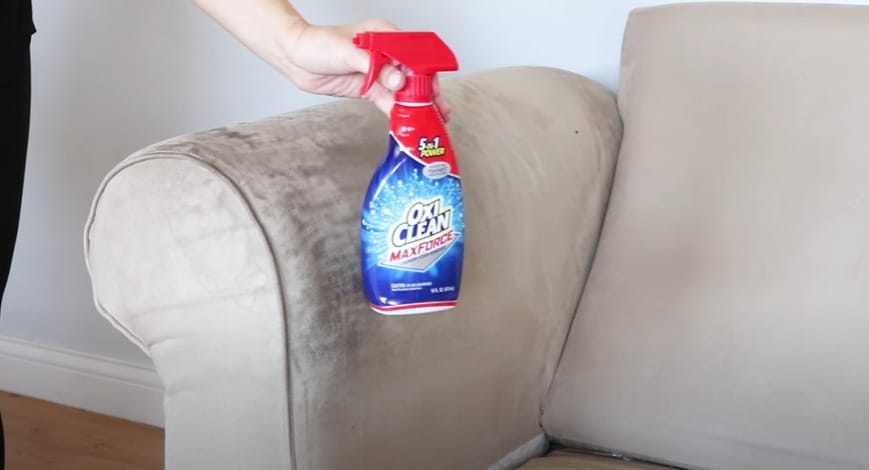
- Step 3: When cleaning, pay special attention to areas where hands and heads tend to rest, as these places need the most elbow grease.
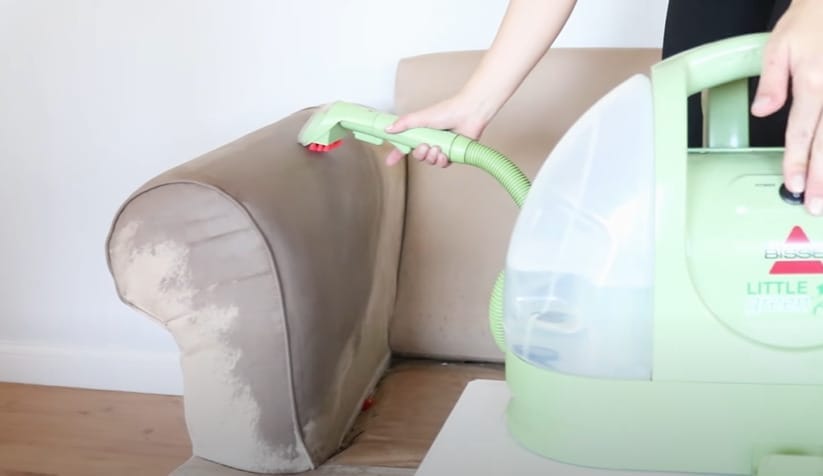
Following these simple steps, I can keep my upholstered furniture looking great for years.
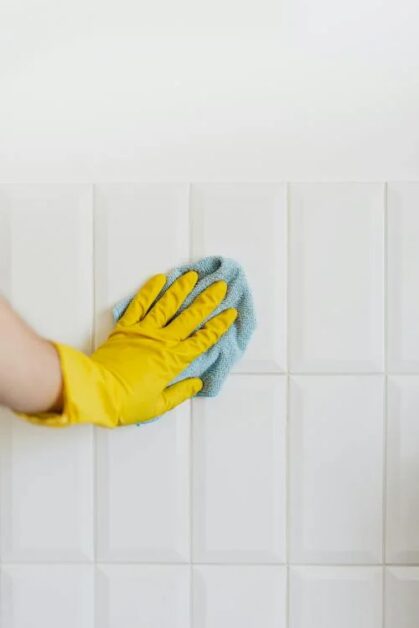
3. Refresh the Bathroom Storage
I love a good rainy day project, and refreshing my bathroom storage is perfect.
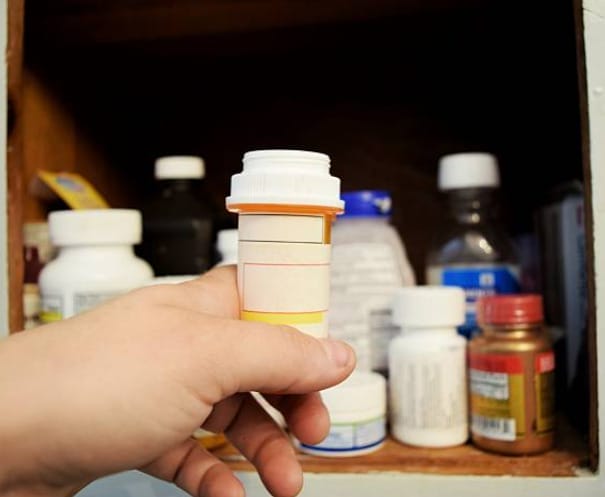
- Step 1: Start by opening all the medicine cabinets and discarding expired medications, old cosmetics, and almost empty toothpaste tubes. The FDA has guidelines on the safest ways to dispose of medications, so follow those.
- Step 2: After clearing the clutter, wipe down all the surfaces and restock the shelves.
But don’t stop there! Give the other bathroom cabinets a quick decluttering session, too.
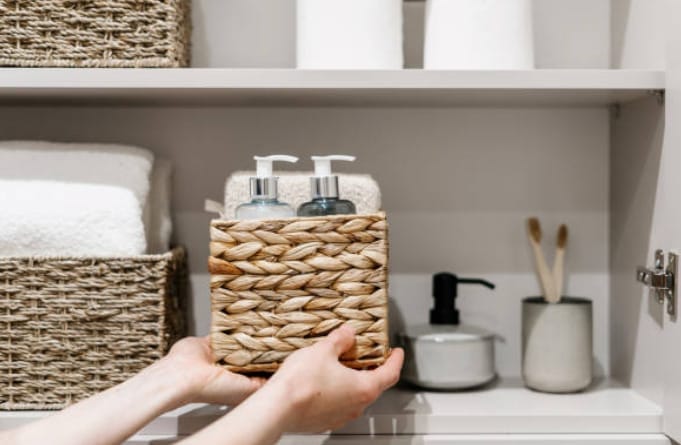
- Step 1: Wipe down doors and interior shelves as you go, and remove anything that’s no longer needed.
- Step 2: If you want to add personality to your bathroom storage, consider adding bold and informative labels to help keep everything organized.
Don’t let your bathroom storage become a source of stress. Take the time to refresh it, and you’ll be amazed at how much easier it is to find what you need.
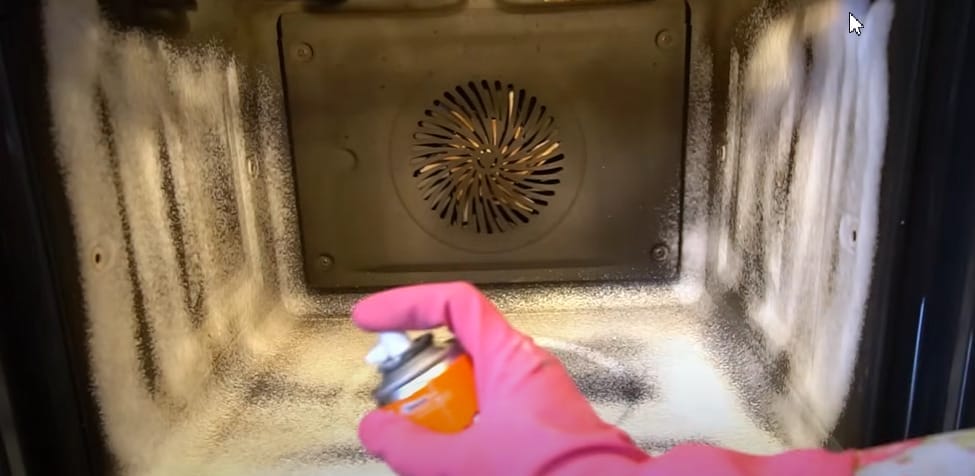
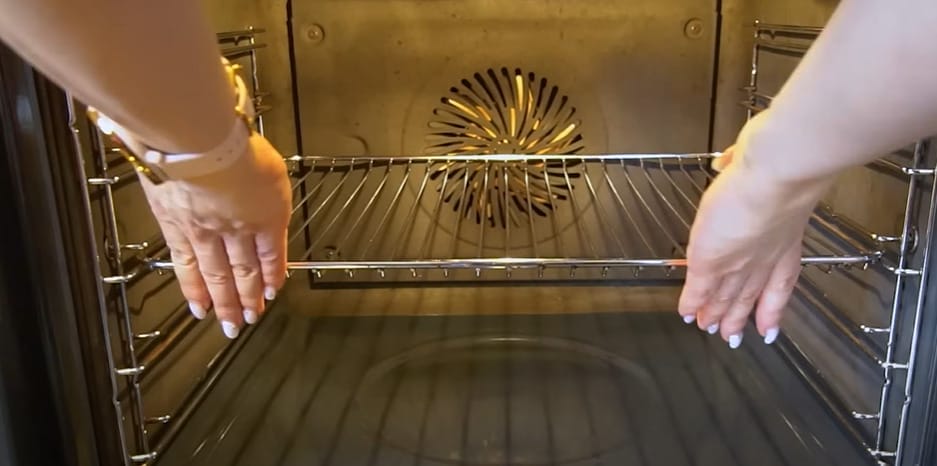
4. Deep Clean the Oven
I don’t like cleaning the oven, but it’s a necessary evil. If you use your oven frequently, you may need to do this job several times a year, but if you’re only an occasional baker, an annual washing should be fine.
If your oven has a self-cleaning cycle, use it. If not, you can do the following:
- Step 1: Start by removing the oven racks and setting them aside.
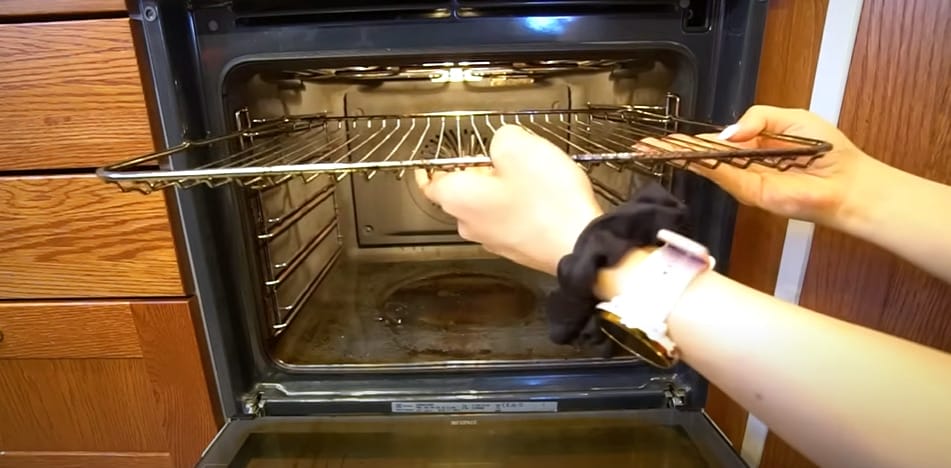
- Step 2: Don your gloves, and spray the oven cleaner generously inside the oven, coating the surfaces evenly. Be sure to hit those hidden nooks and crannies where grease and grime hide.
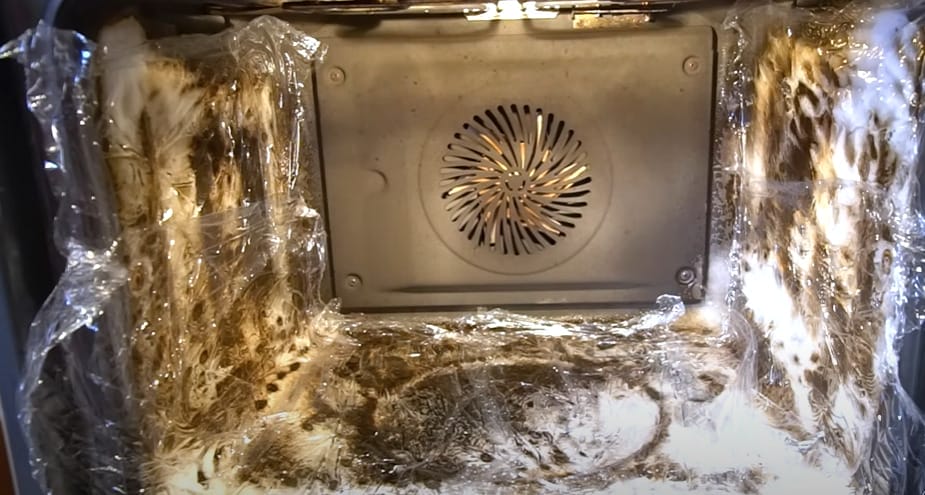
- Step 3: Cover the oven with cling wrap and let the cleaner do its magic for the time specified on the product label.
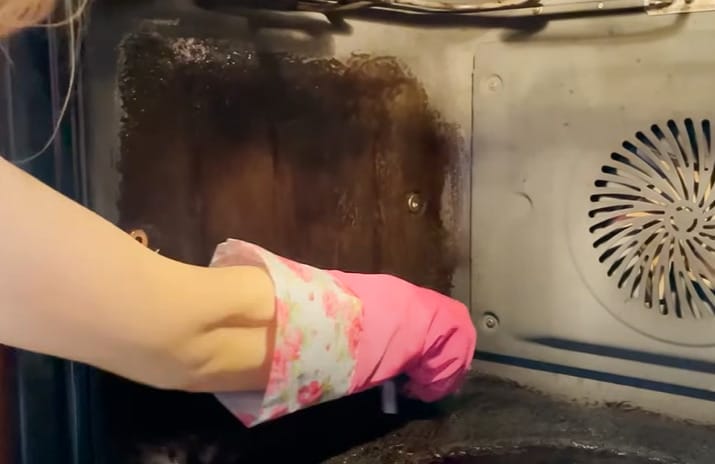
- Step 4: After the wait, take a damp cloth or sponge and wipe down the inside of the oven, ensuring you remove all the cleaner residue.
- Step 5: Clean the racks with the same cleaner or a mixture of hot water and baking soda.
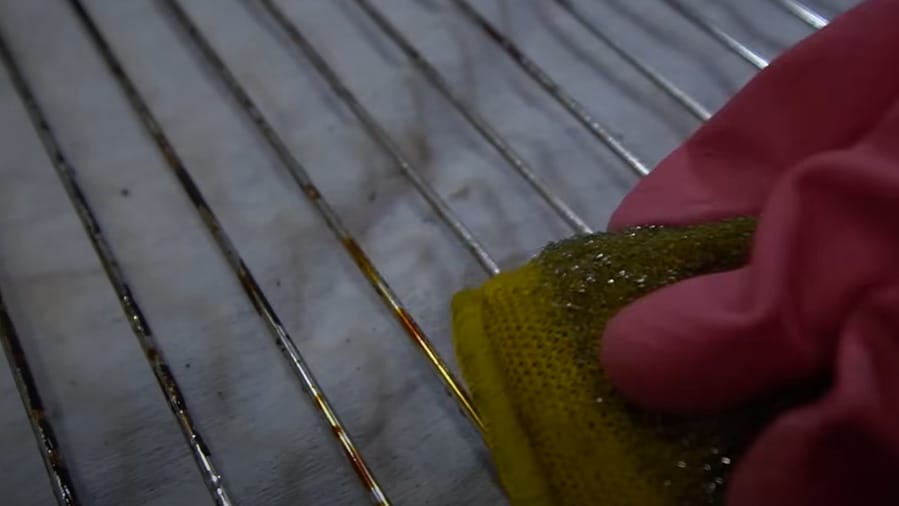
- Step 6: Put the racks in place; your oven is as good as new.
5. Wash Walls and Touch Up Paint
When it comes to home maintenance, it’s important to give your walls a deep cleaning yearly to keep them looking fresh.
- Step 1: Use the brush attachment on my vacuum to remove dust and cobwebs from the walls, paying special attention to the molding and baseboards.
- Step 2: Use a gentle cleaning spray and cloth to remove smudges or fingerprints.
- Step 3: If there are any chips or scratches, I cover them with a dab of paint left over from my last remodel.
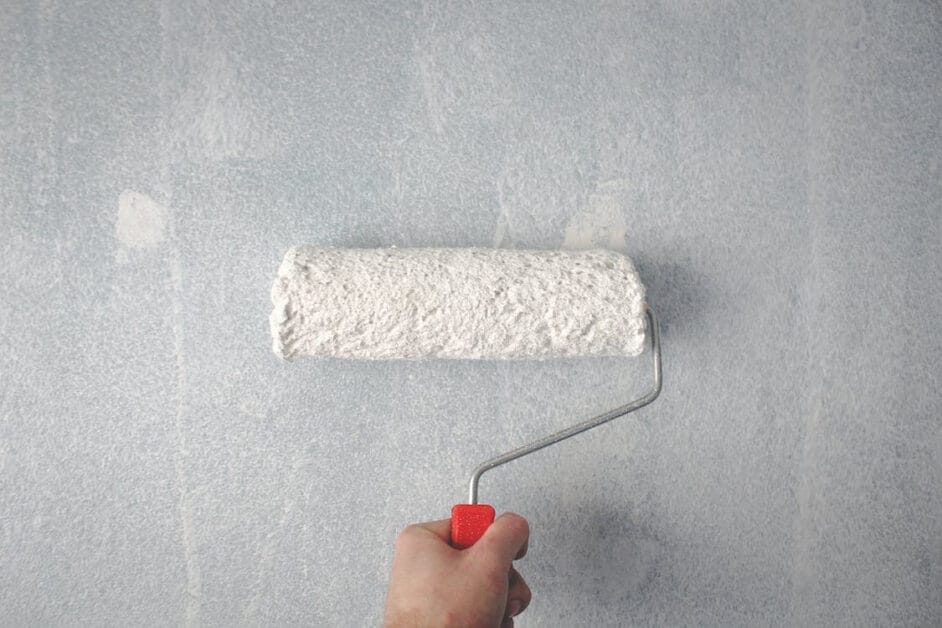
Pro Tip: To avoid streaks, wipe your walls in a circular motion and avoid using excessive moisture.
6. Sweep and Organize the Garage
I always pick a temperate time of year to clear out and clean up my garage. It’s the perfect opportunity to sell, donate, or trash the accumulated clutter over the year.
Once I’ve cleared the space, I organize all the tools and toys I plan to keep. I invest in new shelves and hooks to ensure everything has a proper place, or I use the ones I already have.
After organizing everything, I gave the floor a good going over with a heavy-duty broom and mop. It’s amazing how much dirt and debris can accumulate in the garage, so I take the time to clean it up.
Remember, a clean and organized garage looks great and makes it easier to find what you need when you need it.
7. Brighten Up Those Windows
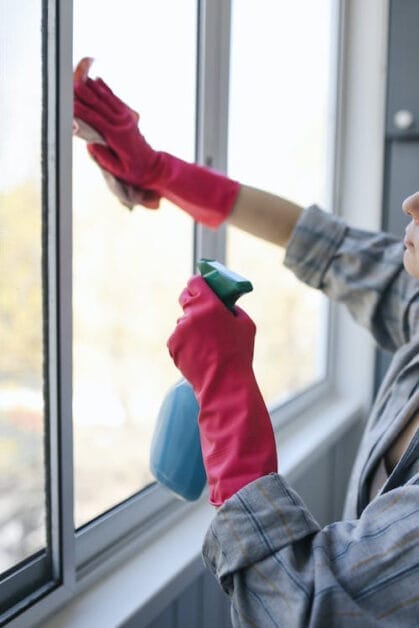
I love opening my windows on a beautiful spring day to breathe fresh air. But before I do, I always make sure to give my windows a good cleaning with a vinegar-based solution and crumpled newspaper.
It’s important to pick a cloudy day for this chore to prevent streaks caused by sunlight.
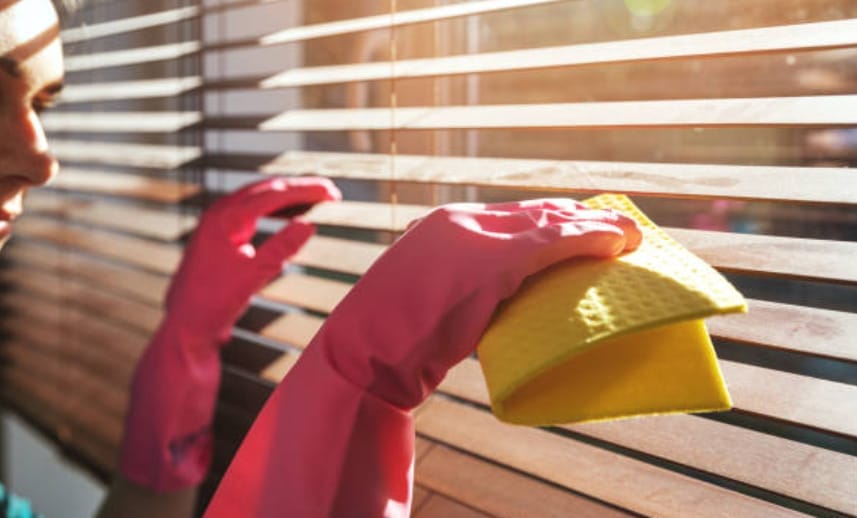
8. Tend to Curtains and Blinds
I always make sure to give my curtains and blinds some love during my cleaning routine. After all, they can collect dust and dirt over time.
- Step 1: Remove my curtains from their rods and check the care labels to see if they need to be washed or dry-cleaned.
- Step 2: I use a lightly dampened cloth to wipe down the rods and finials while they’re being cleaned.
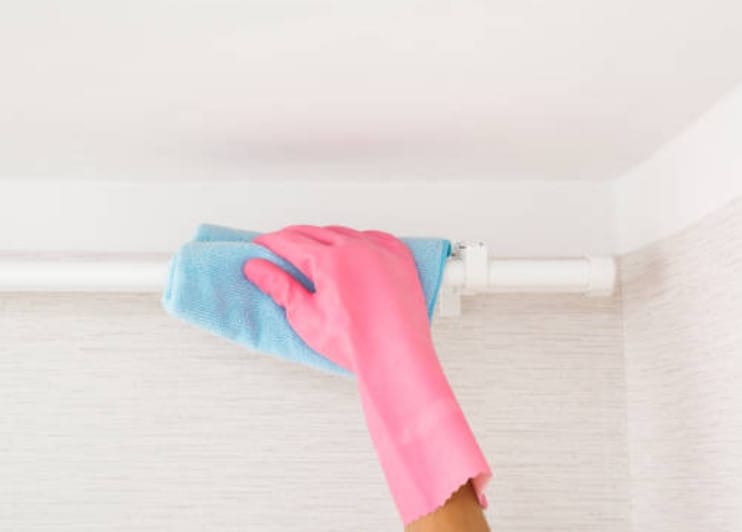
For rolling or Venetian blinds, I also use the same cloth to wipe them down.
9. Deep Clean Carpets
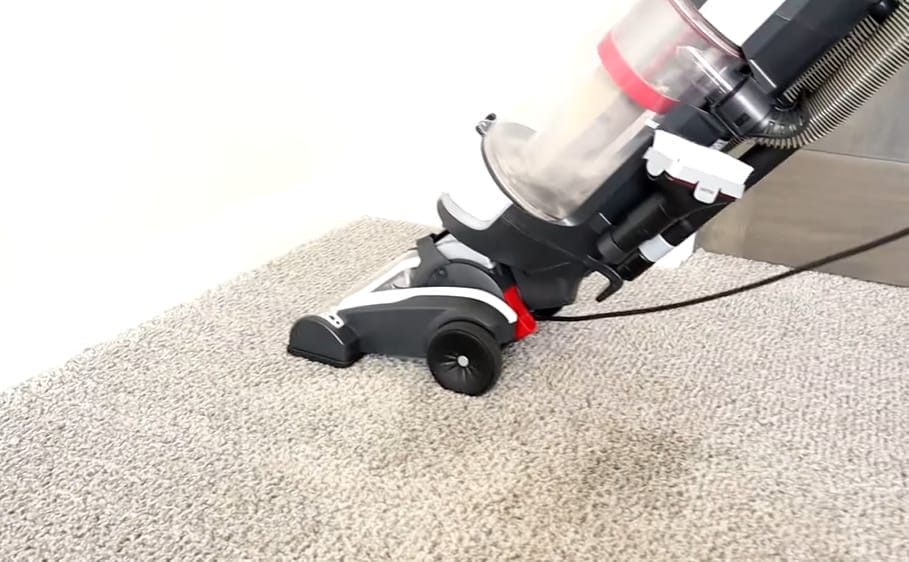
I love the feeling of clean carpets under my feet, and late fall is the perfect time to tackle this task. Dirt, pet dander, and other allergens can build up in carpets over time, so it’s important to remove them.
You can rent a cleaning machine from your local home center or hire a professional service to do the job for you. Regular carpet cleaning can extend the life of your carpets and keep your home healthy.
10. Dust Light Fixtures
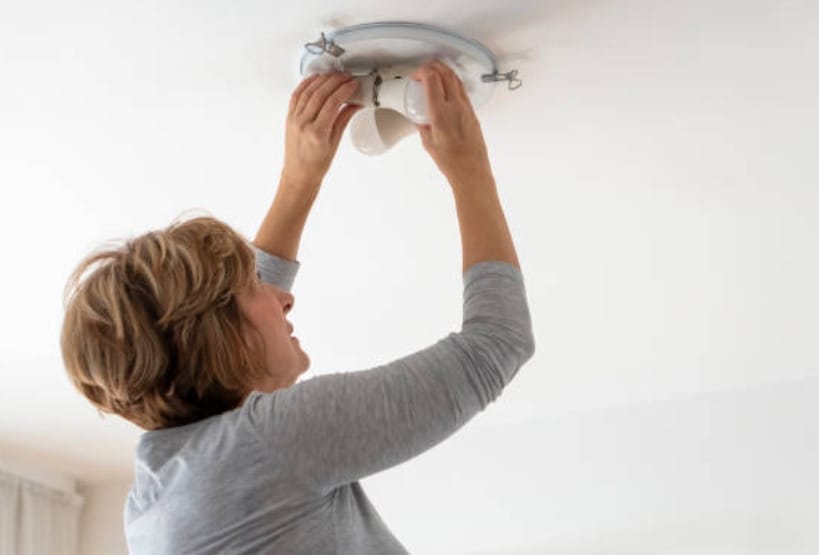
When cleaning light fixtures, a microfiber cloth sprayed with a gentle cleaning spray is the way to go. Wipe down shades, bulbs, and metalwork to let more light shine and brighten your home.
If you can’t reach the fixture with a ladder, try the hose attachment of your vacuum cleaner or use an extendable dusting brush. Don’t forget to dust your fixtures regularly to avoid performing this task more than once or twice a year.
11. Clean the Sump Pump

I never realized cleaning the sump pump was necessary to keep it working properly.
- Step 1: Put it in a bucket and take it outside to wipe off the gunk and grime.
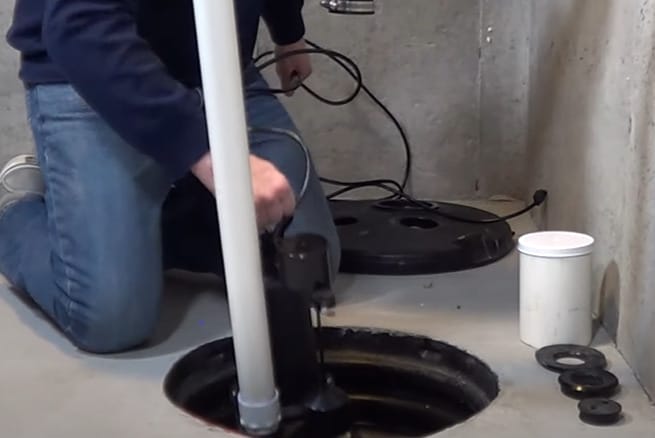
- Step 2: Use a shop vac to remove the pit’s remaining water. A clean sump pump is a happy sump pump!
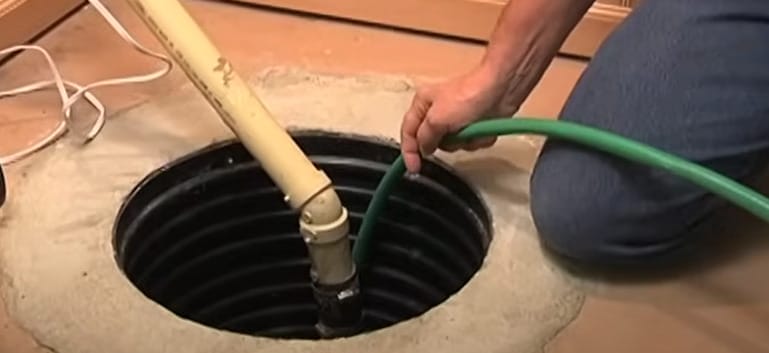
Remember, a dirty sump pump can lead to flooding, so it’s important to clean it regularly. Don’t forget to check the pump’s float switch and test it to ensure it’s working correctly.
12. Dust the Ceiling Fans

I know dusting ceiling fans can be dirty and daunting, but I have a handy trick to make it a breeze!
- Step 1: Grab a pillowcase and spritz the inside with water using a spray bottle.
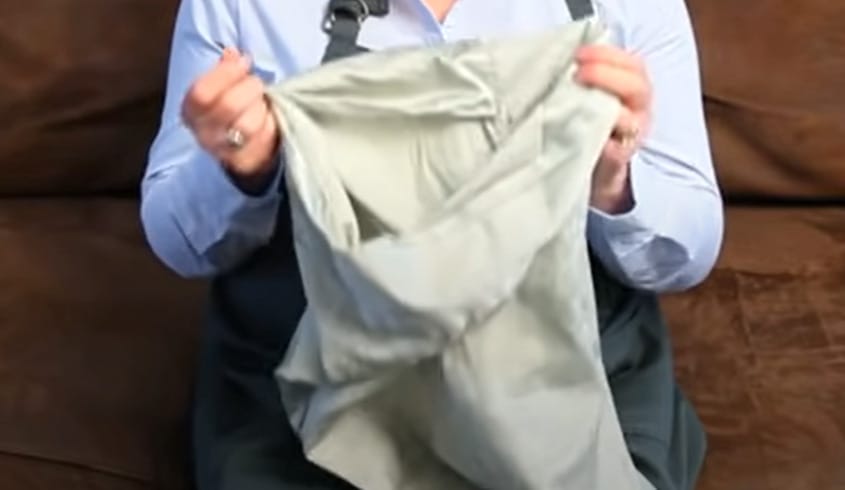
- Step 2: Slip the pillowcase over each fan blade.
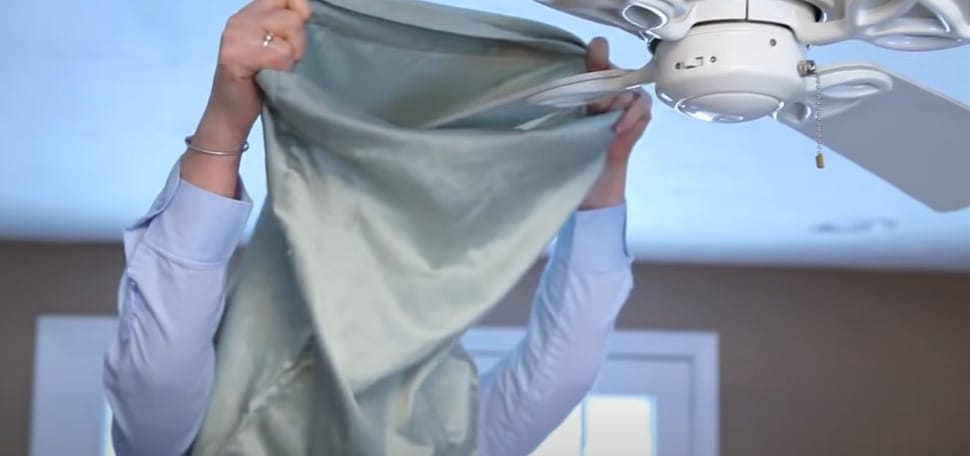
- Step 3: Pull the dust and dirt into the case as you remove it.

This will save you time and keep the dust from flying all over the room. Give it a try and see the difference!
13. Lubricate the Locks

I always lubricate the locks on my doors once a year to keep them in good working order. I prefer graphite powder, which can be easily applied using a squeeze bottle. You can find it at any hardware store.
Pro Tip: Lubricating your locks not only ensures they work smoothly, but it can also prevent future problems and extend the life of your locks.
14. Wipe Down the Patio Furniture

Before putting away your patio furniture for the season, wipe it down and wash if necessary. This will remove any accumulated dirt or grime during the summer months.
Use a mild oil-based soap, such as Murphy Oil Soap, mixed with warm water to remove grime from wood or wicker furniture.
For metal or plastic furniture, a solution of 1/4 cup ammonia, 2 tablespoons white vinegar, and 1 quart of warm water can do the trick.
Once cleaned, store your furniture covered with a tarp or sheet to keep it protected until next season.
15. Touch Up the Front Door
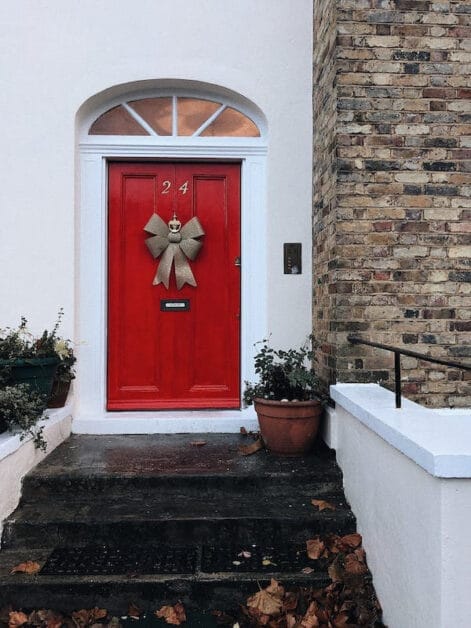
I always touch up the paint on my front door once a year. It’s a simple and quick job that can make a difference in the appearance of your home’s exterior. Plus, it’s a great way to maintain your curb appeal!
Bold tip: A fresh coat of paint can make your front door pop!
16. Clean Out the Junk Drawer
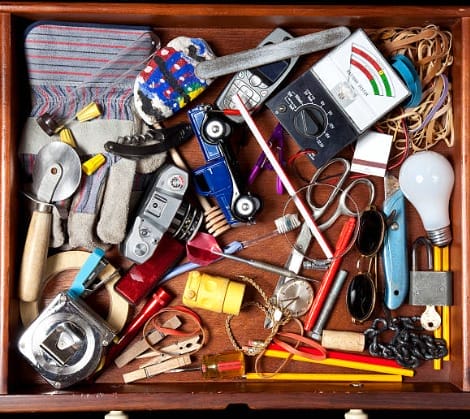
I always recommend having a junk drawer in your home, but cleaning it out once a year is important to prevent clutter.
- Step 1: Start by emptying the drawer completely and taking inventory of each item’s value. Be honest with yourself and purge what is no longer useful.
- Step 2: Then, reorganize the drawer to maximize its storage potential.
- Step 3: Rinse and repeat this process annually to keep your junk drawer under control.
17. Check the Chimney

As a homeowner, inspecting your chimney once a year to ensure it’s safe and functioning properly is important.
- Step 1: Inspect the outside visually to check for cracks or crumbling mortar.
- Step 2: Then, check the firebox inside for the same issues. Don’t forget to open and close the dampers to ensure they work correctly.

If anything gives you pause, don’t hesitate to call a professional to look closer.
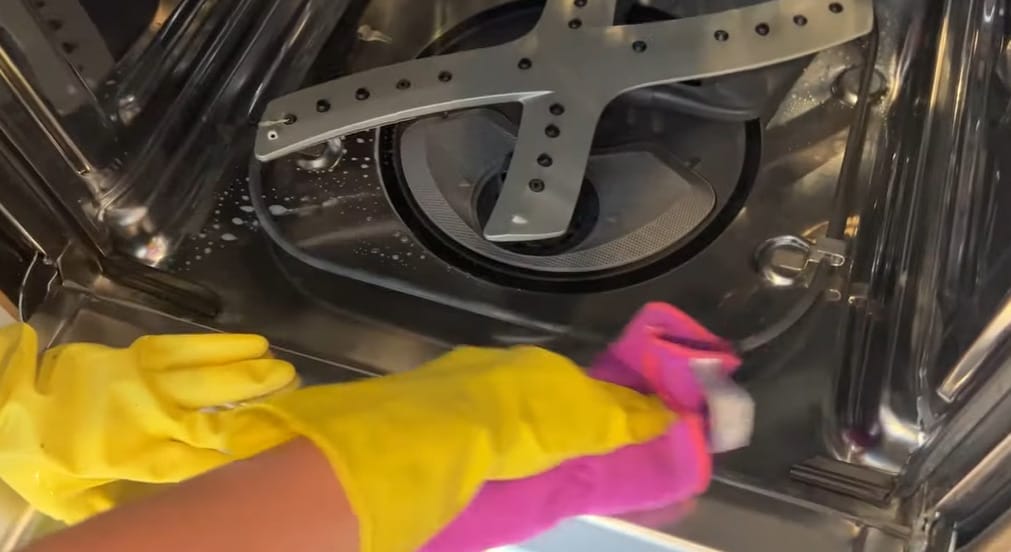
18. Clean the Dishwasher
I never thought my dishwasher needed cleaning until I learned that grease, detergent, and food particles can build up over time. A deep clean once a year can keep it in good working order.
- Step 1: Remove the bottom rack and clear the drain of any debris.
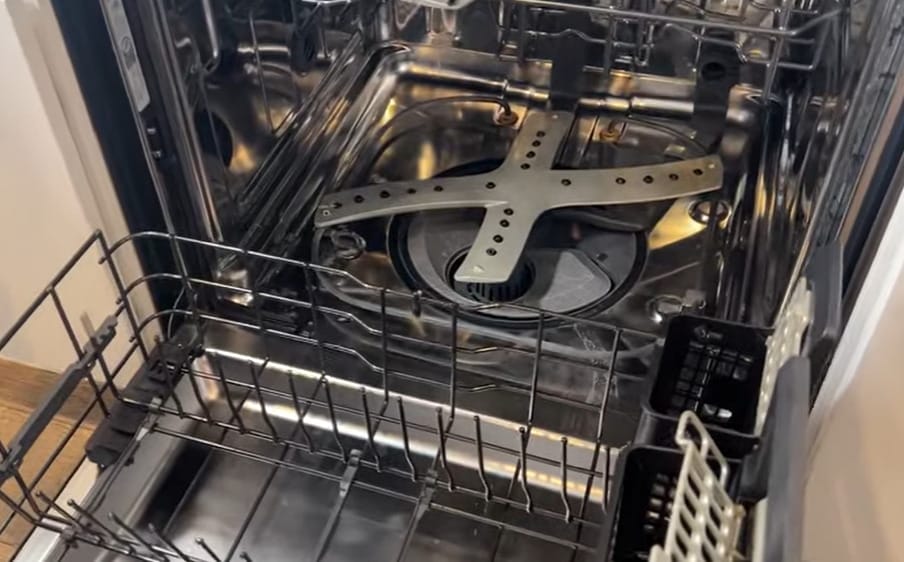
- Step 2: Use vinegar and baking soda to disinfect and remove grime or musty odors.
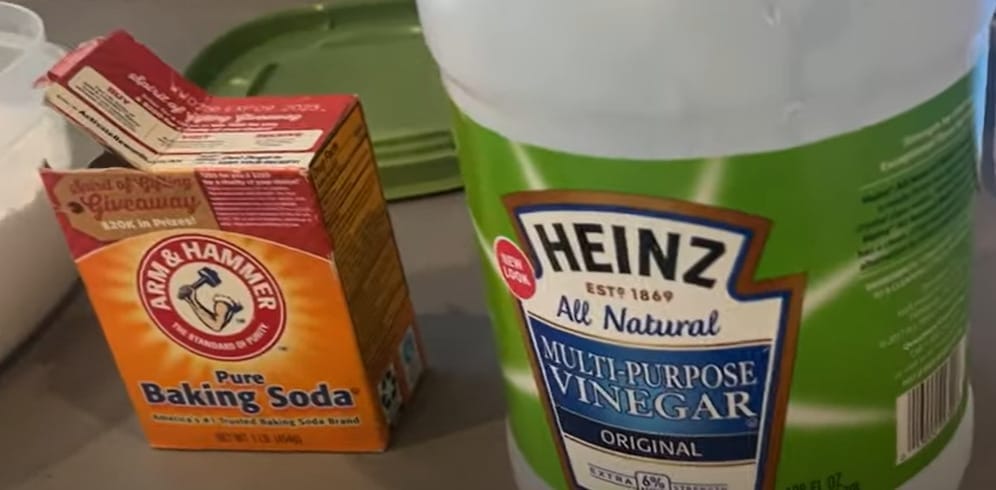
- Step 3: Don’t forget to wipe down the exterior and control panel with a microfiber cloth or sponge.
19. Vacuum the Air Ducts
I always vacuum the air ducts in my home at least once a year. Over time, dust, dirt, and pollen build up in the ducts, which can decrease the efficiency of your HVAC system and negatively impact your home’s air quality.
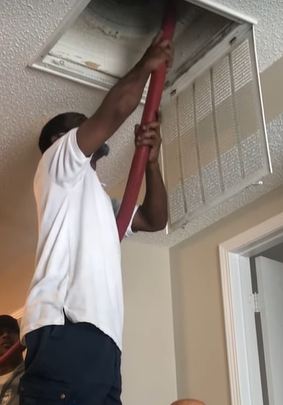
- Step 1: Turn off the power to the HVAC unit and remove the vent covers to clean them thoroughly.
- Step 2: Use a heavy-duty vacuum to clean the ducts as best as possible.
This task may require renting a vacuum, but it’s worth it for the benefits to your home’s air quality and HVAC system efficiency.
20. Deep Clean Your Dryer
I always clean my dryer thoroughly to keep it working efficiently and safely. Simply cleaning the lint trap after each load of clothes is not enough. Here are the steps I take to clean my dryer deep:
- Step 1: Remove the lint trap and wash it.
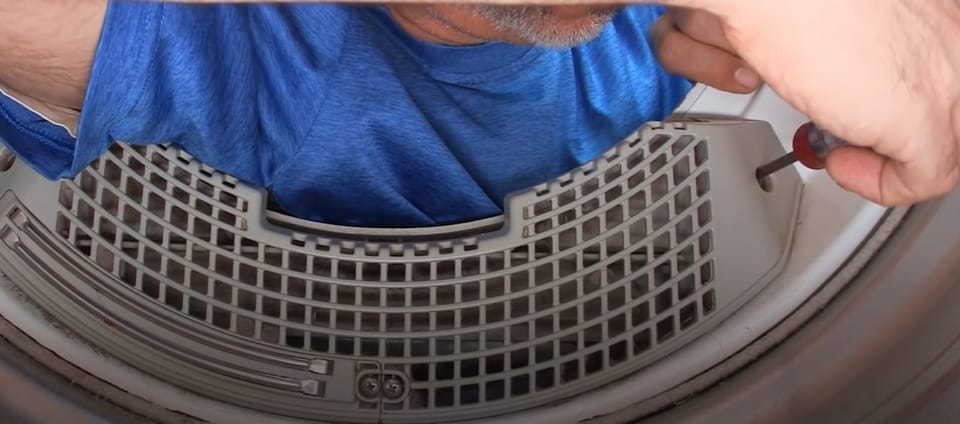
- Step 2: Disconnect the vent tubing and vacuum it out thoroughly.
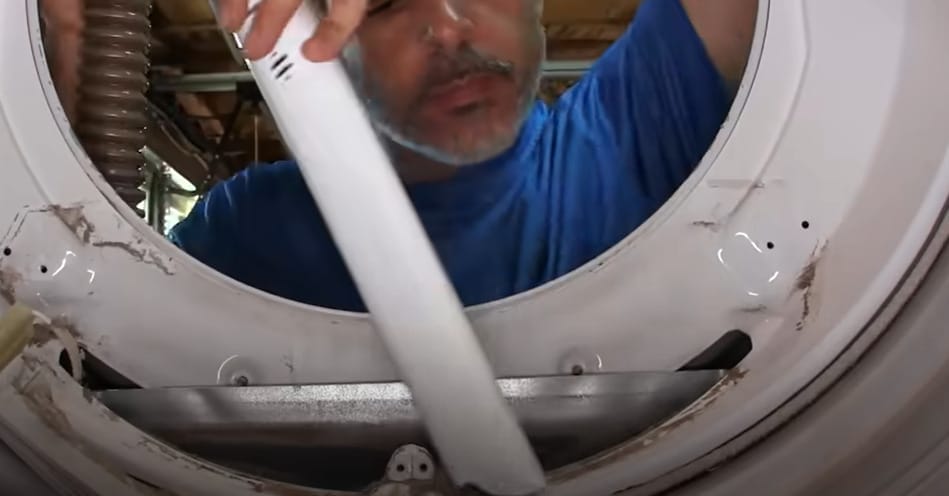
- Step 3: Inspect the outside vent cover and ensure it’s clear of any debris. Trim back any landscaping that may be encroaching.

- Step 4: Return everything and mark the task on your calendar for next year.
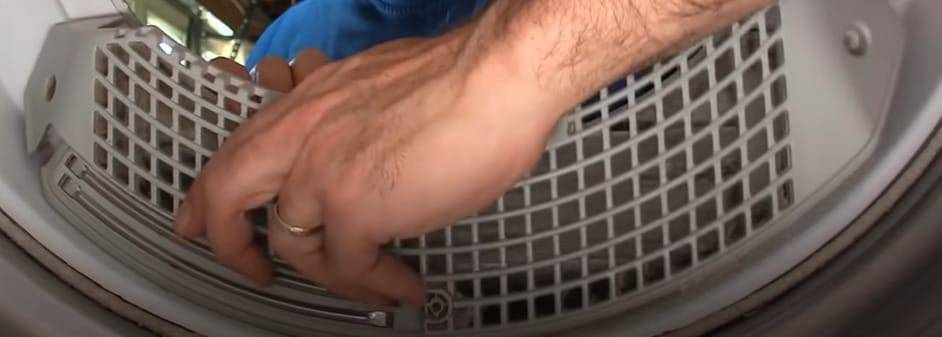
Remember, cleaning your dryer vents is essential to keep your dryer working efficiently and safely. By following these steps, you’ll ensure that your dryer is in top condition and ready for your next load of laundry.
Timely Upkeep: Seasonal Maintenance for Year-Round Home Health
By aligning your home maintenance tasks with the seasons’ rhythm, you work smarter and prevent the rush and hassle of year-end repairs.
Let’s dive into the best times to tackle various home maintenance tasks, from spring sprucing to winter readiness.
| Season | Task | Reasoning |
|---|---|---|
| 🧹Spring | Deep Cleaning & Decluttering | Perfect for a fresh start. Open windows, let the air in, and clear winter’s clutter. |
| Window Cleaning | Post-winter brightness. Clean off the grime from winter storms. | |
| Garden Preparation | Get your outdoor space ready for planting and summer enjoyment. | |
| 🧹Summer | Exterior Painting & Repairs | Warm weather is ideal for outdoor work and paint drying. |
| Gutter Cleaning | Prepare for fall by clearing summer debris; ensure they’re ready for rain. | |
| Air Conditioning Maintenance | Before the heat waves hit, make sure your cooling systems are running smoothly. | |
| 🧹Fall | Heater & Fireplace Servicing | Get ready for the colder months by ensuring your heating systems are efficient. |
| Weatherproofing | Seal gaps in windows and doors to keep the heat and cold out. | |
| Roof Inspection | Check for damages before the winter snow and rain to prevent leaks. | |
| 🧹Winter | Indoor Painting and Minor Repairs | It’s a great time to work indoors; the paint dries quickly in low humidity. |
| Carpet Cleaning | Do this post-holidays to remove any spills or stains from festivities. | |
| Organize Tax Documents | Get ahead of tax season by organizing your files now. | |
| 🧹Year-Round | Safety Checks (Smoke Detectors, etc.) | Ensure your safety devices are working properly every season. |
| HVAC Filter Replacement | Perfect for a fresh start. Open windows, let the air in, and clear winter’s clutter. | |
| Drain Cleaning | Prevent build-up and blockages by routinely cleaning drains in the kitchen and bathroom. |
Maintenance Tips
Here are some maintenance tips to keep your space clean and minimize the annual cleaning effort:
- Declutter Regularly: Every month, go through your belongings and decide what to keep, donate, or throw away. This will not only keep your space tidy but will also make it easier to clean.
- Daily Wipe-Downs: Spend a few minutes each day wiping down high-traffic surfaces like kitchen counters, bathroom sinks, and dining tables. It prevents buildup and makes weekly cleaning faster.
- Weekly Vacuuming and Dusting: Make it a habit to vacuum your floors and dust your furniture once a week. This can significantly reduce allergens and keep your home looking well-maintained.
- Spot Cleaning: Address spills and stains immediately. The longer they sit, the harder they’ll be to remove later.
- Organize as You Go: Put it back where it belongs after using it. This simple habit can keep your space orderly and save you time from having to do major reorganizations later.
- Seasonal Checks: Each season, do a specific set of tasks. For instance, clean the gutters in the fall, pressure wash the patio in the spring, etc.
- Maintenance Schedules: Keep track of when you last performed certain tasks, like deep cleaning the oven or descaling the coffee maker. Sticking to a schedule can prevent these jobs from becoming daunting.
- Smart Storage Solutions: Invest in good-quality storage solutions that help keep your items dust-free and organized.
- Professional Help for Big Jobs: Once a year, consider hiring professionals for tasks like cleaning the carpets or servicing the HVAC system. It’s an investment that keeps your home running smoothly and lessens your workload.
- Mindful Habits: Encourage household members to adopt habits like removing shoes at the door, eating only in designated areas, and cleaning up after pets to minimize dirt and mess.
References
Organizations:
- Institute of Inspection Cleaning and Restoration Certification (IICRC). https://iicrc.org/
- The National Sanitation Foundation (NSF). https://www.nsf.org/knowledge-library/who-is-nsf-international
Books:
- “Home Comforts: The Art and Science of Keeping House” by Cheryl Mendelson. https://www.thriftbooks.com/w/home-comforts-the-art-and-science-of-keeping-house_cheryl-mendelson/252971/
- “The Life-Changing Magic of Tidying Up” by Marie Kondo. https://shop.konmari.com/products/the-life-changing-magic-of-tidying-up-1
Website Resources:
- Good Housekeeping. https://www.goodhousekeeping.com/
- Martha Stewart. https://www.marthastewart.com/
Video References:
How I Do Things DIY
DIY Lily Ardor
Aurikatariina
Clean That Up
Balkan Sewer & Water Main Service
NDSUExtenstion
ehowhome
Clean Freak & Germaphobe
Breathe Clean Air
Doing Things Dan’s Way