10 min read
How to Wire a Hot Tub (Easy Guide for DIYers)
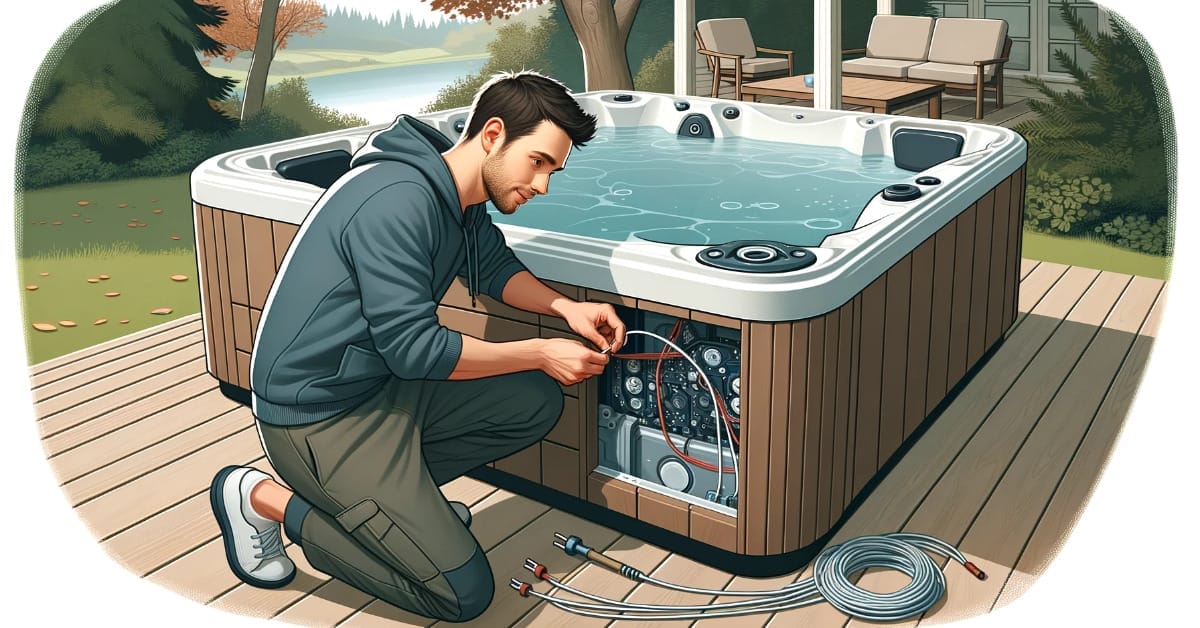
So, you’re thinking about wiring your hot tub? Way to go! It’s a task that might seem a little daunting at first, but don’t worry – I’m here to guide you through the process.
Key Takeaways – Hot tubs generally require a 110V (plug-and-play, slower heating) or a 220V circuit (faster heating but might need professional installation). Safety is crucial: use proper tools, wear protective gear, and work in a dry environment. Check your hot tub’s manual and local regulations for appropriate wire and breaker sizes.
In this article, I will walk through the step-by-step process of wiring a hot tub DIY style. So, let’s dive right into it!
Choosing the Right Electrical Circuit for Your Hot Tub

When installing a hot tub, choosing the appropriate electrical circuit is one of the most crucial steps. It’s not as intimidating as it sounds, I promise!
You must know that hot tubs typically require a 110V or 220V circuit. The basic difference between these two options boils down to power and efficiency.
A 110V circuit, often called plug-and-play, is super handy because it plugs directly into your existing outlets – think of it like plugging in a toaster!
It’s simple enough, but there are trade-offs. Lower voltage means less power, which can result in slower heating times.
On the other hand, we have the 220V circuits that are more powerful and heat your hot tub faster—who doesn’t want a quick dip in demand?
However, these will likely require professional installation because they tap directly into your home’s wiring system.
Here are some factors to consider when making your choice:
| Criteria | Question |
|---|---|
| Budget | Can you afford professional installation? |
| Time | How fast do you want your tub heated? |
| Usage | Will you be using the hot tub frequently? |
Regardless of whether you go for a 110V or 220V circuit, ensure any electrical work complies with local codes and regulations.
In my next section, I’ll talk about how to wire up this bad boy!
Safety Precautions to Consider Before Wiring
First off, make sure your power source is turned off. It seems obvious, but trust me, it’s easy to forget when you’re itching to get started! And no one wants a shocking surprise.
Next up on my list: use the right tools for the job. I can’t tell you how often I’ve seen folks trying to make do with what they have lying around the house.
Investing in quality electrical tools will pay off in the long run (and keep those fingers of yours safe!)
Here are some essentials:
- Wire Strippers
- Screwdrivers
- Voltage Tester
Another biggie? Wear protective gear – especially insulating gloves and eye protection.
Now, let’s talk about your work area. Make sure it’s dry before starting any wiring project. Water and electricity don’t mix well—unless you’re a fan of fireworks!
And lastly – if this all sounds too much or you’re feeling uncertain at any point – don’t hesitate to call in a professional electrician.
It might cost more upfront, but think of it as an insurance policy for your peace of mind…and physical well-being!
Required Tools and Materials for Hot Tub Wiring
Before we dive into the nitty-gritty of hot tub wiring, let’s talk about the tools and materials you’ll need.
| Item | Description |
|---|---|
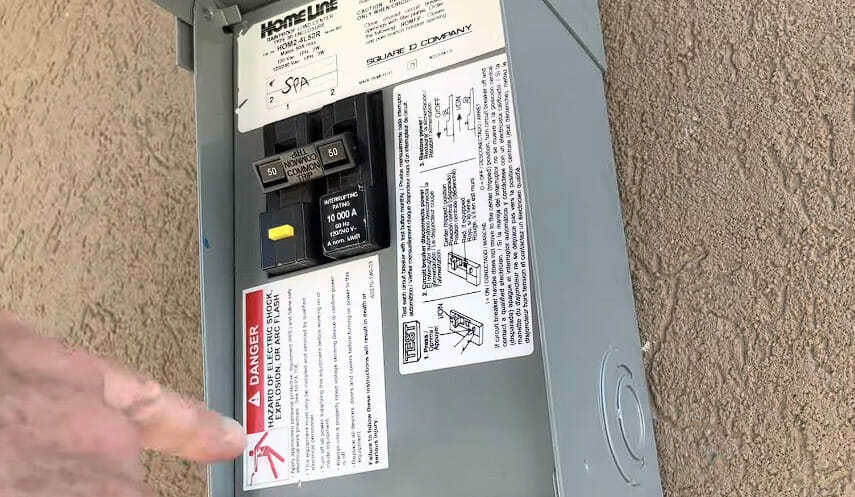
| Circuit Breaker | 50- or 60-amp circuit breaker. Provides overcurrent protection for the tub’s electrical circuit. |
| A GFCI Breaker | Check your tub’s manual for size. |
| Electrical Wire | Two lengths of copper wire: One #6 gauge and the other #8 gauge. |
| Conduit & Fittings | Conduit houses and protects the wires. Fittings are necessary for connecting the components. |
| Wire Strippers | Tools used to remove insulation from wires. |
| Screwdrivers | Phillips head screwdriver for assembling and connecting components. |
All these items can easily be found in any home improvement store or online.
Now that we’ve covered what you’ll need, let’s move on to how to use them.
The Step-by-Step Process of Wiring a Hot Tub
So, you’re ready to take the plunge and wire your hot tub? Let’s do this together.
But first, here’s an easy-to-follow guide on what size wire and breaker you should use based on your hot tub:
| Hot Tub Size (Amps) | Wire Size (AWG) | Breaker Size (Amps) |
|---|---|---|
| Up to 30 | 10 | 30 |
| Up to 40 | 8 | 40 |
| Up to 50 | 6 | 50 |
Remember that these sizes are generally accepted, but always check with your manufacturer or local code enforcement first!
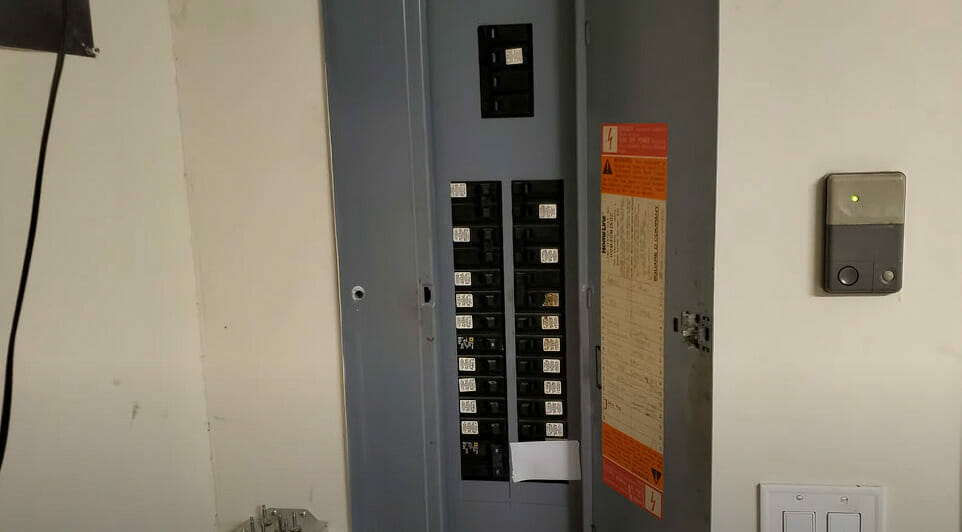
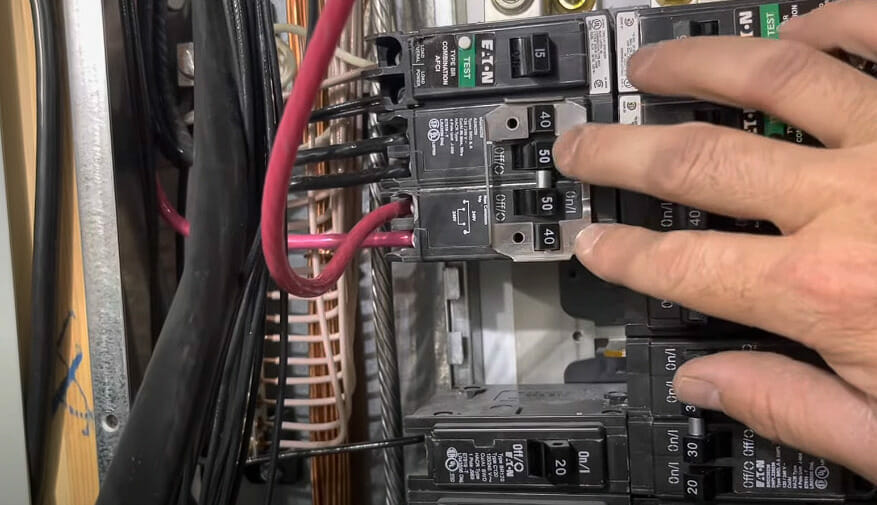
Step 1. We’ll start by turning off the main breaker at our home’s circuit panel – we don’t want any unexpected shocks.
Step 2. Attach your GFCI breaker into an open slot on the panel. This protects you from deadly electric shock by cutting off power if there’s a current leak in the hot tub circuit.
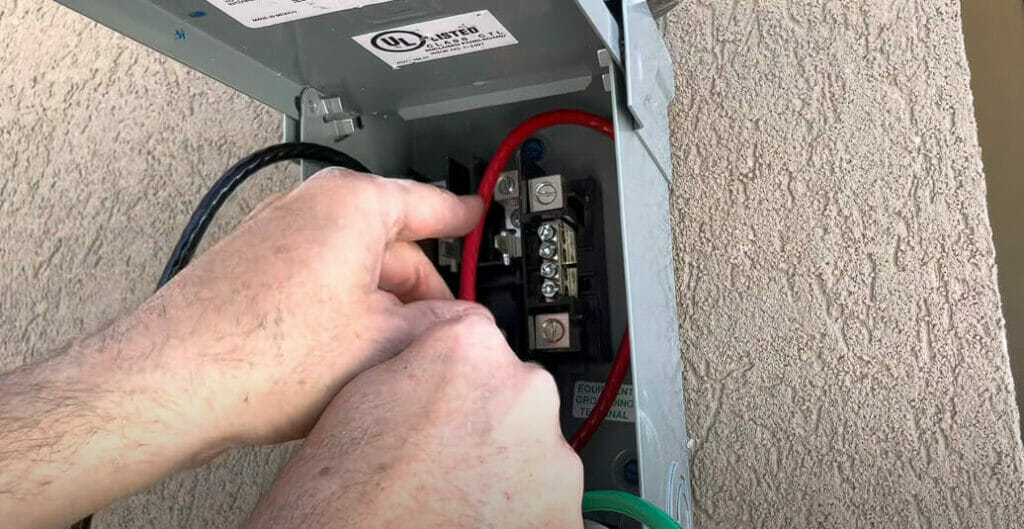
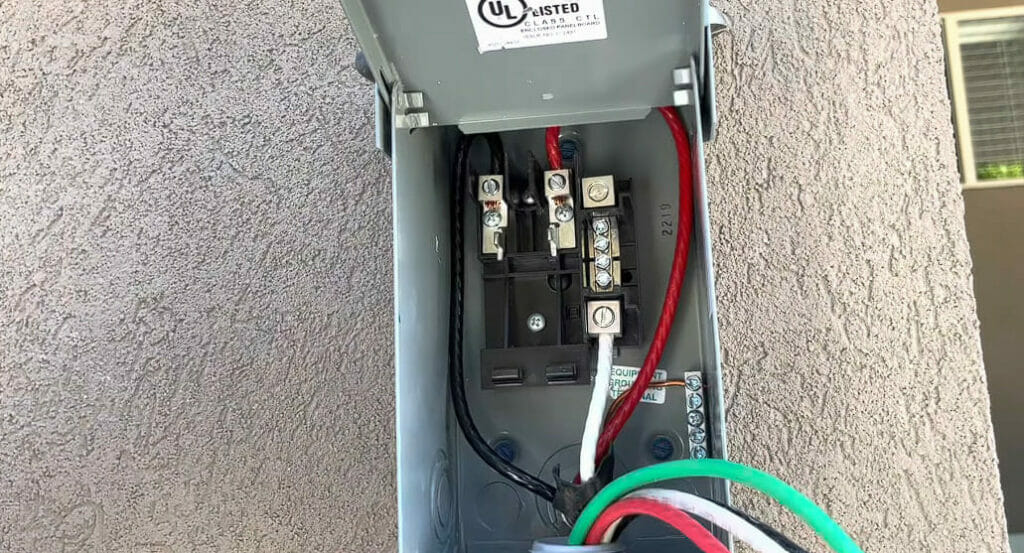
Step 3. Here come those wires! Run them through conduits from your hot tub control box to that shiny new GFCI breaker. Get those wire strippers out now – strip around half an inch off each end of every wire.
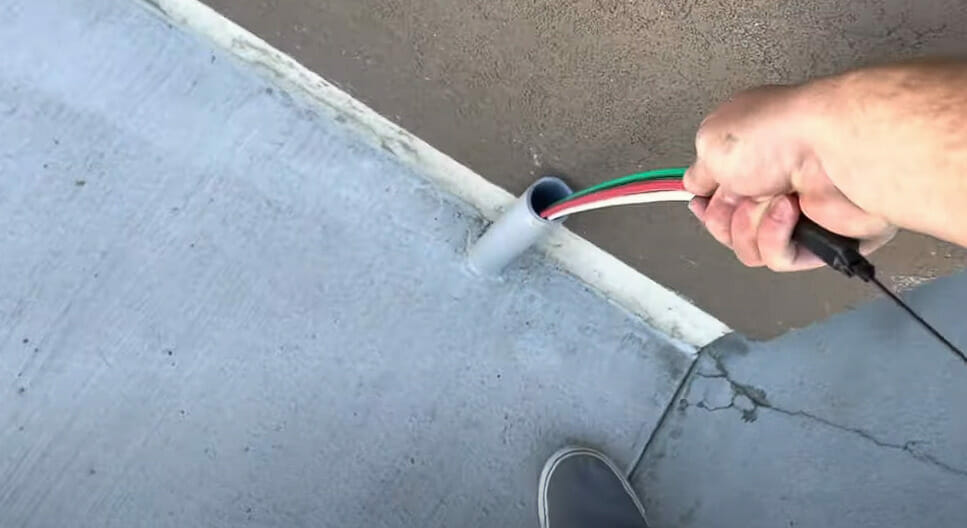
Step 4. With wires laid out, we now need to connect them carefully in their respective spots — Now, hold onto your hats because it’s time for some color-coded fun:
| Color | Connection |
|---|---|
| White | Neutral terminal bar |
| Green or bare copper | Ground terminal bar |
| Red and Black | Hot terminals |
Step 5. Finally, it’s time for us to test our work!
Testing the Hot Tub After Wiring
If you’ve made it this far, pat yourself. We’re almost there – we have to test the hot tub now. But hold your horses, don’t jump in just yet!
Remember, we’re dealing with water and electricity here – not exactly a safe mix if things aren’t wired up correctly.
Our first step is to fill the hot tub with water but not turn anything on yet. This will allow us to spot any potential leaks before electricity gets involved.
Next, let’s double-check all our connections. I mean ALL of them. It wouldn’t hurt to re-confirm that all wires are securely attached and routed properly away from water sources.
After we’ve confirmed everything’s sealed tight and wired correctly, then—and only then—can we switch on the power at the breaker box.
Now comes the exciting part. No, no… Still not time for a dip! But yes, it’s time to see if our hard work has paid off. Turn on your hot tub controls and watch closely for these signs:
- The pump starts running
- Jets begin blowing out water
- Display panel lights up (if there is one)
If everything seems to be working fine without sparks or strange noises – congratulations! You’ve successfully wired your hot tub!
However, shut it down immediately if something doesn’t seem right or you hear odd sounds or see sparks.
Don’t try troubleshooting electrical issues unless you know what’s wrong and how to fix it safely.
Remember, don’t hesitate to call in a professional if something seems off
I know it’s tempting to dive right into that warm, bubbling bliss after such hard work, but trust me, ensuring everything is done right is worth more than having a fried circuit board spoil your soak later!
Common Mistakes to Avoid in Hot Tub Wiring
Alright, let’s talk about some common mistakes you’ve got to avoid when wiring a hot tub.
First, one of the frequent errors I see is using incorrect wire size. It’s not as simple as grabbing any old wire from your toolbox. If the wire gauge isn’t right for your hot tub’s voltage and amperage needs, things can heat up quickly…and not in a good way!
Next on my list is skipping out on GFCI protection. This little gadget (a Ground Fault Circuit Interrupter) is your best friend—it’ll cut power if there’s an electrical imbalance to prevent shocks.
Remember when I said, ‘Don’t use any old wire’? That applies doubly for using indoor-rated wires outdoors! These aren’t built for extreme temperatures or weather conditions and could lead to dangerous situations. Always go for outdoor-rated wires.
And finally – this might seem obvious, but it bears repeating – never work on live wires! Turn off the breaker first before even thinking about starting work.
So there we have it: sidestep these pitfalls, and you’ll be lounging in your hot tub worry-free before you know it!
References
Organizations:
- National Electrical Manufacturers Association (NEMA). https://www.nema.org/
- National Electric Code (NEC). https://www.nfpa.org/codes-and-standards/
Websites:
- The Spruce. https://www.thespruce.com/
- Electrical Safety Foundation International (ESFI). https://www.esfi.org/
Video References:
Myks Garage
LETMELIVE