7 min read
How to Use a Tack Hammer (4-Step Guide)
This article is for you if you’re trying to use a tack hammer to attach upholstery to furniture and are unsure how to use it properly.
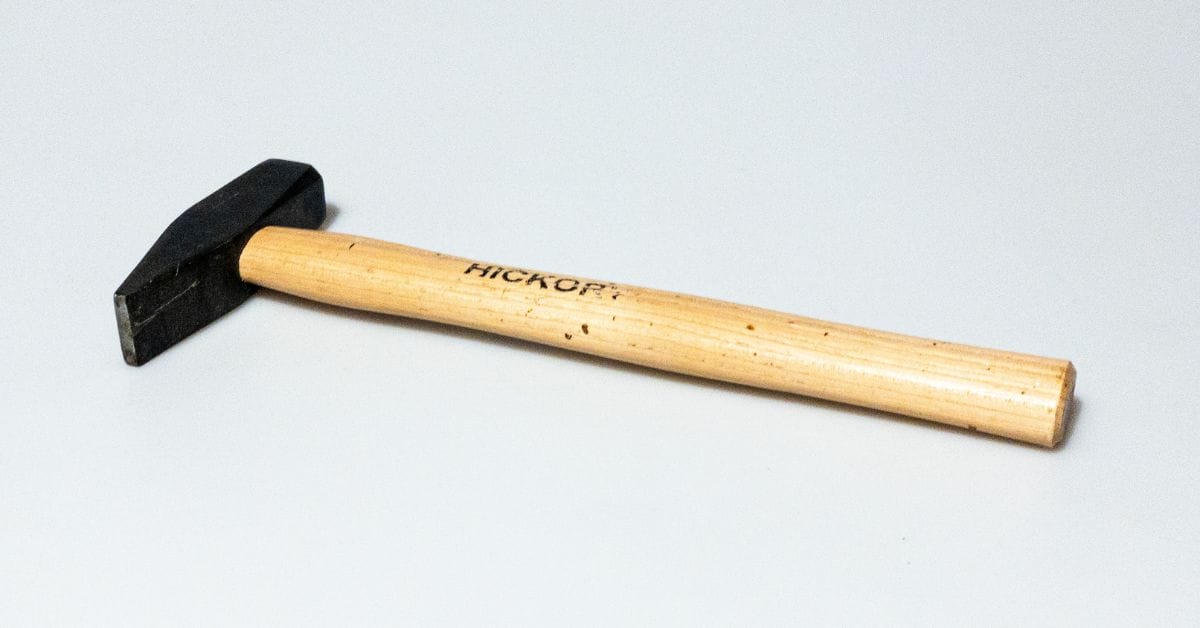
Tack hammers are versatile tools for hitting nails into furniture and other upholstery tasks. Most tack hammers are magnetized to help you draw tack nails from a toolbox without hurting your fingers. Knowing how to use one properly will help you avoid causing damage to the furniture and yourself.
To drive tack nails into a surface with a tack hammer:
- Grip the tack hammer’s handle near the end — away from the head.
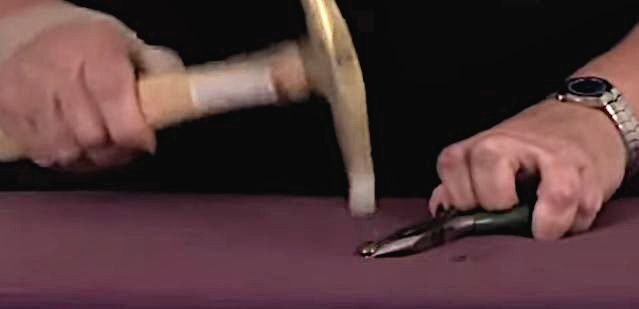
- Position the nail on the surface of your material, using pliers if necessary, to avoid hurting your fingers.
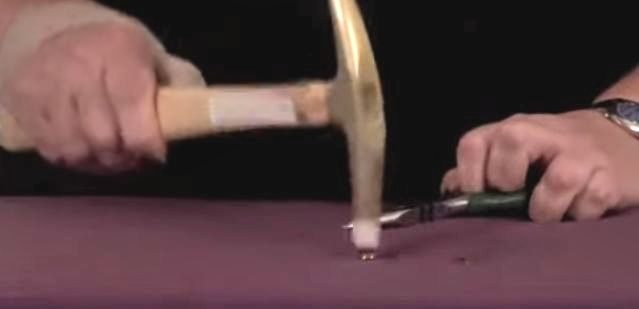
- Steadily hit the head of the nails with light blows.
- Remove the pliers and tap further with slightly greater pressure until the nail is fully embedded.
I’ll go into more detail below.
About Tack Hammers
A tack hammer is a multi-purpose hammering tool for light tasks that can be used, for example, to hang up a small picture frame or a holiday wreath.
Using a tack hammer is like using any other hammer but with less force. Tacks and small nails don’t require much effort to be hammered in. The key to proper tack hamming is steady and precise tapping.
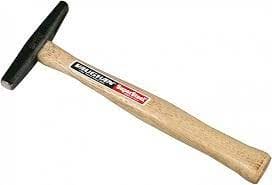
A tack hammer’s magnetic tip helps keep the nail in place, but you can also use a nail setter initially for practice if you need to. It also protects the surface where the nail is being hammered by preventing the hammer’s head from hitting and denting it. Magnetic Tack Hammers are especially useful when installing carpets on bull noses, as the magnetic end will hold the tack back while driving the installer into position.
How to Use a Hammer (Procedure)
Step 1: Get the Right Hammer Ready
You should always use the right hammer for the job.
- Using a heavyweight hammer to drive in a small brad nail is like using a sledgehammer to crack a nut. It will likely give you a blackened nail bed.
- Using a tack hammer on large nails is like trying to mow your lawn with scissors.
Use a heavyweight hammer to drive large nails into hardwood and hard walls, but use a small tack hammer for finishing nails and upholstery tacks. Ensure the handle is not loose, and there are no dents, chips, or cracks. Use a new tack hammer if there are.
So, if they’re tack or finishing nails, get a tack hammer ready (not a regular one) and follow the subsequent steps. Remember to grip a tack hammer near the end rather than its head.
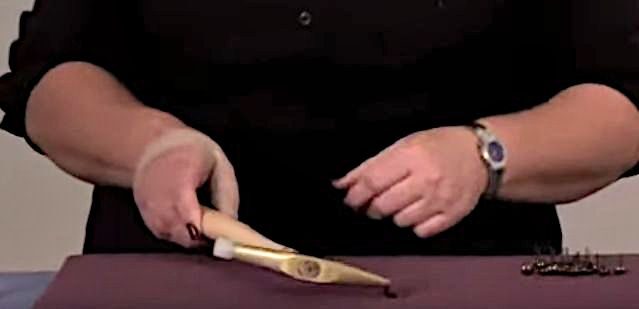
Step 2: Hold the Nail in Place
Hold the nail firmly between your index (or other) finger and thumb, about two-thirds of the way up.
Don’t hold the nail at the pointed end or close to its head. Holding the nail too low will make it unstable, increasing the risk of striking your fingers or driving it in at the wrong angle.
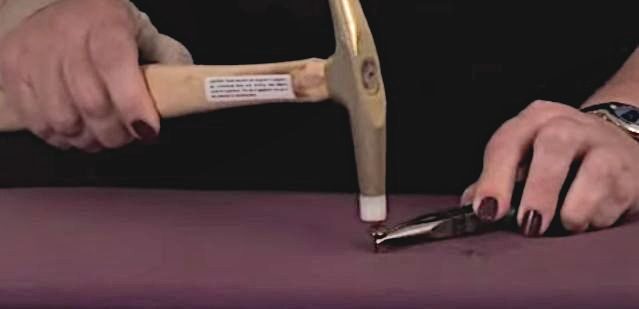
Step 3: Tap Lightly
Tap the nail on its head lightly until it is firmly embedded inside the wood, though not completely.
You don’t need to apply a lot of pressure. The nail will quickly settle in place after a few blows. Remove your fingers or other holding tool before the next step.
Step 4: Embed Fully
Grip the tack hammer near the end of its handle for hammering until the nail is fully embedded.
Apply slightly more pressure than you did in the previous step, but not too heavily. Remember that tack nails are fragile and can easily get damaged.
Swing from the elbow, not the wrist. It should be straight. Keep the handle aimed toward the hips rather than the body’s side.
More Tack Hammering Tips
- Slipping – If you experience frequent hammer slipping, I recommend roughening the nail’s head with coarse sandpaper.
- Small nails – When hammering very small nails that are difficult to grasp, use needle-nose pliers, tweezers, or a comb to hold them in place.
- Splitting – Flatten the chisel end of the nail slightly to reduce risk of splitting the wood. Tap it with the hammer first and drive the nail in at a slight angle.

Removing a Tack Nail
Hammering any nail doesn’t always go smoothly. Using a tack hammer is no exception.
Being fragile, a tack nail can easily bend. Use the tack hammer’s claw to pull a nail from a surface. You can only do this if the nail is not fully embedded; otherwise, you must strike the nail back from the other side.
You can construct a lever using a small piece of wood to make it easier. Tuck it under the handle and press the top of the tack hammer to lift the nail. It should lift out easily.
Discard the bent nail and repeat the above method with a new tack nail.
References
Website Resources:
- magnet. https://www.britannica.com/science/magnet
- upholstery activities. https://www.architecturaldigest.com/story/how-to-choose-upholstery-fabric
- tack hammer. https://www.amazon.ae/Vaughan-180-34-Magnetic-Hammer-5-Ounce/dp/B00G0PLHZG
Video References:
Deco Bliss
YOUMAGAZINETV
rowleycompany1
You Magazine TV