13 min read
How to Test a Circuit Breaker with a Multimeter (7-Step Guide)
Hey everyone! Today, I’m diving into something that can be a real headache in your home: a broken circuit breaker.
I will show you how to test a circuit breaker using a trusty multimeter, just like I’ve done in countless projects.
Quick Summary:
🛠️ Step 1: Safety First
🔍 Step 2: Pick a Circuit Breaker
🔌 Step 3: Turn Off the Connections
📏 Step 4: Set up the Multimeter
⚡ Step 5: Use the Two Probes and connect them
📈 Step 6: Check the Reading
🔎 Step 7: Identifying Faulty Breakers
We’ll get into the nitty-gritty of this process, from setting up your multimeter to reading those voltage numbers. Plus, I’ve got some maintenance and troubleshooting tips up my sleeve.
So, let’s get started and tackle these circuit breakers together!
Mastering the Multimeter: Step-by-Step Guide to Testing Circuit Breakers
If you’re like me and love to get hands-on with your home’s electrical system, then knowing how to test a circuit breaker with a multimeter is a skill worth having.
I’ve been there and done that, and now I will walk you through the process, step by step, with some tips from my own experiences.
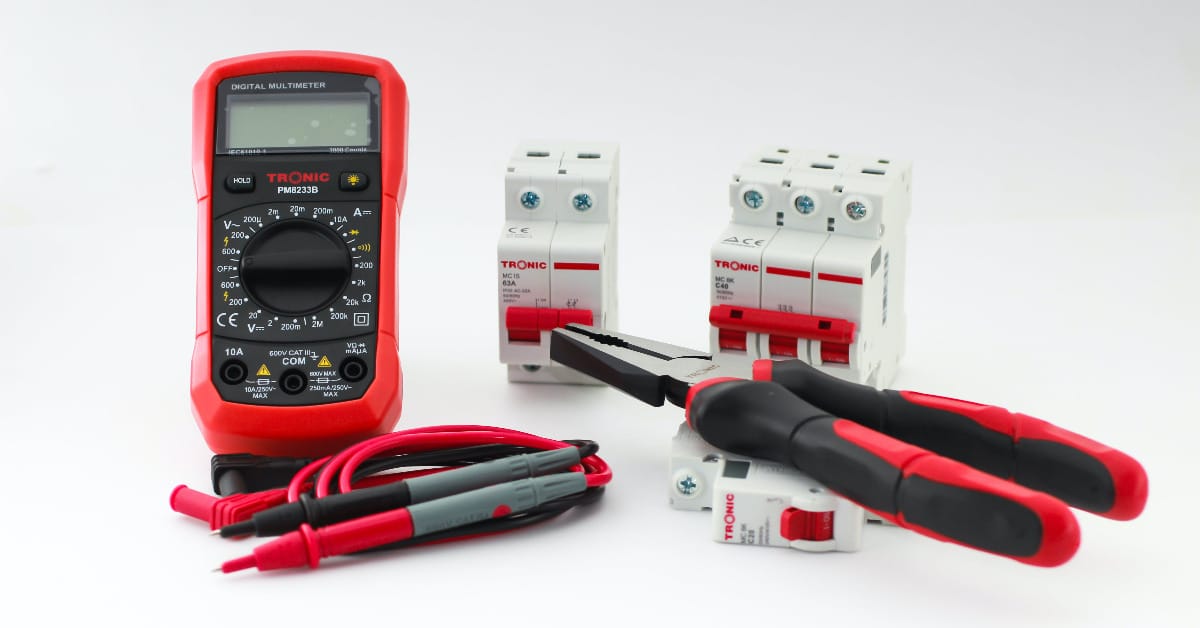
Tools You’ll Need:
- A reliable digital multimeter
- A sturdy, flat screwdriver
Step 1: Gather Your Tools and Safety First
After gathering your digital multimeter and screwdriver, ensure a dry environment.
I recall a time I was fixing a panel with stormwater everywhere. This taught me the invaluable lesson of patience and timing in electrical work.
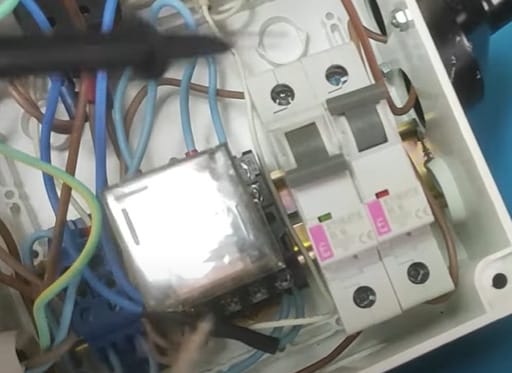
Step 2 – Pick a Circuit Breaker
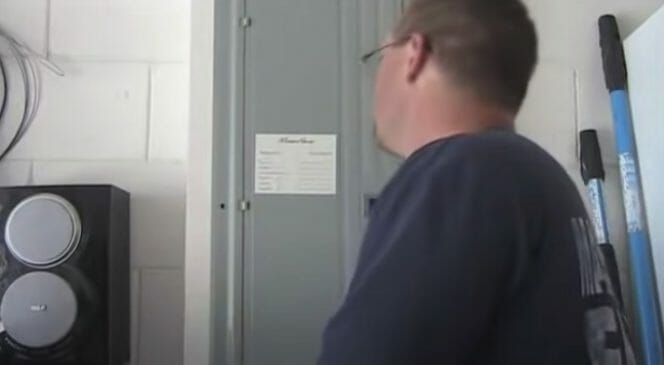
- Now, open up that electrical panel. I usually use a reliable flathead screwdriver for this. Keep track of those screws – they’re easy to misplace.
Selecting the right breaker to test can feel like a treasure hunt. I remember working in a century-old house where the panel was a historical puzzle.
Each breaker had its own story, and finding the right one was key to unraveling the home’s electrical narrative.
Step 3 – Turn Off the Connections
Switch off all devices and lights powered by your chosen breaker. It’s a crucial step to avoid any unexpected zaps or issues.
I recall an incident where I forgot this step – a small spark reminded me of the importance of focus.
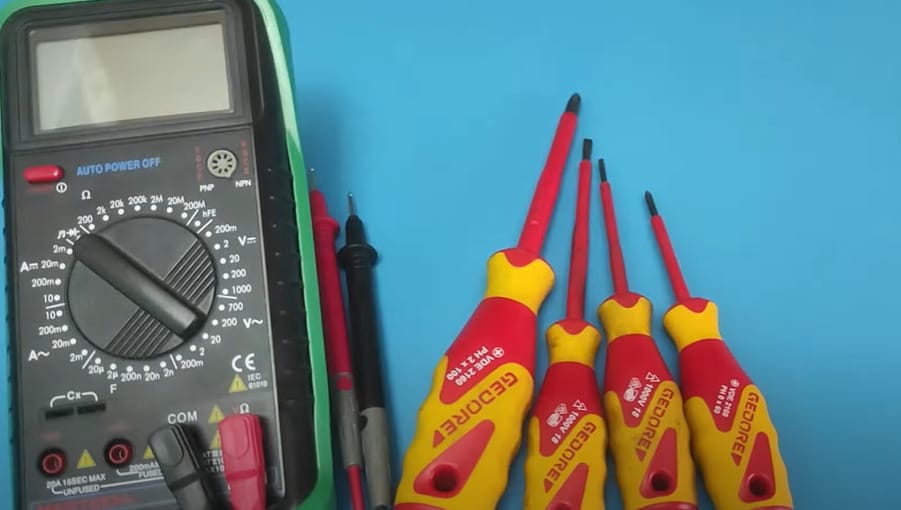
Step 4 – Set up the Multimeter
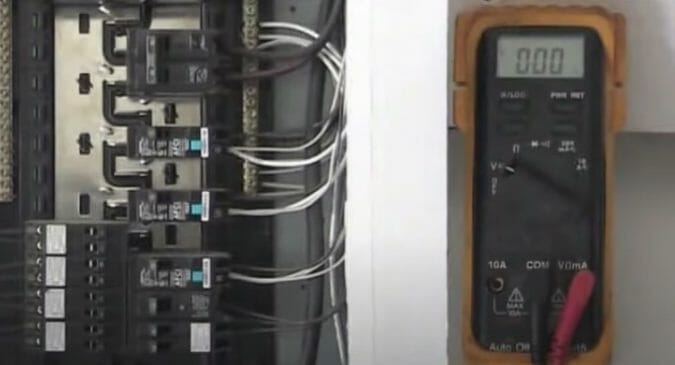
Alright, it’s time to set up your multimeter. Setting up the multimeter is straightforward, but I learned to double-check the settings after a day of inaccurate readings led me to discover a faulty dial.
Connect the black probe to the COM port and the red one to the V and Ω port. Ensure your multimeter is on the voltage setting (the ‘V’ symbol).
A pro tip: always check your probes for any damage before use – safety is paramount.
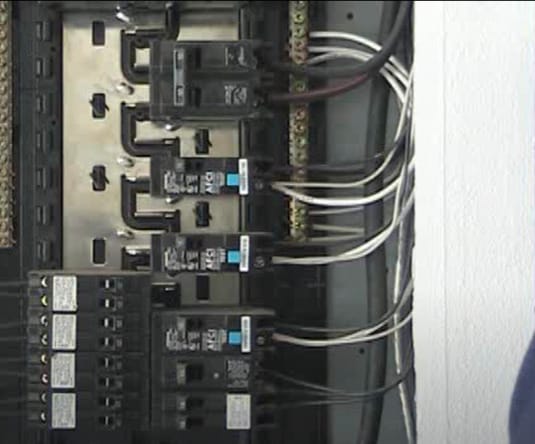
Step 5 – Use the Two Probes
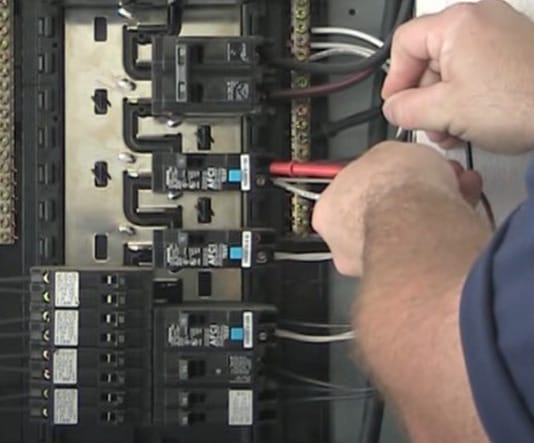
- Now, with your probes ready, carefully place the red one on the circuit breaker’s terminal screw and the black one on the ground screw.
- Always hold the probes by their insulated parts – it’s a simple but crucial habit for safety.
- I’ve seen cases where a slight misplacement led to misleading readings – it’s all about the details.
Step 6 – Check the Reading
It’s time to see what’s going on with your breaker. I’ve seen everything from perfect functionality to complete failure, learning more about the intricate dance of electricity in our homes each time.
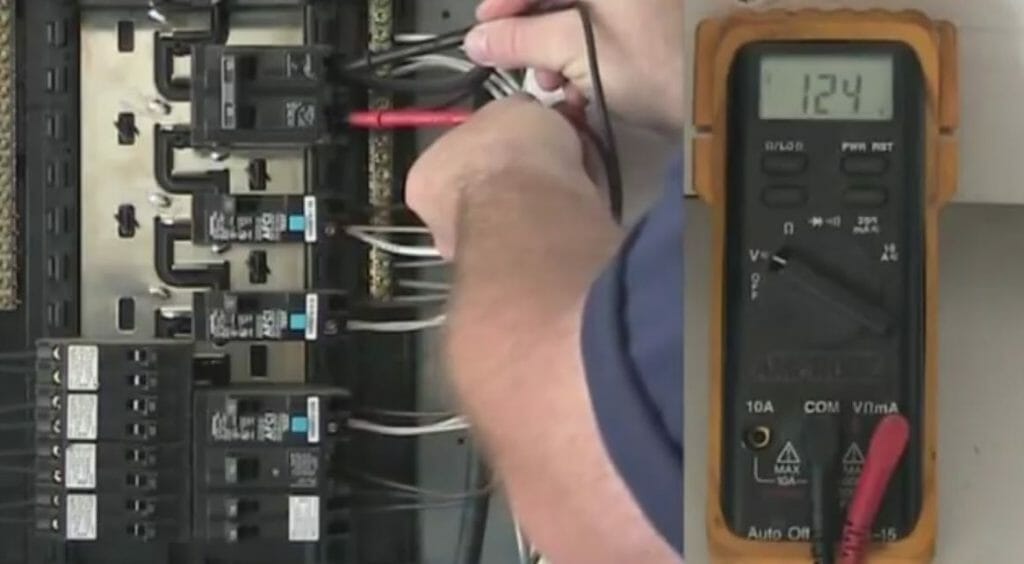
- For a single-pole breaker, expect around 120V.
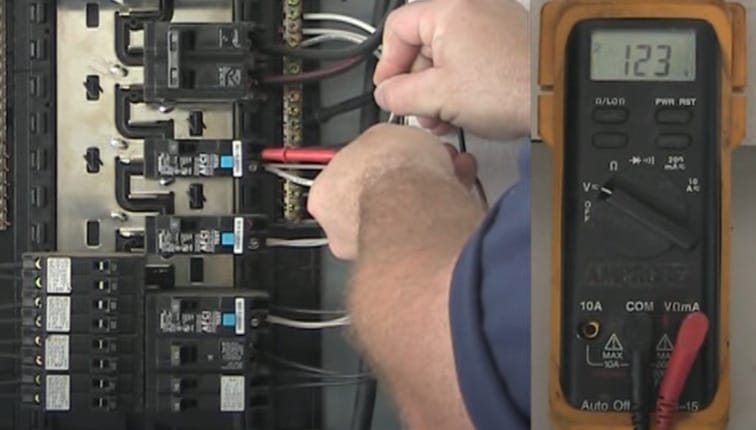
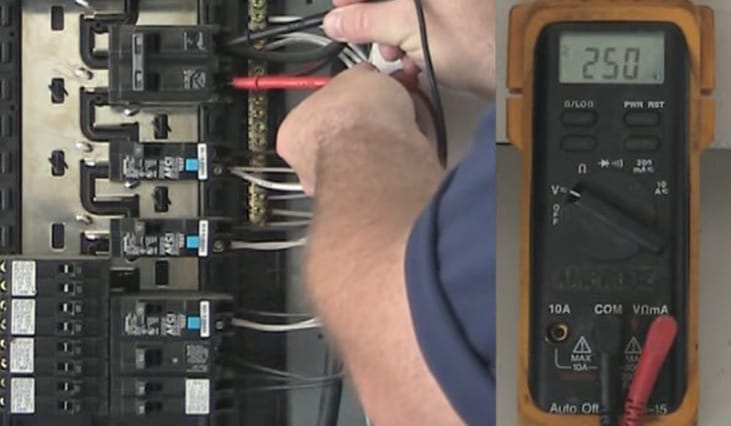
- For a double pole, you should see between 220 and 250V. These readings will let you know if things are functioning correctly.
Step 7 – Identifying Faulty Breakers
Identifying faulty breakers can be tricky. I once mistook a malfunctioning appliance for a breaker issue – a good reminder that not all electrical problems are what they seem at first glance.
- If you get a zero reading on a single-pole breaker, that’s a warning sign.
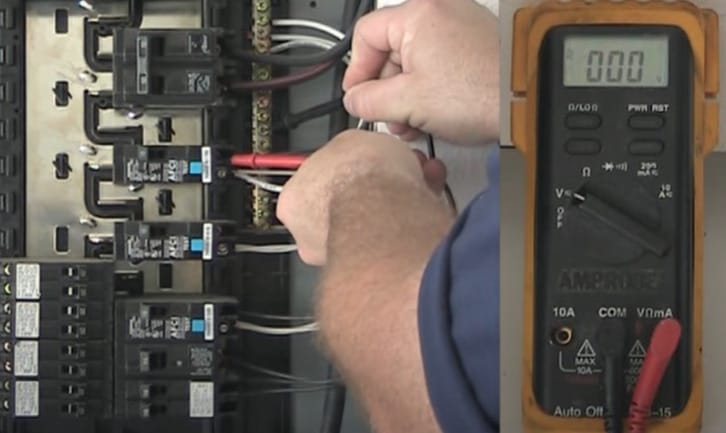
- Similarly, a double pole breaker showing only 120V isn’t doing its job right. In these cases, you’re likely looking at a replacement job.
This journey of testing circuit breakers has been filled with learning, surprises, and much satisfaction. Remember, while DIY is rewarding, never hesitate to call a pro when in doubt. Stay safe and enjoy the adventure in electrical DIY!
Circuit Breaker Testing: Advanced Troubleshooting
Diving into circuit breaker testing, I’ve picked up some advanced tips and troubleshooting methods that are anything but textbook. These are from my toolbox of tricks, gathered from real-world experience.
Navigating Complex Breaker Scenarios:
- The Case of the Phantom Load: I once tackled a breaker that seemed to trip for no reason. It turned out that a hidden device in the attic was intermittently drawing power. It’s a reminder that sometimes, the problem is hidden out of sight.
- Harmonics in Electrical Systems: In one old house, I found that harmonic distortions from modern electronics were causing nuisance tripping. This advanced concept often goes unnoticed but can be a real issue in homes with a mix of old and new tech.
Innovative Solutions I’ve Discovered:
- Using Sound for Diagnostics: Believe it or not, listening to the sound a breaker makes can give clues. A faint humming might indicate an upcoming failure.
- Thermal Imaging Wonders: Using a thermal camera, I’ve detected overheating issues in circuits that were otherwise deemed safe. It’s a tech-savvy way to spot problems before they escalate.
Every house and breaker has a story; sometimes, you must think outside the box to find the solution. Remember, while being adventurous is part of the DIY spirit, always prioritize safety and know when to call in a professional.
Deciding Between DIY and Professional Circuit Breaker Testing
In-home repairs, it’s vital to know when to tackle a project yourself or when to call in the pros, especially with something as crucial as circuit breaker testing. Here’s a table based on my experiences:
| Situation | DIY Testing | Professional Services |
|---|---|---|
| Basic Voltage Testing | Perfect for DIY. I’ve used my multimeter for this countless times, and it’s pretty straightforward if you stick to safety rules. | It is not needed unless you are comfortable with electrical work. |
| Complex Breaker Types (AFCI/GFCI) | I’ve worked with these, but they can get complex. You can do basic testing, but the finer details can be challenging. | Definitely a job for the pros. They have the expertise to diagnose and fix these specialized breakers. |
| Old or Unfamiliar Systems | Once came across an ancient breaker box, and I decided it was too risky to mess with. Old systems can be unpredictable. | Highly recommended. Professionals have the experience and tools needed for these older or complex systems. |
| Repeated Tripping Issues | You can try resetting the breaker and checking for simple problems. But if it’s a recurring issue, there could be a deeper problem. | Best to get a pro. Constant tripping might point to serious electrical issues that need expert attention. |
| Upgrading or Replacing Breakers | Basic replacements can be within your DIY reach if you’re confident. I’ve done a few myself. | For upgrades or new installations, a professional is the way to go. They make sure everything meets current codes and standards. |
| After a Major Electrical Event | It might seem easy just to test the breakers after a surge or lightning strike, but the damage might be more than skin deep. | A professional’s eye is crucial here. They can thoroughly assess the breaker and any potential damage to your electrical system. |
While DIY has its perks, especially for simpler tasks, there’s a line where professional expertise becomes invaluable, especially for safety and compliance. It’s all about making smart, safe choices in your home improvement adventures.
Staying Safe and Sound: Essential Safety Precautions
In many years of tackling electrical projects, I’ve learned that safety isn’t just a suggestion – it’s a must. Here’s my take on the crucial safety steps, peppered with some real-life lessons:
- Test Before You Touch: Always use a voltage tester on the wires before working, even if you think the power is off. This one saved me on a renovation job where the wiring was mislabeled.
- Personal Protective Equipment (PPE): Beyond rubber-soled shoes, I wear protective glasses and gloves. Once, a spark from a wire unexpectedly flew up, and my glasses were the only thing between me and a nasty eye injury.
- One-Hand Rule: When working with electricity, I use the one-hand rule – keeping one hand in my pocket whenever possible. This reduces the risk of a current passing through the chest.
- Use a Circuit Breaker Finder: A circuit breaker finder is a lifesaver for complex projects. It helps identify the correct breaker for each circuit, avoiding any guesswork.
- Educate Yourself on the Local Electrical Code: I’ve spent time understanding the local electrical code. It’s surprising how many safety issues can be avoided by following these guidelines.
These steps have been crucial in my electrical work, helping me avoid potential dangers and ensuring a safe working environment. Safety is always the priority, no matter how experienced you are.
Keeping Things Running Smoothly: Maintenance Tips
Now, let’s switch gears to maintenance. Regular check-ups can save you a lot of trouble down the road:
- Tightness Check: Occasionally, I grab my screwdriver and check if the connections in the breaker box are snug. Loose connections can be sneaky culprits behind many electrical issues.
- Breaker Load Balancing Act: It’s a bit technical, but balancing the load across the breaker panel can prevent overloading on a single breaker. I learned this trick after noticing one breaker tripping more often than others.
- Voltage Drop Test: Sometimes, I do a voltage drop test across the breaker when it’s under load. This can reveal issues that aren’t apparent during a standard test.
- Historical Tracking of Breaker Performance: Keep a log of when breakers trip or any anomalies. This helped me identify a pattern, leading to the discovery of a faulty appliance causing issues.
- Discovering Hidden Corrosion: I found corrosion inside an outdoor breaker panel. It wasn’t visible until I did a thorough check. Regular inspections in these areas are key, especially in damp climates.
- Monitoring for Electrical Noise: Not many know, but electrical noise can cause issues. I use a basic sound meter to detect unusual sounds in the panel, an unconventional but effective method.
These aren’t your everyday maintenance tips, but they’re the kind that can make a real difference in keeping your home’s electrical system running smoothly and safely. Sometimes, the small, overlooked details are key to prevention and efficiency.
Frequently Asked Questions
- Can I Test a Circuit Breaker without a Multimeter?
- Well, a multimeter is your best friend for accurate testing. But if you’re in a pinch, you can do a basic check by manually flipping the breaker. If it doesn’t stay in the ‘on’ position or there’s no power to the connected circuits, you might have a problem.
- How Often Should I Test My Home’s Circuit Breakers?
- I like to give them a quick test at least once a year. It’s like an annual check-up – catching issues early is better.
- What’s the Lifespan of a Typical Circuit Breaker?
- Most breakers last 30-40 years, depending on brand and usage. Just like anything else in your home, they don’t last forever. Keep an eye out for signs of wear.
- Is It Safe to Replace a Circuit Breaker Myself?
- Replacing a breaker can be a DIY job if you have some electrical know-how. But if you’re not 100% confident, call a pro—no shame in playing it safe.
- How Do I Know If My Electrical Panel Needs an Upgrade?
- If your panel is over 25 years old, or if you’re frequently tripping breakers and blowing fuses, it might be time for an upgrade. Modern life demands more power, and older panels often can’t keep up.
- Can a Bad Circuit Breaker Lead to Higher Electricity Bills?
- Not directly, but if it’s malfunctioning, it might not be regulating power flow efficiently. This inefficiency can sometimes impact your overall electrical system.
References
Organizations:
- International Electrical Testing Association (NETA). https://www.netaworld.org/
Books:
- “Electrical Power Equipment Maintenance and Testing” by Paul Gill. https://www.abebooks.com/book-search/title/electrical-power-equipment-maintenance/author/paul-gill/
Website Resources:
- Mr. Electric’s Guide on Testing a Circuit Breaker with a Multimeter. https://mrelectric.com/blog/how-to-test-a-circuit-breaker-with-a-multimeter
- Circuit Breaker Maintenance Training Course by The Electricity Forum. https://www.electricityforum.com/electrical-training/circuit-breaker-maintenance-training
Video References:
TheElectricalDoctor
Electro University