15 min read
Cracked Tile? Here’s How to Fix It Like a Pro Without a Full Replacement (Guide)
Have you ever noticed a cracked tile on your floor and wondered how you could fix it without replacing the entire tile? Well, you’re in luck. I’m here to guide you through the process, and trust me, it’s easier than you might think.
Here Are the 5 Steps I Will Cover:
- 🔍 Step 1: Checking your cracked tile and policy
- 🧽 Step 2: Cleaning the tile with alcohol
- 🧪 Step 3: Mix epoxy
- 🖌️ Step 4: Apply the epoxy precisely
- 🎨 Step 5: Paint and seal the repair
I’ll walk through the process step by step, ensuring you get the job done right the first time below.
Tools and Materials Needed
Ready to tackle that cracked tile with the confidence of a seasoned home makeover pro? Equipping yourself with the right tools and materials is your first step towards a flawless finish.
Cleaning Supplies:
- 🧼 All-purpose cleaner or specific tile cleaner
- 🍾 Rubbing alcohol
- 🧺 Clean cloths or paper towels
Safety Equipment:
- 🧤 Gloves (to protect your hands during cleaning and repair)
- 🥽 Safety goggles (to protect your eyes from debris or chemicals)
- 😷 Mask (to avoid inhaling dust or chemical fumes)
Epoxy Repair:
- 🧪 Two-part clear epoxy resin (for filling cracks)
- 🎨 Mixing tray or piece of cardboard (for blending epoxy components) 🍡 Mixing stick (like a popsicle stick or disposable spoon)
- 🛠️ Application tool (such as a toothpick, craft stick, or small spatula)
Finishing Supplies:
- 🎨 Tile paint or nail polish to match the tile color (for cosmetic touch-ups)
- 🖌️ Fine paintbrush or artist’s brush (for detailed painting work)
- 🔒 Clear sealant or urethane (to seal and protect the repaired area)
- 🪚 Sandpaper (if smoothing of the repair is necessary)
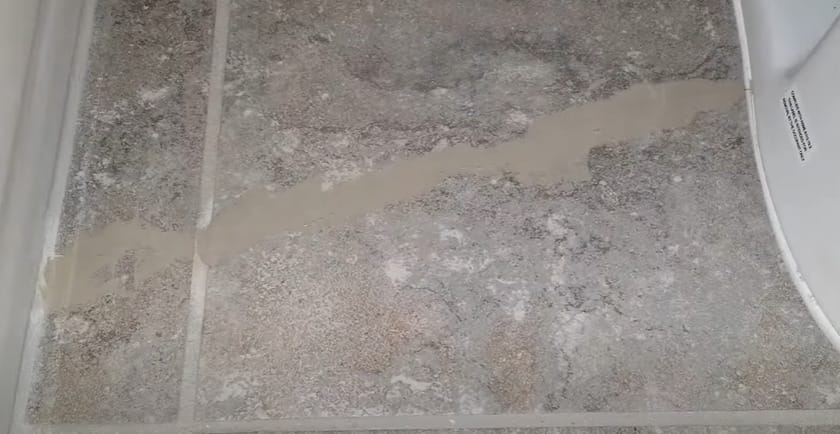
Step 1: Assess the Damage
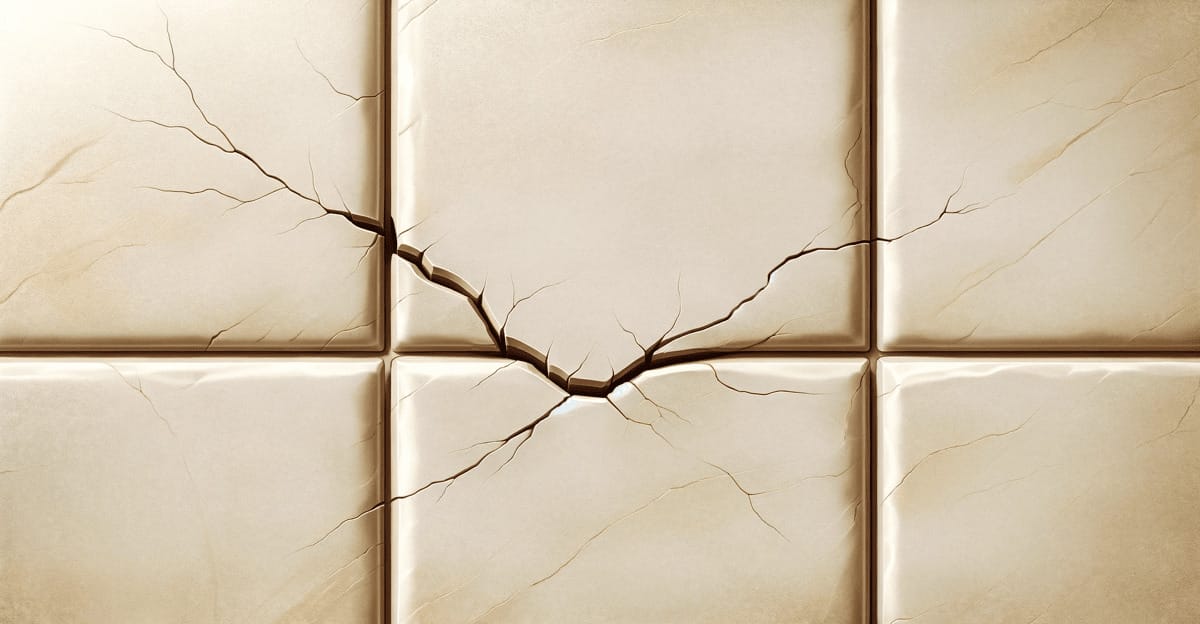
Every crack tells a story, and listening to what your cracked tile is telling you is essential. It’s not just about fixing; it’s about understanding what caused the damage in the first place!
The causes of tile damage are many and varied. Have you ever dropped a cast-iron pan in the kitchen or a curling iron in the bathroom? Those seemingly insignificant incidents can cause dents that gradually become cracks over time.
Sure, we all want our tiles to last for years but remember, No two homeowners’ insurance policies are the same. Take some time to understand your specific policy. While most generally cover tile damage caused by fire or water, they likely won’t for everyday wear and tear.
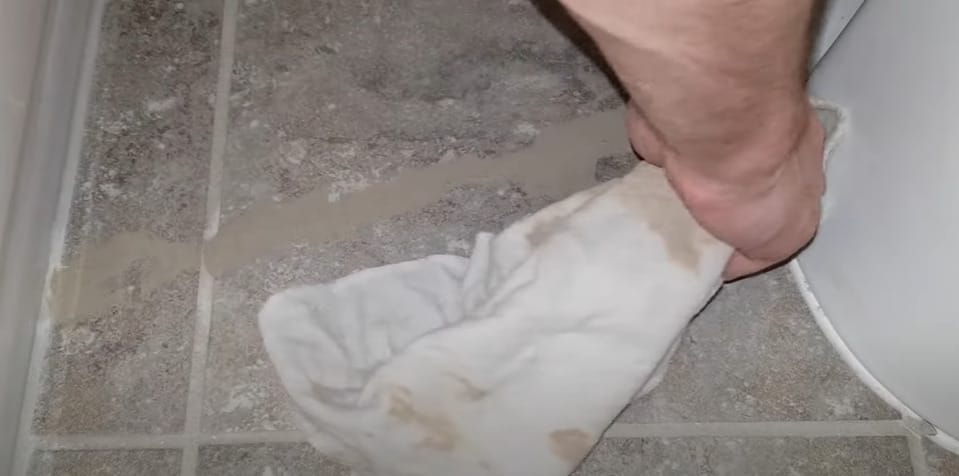
Step 2: Clean the Tile
So, you’ve eyed the cracked tile, and now it’s time to set things in motion.

First things first—clean the tile. Trust me, cleaning the tile is not just a fancy step. It’s crucial to ensure that the repairing agent, epoxy, sticks to the tile, not to dust or debris. A simple hack uses a few drops of alcohol and a paper towel. Easy.
Regular inspection and cleaning of your tiles should be on the list. If you spot minor scratches or chips, address them. Please don’t underestimate how quickly they can transform into more significant issues.
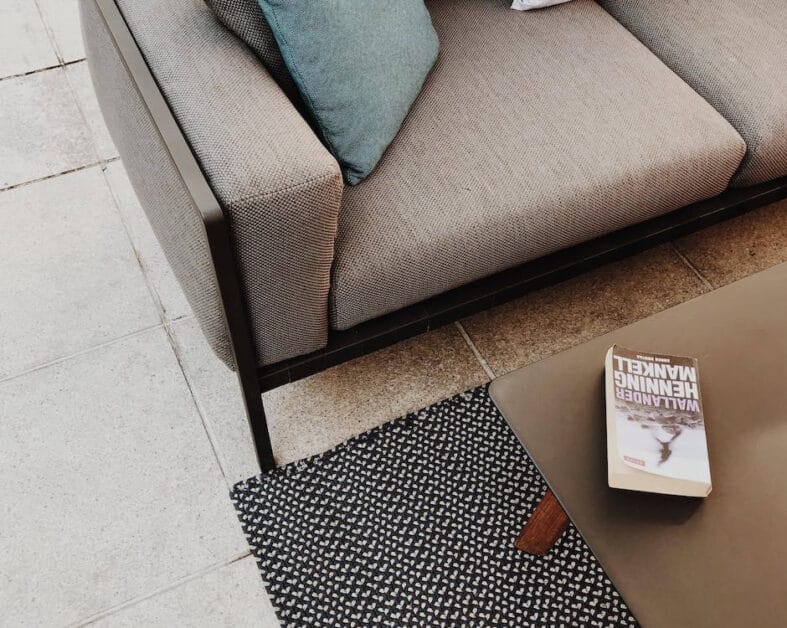
Also, consider using protective pads or rugs in high-traffic areas or under heavy furniture. They might be the key to reducing the risk of damage.
RELATED Can You Drill into Wood Filler?
Step 3: Create an Epoxy Mixture
An essential part of the tile fixing process is creating your epoxy mixture. This magic party trick will fill that unsightly crack and keep your tile pieces together, performing brand new.
To begin with, this process might seem a little daunting, but don’t worry; it’s simpler than it looks.
- Step 1: You’ll need a two-part epoxy mixture for this. Always remember to stay safe during this step. Wear gloves a face mask, and go for some ventilation – open windows if you’re inside.
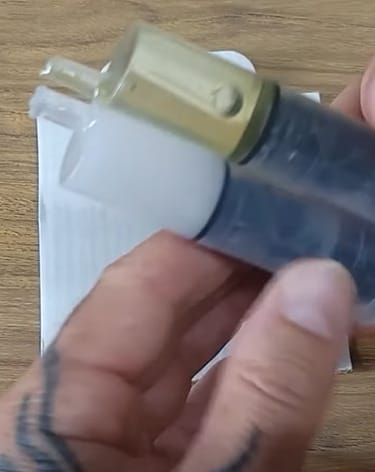
- Step 2: Mix your epoxy based on the manufacturer’s guidelines, usually found on the box or tube. Most epoxies will have a double-sided syringe or two individual tubes.
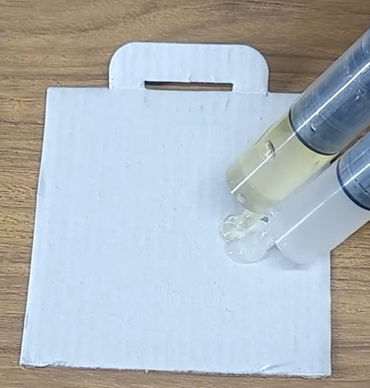
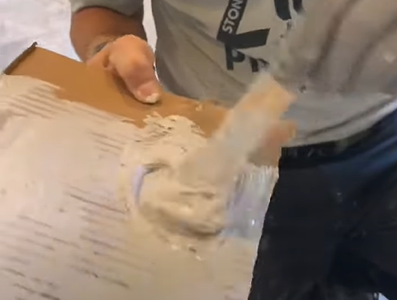
- Step 3: Squeeze these two parts onto a cardboard surface and mix them using a disposable item like a popsicle stick. Working on a piece of cardboard, ensure both bottles’ solutions are thoroughly mixed.
Step 4: Apply Epoxy to the Cracked Tile
Let’s move on to the main part of the process.
After you’ve got your epoxy mixture ready, it’s repair time!
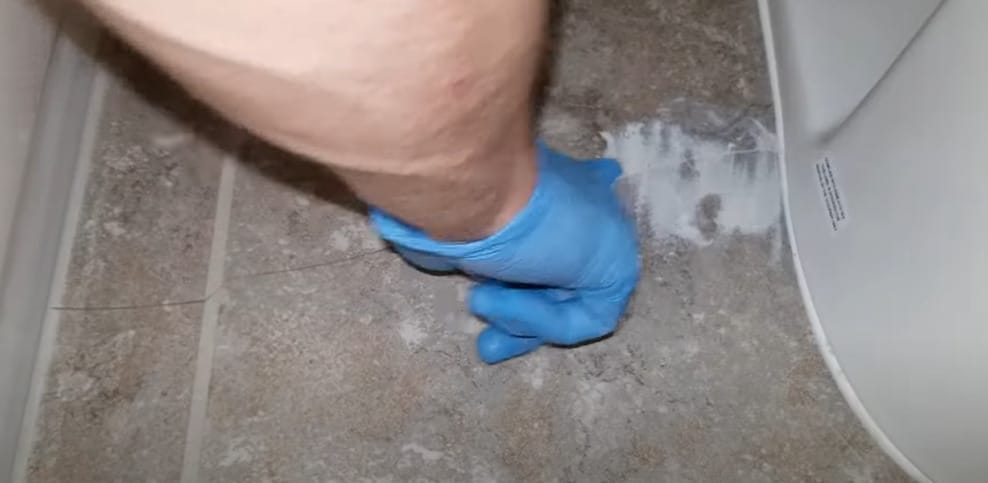
- Step 1: A small tool, even something as basic as a toothpick, can help apply your epoxy precisely where needed. Just be sure to bear in mind that the epoxy starts to harden pretty fast.
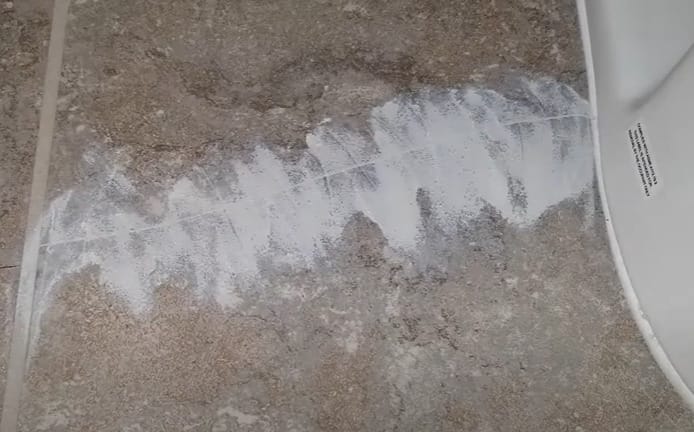
- Step 2: Apply in thin layers. Swift application is key here. Secret trick – spread your epoxy half a centimeter more on either side of the crack. This extra spread helps strengthen the bond.
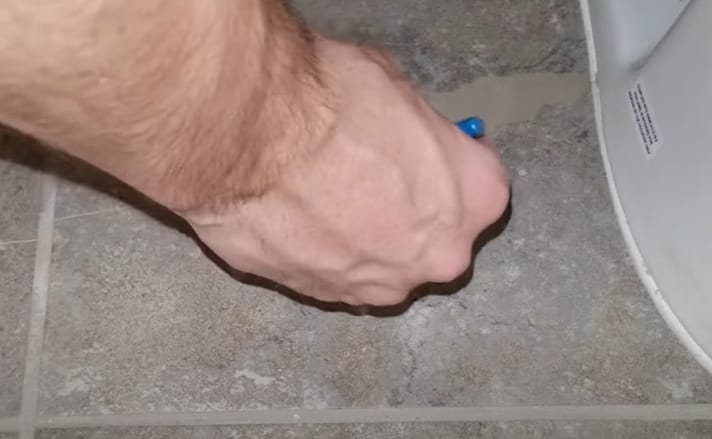
- Step 3: Once the epoxy is spread and the crack is filled, leave it to dry. Take about 15 minutes for this bit before moving to the next step of the tile repair process.
I can’t wait to see you conquer this task! Let’s keep going with our tile renewal journey.
Step 5: Paint & Seal the Tile
Here’s the fun part – painting!
- Step 1: Grab a small hobby paintbrush. Use it to apply paint to the unglazed, damaged tile area.
- Step 2: You may need to reapply as the paint dries. Be cautious to avoid getting paint on the glazed surface.
- Step 3: Remember to apply urethane sealant using a brush/towel after painting the area to protect against peeling. Give it sufficient time to dry.
I’ll let you in on a secret – nail polish. It’s a gem for fixing small cracks and chips. Thanks to nearly unlimited colors and a waterproof enamel finish, it’s as fabulous as it is functional. Apply it with a toothpick or an ultra-fine paintbrush for the best results.
How Do You Know When to Replace or Repair Tiles?
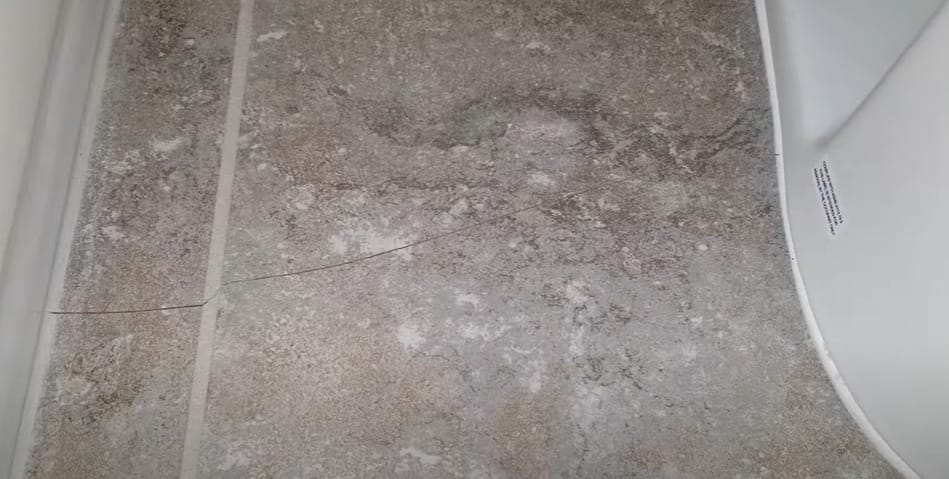
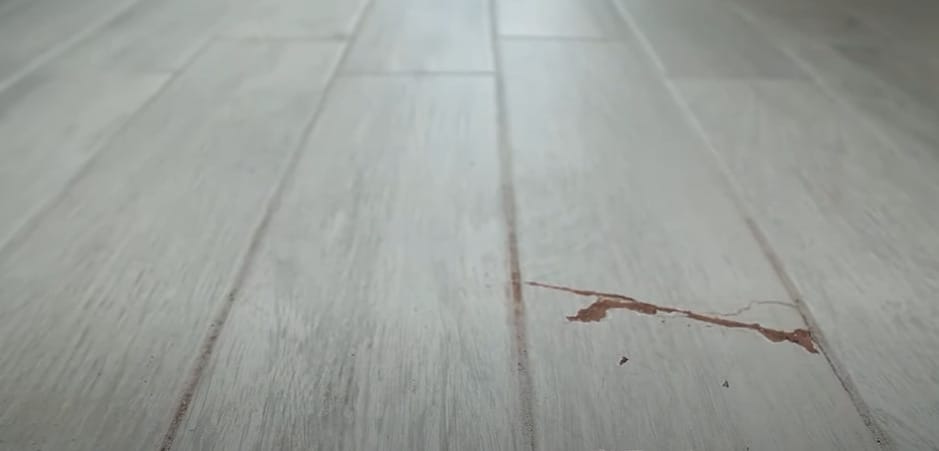
A fundamental question often stumps many homeowners: “How bad is the damage?” Let’s say you have one tiny chip or a crack on your tile. I bet you can fix it in no time!
But what if it’s not a measly crack? What if the crack runs along the entire square, or the damage extends to multiple tiles? The greater the crack and the more extensive the damage, it might be an indication to wave goodbye to the old tiles and usher in the new ones.
Replacing tiles isn’t a walk in the park, though. It’s a bit trickier than repairing a chip. We’re talking about having the right tools, oodles of patience, and — if possible — reserves of the original tile. Before you roll up your sleeves, remember that there are different types of tiles, each with unique considerations during repair and replacement.
I can’t emphasize it enough — keep spare tiles after a new installation. Makes future repairs simpler, trust me. But if you’re still on the fence about your ability to replace the tile or feel uneasy about the real damage culprit, don’t hesitate to seek professional advice.
There’s no silver bullet to fixing tile damage, but some scenarios warrant replacement over repair. Embrace the DIY spirit. If your tile is chipped, shattered, or broken beyond a thin crack, it’s time to change the tiles.
RELATED Can You Drill into Wood Filler?
When to Hire a Professional Tiler

It’s the other side of the DIY coin – knowing when to call in a professional. Yes, friends, there are times when hiring a professional tiler might be the best move for you.
- Complex Layouts: Consider a pro when the design has more twists and turns than a mystery novel. They have the tools to measure and cut, ensuring a sleek finish accurately.
- High-End Materials: With finicky tiles like marble or glass, a professional’s touch can be the difference between a showstopper and a costly mistake.
- Waterproofing Needs: Professional sealing is your barrier against mold and leaks for splash zones like showers.
- Time Constraints: When the clock’s ticking louder than a drumbeat, a professional can fast-track the tiling, turning days of DIY into hours of expert execution.
When the cuts get complicated, the materials get finicky, waterproofing becomes critical, or time isn’t on your side, it’s smart to call in a professional tiler. They’ve got the expertise to ensure your tiles are more than just pieces – they’re part of a masterpiece in the making.
Maintenance Tips
To keep your tiles in tip-top shape and prevent future heartbreak due to cracks, there are a few golden rules to live by. And hey, it’s not just about repair; prevention is the key to longevity. Let’s dive in!
- Solid Foundation: Start with a level subfloor to prevent tiles from cracking. It’s like building a house; the structure won’t stand without a solid base.
- Ensure the subfloor is flat and stable.
- Inconsistencies can cause movement and lead to cracks.
- Routine Check-Ups: Regularly inspect tiles like a health check-up to catch issues early.
- Look for signs of damage or loose tiles.
- Early detection can prevent larger repair jobs.
- Grout Health: Maintain your grout like your car’s oil – it needs to be in top condition to protect your tiles.
- Reseal grout lines annually.
- Prevents moisture from seeping and weakening the subfloor.
- Defensive Layering: Use mats and rugs in high-traffic areas, much like putting a case on a smartphone.
- Cushions impact and reduce wear.
- Extends the life of your tiles.
- Temperature Control: Manage temperature changes gradually – consider tiles as sensitive to heat and cold as plants.
- Avoid sudden temperature fluctuations.
- Reduces the risk of stress cracks.
- Backup Tiles: Keep extra tiles on hand, like spare buttons for a favorite shirt.
- Facilitates easy replacement of broken tiles.
- Ensures color and batch matching.
Tile Repair: DIY vs. Professional Cost Breakdown
When it comes to repairing cracked or damaged tiles, homeowners often grapple with the decision to either take on the task themselves or hire a professional. This choice not only impacts the quality of the repair but also affects the overall cost.
Here’s a snapshot of what you might expect to spend:
| Repair Type | DIY Cost Estimate | Professional Cost Estimate |
|---|---|---|
| Materials | $10 – $50 (tiles, grout, adhesive) | Included in service |
| Tools | $25 – $100 (tile cutter, trowel) | N/A (provided by professional) |
| Labor | Your time and effort | $150 – $500 (depending on area size) |
| Total Cost | $35 – $150 (excluding your time) | $150 – $500 |
Remember, while the DIY route can save money upfront, the value of a professional’s experience can mean a longer-lasting repair, which might save you money in the long run. It’s always recommended to weigh the immediate and long-term costs when deciding.
Safety First: Navigating Tile Repair with Care
Tackling tile repair? Keep it safe every step of the way. Here’s how:
- Gear Up: Before you dive in, suit up with safety goggles, gloves, and a dust mask. Whether chiseling out old grout or mixing epoxy, these are your armor.
- Clear the Stage: Make sure your workspace is free of clutter. You want a clean, clear area to move around safely without tripping over tools or materials.
- Tool Time: Treat your tools with respect. Read the manuals, know how to operate them, and always be mindful of sharp edges and moving parts.
- Mix Master: When mixing epoxy or grout in a well-ventilated area. Fumes can be harmful, so keep that air flowing.
- Sharp Shards: Dealing with broken tiles means sharp edges. Handle carefully, dispose of fragments properly, and keep a first aid kit handy, just in case.
- Heavy Lifting: If you’re moving new tiles into place, lift with your legs, not your back. Keep your core engaged to protect your spine.
- Stay Grounded: If using electrical tools, keep them away from water and use a grounded outlet to prevent shocks.
Remember, taking time to do things safely is the most efficient way to get the job done right. Safety isn’t just a step in the process—it’s the foundation.
RELATED Can You Drill into Wood Filler?
Frequently Asked Questions
- Can Small Cracks Be Ignored?
- Tiny cracks might seem harmless, but they can lead to bigger problems. Water and debris can seep in, causing more damage. So, it’s best to fix even the small stuff.
- What’s The Lifespan Of A Tile Repair?
- A top-notch repair can last as long as the tile itself, especially if done right and with high-quality materials. But remember, the longevity also depends on the foot traffic and usage of the area.
- Can I Replace Just One Tile?
- Absolutely! If you’ve got a spare tile and the right tools, you can swap out the bad apple without redoing the whole bunch. Just be gentle when removing the surrounding grout and the damaged tile.
- Is There An Eco-Friendly Option For Tile Repair?
- Yes, eco-friendly grouts and adhesives from renewable resources or containing less harmful chemicals are available. They’re a great option for those looking to reduce their environmental footprint.
- Should Grout Be Sealed After Repair?
- Sealing the grout post-repair is a smart move. It acts as a barrier against moisture and dirt, extending the life of your repair work. Aim to reseal grout every one to two years, depending on the area’s exposure to traffic and moisture.
References
Organizations:
- The National Tile Contractors Association (NTCA). https://www.tile-assn.com/
- The Tile Council of North America (TCNA). https://tcnatile.com/
Books:
- Tiling Complete: Expert Advice From Start to Finish” by Robin Nicholas and Michael Schweit offers comprehensive guidance on tile work.
- “The Complete Do-it-Yourself Manual” by Family Handyman
Website Resources:
- This Old House. https://www.thisoldhouse.com/
- Family Handyman. https://www.familyhandyman.com/
Video References:
The Home Depot
Pinnacle Stone Restoration
Thrift Hacker
The Grout Master
Able Skills