8 min read
How to Drill Open a Safe
When you realize that you have lost the keys to your safe, you are left with no option but to drill it open. In this article, you will find step-by-step instructions on how to open a safe by drilling.
There are two effective approaches you can use when it comes to drilling open a safe:
- The side drilling approach
- The rear drilling approach
We will start by looking at the side drilling approach. Then we will look at the rear drilling approach.
Drilling a Safe Through The Side
What You Need to Have to Drill Open a Safe Through The Side
For you to be in a position to drill open a safe through the side, you need to have the following:
- A 9-inch drill bit (or 10-inch drill bit)
- A borescope (this is a miniature fiber optic viewer, which enables you to see right into the safe’s locking mechanisms)
- A long punch rod
Step By Step Guide to Drill Open a Safe Through The Side
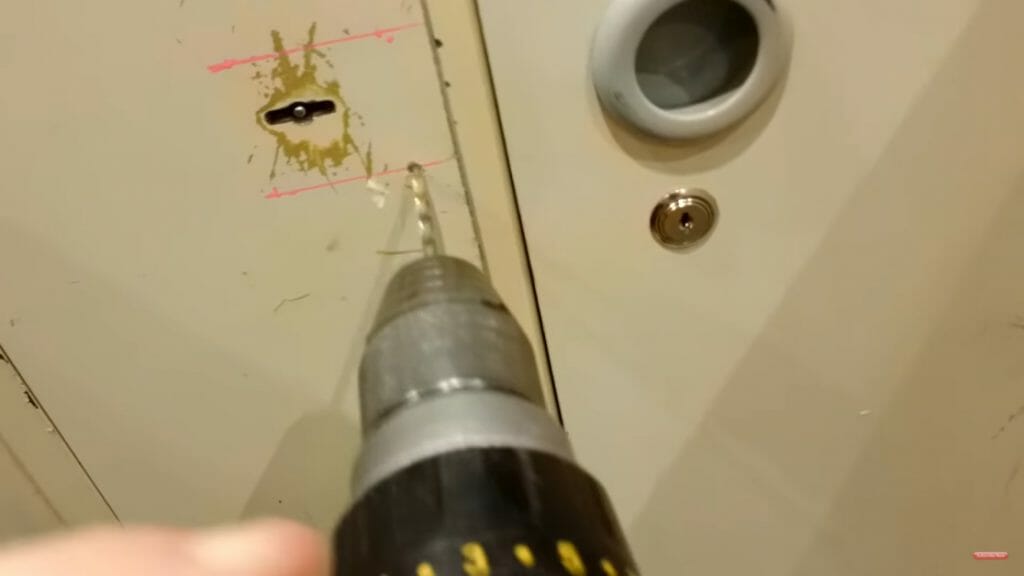
Step 1. Using the 9-inch drill bit, you need to create a hole on the side of the safe. The purpose of creating this hole is to see the position of the safe’s bolt.
Step 2. Now that you have a hole on the safe side align the borescope with that hole. Then peep into the borescope to get the location of the safe’s bolt.
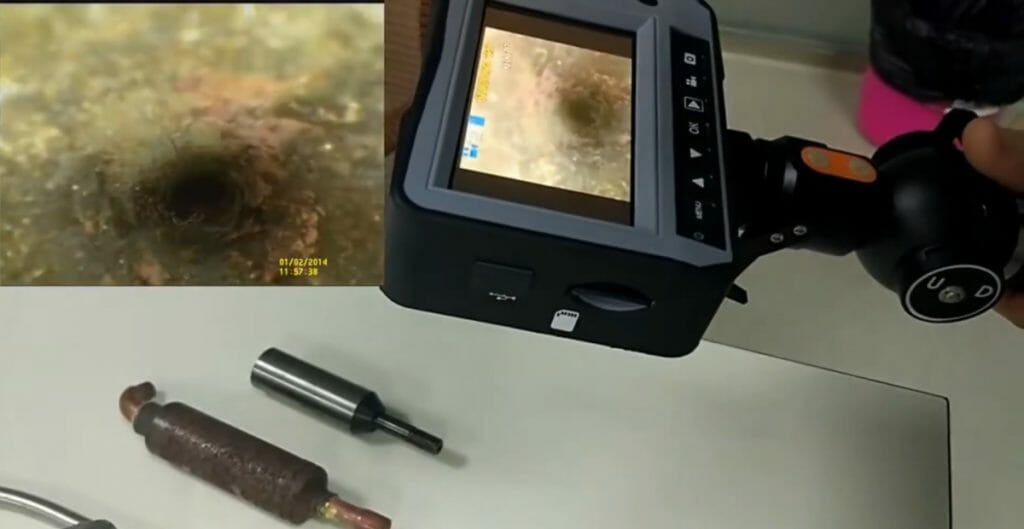
Step 3. Once you locate the safe’s bolt, the next step is introducing the punch rod into the safe. Then (still peeping through the borescope), move the punch rod until it reaches the safe’s bolt and moves the bolt out of the way.
Step 4. Once the safe’s bolt is out of the way, the safe should be accessible to you.
Drilling a Safe Open Through The Rear
What You Need to Have to Drill Open a Safe Through The Rear
For you to be in a position to drill open a safe using the rear drilling approach, you need to have the following:
- A borescope
- A 9-inch drill bit (or 10-inch drill bit)
- A long screwdriver
How to Drill Open a Safe Through The Rear Side
Step 1. Using a 9-inch drill bit (or 10-inch drill bit), create a couple of holes at the rear side of the safe. This should be around where the safe’s wheel pack is supposed/expected to be.
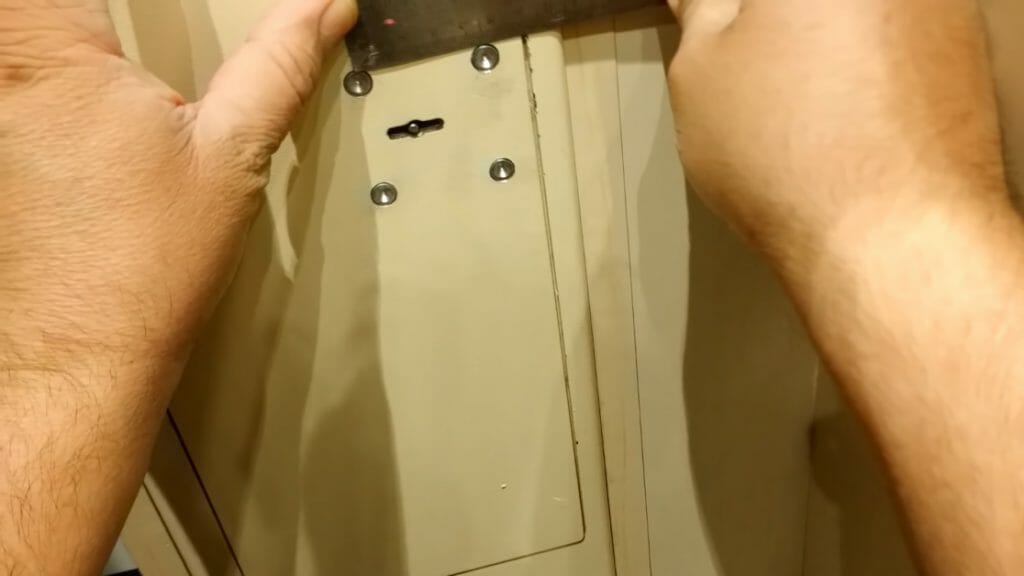
Step 2. Insert the borescope into one of the two holes you created using the 9-inch drill bit (or 10-inch drill bit).
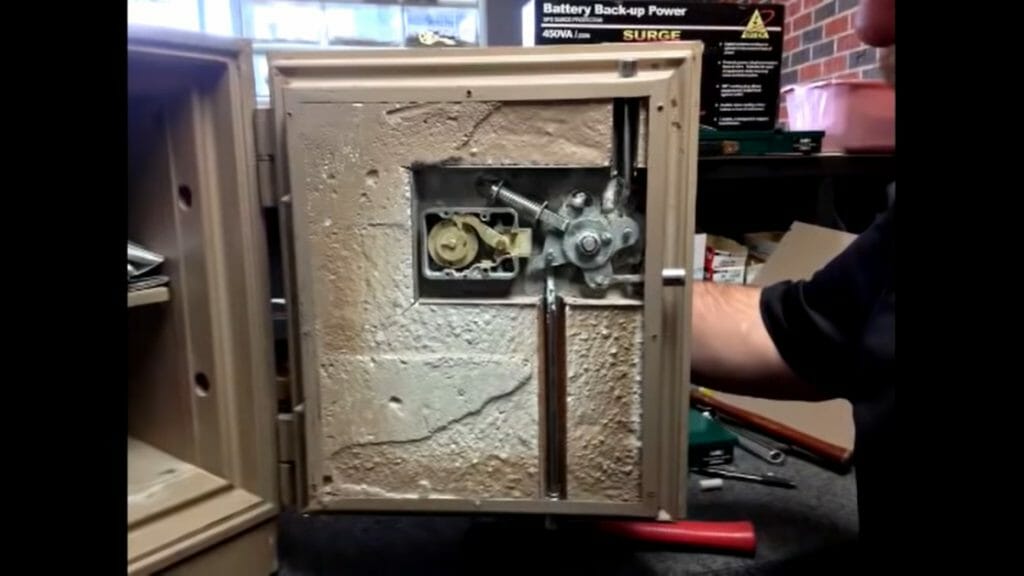
Step 3. Now, peep into the safe using the borescope to see the plate that covers the wheel pack. Once you see this plate, check more carefully in order to locate the screws that attach the plate.
Step 4. After identifying the screws that attach the plate that covers the wheel pack, the next step is to unscrew them.
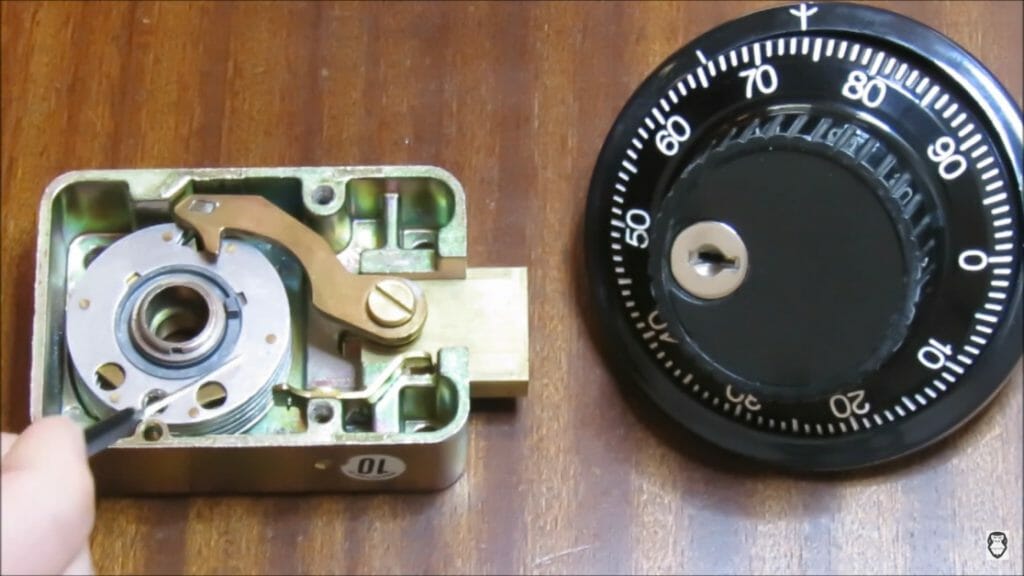
Step 5. Once you unscrew the screws that attach the plate which covers the wheel pack, that plate will come off: exposing the actual wheel pack.
Step 6. Still using the long screwdriver, you need to shift the position of the wheel pack in such a manner that it allows the bolt to pass along.
Step 7. Once you can maneuver the bolt and it comes off, you will have access to the safe.
Drilling Open a Safe That Has No Cobalt Plates
If the safe you are trying to drill open doesn’t have cobalt plates, there may be an easier way to drill it open.
In this case, you need a 9-inch or 10-inch drill bit and a punch rod.
Note that the technique for drilling open the safe, in this case, would entail drilling the safe’s face/front side.
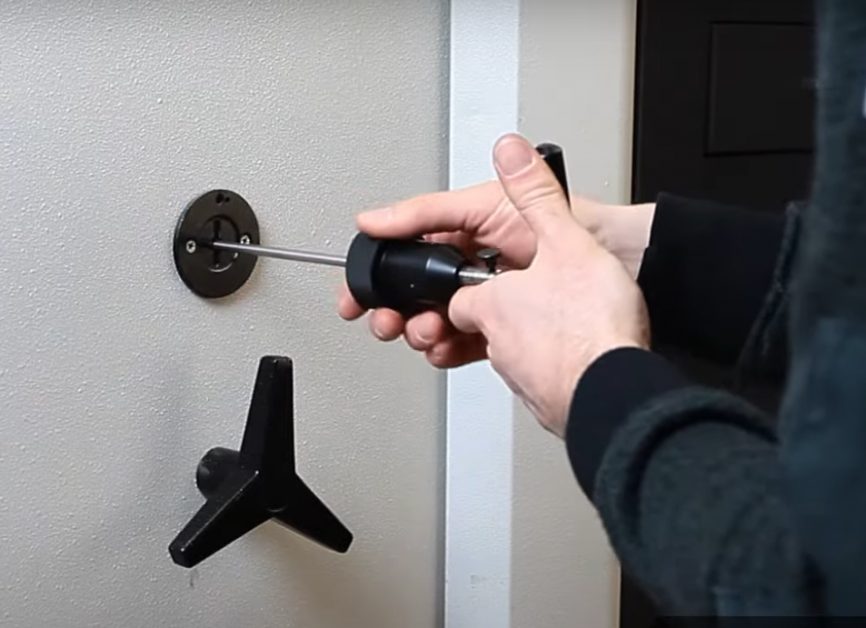
Step 1. The first step would be to use the 9-inch or 10-inch drill bit to create a hole that reaches the safe’s lever. If the safe is one of those that use a drive cam, the objective is to create a hole that reaches the said drive cam.
Step 2. Once you reach the safe’s lever (or drive cam, as may be the case), insert the punch rod. Use the punch rod to maneuver the safe’s lever or drive cam until you get them off the path of the safe’s bolt.
Once the path of the safe’s bolt is cleared, you would have access to the safe.
Mistakes to Avoid While Drilling Open a Safe
Mistake Number 1: Trying to Attack the Cobalt Plate Directly
While drilling open a safe, one key mistake is trying to strike the safe’s cobalt plate directly. The problem with this approach is that it tends to be futile.
You only end up losing the drill bits without ever getting anywhere. The way to avoid that mistake is by firstly taking note of the cobalt plate’s location.
Once you know the location of the cobalt plate, drill several millimeters above it. So you still drill close to the cobalt plate, but not directly on it. You will access the safe’s wheel pack if you drill above the cobalt plate. And once you have access to the wheel pack, all that remains is to move it so that it no longer obstructs the bolt. And the moment there is no obstruction to the bolt, you have access to the safe.
While drilling directly at the safe’s cobalt plate may yield fruit, it is often not worth the effort. (1)
Mistake Number 2: Trying to Drill Too Fast
Another mistake to avoid while drilling open a safe is trying to get the process to move too fast.
The problem here is that you may end up damaging the safe to such an extent that it becomes completely inaccessible. Thus, you must allow reasonable time for the drilling aspect: especially about working out the right angle to drill at. (2)
References
(1) cobalt – https://www.rsc.org/periodic-table/element/27/cobalt
(2) right angle – https://www.mathsisfun.com/rightangle.html
Video References
Lockman37
Certified Safes Ireland
Dr Lock
Endoscope Endoscopy
PARKERS SAFES
Michael Maynard