8 min read
How to Crimp Wires Without a Crimper (7 Methods)

If you need to crimp a wire and don’t have access to a crimper, which is the proper tool for the job, there are ways to crimp without one. I’ll show you how.
Quick Summary of Best Option: After cutting and stripping the wire using a wire cutter/stripper, insert the connector onto its end and twist using a twist-on wire connector or press using pliers, a hammer and nail, or a clamp or vise. You can also use solder to solidify the connection and use electrical tape or a heat shrink tube.
I will list 7 alternative options below, some of which you can combine.
Crimpers and Crimping
Crimpers and Other Similar Tools
A wire crimper is a specialist tool for working with wires with a specific type of connector or terminal at its end.
So, crimpers are used with special connectors, which include spade connectors, ring connectors, and splices (or crimping ferrules).
A crimper differs from a wire cutter, stripper, and ripper. A wire cutter is used for cutting wires, whereas a wire stripper is used for stripping the insulation off of them, and a wire ripper is used to expose the wire ends for splicing them to other wires or connecting them to wire terminals.

Multipurpose or combination tools are also available. Some wire strippers can also cut wires, so they have a combined function. Some can also crimp, but I will show how to crimp wires without a crimper, even if it’s available in a multipurpose tool.
A typical crimping tool can do the following:
- Cut the wire
- Press the bare terminals
- Thread repair or screw shortening
- Pressing insulated terminals
- Stripping the wire
- Measuring a conductor’s diameter
But first, let’s understand what crimping involves so we know what to achieve without a crimper.
Crimping
The method to crimp a wire is straightforward.
Some (stranded) wire ends need to be twisted before crimping, for which pliers are handy. You then insert the ends into the holes of the connector or a ferrule and crimp by squeezing the crimper’s jaws. This action clinches the individual wires or conductors and the connector into a permanent connection.
An exception to this procedure is if the wire strands (conductors) are aluminum.
Connectors
Here is a sample of different connectors that a typical crimping tool can crimp:

You can see that it’s not easy to crimp the connector onto the end of the wire securely without a crimping tool. Still, I’ll show you how it can be done if you don’t have a crimper at hand.
Crimping Wires without a Crimper
The general procedure for crimping is the same whether you use a crimper or not.
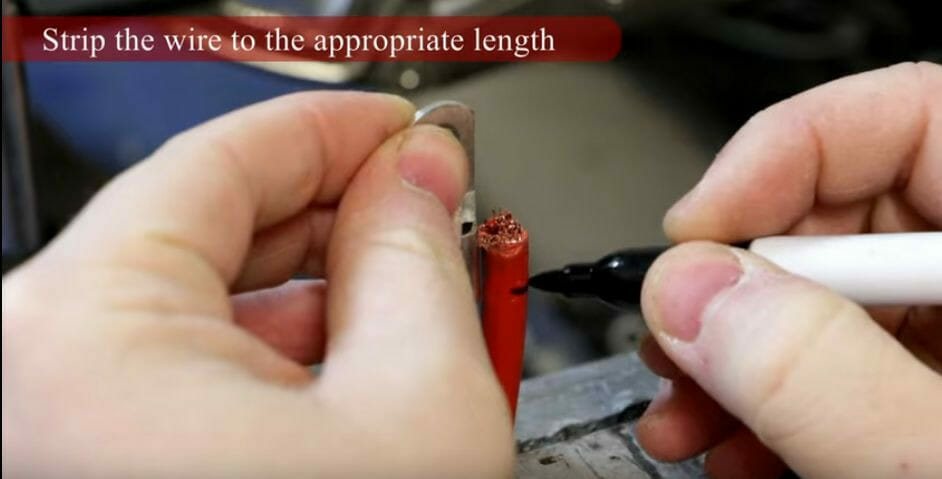
- Firstly, you mark how much of the wire to cut and strip.
- Cut the wire and strip the insulation off its end to the required lengths. Use a wire cutter and stripper for this.
- Twist the copper strands if necessary, depending on which connector you will use. You can use a plier or do it manually.
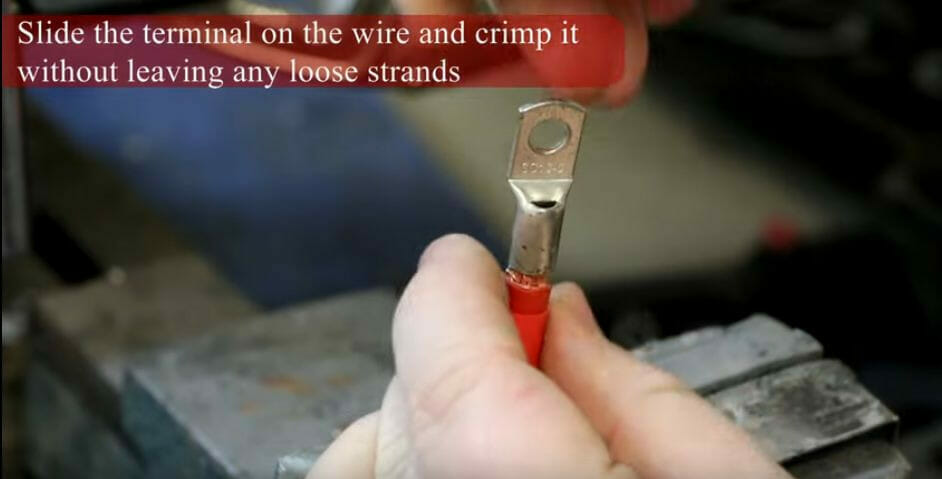
- Insert each conductor into the right slot or all of them into a single hole after twisting, depending on the connector. This requires manual dexterity alone.
Step 1: Mark and Cut the Wire
Cut and mark the wire to the required length.
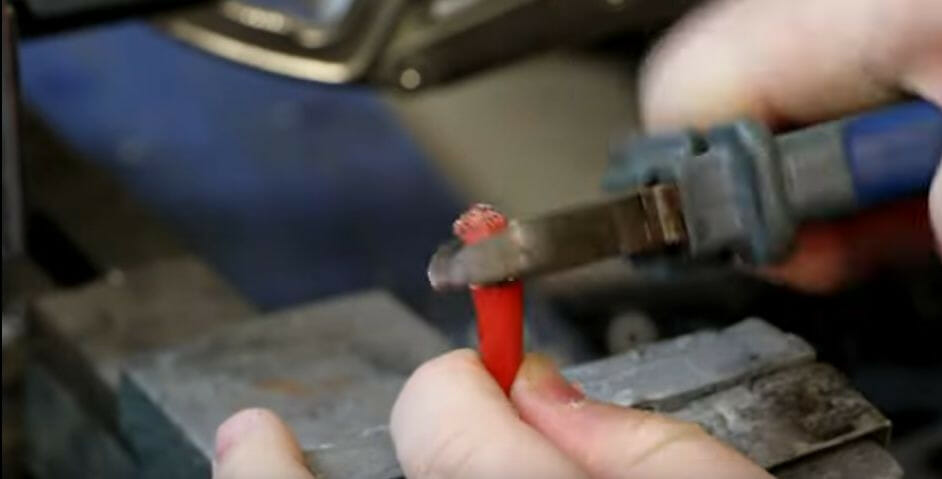
Step 2: Strip Insulation Off
Strip the insulation off the end of the wire.
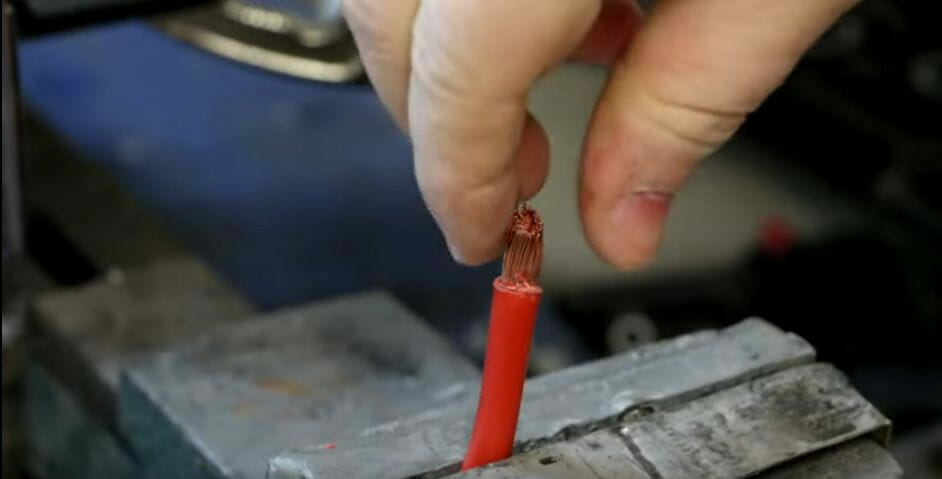
Step 3: Twist the Conductors
Twist the copper strands if it’s a single-hole connector.
Step 4: Attach the Connector
Attach the connector to the wire.
After the above, proceed with crimping using one of the methods below. They are all alternatives to using a crimping tool, but you can, of course, combine more than one of them as appropriate.
Step 5a: Using a Twist-On Wire Connector
A twist-on wire connector works similarly to how you would use a wire cap
Twist the wires together, place a twist-on wire connector on top, and twist further. Once the connector is on, you then insert it as usual.
However, you must ensure the twist-on connector is secure because wires can loosen in them. Ferrules are used with crimping instead because they make a more permanent connection.
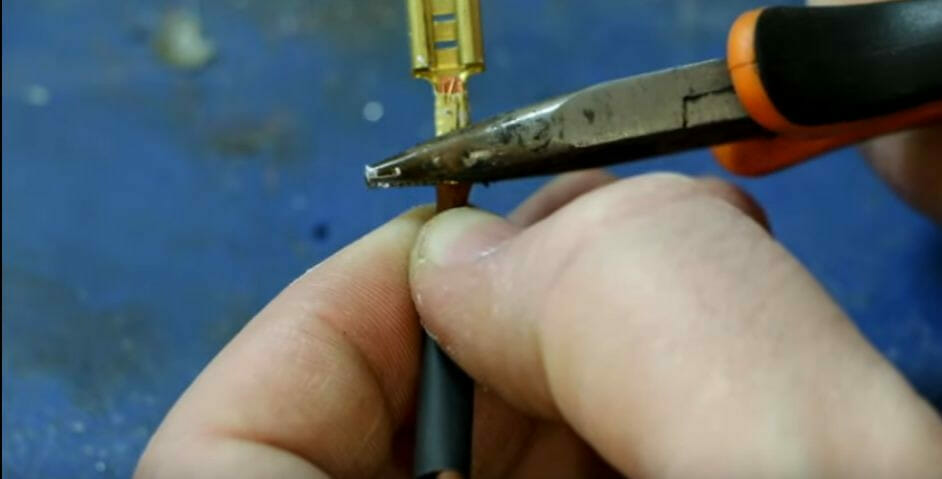
Step 5b: Using Pliers
You can use an ordinary plier to press a connector onto the end of the wire, but you would have to be very careful.
That’s because you can damage the connector if you press too hard. You must press on the right spot and to the right degree.
If you have a lot of connectors to connect, you can probably get it right through experience, but then a crimper is the proper tool to use and will get the job done quicker, too.
I don’t recommend pressing with something else, such as a screwdriver or hammer, as you can easily damage the connector, but it’s another option if you do it very carefully.
Step 5c: Using a Hammer and Nail
Place both (the wire and connector) on a solid surface with the wire inserted inside the connector.
Carefully hammer a nail through the center of the connector’s base. Tap the nail gently until it pierces the connector’s base, then remove it. Only push it in enough to create a dent to secure the wire to the connector.
As you can imagine, the method is tricky, so you must be very careful.
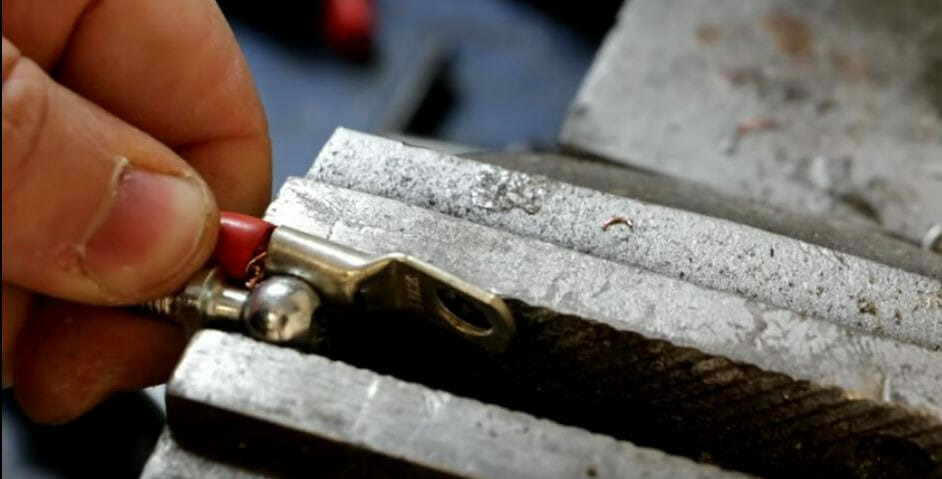
Step 5d: Using a Clamp or Vise
You can use a clamp or vise to press the connector’s end with more control than in the above methods.
Place the connected portion of the wire and connector inside the clamp or vise until it holds them gently. Then, slowly tighten it further to the required degree. Use a solid object on the connector’s base that you want to press, as shown below.
Step 5e: Using a Soldering Iron
Apply heat from the soldering iron to the joint and apply some solder to form a connection.
Let the wire and connector cool down before using the wire.
Step 5f: Using Electrical Tape
After using one of the above-mentioned alternative tools, wrap the connector’s base and wire’s end together using electrical tape.
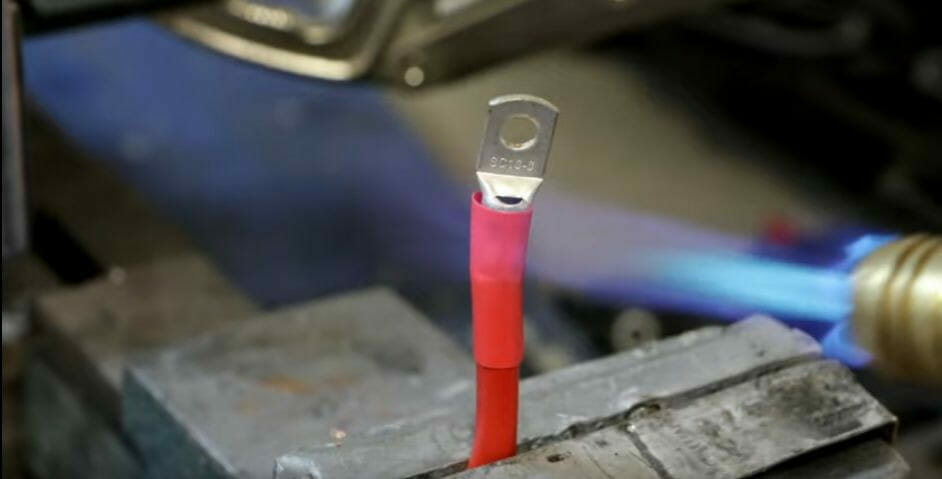
Step 5g: Using a Heat Shrink Tube
A heat shrink tube or sleeve can tighten over the connector’s base to hold it in place.
Insert it over the wire before attaching the connector. Then, pull it over the connector’s base. After crimping using one of the above methods, gently heat the tube to shrink it using a lighter or heat gun.
References
A wire crimpe. https://www.cdw.ca/product/fluke-networks-modular-crimper-crimp-tool/1591577
Creative Homeowner. Ultimate guide to wiring: complete home projects. 6th edition. Creative Homeowner. 2007.
Crimping tool connectors. https://www.haisstronica.com/products/haisstronica-crimping-tool-set-6pcs-ratchet-wire-crimping-tool
Video References:
The Demented Monkeys