8 min read
Where to Connect C Wire on Furnace (Easy Guide)

Ever wondered where to connect the C wire on a furnace? It might initially seem daunting but don’t worry; I will go through it in detail.
Key Takeaways – Examining the control board, locate the C-wire or common wire on your furnace. Look for terminals marked with letters. The C-wire, typically blue or black, connects to the ‘C’ or ‘COM’ terminal. If none exists, there’s an alternative method you could do.
I will break it down and make this process as easy as possible below.
Overview of Typical Furnace Wiring
Let’s dive right into the heart of your home – the furnace. When it comes to its wiring, it might seem complex labyrinth at first glance. But don’t worry; I’m here to guide you through this.
Usually, you’ll find that most furnaces have a set of standard wires. These include R, W, G, and Y wires, which play key roles in heating and cooling operations.
- R wire – This red wire is the power source for your thermostat.
- W wire – The white one here is all about heat control.
- G wire – Say hello to your fan control with this green wire.
- Y wire – Typically yellow, it calls in on those hot summer days for cooling down.
And then there’s our star player: the mysterious C-wire or common wire. This fella isn’t always present in older systems but plays an essential role in powering smart thermostats.
Before exploring these wirings, ensure you’ve turned off any power in your furnace system.
Identifying the C Wire in Your Furnace
The next step in our journey is figuring out where exactly that elusive “C wire” lives. Now, don’t worry if you’re not a seasoned pro. I’m here to walk you through it.
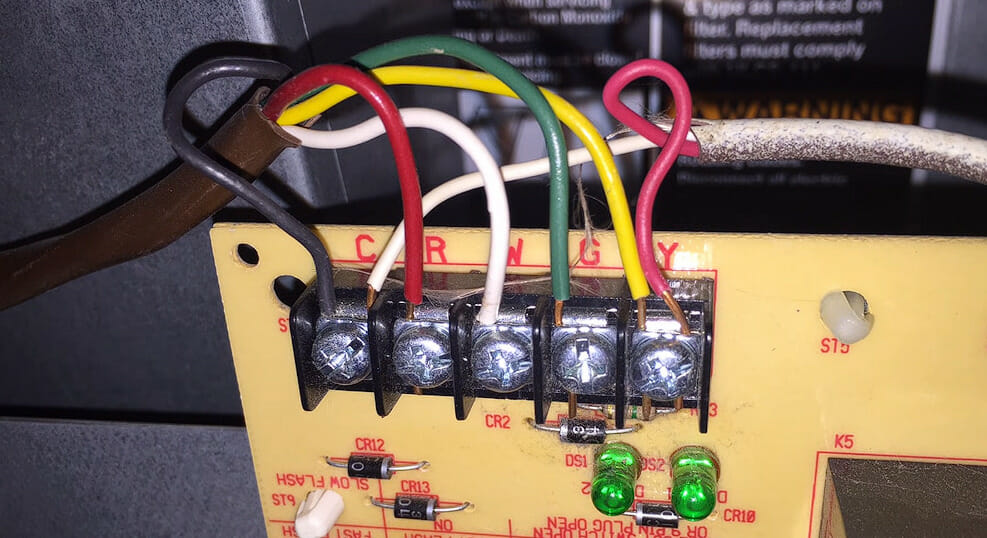
Get up close and personal with your furnace control board to find the C-Wire.
Your furnace should be turned completely off before starting any work – let’s keep safety first here! Once that’s done, remove the access panel and look for a small rectangular circuit board. That’s your control board!
Now comes the fun part: identifying wires. As mentioned, you’ll see numerous colored wires connected to terminals labeled with letters like R (red), W (white), G (green), Y (yellow), etc.
The one we’re after is typically blue or black but could be another color, too – furnaces don’t always follow uniform color coding rules! The terminal label would be ‘C’ or ‘COM.’
So if there’s already a wire hooked onto that spot, then voila! You’ve found your C-wire!
Just remember:
- The ‘C’ terminal might have a different color-coded wire.
- Not all furnaces will have an obvious ‘C’ terminal.
If you can’t locate any such terminal or are unsure whether yours has one, no worries, my friend! There are still ways to connect a C-wire without having an existing one which we’ll discuss later.
| Scenario | Solution |
|---|---|
| No ‘C’ terminal on the control board | Install an add-a-wire kit or use a power extender kit if using a smart thermostat |
| ‘C’ terminal present but no wire | Run a new wire from the control board to the thermostat |
| ‘C’ terminal is occupied by another wire | Consult an HVAC professional |
Just hang tight and stay tuned as we navigate these together!
Connecting the C Wire: Step-by-Step Guide
Our next mission? Connecting that elusive C Wire on your furnace.
Step 1. Locate where to connect the C wire
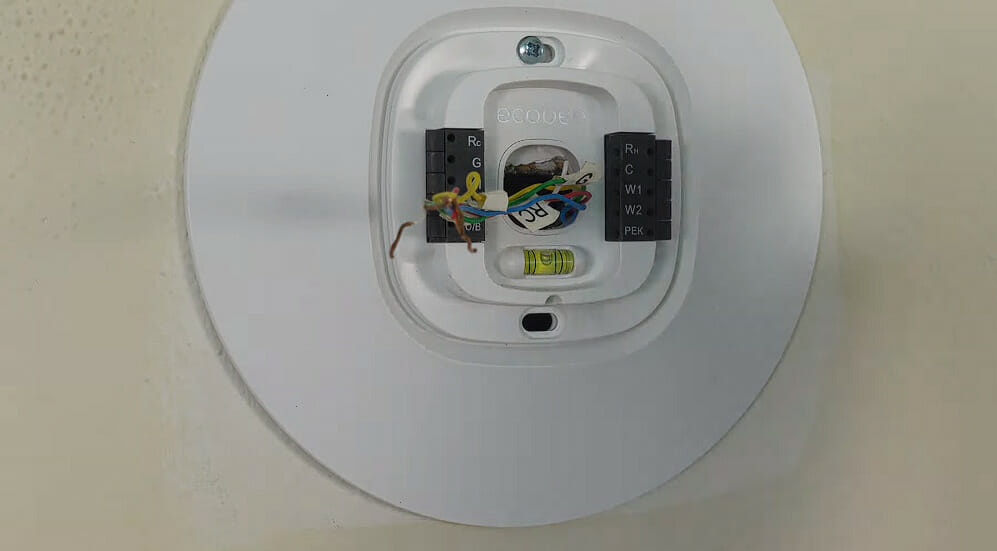
First, you must locate where to connect the C Wire on your furnace control board. This is usually labeled “C” or “COM.”
If you’re unsure about anything during this process – I can’t stress this enough – consult with an HVAC professional.
Step 2. Running wires
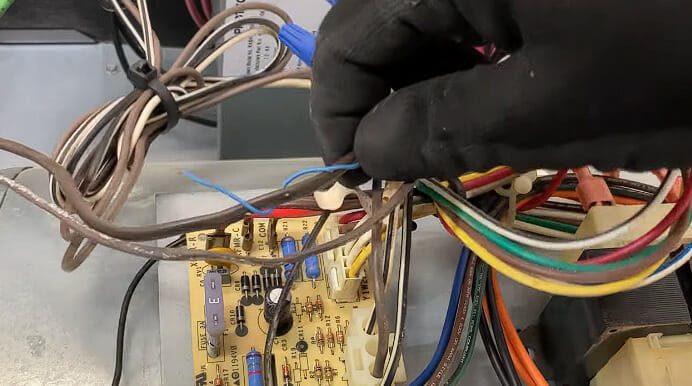
Next up, run a new 18/2 thermostat wire from your thermostat location to your furnace if there isn’t already one in place (if you see an extra wire unused at both ends – jackpot!).
You’ll be connecting one end of this new wire into the C terminal on your thermostat.
Step 3. Securing the wire
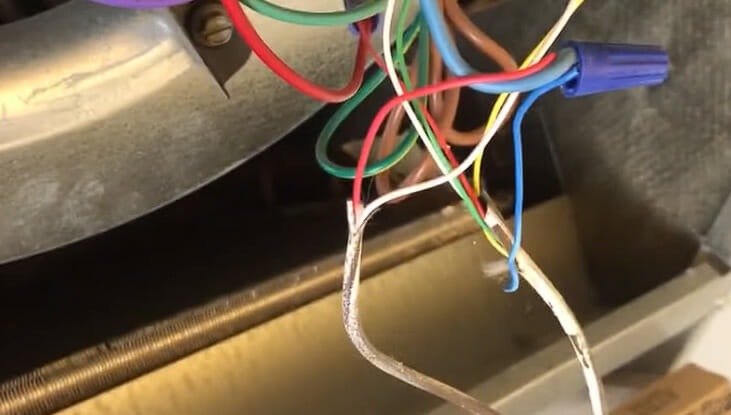
After connecting it at the thermostat end, head back to your furnace.
Your next step will involve securing the other end of that new wire into the correct terminal on your furnace control board (the one marked “C” or “COM”).
Once everything is connected securely – give yourself a pat on the back! You’ve successfully navigated through connecting a C Wire on a furnace.
Remember: dealing with electricity isn’t child’s play. If something doesn’t feel right or you’re unsure, call in an expert! There’s no harm in asking for help when needed.
Wire Alternatives: Step-by-Step Guides
Add-a-Wire Kit Installation Guide
Step 1: Safety First. Turn off the power to your HVAC system to prevent accidental shocks. Confirm the power is off using a voltage detector.
Step 2: Install the Diode Y-Splitter. Open the furnace control panel and locate the control board. Identify the G terminal; this is typically where the green wire connects. Disconnect the G wire and connect it to the Y-splitter included in your add-a-wire kit. Connect the Y-splitter back to the G terminal.
Step 3: Connect the New Wire. Connect the additional wire with your kit to the C terminal on your control board.
Step 4: Run the Wire to the Thermostat. Run the other end of the new wire through the wall to your thermostat. Ensure it’s the same length as the other thermostat wires.
Step 5: Wire the Thermostat. At the thermostat, move the existing G wire to the C terminal. Connect the new wire to the G terminal. This allows your thermostat to power the C wire while maintaining fan control.
Step 6: Test Your System. Turn the power back on and test your system to ensure everything works correctly.
When and Why to Call a Professional HVAC Technician
Oh boy, we’ve all been there, right? You’re knee-deep in wires following an online guide promising an easy fix. Suddenly you hit a snag. The C wire on the furnace isn’t where it’s supposed to be! Now what?
Well, folks, this is when you might need to call in the pros. Why? Because messing with your HVAC system without proper knowledge can lead to costly mistakes.
Safety first, my friends. Furnaces dealing with gas and electricity don’t play well with amateurs. One wrong move could mean injury or even a fire hazard.
Next up: Time and money. You think you’re saving some bucks by doing it yourself but spend hours tangled in wires without much progress.
An experienced technician can sort out your issue quickly because they’ve seen it all before.
And let’s not forget about warranty issues either:
- Some manufacturers won’t honor warranties if non-certified people have fiddled around.
- A professional HVAC technician will ensure everything is done correctly, keeping your warranty intact.
Finally, there’s the matter of future-proofing. Sure, you might find a band-aid solution for now, but what about down the line? Professionals will make sure everything is set up correctly for future upgrades or fixes.
So remember, folks – if you’re unsure where to connect the C wire on your furnace – don’t hesitate!
Call in those skilled professionals who know their way around these complex systems like their backyards! Trust me – sometimes it’s worth every penny!
References
Video References
Word of Advice TV
Deanin’ It Yourself
Rob Some Knowledge