9 min read
What Size Drill Bit for 1/8 NPT Tap? (Quick Guide)
Have you ever wondered what size drill bit you need for a one-eighth NPT tap? Well, you’re in the right place! I will break it down for you, making it as simple as possible.
So, you’ve got your 1/8 NPT tap ready. The drill bit you need is the “R” type, measuring at a precise 0.339 inches. Keep this bit in your toolkit, and you’re golden for any job connecting pipes with 1/8 NPT threads.
Stick with me as we dive deeper into this topic. We’ll explore everything about choosing the right drill bits for 1/8 NPT taps, ensuring you’re equipped for success in your projects. Trust me, with the right knowledge, you’ll breeze through these tasks!
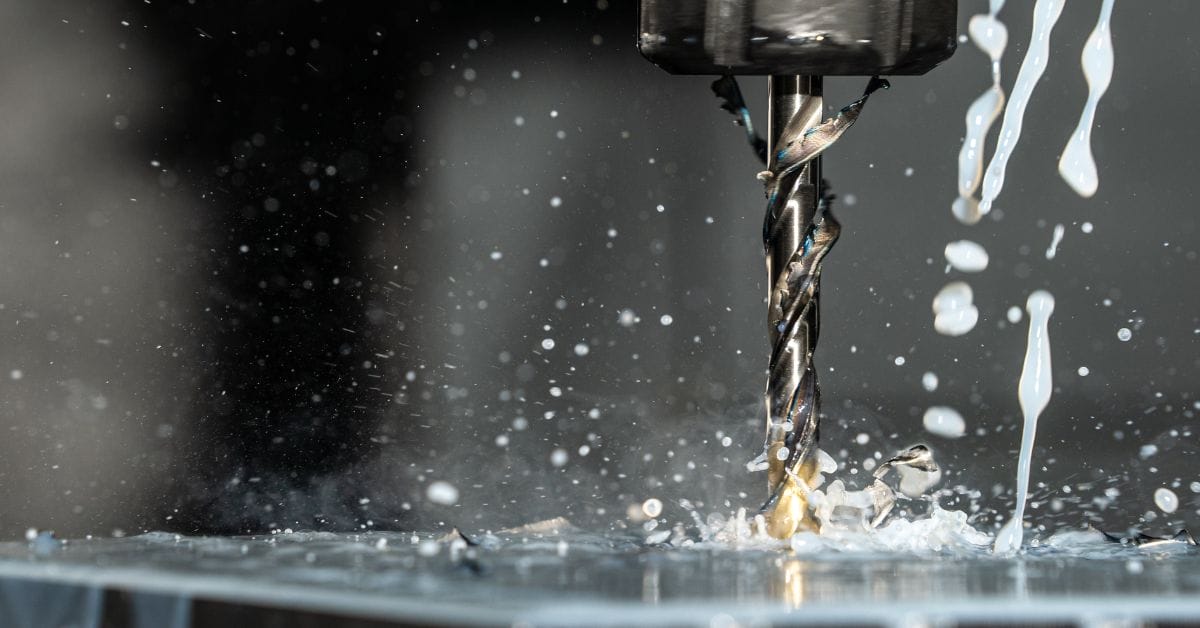
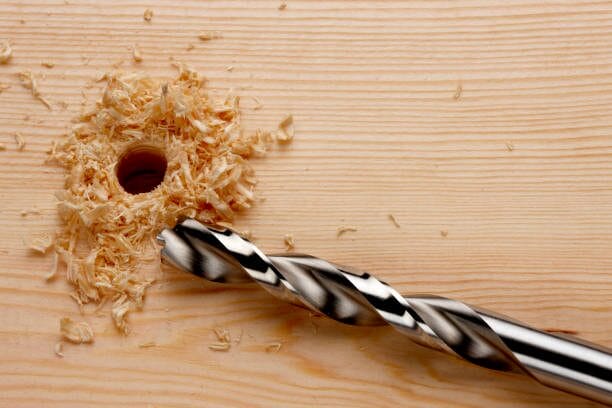
Drill Bit Basics

As we delve deeper into the world of NPT taps, we must grasp the Drill Bit Basics. These fundamental drill bit details aren’t just little nuggets of knowledge. They’re vital for anyone seeking to master the art of precision drilling.
Why are drill bits so significant? Each drill bit has a particular size tailored for a specific task. To properly utilize an NPT tap, a corresponding drill bit is needed. This customization offers the perfect fit and performance required for each unique job.
Let’s now tackle drill bit sizing. Drill bit sizes differ depending on the region—American, British, and Metric measurement standards exist. The inch-based standard is widely used in the US.
For our 1/8 NPT tap in focus, a 21/64-inch drill bit is recommended. Here’s a handy comparative table for clarity:
| NPT Tap Size | Corresponding Drill Bit Size |
|---|---|
| 1/16″ NPT | 1/16 inch or 1.59 mm |
| 1/8″ NPT | 21/64 inch or 8.33 mm |
| 1/4″ NPT | 7/16 inch or 11.11 mm |
| 3/8″ NPT | 37/64 inch or 14.68 mm |
| 1/2″ NPT | 23/32 inch or 18.26 mm |
| 3/4″ NPT | 59/64 inch or 23.42 mm |
| 1″ NPT | 1-5/32 inch or 29.37 mm |
| 1-1/4″ NPT | 1-1/2 inch or 38.10 mm |
| 1-1/2″ NPT | 1-47/64 inch or 44.45 mm |
| 2″ NPT | 2-7/32 inch or 56.36 mm |
| 2-1/2″ NPT | 2-5/8 inch or 66.68 mm |
| 3″ NPT | 3-1/4 inch or 82.55 mm |
| 3-1/2″ NPT | 3-3/4 inch or 95.25 mm |
| 4″ NPT | 4-1/4 inch or 107.95 mm |
However, it’s always good to note that sizes aren’t always set in stone. Slight variations may exist depending on the drill bit brand. Therefore, it’s essential to corroborate sizes before purchasing.
As we delve deeper into other NPT tap sizes, understanding the basics of drill bits paves the way to ensure precise and efficient work.
Material Considerations
When it comes down to deciding the ideal drill bit size for a 1/8 NPT tap, materials are key players. Different materials possess different levels of hardness and resistance, making your choice of drill bit size crucial.
To start, closely examine the material you’re about to work on. A smaller drill bit might get the job done if it’s softer, like some plastics or timber.
Here’s a simple chart detailing recommended drill bit sizes and coatings for common materials:
| Material | Recommended Drill Bit Size | Coating |
|---|---|---|
| Soft Plastics | Smaller Sizes | Black Oxide |
| Hard Plastics | Medium Sizes | Titanium |
| Metals | 21/64 inch, Larger Sizes | Cobalt |
In our experience, knowing the ins and outs of materials you work on makes all the difference in the outcome. Here, we’re not just talking about the actual size of the drill bit. Other features, such as sharpness and quality, are also critical.
Best Practices for 1/8 NPT Tap and Drill
Let’s talk about making your 1/8 NPT tap and drill work successful. Here’s what I’ve learned over the years:
Marking the Spot
Before you even think about drilling, mark where you want that hole. A simple mark saves you from mistakes and keeps your work looking sharp.
Lubrication
Here’s a big one: lubricate! It keeps your drill and taps from overheating and wearing out. Trust me, a little lube goes a long way.
Cooling Breaks
If you’re using a high-speed drill, give your bit some rest now and then. Overheating can wreck your bit and the material you’re working on.
Applying Pressure
When you’re drilling, keep the pressure even and consistent. There is no need to force it – let the tool do its job.
Clearing Debris
Regularly clear out chips and debris. A clean hole is key to a clean job.
Using a Tap Wrench
When you’re threading, use a tap wrench to hold your tap. It gives you better control and precision.
Starting with a Pilot Hole
Begin with a small pilot hole to guide your drilling. It’s a simple step that sets you up for success.
Follow these practices, and your 1/8 NPT tap and drill job will be spot on. It’s all about the right tools and the right approach. Happy drilling!
Troubleshooting Guide for Drilling and Tapping
Let’s tackle some common hiccups you might face while drilling and tapping, especially with a 1/8 NPT tap.
I’ve run into these issues myself, and I’m here to share some practical solutions I’ve picked up. Let’s dive in:
| Common Issue | Solution |
| Bit Breaking | This is a classic! Your drill bit might break if it’s too brittle or under too much pressure. My trick? Use high-quality, high-speed steel bits and go easy on the pressure. Remember, it’s a marathon, not a sprint. |
| Tap Getting Stuck | Been there, done that. If your tap gets stuck, it’s often due to excessive speed or insufficient lubrication. Slow down, use plenty of cutting fluid, and gently reverse the tap now and then to clear the chips. |
| Off-Center Holes | It’s frustrating when holes aren’t where they should be. To avoid this, start with a center punch to mark your spot. And always begin with a pilot hole; it guides your drill bit to the right spot. |
| Rough Thread Finishing | Rough threads can be a real headache. This usually happens when you rush the tapping process. My advice? Take it slow, use steady, consistent turns, and ensure your tap is perpendicular to the surface. |
| Overheating Drill Bit | Overheating can wear out a bit fast. The key here is to take breaks and use a lot of lubricant. Also, try not to push too hard – let the bit do the work. |
| Material Deformation | If you’re working with softer materials, they can sometimes deform. To prevent this, support the material well and consider using a backing block. And remember, gentle pressure is your friend. |
Patience and attention to detail are your best tools for drilling and tapping projects. Happy fixing!
Maintenance and Care Tips for Drill Bits
Let’s talk about keeping your drill bits in top shape. Taking care of your tools is as important as knowing how to use them. I’ve learned a few tricks to keep my drill bits working like new. Let me share what I know:
Keep Them Clean
After every use, clean your drill bits. I usually wipe mine down with a rag. A bit of soapy water does the trick if they’re really dirty. Just remember to dry them thoroughly afterward to prevent rust.
Proper Storage
I can’t stress this enough – store your drill bits properly. I use a dedicated drill bit case or a drawer with individual slots. This prevents them from knocking against each other, which can cause damage. Trust me, a little organization goes a long way.
Regular Sharpening
A dull drill bit is a no-go. I sharpen mine regularly, especially after tough jobs. You can use a drill sharpening tool or take them to a professional. Sharp bits mean cleaner, more efficient drilling and less wear on your drill.
Avoid Overheating
I learned early on to give my drill bits a break during heavy use. Overheating can weaken the metal. A simple pause in drilling and a bit of lubricant can help keep the temperature down.
Rust Prevention
Rust is the enemy of any metal tool. In damp environments, I apply a light coat of machine oil on my bits to keep rust at bay. It’s a small step that makes a big difference in longevity.
Check for Wear and Tear
Before I start any project, I give my bits a quick inspection. Look for signs of wear, like cracks or chips. Using a damaged bit affects your work and can be a safety hazard.
Handling with Care
Handle your drill bits with care. Dropping them can cause damage that affects their performance. I always place them gently back into their storage after use.
Taking good care of your drill bits isn’t just about prolonging their life; it’s about ensuring your work is always top-notch. A well-maintained drill bit will serve you well for many projects to come!
Frequently Asked Questions
- Can I Use a Standard Drill Bit Instead of an R-Shaped Bit?
- Technically, you could, but I wouldn’t recommend it. The R-shaped bit is specifically designed for this job. Using a standard bit might not give you the precision you need, and hey, we’re all about doing it right the first time!
- How Do I Prevent the Drill Bit from Breaking?
- Use a high-quality bit to avoid breakage and apply steady, moderate pressure. Remember, forcing the bit too hard or too fast is a recipe for disaster. Patience is your friend here.
- What If My Hole Is Off-Center?
- An off-center hole can throw everything off. Start with a center punch to mark your spot accurately. Then, use a pilot hole to guide your drill bit. It’s all about precision!
- Is There a Way to Ensure Clean Threads?
- Absolutely! The secret to clean threads is taking it slow and steady. Ensure your tap is perpendicular to the surface, and don’t rush the process. Good things take time, right?
References
Organizations:
- American Society of Mechanical Engineers (ASME). https://www.asme.org/
- Precision Machined Products Association (PMPA). https://www.pmpa.org/
Books:
- “Machinery’s Handbook” by Erik Oberg, Franklin D. Jones, Holbrook L. Horton, and Henry H. Ryffel. https://www-origin.abebooks.com/servlet/BookDetailsPL?bi=31408675443
Website Resources:
- ThomasNet (Industrial Product Sourcing and Supplier Discovery Platform). https://www.thomasnet.com/
- Practical Machinist (Online Community and Forum). https://www.practicalmachinist.com/