6 min read
What Color is C Wire on Thermostat? (Detailed Guide)
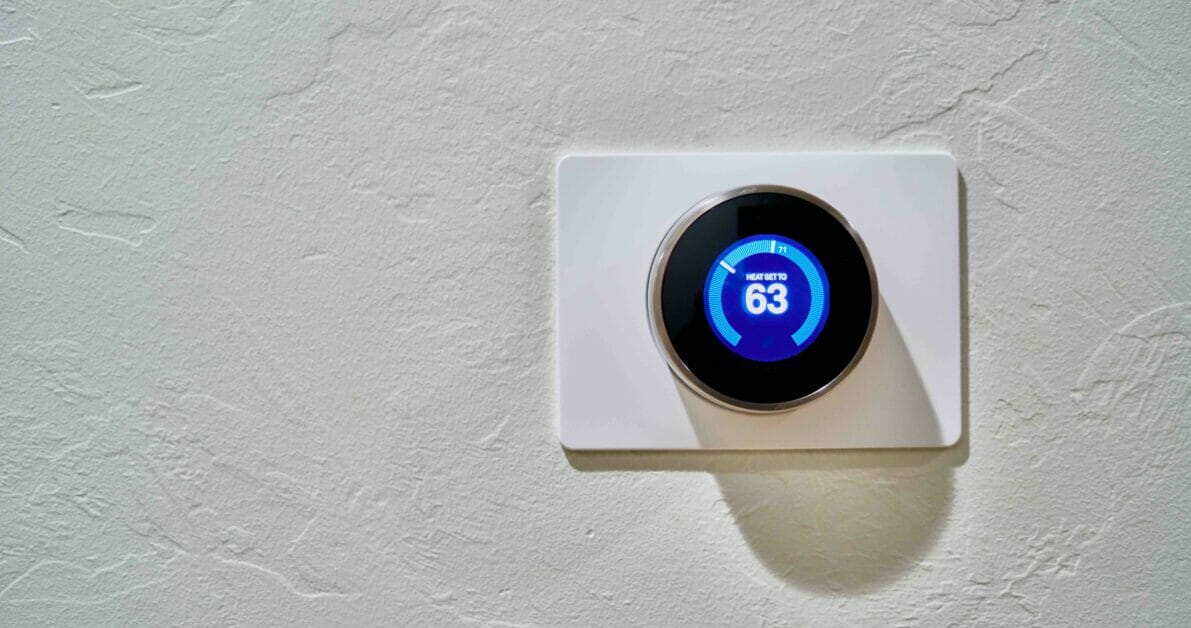
Have you ever stared at your thermostat wiring and wondered, “What color is the C wire?” Well, you’re not alone.
Key Takeaways – Typically, the C wire or ‘Common Wire’ on a thermostat is blue or black, but don’t be surprised if yours isn’t those colors! The truth is, there’s no universal standard for thermostat wiring colors.
But don’t worry – I’m here to help you navigate this colorful confusion and shed light on what color C wire is on your thermostat.
Identifying the C Wire: Color and Other Characteristics
So you’re knee-deep in your DIY thermostat installation project, and now it’s time to identify that elusive C Wire.
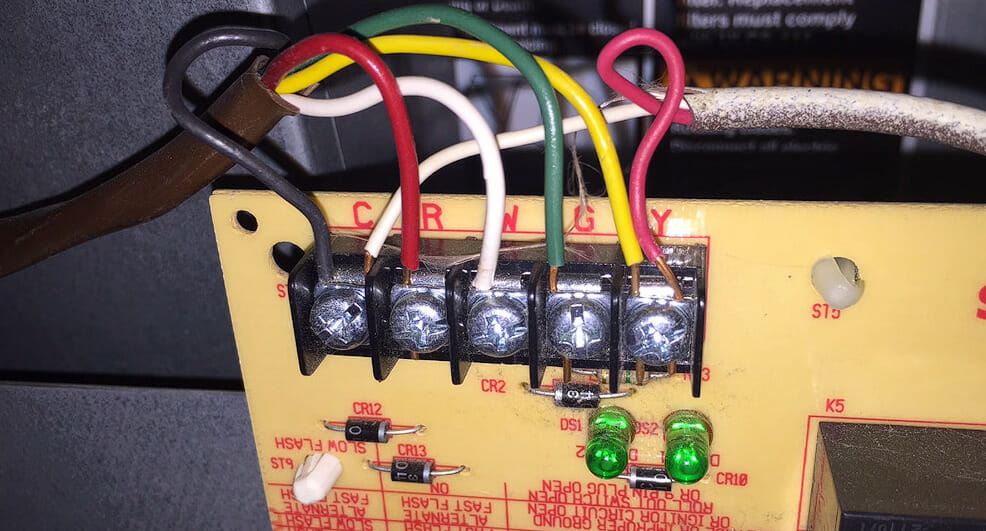
Let’s get something straight: there’s no universal color for the C wire (or common wire) across all thermostats. However, you’ll often find that it tends to be blue or black.
That said, this isn’t a hard-and-fast rule. The color of your C wire could be different depending on your HVAC system.
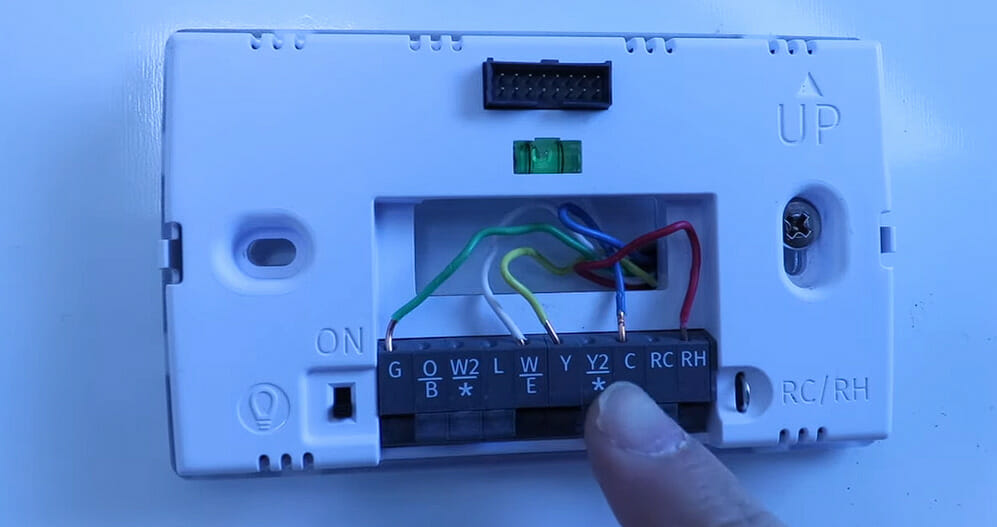
Now if you’re looking into your thermostat wiring and see a slew of wires in every color of the rainbow, here’s what they typically signify:
- Red (Rc/Rh) – Power
- White (W) – Heat
- Yellow (Y) – Cool
- Green (G) – Fan
- Blue/Black – Common (C)
Remember, though; these are just guidelines! The letters next to each wire should be your main point of reference.
If you haven’t got any wires labeled ‘C,’ check out if there’s an extra unused wire bundled up behind your thermostat; this could be used as a C wire.
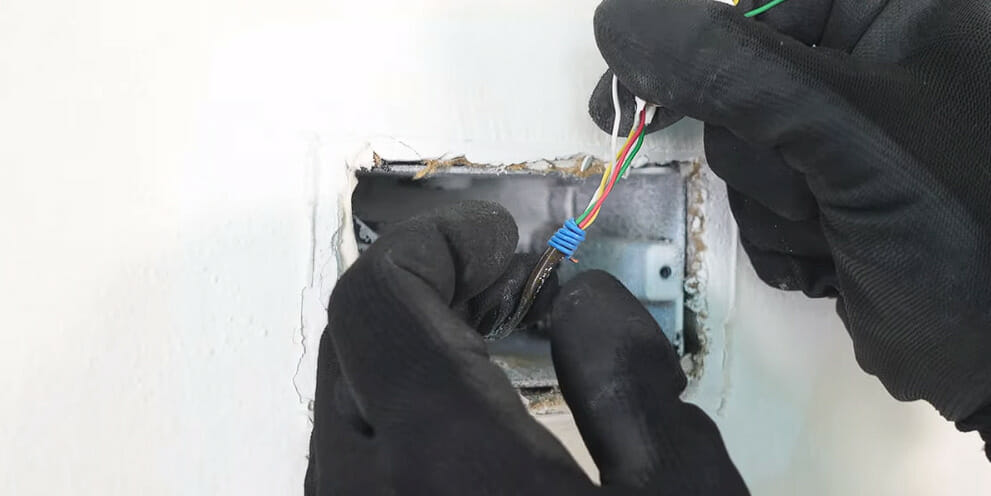
Well then, my friend, if not, we might have a little more work ahead. Also worth noting is that some thermostats operate perfectly fine without a C wire altogether!
These models draw power from other sources like batteries or so-called ‘power stealing’ from other wires, which would eliminate the need for our blue/black buddy.
When the C Wire Color May Vary: Exceptions to the Rule
As mentioned, not every thermostat’s c wire is blue! So, let’s dive into these wild exceptions.
Don’t get me wrong, most of the time, it will be a solid blue color. That’s what we’ve all come to expect and love. But sometimes, it just isn’t.
In some cases, your c wire could be black or brown.
And if you’re out on a limb here, it might even be red or green!
It all comes down to who installed your system and how they felt that day (I’m only half joking!).
The truth is that while there are industry standards for wire colors in HVAC systems – they aren’t always followed as strictly as we’d like.
Here are a few scenarios where the color of your c wire might vary:
- If your home has an older heating and cooling system
- When non-standard wires were used during installation
- If previous homeowners did their DIY projects
Now remember, friends: color isn’t everything! Just because a wire is blue doesn’t mean it’s your c wire (Confusing? Yes!).
Always make sure to check with a multi-meter before making any changes or assumptions about wiring.
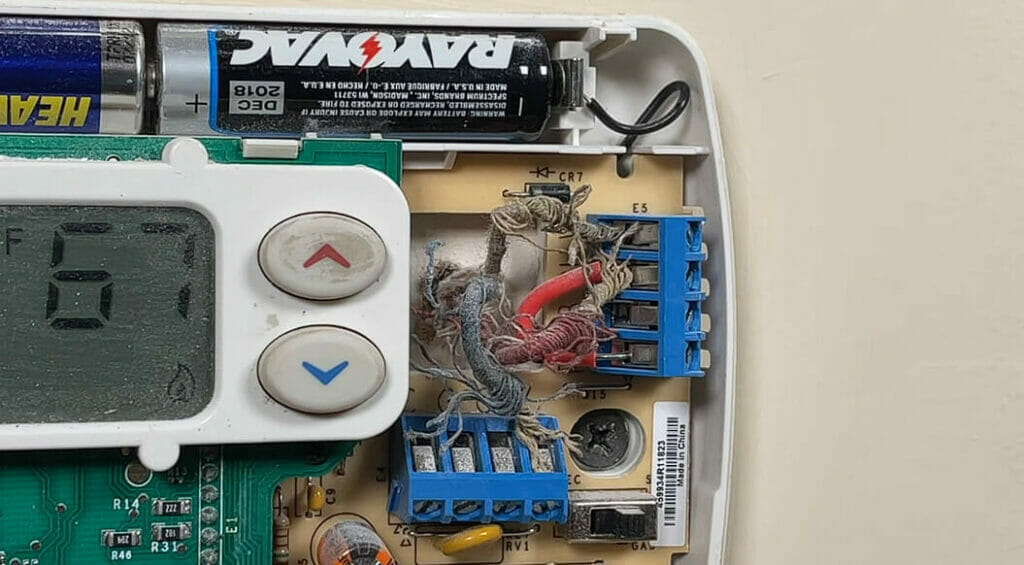
Using a Multimeter to Identify the C Wire
| Steps | Description |
|---|---|
| Step # 1: Understand the Basics of a Multimeter | Familiarize yourself with the multimeter’s functions, focusing particularly on the setting for alternating current (AC) voltage. |
| Step # 2: Safely Access the Thermostat’s Wires | Turn off the power to your HVAC system at the circuit breaker. Remove the cover of your thermostat to expose the wiring. |
| Step # 3: Set the Multimeter to Voltage Measurement | Adjust your multimeter to measure voltage. In most cases, you’ll measure a range of around 24 volts AC, so set your multimeter appropriately. |
| Step # 4: Identify Possible C Wire Candidates | Look for the typically blue or black wire, but it could vary. This wire, connected to the “C” terminal, is often your C wire. |
| Step # 5: Testing for the C Wire with the Multimeter | Use the multimeter’s probes to touch the end of the suspected C wire and the power wire (usually red). The multimeter should read around 24 volts. |
| Step # 6: Confirming the C Wire Identity | If you get a 24-volt reading, likely, you’ve correctly identified the C wire. No voltage might mean the wire isn’t a C wire, or there could be an issue with your system’s power. |
| Step # 7: Secure and Document Your Findings | Make a note of which wire is the C wire for future reference. You may also want to label it if it’s not already. |
| Step # 8: Safety Measures Post-Testing | Before replacing the thermostat cover and restoring power, ensure all wires are securely in their correct terminals. |
| Step # 9: Putting Everything Back Together Safely | Replace the thermostat cover and restore power to your HVAC system at the circuit breaker. |
One last thing: when still in doubt, call in a pro! Thermostats can be tricky little devices, and messing around with them without knowing exactly what you’re doing can lead to bigger issues.
References
One Hour Smart Home
Deanin’ It Yourself
Everyday Home Repairs
Word of Advice TV