13 min read
Ultimate Cleaning Challenge: Your One-Week Plan to a Spotless Home (Guide)

Hey there, all you clean freaks and tidy-uppers! It’s time to roll up your sleeves because we’re about to embark on the Ultimate Cleaning Challenge that will transform your home from cluttered to crystal clear in just one action-packed week!
Here’s the lowdown on our one-week plan for a spotless sanctuary:
| Day | Area to Clean |
|---|---|
| 1 | 🍳 Kitchen |
| 2 | 🛏️ Bedroom and🚪 Closet |
| 3 | 🧸 Kids’ Rooms and Playroom |
| 4 | 🛁 Bathrooms |
| 5 | 🛋️ Living Room |
| 6 | 🚗 Garage |
| 7 | 🏠 Basement |
Get ready for a whirlwind week with me, your guide to the clean, as we conquer the chaos and make your home sparkle like never before. Let’s get this cleaning party started!
Day 1: Kitchen

Starting my week with the heart of the home, I tackle the kitchen. Kitchen cleaning day falls after the weekend since most of my cooking and meal planning is done. This allows me to keep the kitchen clean most of the week with minimal effort.
If the kitchen mess seems overwhelming, don’t fret! I recommend setting aside one full Monday for deep kitchen decluttering and intensive cleaning. Here’s how it’s done:
- Check the refrigerator, freezer, and pantry. Toss out any expired or old food.
- Wipe down all surfaces.
- Take out any trash, especially if it contains food waste.
Interestingly, the process gets a lot easier over time. Once you’ve done the deep clean, maintaining the tidiness through the week is—dare I say it—almost fun.
To keep the momentum up, try using timed sessions, where you clean for set amounts of time, like 30 minutes. Set a timer, start at the top of your list, and clean until the timer dings.
You pick up where you left off on your next scheduled cleaning day. Repeat. Over time, you’ll find your own rhythm and pace, making the task less daunting.
By the end of the week, the job’s reduced to a quick sweep and wipe, leaving more time for personal relaxation or spending quality time with loved ones.
Day 2: Bedroom and Closet

After tackling the kitchen, it’s Day 2 and time to move on to the bedrooms and closets.
Bedrooms can be a minefield of clutter, from bedside tables laden with items to dressers groaning under the weight of the objects they carry. It’s time to streamline these spaces and restore tranquility.
When tackling a bedroom cleanup, it’s all about hitting those often-overlooked spots and making your space truly yours. Here’s the game plan:
- 🧽 Remove all items from bedside tables and dressers, wipe down everything, and then carefully replace only the necessary items.
- 🔄 Rotate seasonal items in the closet, storing away off-season clothing and making room for the upcoming season’s attire.
- 🗂️ Organize the closet by grouping similar items together, adding shelving units, clothing rods, and labeled storage boxes for a more coherent space.
- 🧹 Finish with a thorough vacuuming session across the bedroom, including under furniture and ceiling corners, to remove dust and cobwebs.
So, Day 2 might be intense, but the satisfaction of having clean bedrooms and closets is worth it. Keep pushing on because we’re not done yet; there’s more to this week-long cleaning plan.
Day 3: Kids’ Rooms and Playroom
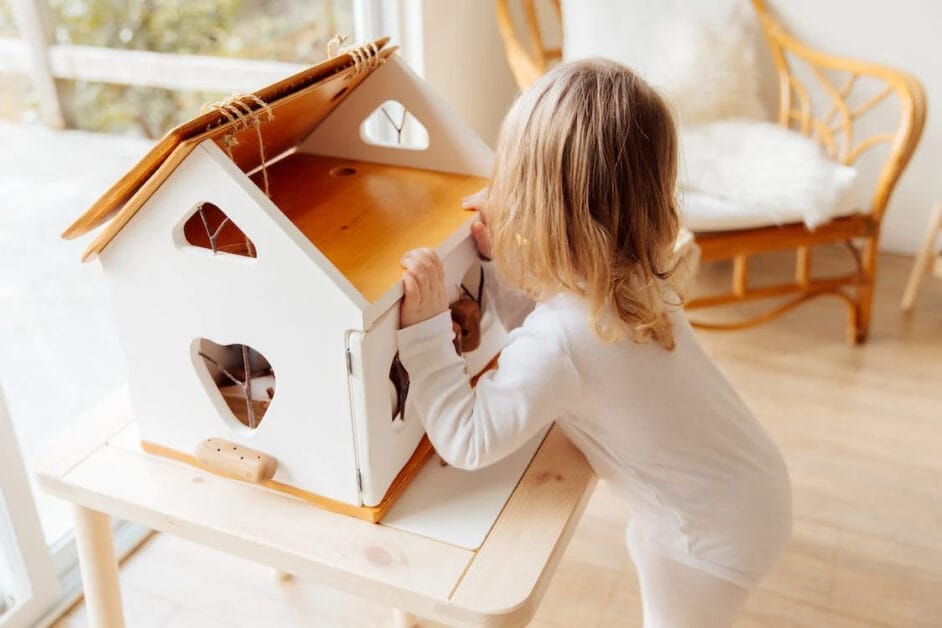
Today is all about retaking control of the kids’ rooms and playroom.
You’ll be surprised by how much extra stuff has accumulated over time, especially around birthdays or after several toys have been dragged back from the donate pile. It’s time to declutter and restore order.
Let’s turn that playroom into a space that’s as fun to look at as it is to play in!
- 🗑️ Remove trash/paper and junk toys.
- 🏠 Find homes for toys, books, and clothes.
- 🔍 Search and remove misplaced items like broken toys, lost remote controls, or hidden bits of food.
- 🧹 Dust high surfaces like bookshelves and ceiling fans
Don’t forget to include your children in these activities wherever possible. Not only does this lighten your workload, but it also helps them understand, appreciate, and learn the value of a clean living space.
Remember, we’re building life-long habits here, not just cleaning a house.
Day 4: Bathrooms

On Day 4, let’s shift our focus to the bathrooms. Cleaning a bathroom might seem time-consuming, but I have a few tricks to make it more manageable.
- ⏱️ Start with a simple 5 to 10-minute session either before leaving for work or arriving home.
- 🧹 Begin with the smaller tasks. I recommend picking up any clutter, like empty bottles or used towels.
- 🧽 Wipe down surfaces like sinks and countertops.
- 🔄 Try to incorporate one new weekly task, gradually building a routine.
To simplify your cleaning routine even further, consider the tools you use and how you use them. For instance, you might bring out the vacuum to clean your bathrooms.
Try to store cleaning products where they are being used to save effort and time. Product utilization is just as crucial as cleaning and can streamline your tasks tremendously.
Remember, Rome wasn’t built in a day. Nor does your bathroom have to shimmer like a palace overnight. As long as you incrementally work each day, keeping your bathrooms clean will become an advantageous habit instead of a contentious chore.
Day 5: Living Room

With the kitchen, bedrooms, kids’ rooms, high-traffic zones, and clean bathrooms, the spotlight is now on the living room.
Timed sessions are my recommendation today. Setting aside specific blocks of time, say 30 minutes, allows you to focus on the tasks at hand without feeling overwhelmed.
Set a timer, start with the task on top, and clean until the timer dings. This approach helps maintain a consistent effort and prevent burnout.
- 🚮 Begin the room cleaning by handling clutter. Anything out of place, any dishes left lying around, should return to their rightful place.
- 🧹 Next on the list is dusting off surfaces. Don’t ignore the television, game consoles, and baseboards.
- 🏡 These are places where dust loves to gather. Remember, we’re not aiming for homemaker of the year here; the goal is to maintain a tidy and lived-in environment.
Remember, the vacuum is the ever-helpful ally in this room, where consumption of savory snacks like Doritos might require a thorough carpet cleanup. Don’t forget to dust again before ending the day.
Every day’s progress will accumulate into a simpler and more streamlined weekly chore that keeps the living room clean with less effort. By maintaining an organized living area, you’ll be on track to achieving that sparkling-clean yet lived-in look.
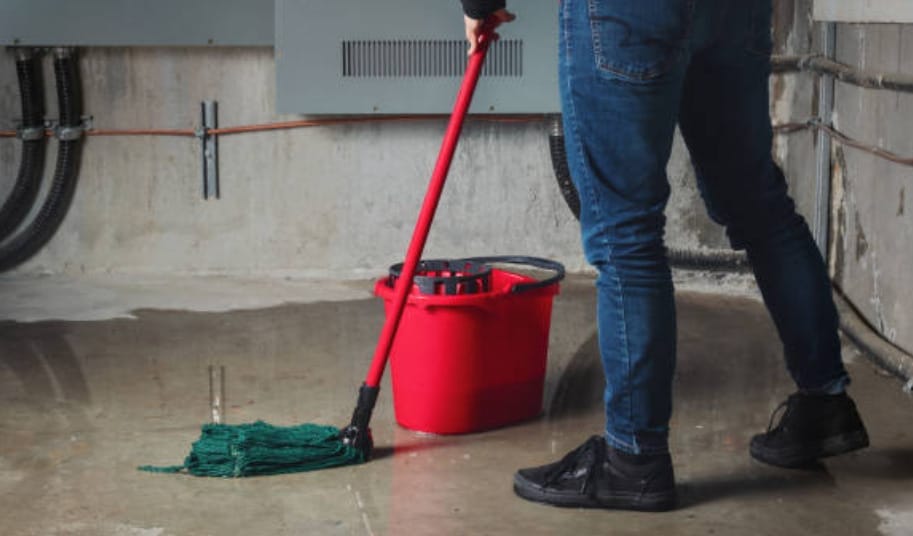
Day 6: Garage

Now we’re on Day 6 of our house cleaning schedule, and it’s time to tackle the garage- an overlooked yet significant area. The biggest challenge with most garages is organization.
But don’t worry; with some planning and effort, you can turn your garage into a well-organized and tidy space.
- 📦 Break your tasks into manageable segments: start by clearing out and separating items.
- 💚 Determine what you need to keep from what can be donated, sold, or discarded.
- ⏳ Give yourself a weekend for this job. Make sure to take items to the donation center the same day.
- 📸 If there are items for sale, photograph them and upload them on selling platforms like Craigslist right away.
- 🚀 Now, let’s talk about space optimization. Many garages have unused space above the door or near the ceiling.
- 🛠️ Make good use of this area by installing sturdy shelves or hanging bikes and seasonal items on the wall.
- 🗑️ Decluttering is essential. Take a good long look at items in your garage and find the guts to let go of unneeded stuff.
- 🧹 Clear everything at ground level and remember to sweep off dust, leaves, and any unidentified grunge that’s made a home there.
- 🧽 The concrete might have stains from chemicals, oil, and more, which can be cleaned to make it look good and improve safety.
With the garage all neat and clean, remember to schedule routine cleanups so it remains that way. Stick to your timetable. This discipline is key to maintaining a clean and organized home.
Day 7: Basement
On the final day of our seven-day house cleaning extravaganza, the basement is in our crosshairs. Much like attics, basements often morph into unintended storage areas over time. But here’s the secret: a clear and organized basement doesn’t have to be a fantasy.
- 🗄️ A great start is making introduced storage shelves and bins your new best pals.
- 🧐 Give careful thought about what’s stored and how it’s done.
- 🛡️ Delicate items should be stored in airtight bins and hoisted off the floor.
- 🧹 Now that we’ve sorted storage, it’s time for cleaning!
- 🕸️ Tackle dust on all surfaces, corner cobwebs, and don’t forget those sneaky spots behind the storage units!
- ✨ Shift out all movable items and thoroughly vacuum across the basement floor.
- 🧴 If you have hard surfaces like stone, masonry, wood, or concrete, consider giving them a wax buff.
- 🚿 Find your drains looking a bit dodgy. Grab some vinegar, boiling water, and baking soda to flush them out.
- 🖼️ And don’t forget our buddies – the window treatments, moldings, and windowsills.
- 🔄 Here, remember the common wisdom: “Floor to ceiling and everything in between.”
Voila! Day 7 cleaning plan is wrapped. But let’s not forget the journey doesn’t end here; maintaining a clean and organized home is all about the discipline of sticking to the routine.
Tips for Cleaning Every Day
Believe it or not, just a few minutes of daily tidying up significantly improves the look and feel of your home. It also prevents minor messes from morphing into major headaches later.
Here are a couple of important daily tasks suggested:
- Wipe down bathroom counters after getting washed up morning and night.
- Keep up with kitchen trash; if it’s not full and doesn’t contain food waste, you can skip a day or two.
- Have a toilet cleaning wand ready in each bathroom for daily scrubbing.
- Request family and friends to remove shoes indoors.
- Use blankets to cover couches if shedding pets are part of your family.
- Place hampers in the main bedrooms to avoid clothes cluttering the floors or furniture.
- After showering, wipe down surfaces immediately.
A clean home doesn’t take tons of effort. Establishing and sticking to daily habits like these can work wonders, and in record time, you’ll be walking in a cleaner, tidier space every day.
Smart & Safe: Handling Household Cleaners with Care
Absolutely; here are some safety tips to keep in mind when handling cleaning supplies, especially if you have little ones or furry friends running around your home:
- Store Securely: Keep all cleaning products secure and accessible to children and pets. Consider using child-proof locks on cabinets where these items are stored.
- Original Containers: Always keep cleaning supplies in original containers with labels intact. This helps in quickly identifying the contents and the associated hazards.
- Safety Caps: Ensure all products with safety caps are closed properly after use. These caps are designed to be difficult for children to open, providing an extra layer of security.
- Use as Directed: Follow the manufacturer’s instructions carefully. Using more than recommended can be unnecessary and dangerous.
- Ventilation is Key: When using chemical cleaners, ensure the area is well-ventilated. Open windows and doors or use fans to circulate air and dissipate fumes.
- Wear Protection: Don gloves and even masks if you use strong chemicals to prevent skin irritation or inhalation of fumes.
- No Mixing: Never mix cleaning agents. Some substances can react dangerously with others, releasing toxic fumes or causing other hazardous reactions.
- Immediate Clean-Up: If a spill occurs, clean it immediately to prevent children or pets from contacting the substance.
- Emergency Information: Keep the number for your local poison control center handy, and know the basic first aid for exposure to harmful substances.
- Educate: Teach children about the dangers of cleaning supplies. They must understand these are not toys and should never be touched.
- Pet Precautions: Keep pets away when applying cleaning products. Once surfaces are dry and fumes have dissipated, it’s usually safe for pets to return to the area.
- Proper Disposal: Dispose of cleaning supplies according to your local regulations. Never pour chemicals down the drain unless instructed.
Frequently Asked Questions
- Can I Mix Different Cleaners For A Stronger Effect?
- Never mix cleaning products! This can cause dangerous chemical reactions. Stick to one product per the instructions, and rinse surfaces thoroughly if switching between cleaners during your cleaning spree.
- Is It Safe To Use Bleach For All Cleaning Tasks?
- Bleach is powerful but not suitable for all cleaning jobs. It can damage certain surfaces and fabrics. Always dilute it as directed and use it in a well-ventilated area. Also, wear gloves and avoid mixing them with other cleaning agents.
- How Often Should I Replace My Cleaning Tools?
- Sponges and scrub brushes can harbor bacteria, so replace them regularly every 2-3 weeks or when they smell or deteriorate. For eco-friendly options, consider using tools that can be sanitized and reused.
- What Should I Do In Case Of Accidental Ingestion or Skin Exposure?
- In case of ingestion, call Poison Control immediately. If cleaning supplies come into contact with skin or eyes, rinse the area with water for at least 15-20 minutes and seek medical attention if irritation persists.
- What should I do if the cleaning tasks become too time-consuming or difficult?
- If certain tasks are too challenging, consider breaking them down further or seek help from a professional cleaning service for those specific areas. Remember, the goal is to maintain a clean home, not to do everything alone.
- What Are Some Time-Saving Tips for Cleaning Multiple Bathrooms?
- Time-saving tips for cleaning multiple bathrooms include having a cleaning caddy for each one, using multi-surface cleaners, and cleaning similar surfaces in all bathrooms simultaneously.
References
Organizations:
- ISSA (The Worldwide Cleaning Industry Association). https://www.issa.com/
- National Association of Professional Organizers (NAPO). https://www.napo.net/
Books:
- “The Life-Changing Magic of Tidying Up” by Marie Kondo. https://www.goodreads.com/book/show/22318578-the-life-changing-magic-of-tidying-up
- “Clean My Space: The Secret to Cleaning Better, Faster, and Loving Your Home Every Day” by Melissa Maker. https://www.barnesandnoble.com/w/clean-my-space-melissa-maker/1125140690
Website Resources:
- FlyLady.net. http://flylady.net/
- Good Housekeeping. https://www.goodhousekeeping.com/
- Apartment Therapy’s “The January Cure” https://www.apartmenttherapy.com/features/january-cure