7 min read
How to Wire a Light Socket to an Extension Cord (8 Easy Steps)

A light bulb extension cord can be very useful for lighting up a remote area of your home.
You can add a light socket to an existing extension cord. I’ll show you how to do it. Step-by-step instructions are included.
There are 8 steps, but be careful in identifying the wires correctly.
Requirements
Materials and Tools
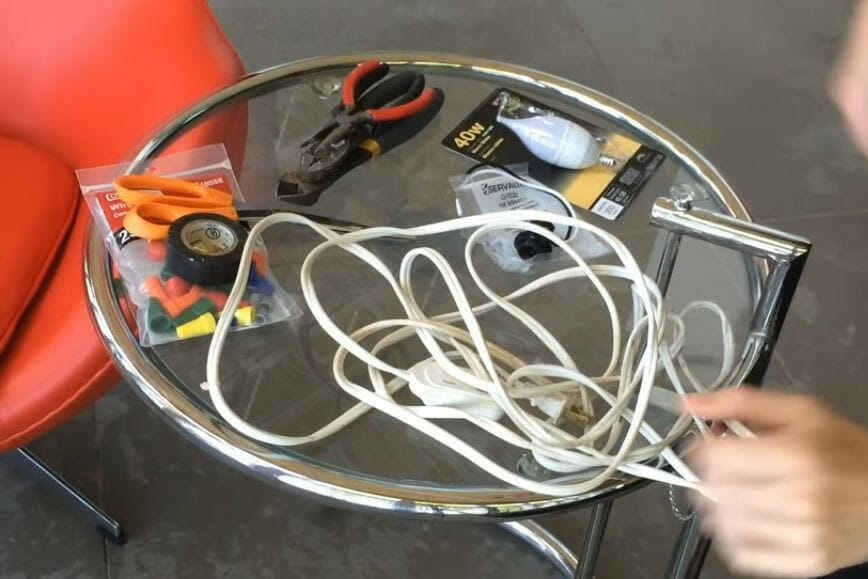
You will require the following to wire a light socket to an extension cord:
- Working extension cord (twin wire, indoor or outdoor) with enough length to suit your requirement
- Light-bulb socket (light-duty) – see the table below
- Wires – additional small pieces may be necessary depending on how you choose to wire
- Wire cutter, or a blade or scissors
- Wire stripper
- Tester or screwdriver
- Pliers
- Electrical tape may be required
- Wire nuts (if the light bulb socket is already wired)
Light-Bulb Sockets
A variety of light-bulb sockets are available. Below is a sample of them. As you can see, you can even buy ones with sockets for multiple light bulbs, a built-in socket for a plug, and a built-in switch.
Wiring a Light Socket to an Extension Cord
We will follow these steps:
- Step 1: Remove the Outlet from the Extension Cord
- Step 2: Split and Strip the Wires
- Step 3: Identify the Wires
- Step 4: Remove the Cup
- Step 5: Form a Knot
- Step 6: Connect the Wires
- Step 7: Replace the Cup
- Step 8: Test the Light-Bulb Socket
Here are the steps in detail:
Step 1: Remove the Outlet from the Extension Cord
Cut the outlet end of the extension cord using a wire cutter (while the extension cord is not in use, of course) using a wire cutter.
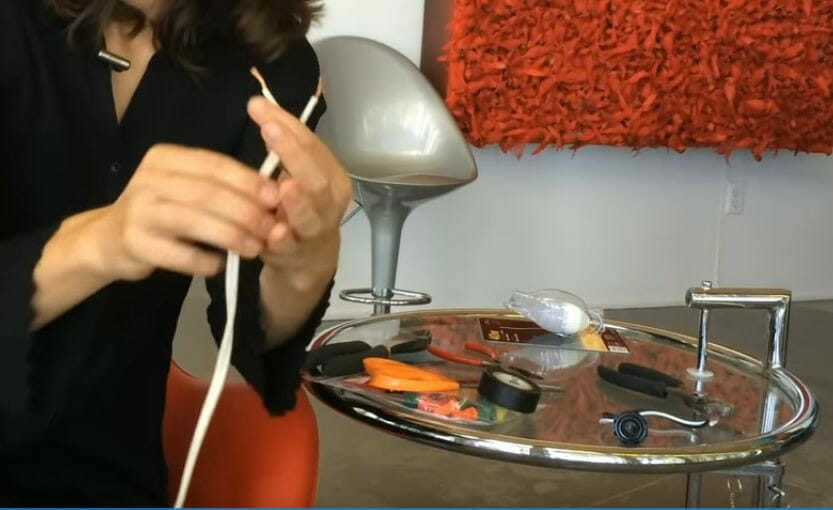
Step 2: Split and Strip the Wires
Split the wires from the end of the cord, and strip about half an inch of the insulation.
Step 3: Identify the Wires
Many cords have the same color wires for both hot and neutral.
Ensure you can positively identify which wire is the hot one and the neutral one. Look at the plug end. In a standard US plug, the hot wire is connected to the small prong and the neutral one to the large prong. The extension cord might have a printed diagram indicating which wire is which.
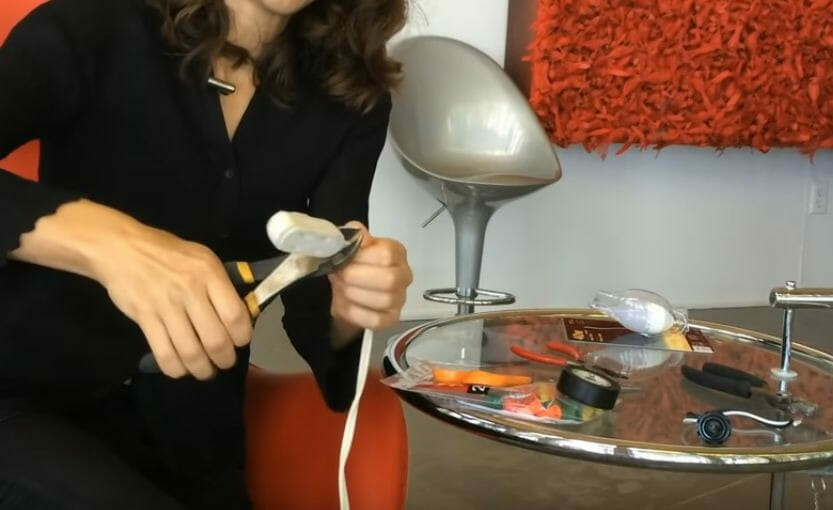
Step 4: Remove the Cup
Remove the cup from the light-bulb socket.
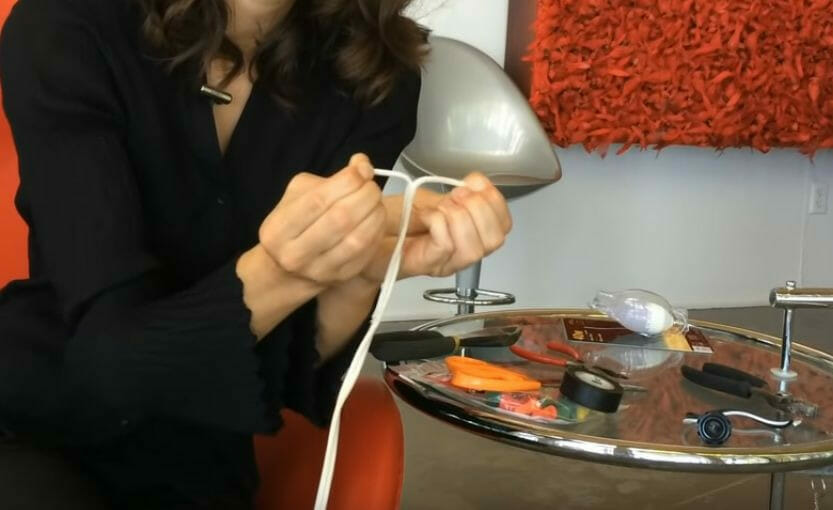
Step 5: Form a Knot
Although not essential, I recommend you turn the cable to form a knot. This will help to ensure the wires don’t come out easily.
Step 6: Connect the Wires
Connect the wires to the terminals on the light socket.
Form a hook at the end of each wire. Then, connect the hot wire to the hot (brass) terminal and the neutral one to the neutral (silver) terminal. Tighten the terminal screws to hold the wires in place.
The hot and neutral wires are clearly distinguished in the picture below – the black one is the hot wire, and the white one is the neutral wire. But your extension cord might have the same color for both, which is usually white.

If the light bulb socket is already wired, as in the picture below, you can either remove those wires or join the extension cord wires to them instead of using wire caps. In this case, I suggest you also wrap a piece of electrical tape around each joint.

Step 7: Replace the Cup
Replace the cup on the light bulb socket when the wiring is done.
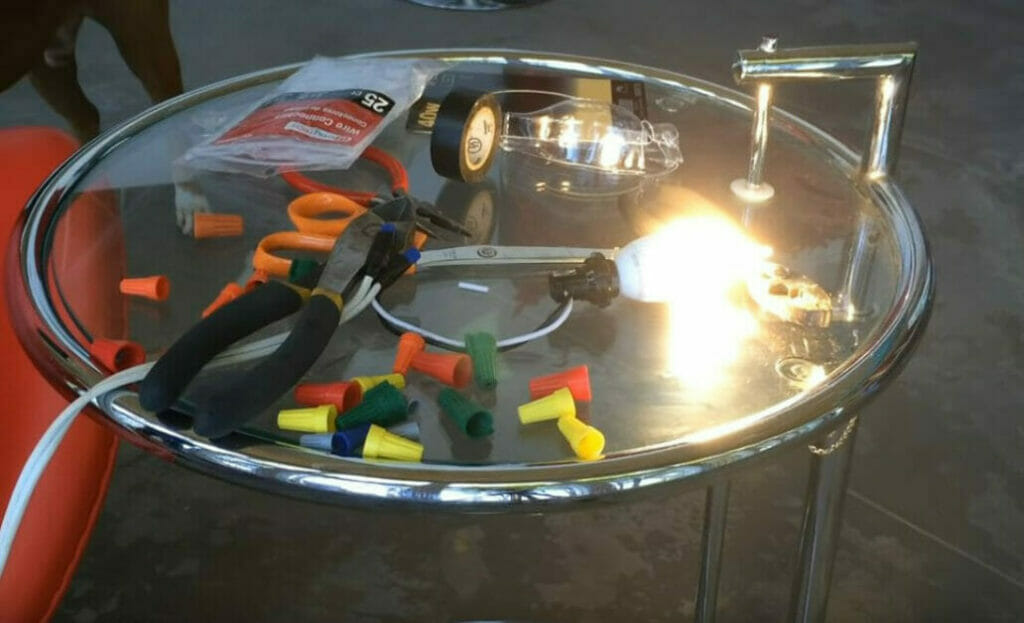
Step 8: Test the Light-Bulb Socket
Plug the extension cord into a regular 110V outlet and see if the light bulb works.
FAQs
What would happen if I wire the light bulb socket wrongly?
You can use a non-contact voltage tester to see if you wired the light bulb socket correctly. The light will still work, but you may find that the socket sleeves are energized. So, it’s safer to do AC wiring correctly.
Other Options
Switched Light-Bulb Socket
If your extension cord is very long, you might prefer to have a switch near the light bulb socket.
If so, look out for light-bulb sockets with built-in switches.
Otherwise, install a separate switch in the cord’s hot wire leg. Connect the hot wire from the extension cord to one terminal of the switch and a wire from its other terminal to the light-bulb socket’s hot (brass) terminal.
Multiple Sockets
You can easily attach multiple light-bulb sockets to the extension cord by combining like-wires from each one together and then connecting to the extension cord wires using wire caps.
However, you must ensure the extension lead can handle the total power load.
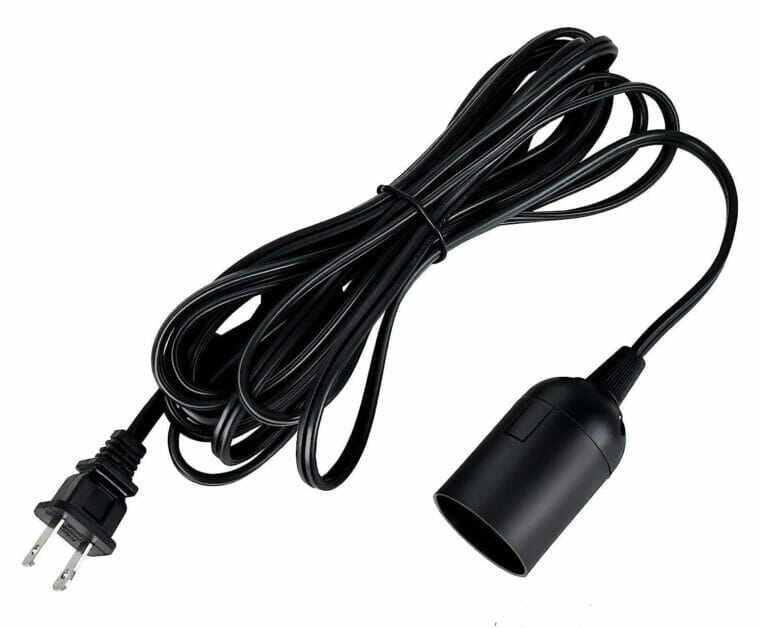
Ready-Made Long Light-Bulb Socket
While the above method makes good use of a spare extension cord for converting it into a light-bulb socket with a long cord, you can buy a ready-made one instead. They are typically light-bulb sockets on long cords with a two-pronged plug. You can buy them in different lengths.
References
Light lamp cord with a long cable. https://www.amazon.com/Simple-Deluxe-HILAMPCORDBLKL-Extension-Feet-Black/dp/B08TWCSHNH/
Sample of light-bulb sockets. https://www.lowes.com/pl/Light-socket-adapters-Light-sockets-adapters-Electrical/4294722558
Video References:
Home Addition Plus
MonkeysKnow