8 min read
How to Fix a Hot Ground Wire (Quick and Easy Guide)
Understanding what causes a hot ground wire is our first step. Spoiler alert: It’s usually an electrical fault somewhere in your circuitry.
Quick Overview
| Step | Action |
|---|---|
| 1 | Disconnect all power. |
| 2 | Inspect the wiring for damage. |
| 3 | Replace damaged wire with high-quality copper wire. |
| 4 | Loosen the terminal screw, remove the old wire, attach the new one, and tighten the screw. |
In this article, I’ll dive into some effective solutions for fixing it up nice and tidy again. So stick around – by the end of this read, you’ll be equipped with all the know-how to tackle that pesky hot ground wire issue head-on!
Best Practices for Ground Wire Installation
| Safety Tips for Electrical Work | Description |
|---|---|
| Turn Off the Power | Always switch off the power at the breaker box before starting any electrical work to avoid accidents. |
| Use Correct Size Wire | Ensure you use the appropriate wire size for your circuit; when in doubt, opt for a larger wire rather than a smaller one. |
| Securely Attach Wires | When connecting wires to outlets or switches, ensure they are firmly attached to prevent overheating and potential fire hazards. |
| Test Your Work | After completing the connections, use a voltage tester to confirm that everything functions as intended. |
| Consult an Expert if Needed | If you lack confidence in your electrical skills or encounter unusual issues, seek advice from a qualified professional. |
Now let’s look at which type of wire gauge you should use depending on the circuit amperage:
| Circuit Amperage | Recommended Wire Gauge |
|---|---|
| 15 amps | 14 |
| 20 amps | 12 |
| 30 amps | 10 |
Remember, electricity isn’t something to play around with lightly! Always prioritize safety over speed or convenience when dealing with wiring in your home.
And that my friends wraps up our guide on how to fix a hot ground wire! I hope these tips have been helpful and will keep you safe during your DIY adventures.
Steps to Safely Diagnose a Hot Ground Wire
As promised, we will discuss how to diagnose that pesky hot ground wire safely. Don’t fret; I’ll be here guiding you through each step!
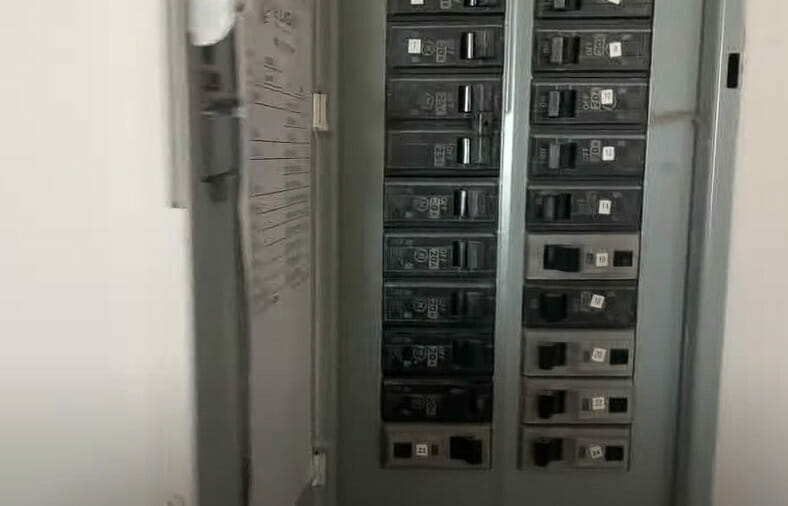
Step 1. First off, safety is paramount! You’ve got to make sure your workspace is safe. So before anything else, turn off the power source connected to the wire you’re testing. It’s better to be safe than sorry.
Step 2. Next up, get yourself a good-quality multimeter. This will become your best friend for this task – trust me on this one. Set your multimeter to measure voltage (AC or DC based on what type of circuit you’re dealing with), and then connect its probes between the ground wire and neutral or live/line wire.
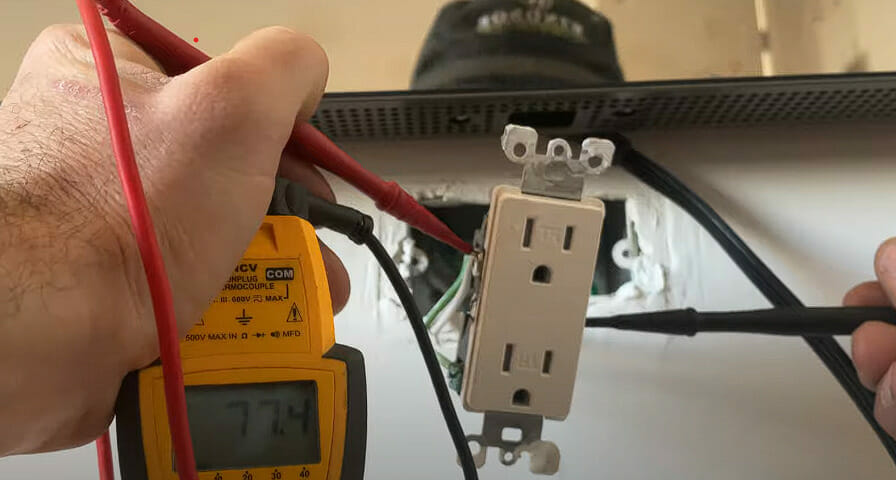
Step 3. Your aim now is to check for any abnormal readings. Any voltage above 2 volts on a ground wire could indicate an issue! Now, I don’t know about you, but I find it easier when details like these are listed out:
| Condition | Voltage |
|---|---|
| Normal | 0-2 V |
| Abnormal | >2 V |
If you discover an abnormal reading (and by that, I mean more than 2 volts), there might be some fault causing this heat-up in your grounding system.
Remember, though, diagnosing isn’t fixing. So if your ground wire shows these symptoms, it would be wise not to try repairing it yourself unless you have deep knowledge and experience in electrical systems.
Remember – safety comes first; always use a reliable tool like a multimeter and pay close attention to those voltage numbers.
Tools and Equipment Needed for the Task
Alright, let’s get down to business. Before discussing fixing that hot ground wire, we must ensure we’re prepared with the right tools and equipment.
Trust me, nothing is more frustrating than starting a project and realizing halfway through that you don’t have what you need.
First things first, safety gear is an absolute must-have! Don’t underestimate the importance of this stuff – it could be a real lifesaver. Here’s what you’ll need:
- Safety glasses
- Insulated gloves
- Rubber-soled shoes
Next up on our list are tools. You can’t fix a hot ground wire without these babies:
- Wire strippers
- Multimeter
- Screwdrivers (both flathead and Phillips)
Finally, let’s talk about materials. We’re going to need some special items to handle that pesky hot ground wire:
- Electrical tape
- Wire connectors
- Grounding pigtail
I hope you’ve got your shopping list ready because these are all essential to tackle this task head-on!
Remember, being unprepared isn’t just inconvenient; it can also be dangerous when dealing with electrical work. So make sure to gather up all these items before diving into your wiring project.
Procedures to Fix a Hot Ground Wire
Let’s dive right into the nitty-gritty of fixing that hot ground wire. You’ve noticed it’s getting too warm for comfort, and I’m here to help you cool things down.
Step 1. First off, disconnect all power. That’s an absolute must-do before we start tinkering around with wires. Safety first!
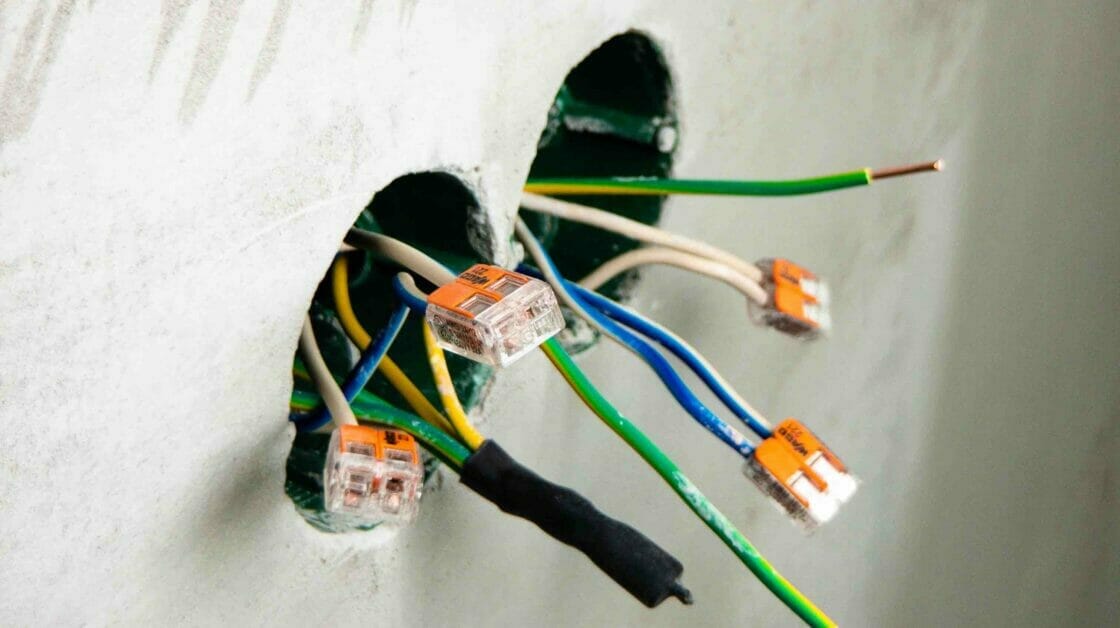
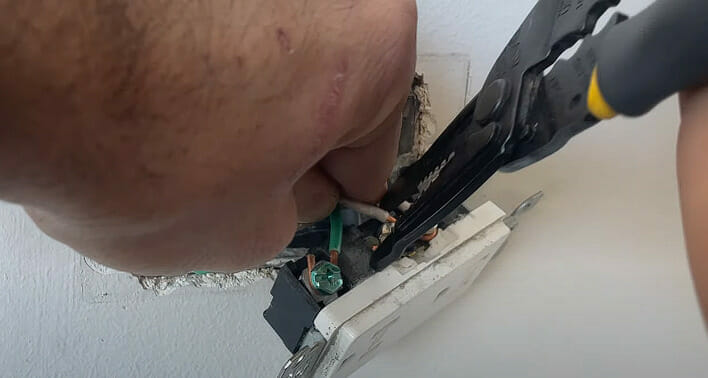
Step 2. Now we’re ready to inspect the wiring system. The trick here is to look for any signs of damage or wear and tear on your wires. If you spot something that doesn’t look right, that could be your problem area.
Step 3. Assuming we’ve found our culprit, it’s time to replace that damaged wire with a new one. But here’s where things get interesting: instead of just doing a plain ol’ replacement, let’s upgrade! Opt for a high-quality copper wire which handles heat better than most other types.
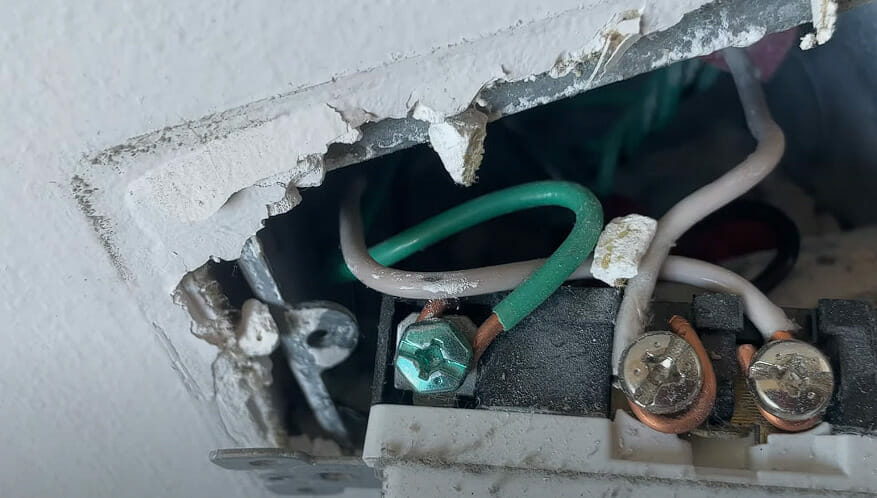
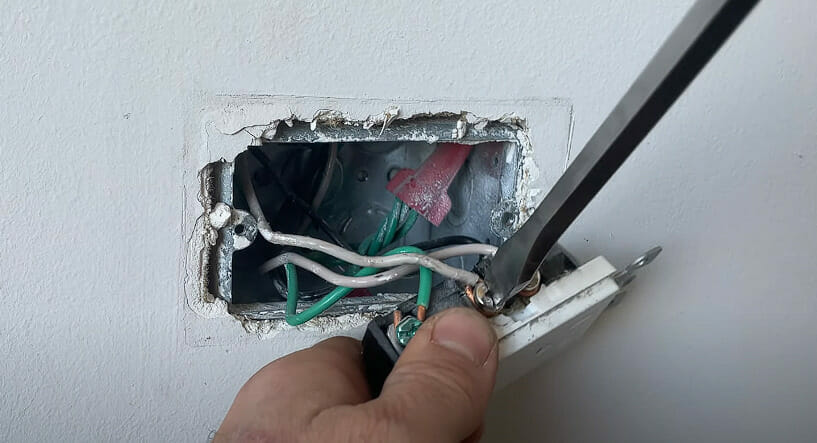
Step 4. Now, loosen the screw on the terminal using a screwdriver.
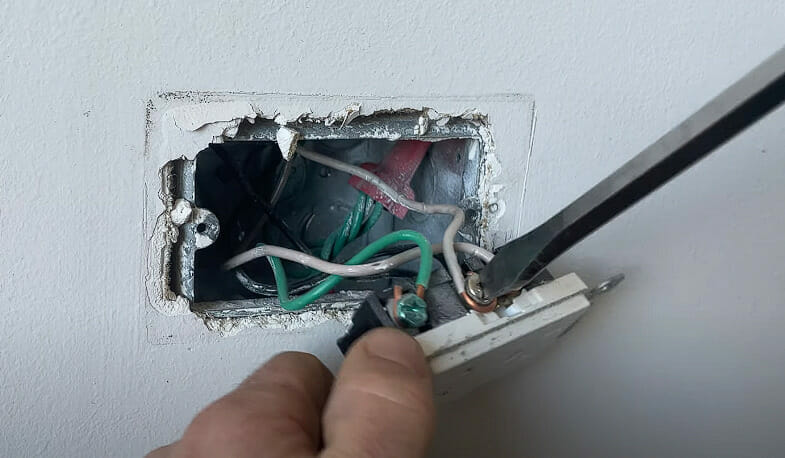
Step 5. Next, remove the old ground wire.
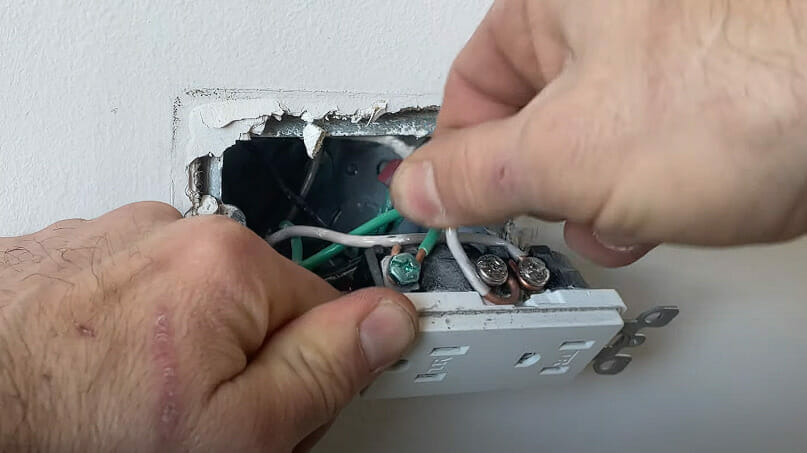
Step 6. Then attach your shiny new copper wire in its place.
Step 7. And finally, tighten up that terminal screw again!
Just like that – you’ve got yourself an upgraded electrical system!
Remember, though, while these tips should help fix those pesky hot ground wires, they won’t always solve every problem under the sun! So don’t hesitate to ask for expert assistance when needed.
References
Websites:
- Mike Holt Enterprises. https://www.mikeholt.com/
- The Family Handyman. https://www.familyhandyman.com/
- National Electrical Code (NEC). https://www.nfpa.org/codes-and-standards/
Video References:
Apartment Maintenance Pro