16 min read
Solved! Discover the Ultimate Mold Assassin Now! (6 Solutions)
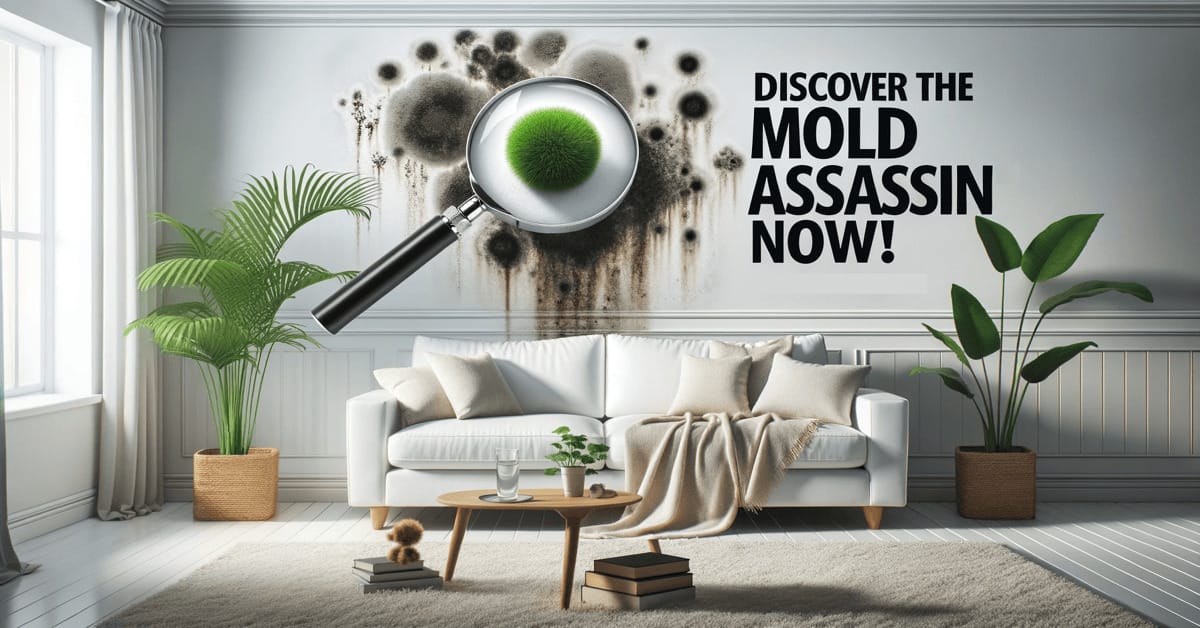
Diving into the mold-fighting arena can be a head-scratcher. But fear not, I’m here to tag team it with you! Together, we’ll knock out mold with some no-nonsense, effective knock-out tips, and have your home sparkling in no time!
Here’s what we’ll cover using!
- 🧴 Bleach: Surface Disinfectant
- 🍶 Vinegar: Natural Penetration
- 💦 Hydrogen Peroxide: Multi-purpose Antifungal
- 🍞 Baking Soda: Deodorizing Naturalist
- 🌿 Essential Oils and Lemon: Potent Natural Mix
- 🤝 Professional Assistance: For Extensive Issues
Let’s get started below!
Solution 1 – Bleach Tackles Surface Mold

Although bleach disinfects and cleans most surfaces effectively, it only kills surface mold. Bleach’s chemical structure prevents it from reaching the mold’s underlying membrane in porous surfaces.
Consequently, mold can return even after the surface appears clean. Bleach can sometimes exacerbate mold growth, feed certain mold types, or cause mold to burrow deeper into unreachable areas. Using bleach for small mold amounts found exclusively on non-porous surfaces is best.
To use bleach for mold, here is the step-by-step procedure:
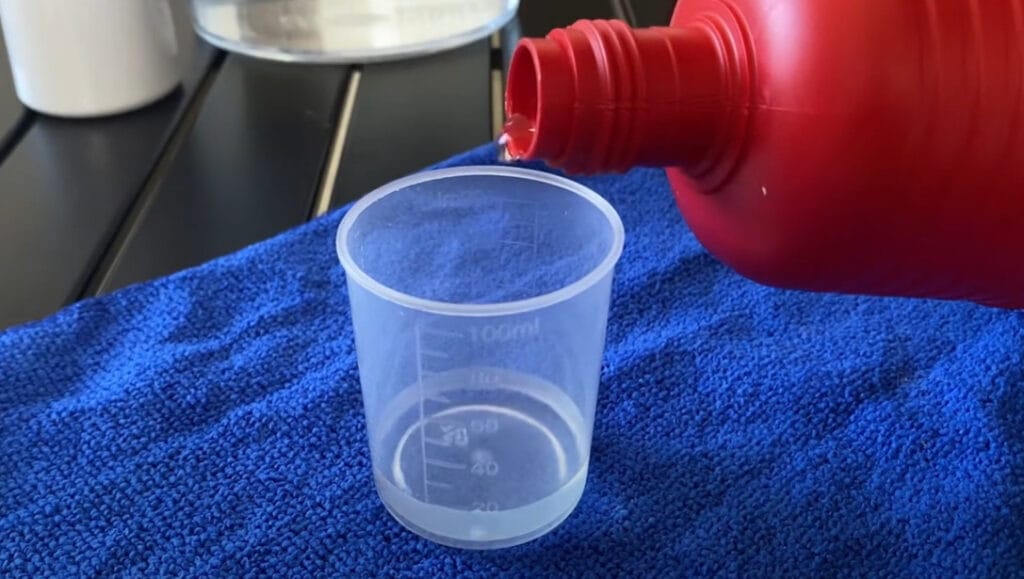
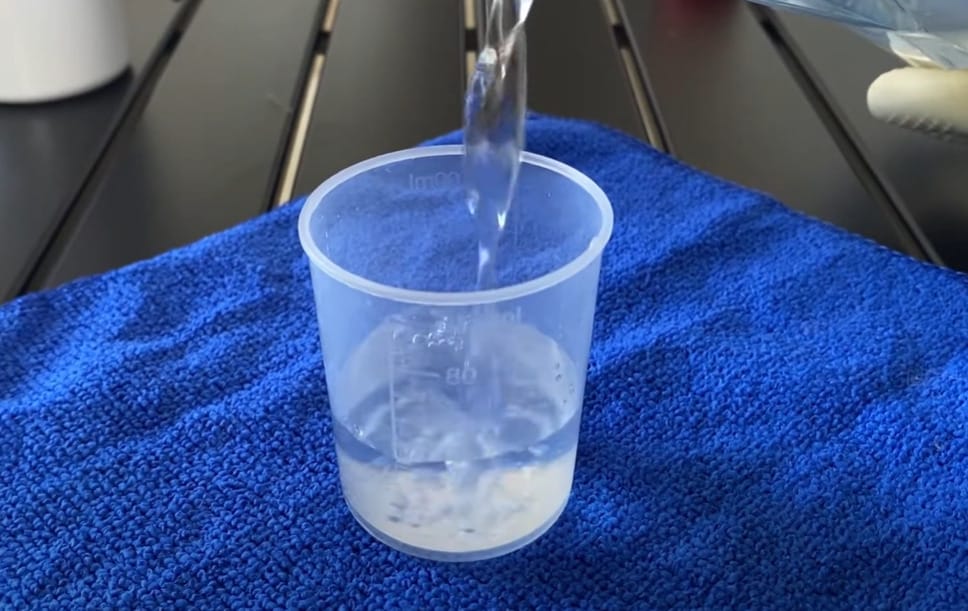
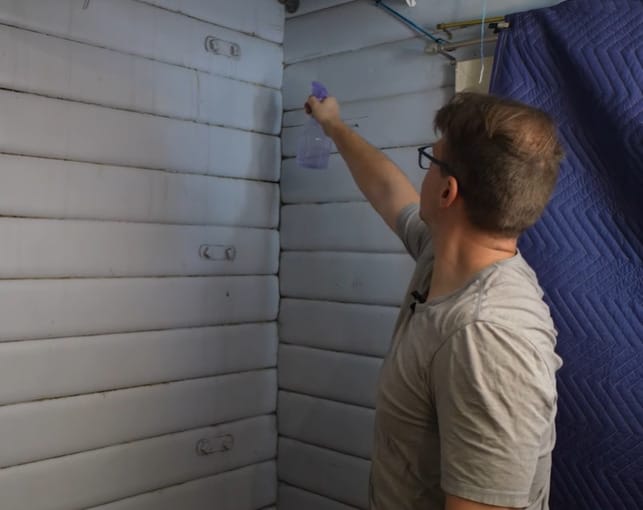
- Step 1: Mix a 1:10 bleach-to-water ratio solution. Ensure proper ventilation.
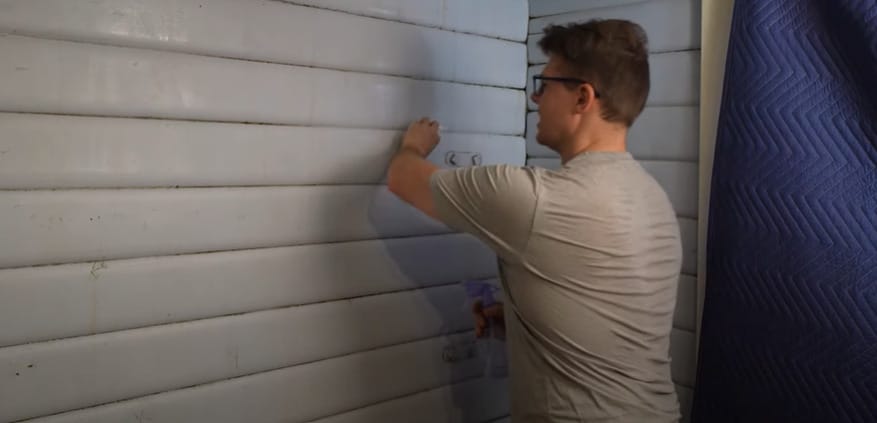
- Step 2: Apply the solution to the mold using a spray bottle or a sponge and bucket.
- Step 3: Unless it’s a food preparation area, there’s no need to rinse the surface after application.

Never, and I mean never, mix bleach with ammonia. It’s a recipe for toxic fumes.
Solution 2 – Vinegar Reaches and Kills Mold at Its Roots
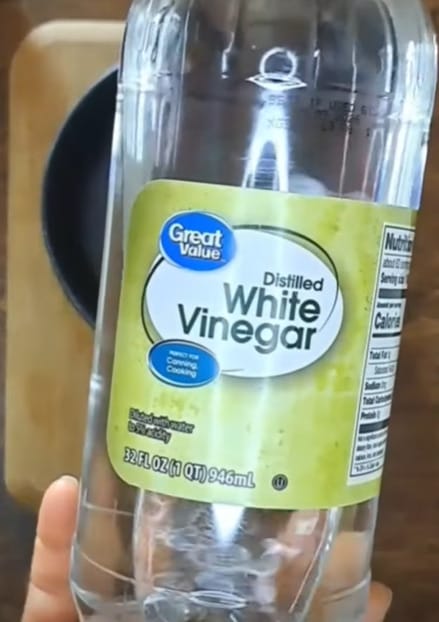
Vinegar’s acidity penetrates porous materials, killing mold at its roots. Distilled white vinegar works best for this purpose and can even be applied directly to walls or linoleum floors to prevent mold formation.
To eliminate mold using vinegar, follow these steps:
- Step 1: Pour distilled white vinegar into a spray bottle without diluting it.

- Step 2: Spray the affected area, wait an hour, then rinse with warm water.
- Step 3: Finish by spraying the area again with vinegar and allowing it to dry.
Although vinegar is natural, it’s acidic. So, always test a hidden spot first, especially on delicate surfaces.
Solution 3 – Hydrogen Peroxide Removes Mold Effortlessly

As an antifungal, antiviral, and antibacterial solution, hydrogen peroxide is another powerful mold killer. This substance can remove mold from porous and non-porous surfaces, such as clothing, bathroom items, and kitchen appliances.
However, since it’s a bleaching agent, always do a spot test before cleaning to avoid material fading.
Refer to these steps to kill mold using hydrogen peroxide:
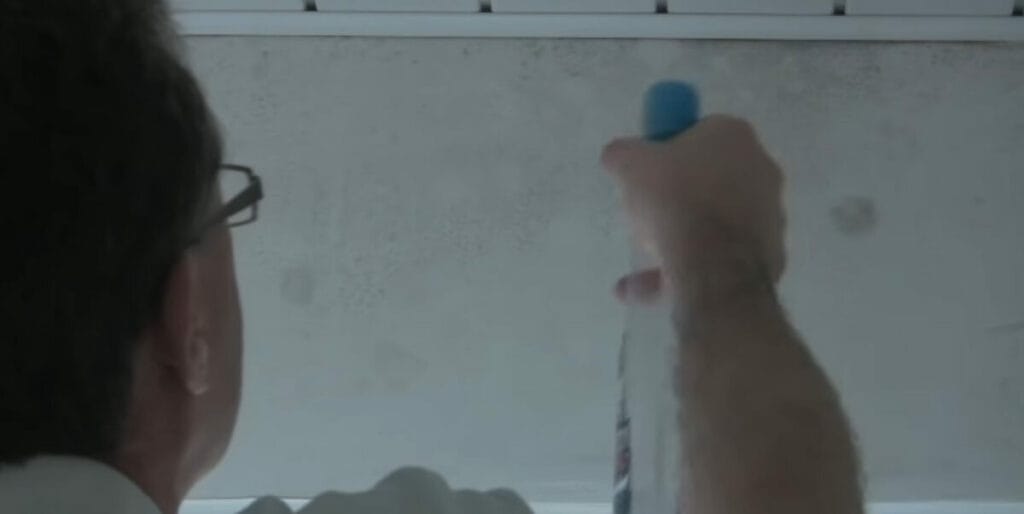
- Step 1: Spray an undiluted 3% solution on the moldy area and wait 10 minutes.
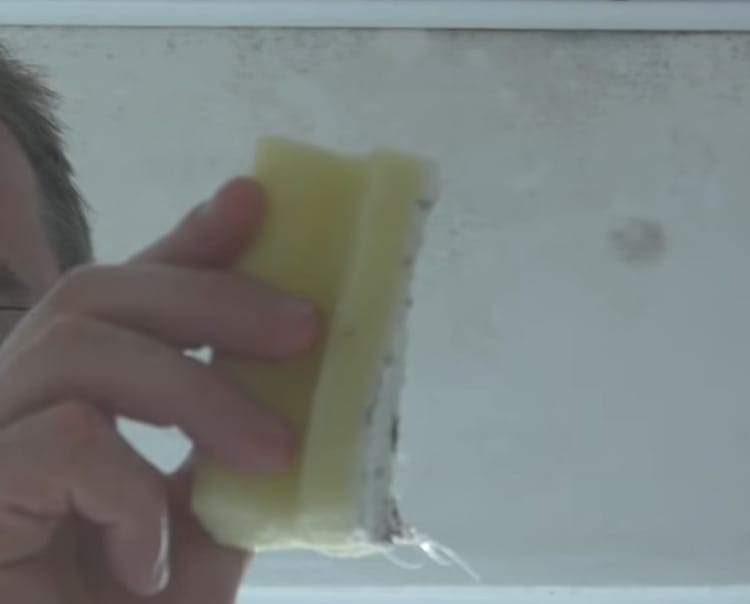
- Step 2: Scrub the area with an abrasive sponge. Allow the hydrogen peroxide to fade the mold stain.
- Step 3: Dry the area with a clean towel. Since this is a bleaching agent, always do a test patch, especially on colored fabrics or surfaces.
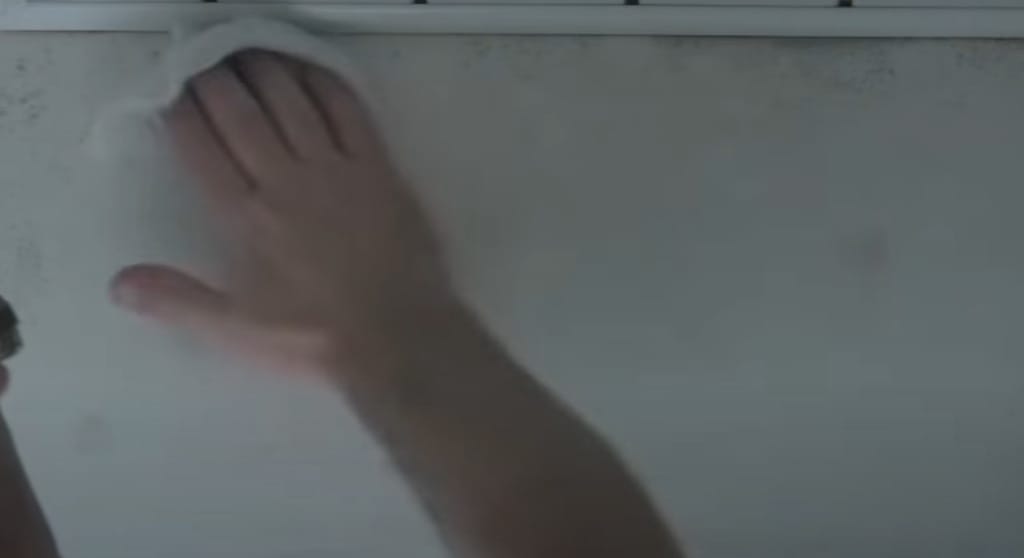
Solution 4 – Baking Soda in Water Fights Mold Naturally
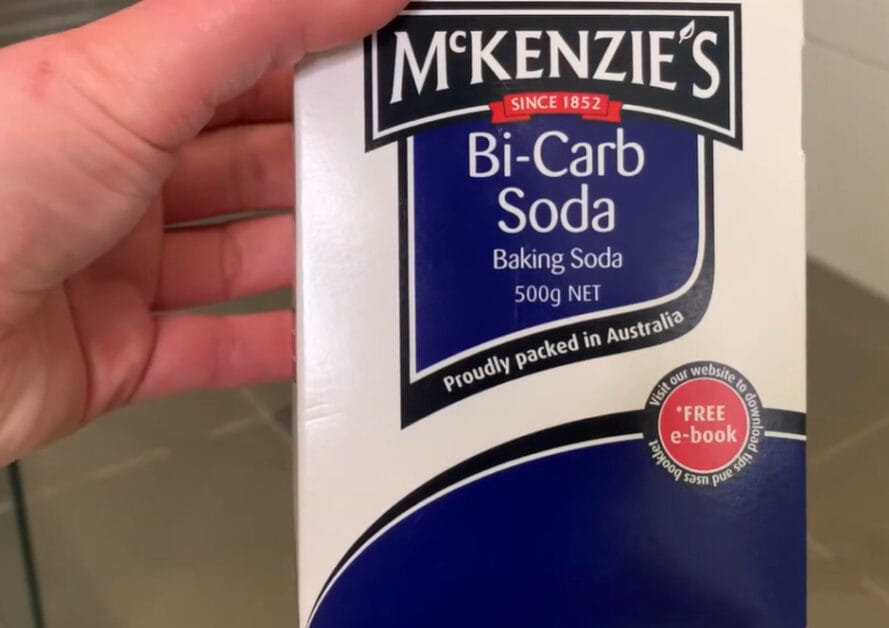
Baking soda is often used with vinegar to clean mold, as it can kill different mold types. To utilize baking soda to combat mold. Here’s the breakdown:
- Step 1: Mix 1 teaspoon of baking soda with 2 cups of water in a spray bottle or pail.
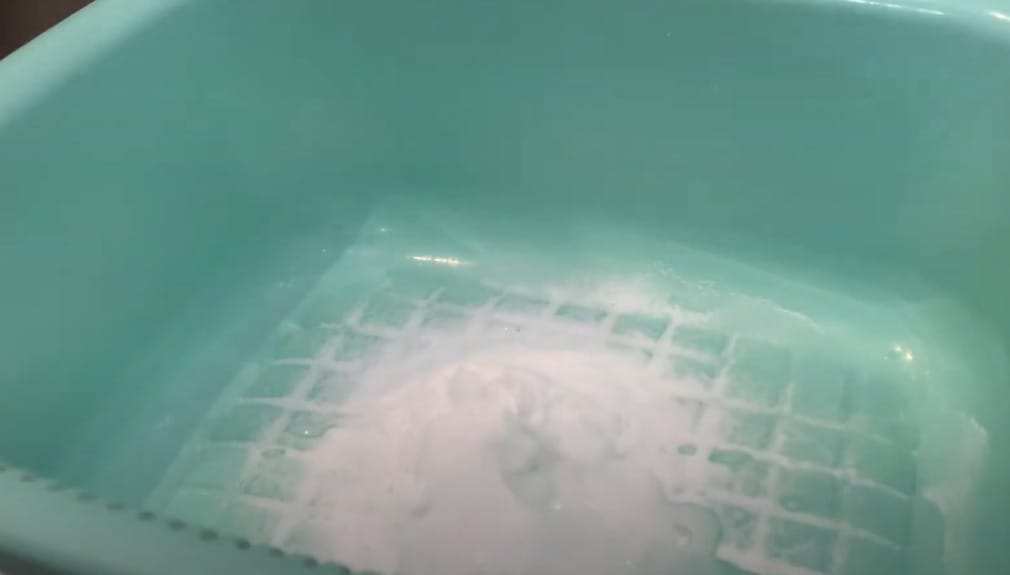
- Step 2: Spray the mold, scrub it with a brush or sponge, then rinse the surface with water.

- Step 3: Finally, add another layer of the baking soda solution and allow it to dry.

Ensure the baking soda solution doesn’t dry out too much on surfaces; it can leave a residue.
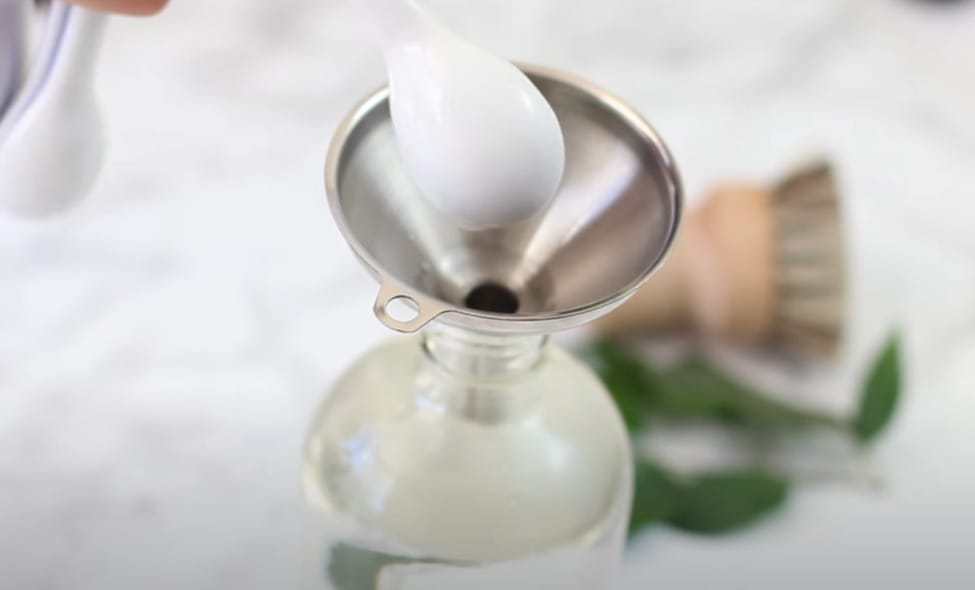
Solution 5: Essential Oils and Lemon to Kill Mold
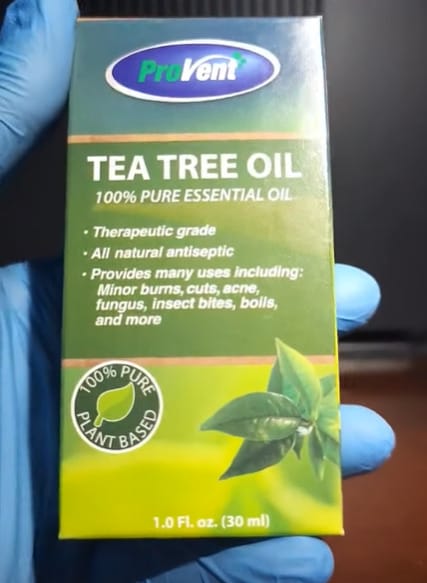
Tea tree oil, a natural insect repellant, deodorizer, and antiseptic, can safely treat black mold.
- Step 1: Mix one tablespoon of tea tree oil with a cup of water and apply it to the moldy area.
- Step 2: Let it sit for an hour, then wipe away excess mold using a cloth.

Tea tree oil not only battles mold but leaves a refreshing scent. A double win!
Lemons also provide a natural mold removal method thanks to their high acidity. They can bleach, deodorize, cleanse, and act as an antiseptic.
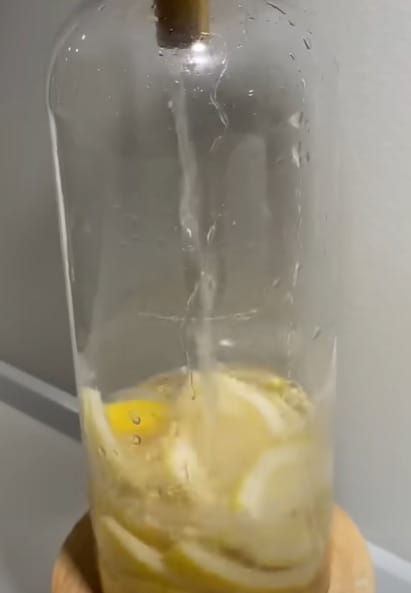
- Step 1: Pour lemon juice onto the moldy area and wait 5 minutes.
- Step 2: Wipe it clean.
Essential oils are potent. Always dilute them properly and store them out of reach of children and pets.
Solution 6: Turn to Professional Assistance for Mold Removal
While the methods mentioned above can handle small mold issues, contacting a professional for extensive mold problems is important.
Mold removal experts can ensure mold is addressed correctly and efficiently, protecting your home and health. Don’t wait too long. If mold covers a large area or you suspect it’s in the HVAC system, call the pros sooner rather than later.
Pros and Cons: Mold Removal
Alright, folks, when it comes to battling mold, it’s not just about making our spaces look good but also ensuring they’re healthy and safe.
| Solution | Pros | Cons |
|---|---|---|
| Bleach | – Highly effective on non-porous surfaces. – Easily available and cost-effective. | – Only kills surface mold on porous surfaces. – Can exacerbate mold growth in certain conditions. |
| Vinegar | – Penetrates porous materials to kill mold at its roots. – Natural and non-toxic. | – Has a strong odor that might be off-putting to some. |
| Hydrogen Peroxide | – Powerful antifungal and antibacterial. – Works on both porous and non-porous surfaces. | – Can bleach certain materials; spot test is a must. |
| Baking Soda in Water | – Child and pet-friendly. – Deodorizes and eliminates mold odor. | – Might require multiple applications for severe infestations. |
| Essential Oils and Lemon | – Natural and safe. – Tea tree oil is a potent antiseptic; lemon is a bleach and deodorizer. | – Essential oils can be expensive. – It might not be as effective for deep-rooted mold. |
| Professional Assistance | – Expert solutions for severe mold issues. – Ensures complete and thorough mold removal. | – Can be expensive compared to DIY methods. – Might require vacating the premises during treatment. |
Kick Mold to the Curb: Prevention Tips
Alright, team, now that we’ve tackled the how-to’s of mold removal, let’s talk about keeping it at bay in the first place. Prevention is always easier than cure, and it’s no different with mold.
Here are some straightforward, no-nonsense ways to make sure mold doesn’t make a comeback:
- Stay Dry: Mold loves moisture. Nip it in the bud, whether it’s a leaky faucet or a damp basement. Invest in a good dehumidifier if you live in a humid area; it’s a game-changer.
- Ventilation is Key: Are those exhaust fans in your bathroom and kitchen? They’re not just for show. Run them during and after showers or cooking to whisk away excess moisture. And every now and then, crack open a window – let your home breathe.
- Routine Checks: Schedule it in. Regularly inspect spots notorious for mold – under sinks, basements, and around windows. Catching a problem early can save you a lot of hassle.
- Quick Clean-Ups: Spilled some water? Have you leaked? Dry it up, pronto. The quicker you act, the less chance mold has to set up shop.
- Watch Your Plants: We all love a little greenery indoors, but some plants can be mold magnets, especially if they’re overwatered. Ensure pots have proper drainage and the soil isn’t constantly wet.
- Keep It Fresh: Fresh air can do wonders. It helps reduce indoor humidity and brings down mold spore levels. So, open those windows and doors occasionally, especially on dry days.
Remember, mold might be persistent, but you’ll be one step ahead with these proactive steps. Your home’s not just a building; it’s where memories are made. Let’s keep it mold-free and fabulous!
Safety Precautions
Alright, before we jump into the nitty-gritty of mold combat, let’s lay down some ground rules for safety:
- Gear Up: Always don gloves, a mask, and protective eyewear. We’re battling mold, not fashion, but safety comes first!
- Ventilate: Keep those windows open and fans running. Fresh air is our ally.
- No Mixing: Some cleaners don’t play well together. Especially avoid mixing bleach with ammonia – trust me, you don’t want those fumes.
- Kids & Pets: If using chemicals, ensure kids and furry friends are in a safe zone. Once done, make sure the area is safe for them to return.
- Disposal: After the fight, dispose of any rags or brushes that touched mold—no sense letting the enemy regroup.
- Stay Informed: Before using any product, read the label. Know what you’re working with and the precautions to take.
Remember, tackling mold is important, but is it done safely? That’s paramount. Let’s get to work, but let’s do it right!
Frequently Asked Questions
- What Causes Mold in Homes?
- Well, mold thrives in damp, humid conditions. So, any place with excess moisture, like after a leak, flood, or even regular condensation, can become a mold magnet. Factor in poor ventilation, and you’ve got a prime mold-making environment.
- Is All Mold Harmful?
- Not all molds are created equal. While some types, like the notorious black mold, can pose health risks, others might be an eyesore. However, it’s always good practice to treat and prevent mold growth, regardless of its type.
- How Soon Should I Tackle Mold Once Spotted?
- The sooner, the better! Mold can spread quickly, leading to more extensive damage or health concerns if left unchecked. So, once you spot it, it’s game time!
- How Do I Know If Mold Is Hidden Inside Walls?
- Hidden mold is tricky. Signs might include a musty smell, health symptoms, or your walls warping or paint bubbling. It might be time for a professional inspection if you suspect hidden mold.
- Can Mold Spread to Other Parts of the House?
- It sure can. Mold spores are tiny and can easily travel through the air, on pets, or even your clothes. That’s why tackling mold promptly is so crucial.
- What’s the Difference Between Mildew and Mold?
- Great question! Both are fungi, but mildew is a surface fungus, often gray or white, and can be scrubbed away easily. Conversely, mold can be deeper rooted, comes in various colors, and is typically more problematic.
- Should I Throw Away Moldy Items?
- Depends on the item. Porous things like carpets or mattresses? It’s often safer to discard them. Non-porous items can often be cleaned and reused, but always ensure they’re thoroughly dried.
- How Long Does It Take for Mold to Grow After a Leak or Flood?
- Mold can start its invasion at least 24-48 hours after a water event, so time’s of the essence if you’ve had a leak or flood!
References
Studies:
- Mold Prevention Strategies and Possible Health Effects in the Aftermath of Hurricanes and Major Floods. https://www.cdc.gov/mmwr/preview/mmwrhtml/rr5508a1.htm
- Indoor Environmental Quality: Dampness and Mold in Buildings – Published in the National Institutes of Health’s National Library of Medicine. https://www.ncbi.nlm.nih.gov/pmc/articles/PMC4667360/
Organizations:
- Institute of Inspection, Cleaning and Restoration Certification (IICRC). https://www.iicrc.org/
- American Industrial Hygiene Association (AIHA). https://www.aiha.org/
Books:
- “Mycotoxins and Indoor Molds” by Eckardt Johanning. https://users.encs.concordia.ca/~raojw/crd/reference/reference002196.html
- “The Mold Survival Guide: For Your Home and Your Health” by Jeffrey C. May and Connie L. May. https://www.google.com.ph/books/edition/The_Mold_Survival_Guide/gr28YOjG7YEC?hl=en&gbpv=0
Website Resources:
- Environmental Protection Agency (EPA) – Mold Resources. https://www.epa.gov/mold
- Mold Blogger. https://moldblogger.com/
Video References:
AnythingGoals
D’Earthy
Cleanipedia
Earth Monkey
Kacie – The Big Clean Co
PRODUCT WORLD
Tanya Monahan
CloseIntel
ehow
creative explained