7 min read
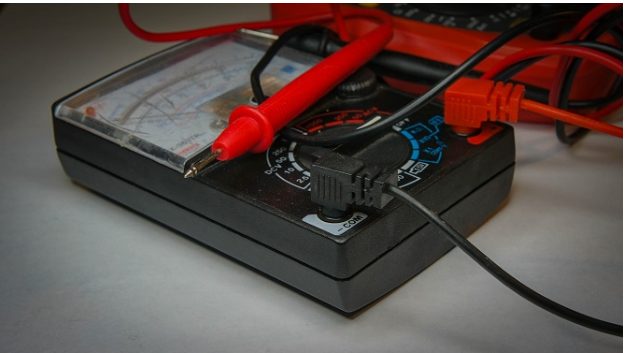
How to Test an Electric Fence With a Multimeter (8 Steps)

An electric fence creates just enough voltage to lightly shock as a deterrent. It’s crucial to double-check that the electricity is passing through the fence and not becoming grounded along the way. The easiest way to do it is using a multimeter.
In general, you can perform an electric fence test using a multimeter with the following steps:
- Set your multimeter to an acceptable range. For example, you should use the range 20V if your fence produces 15 volts. Switch off the power source, then unlock and open the circuit.
- Attach the test leads and close the circuit.
- Lastly, measure the amps and gather data on their volts.
Now, I suggest you continue reading as I walk you through how to test an electric fence with a multimeter in much more detail.
To Test Electric Fences with a Multimeter, You Need To
- Choose your tool (multimeter/voltmeter)
- Set your multimeter to the correct setting (kilo-volts)
- Test for leaks of voltage
- Power-on the fence
- Verify that the electrical system is wired properly
- Attach the multimeter’s negative wire to the ground
- Place the multimeter’s positive lead on the fence’s wires
- Examine all fence wires separately
I will go into more detail in the article below.
Know Your Fence
In general, electric fences consist of the following parts:
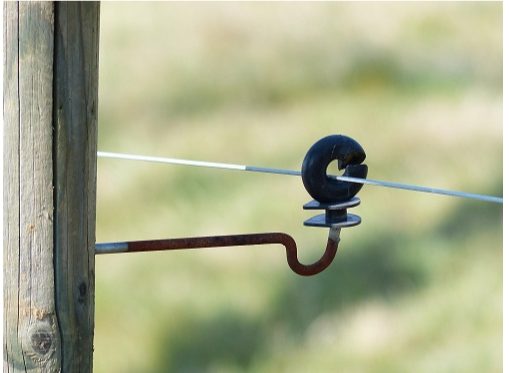
- Fencing posts
- Naked steel wires
- Grounding rods
- A fence energizer
The fencing posts send power pulses to the wires while supporting them.
The grounding rods are inserted into the earth and connected to the fence’s terminals. They amplify the current and produce high voltage.
The energizer determines the power of the current.
How to Do an Electric Fence Test
To begin the testing, you first need some information about your fence.
Does your Fence use AC (alternative current) or DC (direct current) voltage? You can find this in your fence’s manual. This detail might not be necessary for everyone, depending on the tool.
Some multimeters allow you to select one of the two for more accurate measurements.
1. Choosing Your Tools
Checking the function of electrical circuits can be tricky if you do not use the proper equipment.
You will need the following:
- A multimeter or a digital voltmeter
- Two leads (preferably one red for the positive port and one black for the negative port)
- A metallic rod
- Protective gloves
2. Setting the Meter
To measure the voltage of the fence wires, you need to set the range of the meter.
If you are using a multimeter, connect the black wire to the volt port. You also need to turn the switch to the kilo-volt measurement. For example, you should use the range 20V if your fence produces 15 volts.
You only need to switch to the kilo-volt range using a digital voltmeter.

3. Testing for Parasitic Drains
Before powering your fence on, you have to check that there are no leaks that decrease its power.
You can do so by walking near your electric fence, and If you see an item that grounds the system (i.e., a conductor touching a wire), you must remove it.
Be careful to remove the item while the electrical circuit of the fence is powered off.
4. Verifying That The System is Properly Wired
After powering on the circuit, move to your fence’s furthest point from the energizer.
- Place the black lead (the one that connects to the negative port) on the second-highest wire.
- Touch the other wires with the red lead (the one connected to the positive port).
The output voltage should read no less than 5000 volts.
Beginning the Second Test: How to Attach the Wires
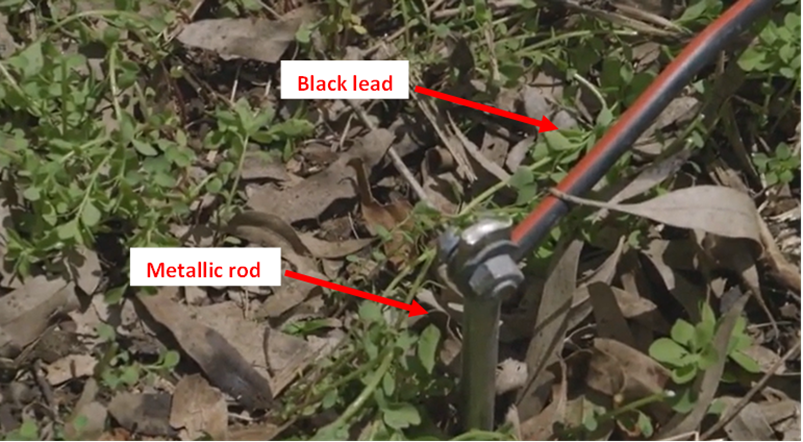
For the following test, you will need to use the metallic rod.
The metallic rod will help examine the voltage between each electrified line and the soil under the fence.
- Firstly, take off both of the multimeter’s leads from the fence.
- Connect the black wire of the multimeter to the rod.
- Place the metal inside the ground, and do not remove it until the end of your review.
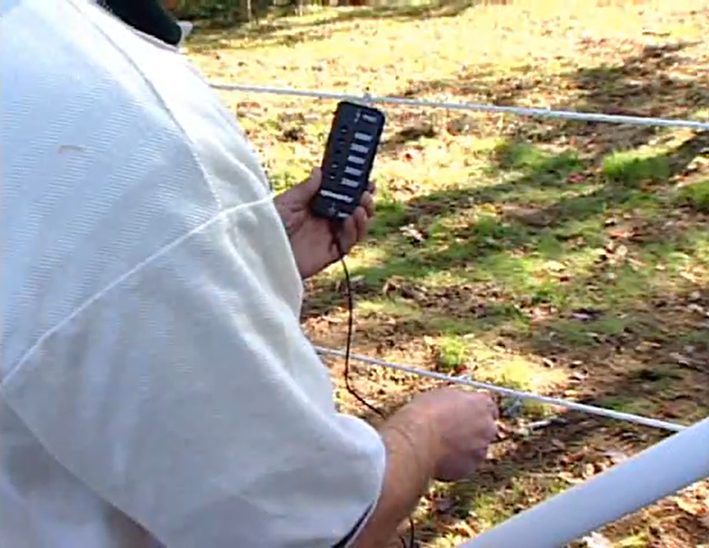
- Touch each fence wire With the red cable and take the measurements.
That way, you test the actual voltage of each electric wire.
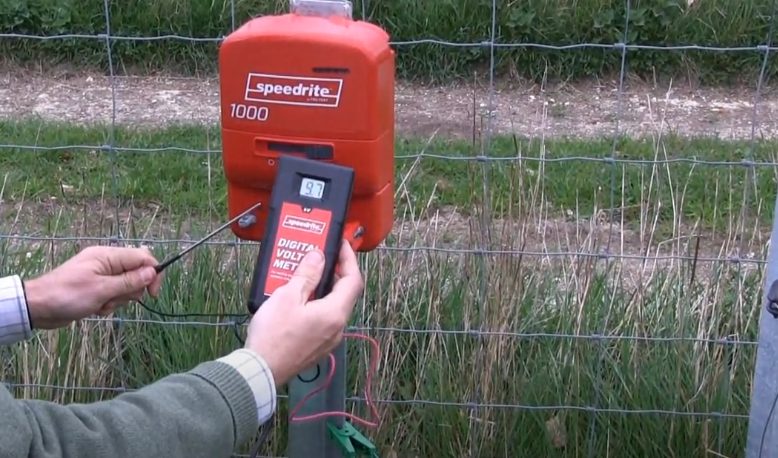
Gathering Data
Typical fences produce 6000 to 10000 volts. The average count is 8000 volts.
Your fence works properly if the output voltage is above range.
If you count the voltage as less than 5000, then you have to look for the causes for the decreased power supply, such as:
- Poor energizer choice
- Short circuit
- Leak
How to Adjust the Electric Fence Chargers
Change the Energizer’s Power Source
You can tweak the voltage of your electric fence through the energizer.
If you use a battery-powered energizer, you can change your battery to increase or decrease the voltage released by your electric fence.
However, if you own a plug-in energizer, I suggest you try the other method below.
Attach an Additional Wire
You can use your electric fence wires as additional earthing to increase the current of your electric fence. Starting at the primary energizer earth stake, link them across your fence. This entails running a live wire beneath each gate.
On the other hand, placing ground rods is a great technique if you want to decrease your electric fence’s voltage. Connect them to the uninsulated wires so your fence can have 1,500-foot current flow intervals.
FAQs
Why Should You Use a Multimeter to Test Your Electric Fence?
High voltage is present in an electric fence. That is why it requires a specialized testing device.
Learning how to test electric fences using a multimeter is a must-have skill. A multimeter is an electrical apparatus that directly measures an electric circuit’s voltage difference, current, and resistance. These are the perfect tools to use as an electric fence tester.
How Much Voltage Should My Electric Fence Have?
Any voltage between 5,000 and 9,000 volts is suitable, but (when dealing with animals and cattle) the best voltage will depend on your cattle’s species and temperament. So, as long as your livestock respects the fence, you won’t have to worry.
What is an Acceptable Reading for an Electric Fence?
Horses should have readings above 2000 volts, while all other livestock should have readings above 4000 volts. If the readings near the excitation source are good, continue along the line, making measurements between each fence post. As you travel away from the energizer, you should assume a gradual decline in voltage.
Common Reasons Why an Electric Fence is Weak
One of the most prevalent issues in electric fencing systems is improper grounding. The energizer will not be able to reach its full capacity if the ground is not adequately prepared. You can achieve this by placing three eight-foot-long ground rods on the surface and connecting them at least 10 feet apart.
References
Website Resources:
- earthing. https://www.ncbi.nlm.nih.gov/pmc/articles/PMC3265077/
- earth. https://www.britannica.com/place/Earth
Video References:
Valley Farm Supply