13 min read
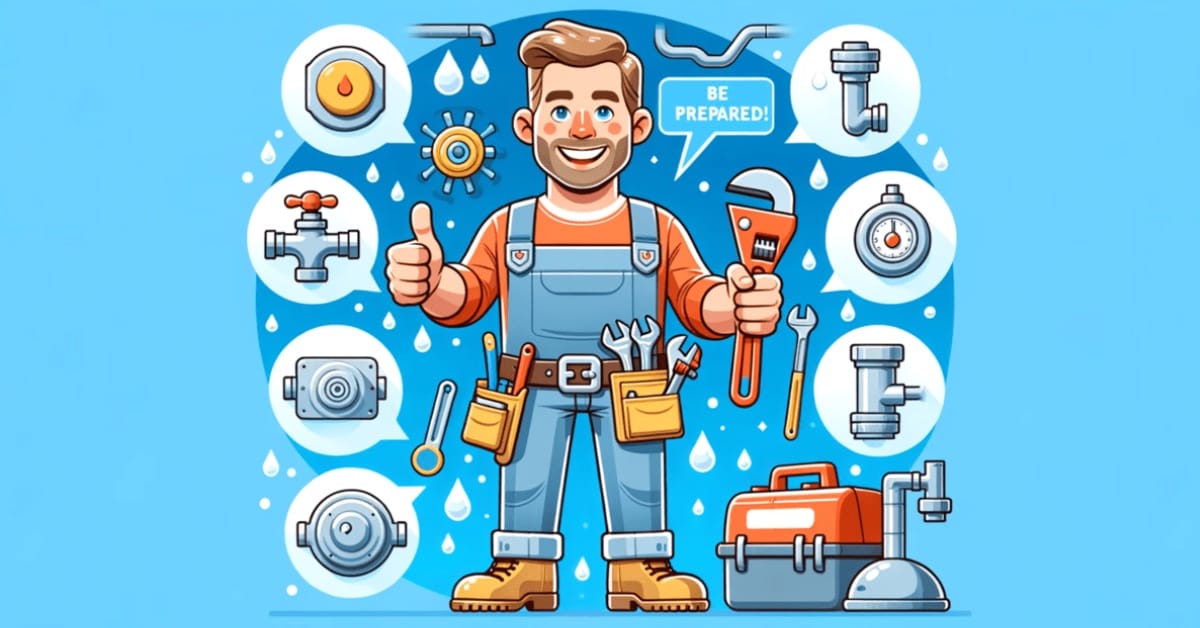
Plumbing Pro: 10 Must-Know Tips for Every Homeowner (Guide)
If you’re like most homeowners, you’ve probably had to deal with your fair share of minor plumbing issues.
Did you know that with a little knowledge, you can tackle these problems and save a hefty sum on plumbing services? That’s right!
Below, I’ll share 10 easy plumbing tips that everyone should know.
1. Know Where Your Main Water Shut-Off Valve Is Located
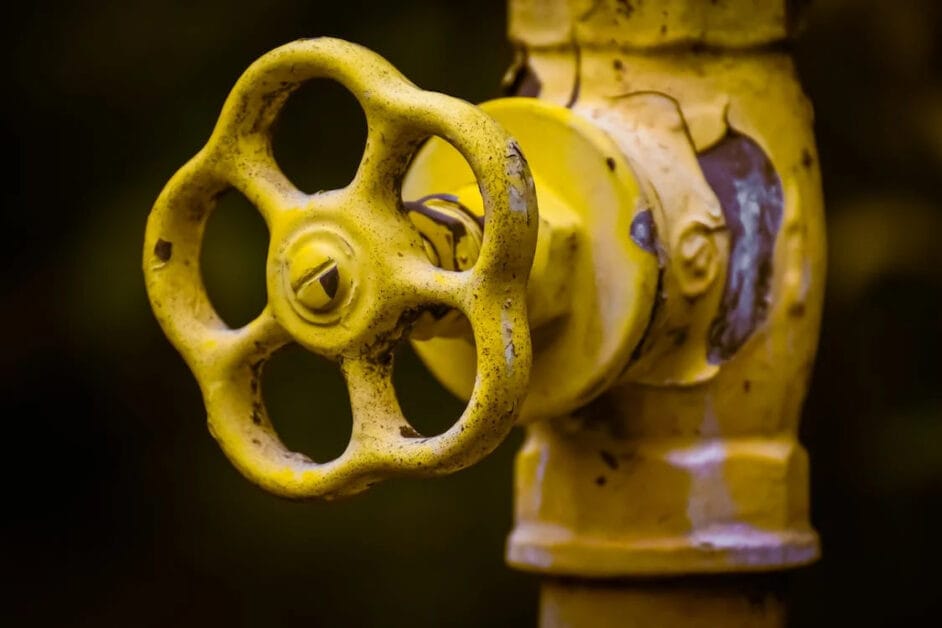
Picture this: You’re faced with a sudden plumbing emergency, and water is gushing uncontrollably. Now what? The first step is to work on the main shut-off valve for your water supply.
That’s right! It’s crucial to familiarize yourself with the location of your main shut-off valve. It’s usually located near your water meter or where the main water line enters your home.
Easy access to the main shut-off valve could mean the difference between a small inconvenience and a significant water disaster in case of a leak or burst pipe. Turning off this valve quickly can prevent considerable damage to your home. Therefore, it’s essential to plan ahead.
2. Know Where Your Pipes Are
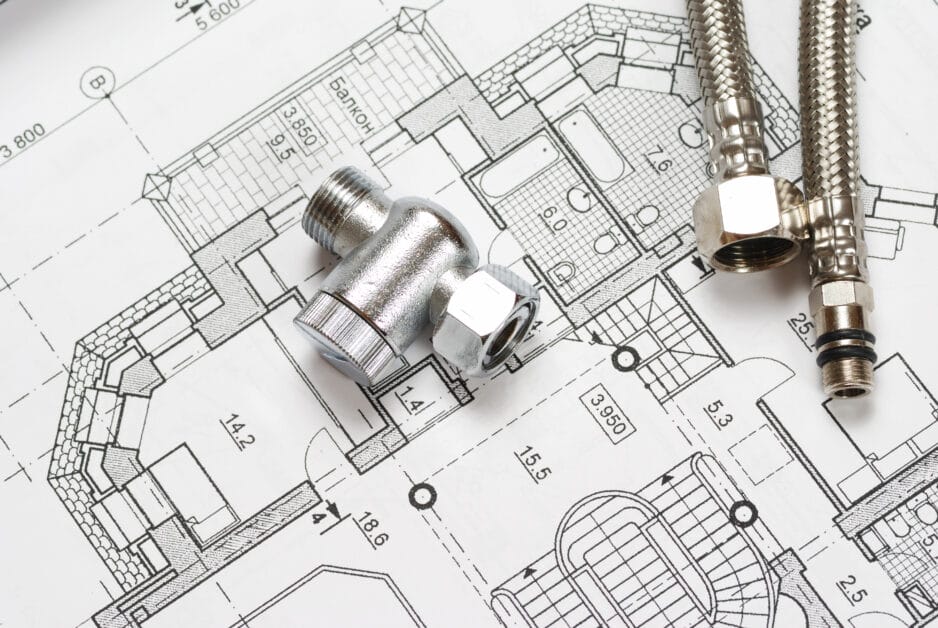
Knowing the location of your home’s pipes is a fundamental aspect of cleaver DIY planning. You might find these crucial lifelines tucked away in your walls, nestled beneath the floor, or even concealed on your ceiling.
During any plumbing emergency, such as a burst pipe or flooding, your shut-off valve becomes your home’s saving grace. Locating and operating it swiftly can help you minimize damage and gain control of the situation.
Another concern homeowners often face is frozen pipes. These winter foes can wreak havoc on your home, leading to significant water damage. Thus, taking preventative action is non-negotiable.
It’s a common but destructive practice to pour grease, fat, or oil down the kitchen drain. These substances solidify within your system, sparking clogs and many other issues.
Instead, put these materials in your trash or container meant for recycling. If these substances have already journeyed down your drain, flushing it with hot water can help clear it up.
3. Adding Shut-off Valves is a Key
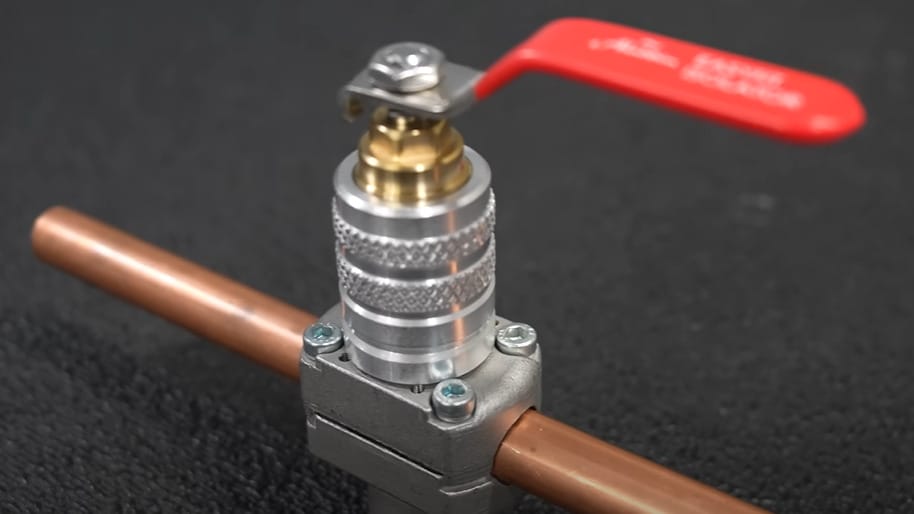
Sometimes, a small sign of doubt can hint at large issues to come. In such cases, you’ll wish you had acted on it. The same is true when deciding whether to install a shut-off valve. If you’re unsure whether your current situation calls for one, the answer is, more often than not, yes.
I’ve learned that having a shut-off valve feels like a luxury when you’re in a dirty DIY project and desperately want a shower, yet you must wait for hours because the fresh pipes need time to dry.
So, to save yourself from such distress, consider installing shut-off valves where necessary, particularly for sinks, showers, toilets, and other fixtures.
Installing these valves will enhance control over your home’s water supply, keeping it running smoothly and more manageably.
4. Use a Plunger to Clear Clogs
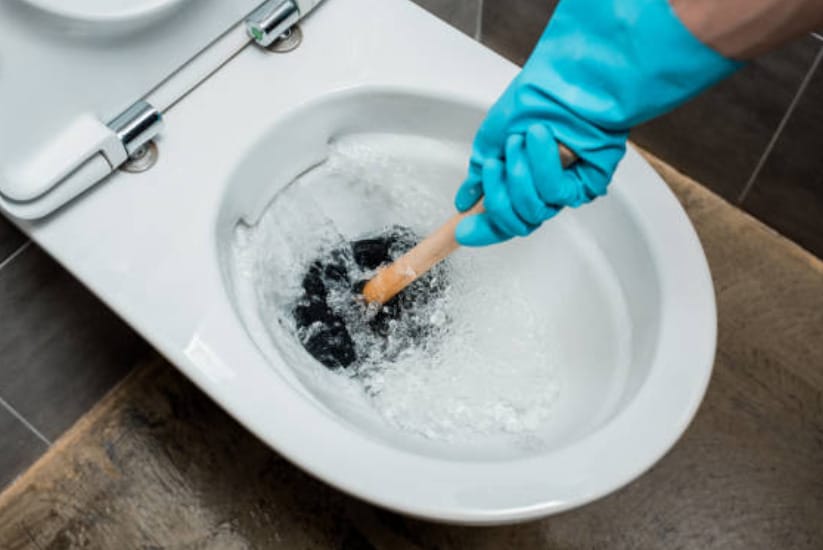
Plungers are a must-have tool in every household for clearing minor clogs in toilets, sinks, and showers. Plungers work best when the entire drain opening is covered, creating a seal.
It’s best to utilize proper plunging techniques for maximum effectiveness — pushing and pulling with some strength several times before lifting the plunger. Now check if the water starts going down. If yes, great! If not, it’s time for another round of plunging.
Invest in a high-quality plunger; they’re superior to inexpensive models that struggle to clear clogged drains effectively. A good plunger can efficiently push water down and remove clogs, like a friend who shows up with a shovel when you’re stuck in a rut.
5. Replace Old Fixtures and Pipes

It’s vital to Replace Old Fixtures and Pipes promptly. This proactive step can fend off pricy repairs or replacements down the road – a worn-out shower head, sink faucet, or other plumbing fixtures shouldn’t be ignored. Remember, an ounce of prevention is worth a pound of cure.
You should make it a routine to check your pipes for leaks or cracks annually. Have them repaired swiftly to prevent further damage or the necessity for extensive repairs later.
In a cold climate, protecting your pipes from freezing is critical. Frozen pipes can wreak havoc on your home, resulting in significant water damage. Take preventative action to shield them.
Are you installing new pipes or drains? Be wary of over-tightening the fittings – a commonplace DIY plumbing blunder. Hand-tightening is generally sufficient to keep your pipes from leaking if you’re using a pipe wrench to tighten a fitting, exercise caution to prevent stripping the threading.
6. No Fats or Grease

One common mistake homeowners often make is pouring fats, oils, or grease down the sink. This simple act can lead to serious plumbing issues as these substances tend to solidify and cause clogs over time.
This build-up is known as a fatberg, a solid mass that can block your drains and cause significant damage.
You might not notice the build-up initially; you may even think it’s okay because these substances are liquid when you pour them. Yet, little by little, these unwelcome ingredients will clog your pipes, leading to serious configuration problems.
When you consider the safest disposal option, it’s better to let fats cool and solidify before disposing them in your compost bin or the trash. Grease is particularly tricky as it’s soft and tacky, making it extremely difficult to remove from pipes.
7. Empty Your Traps

An effective practice for maintaining a healthy plumbing system is regularly emptying the traps, also known as P-traps, under all your sinks. These curved pipe sections prevent unpleasant odors and obstructions from backing into your plumbing system.
Emptying these traps regularly can help keep your plumbing in optimal condition and decrease the risk of inconvenient clogs and blockages.
While cleaning, remember this: unless it’s toilet paper or comes through your body, it should not be flushed. This simple rule can save your drain from unnecessary blockages.
Remember, there is no harm in contacting a professional when DIY solutions seem insufficient. If an issue continues after trying various methods, it’s time to bring in a professional plumber who can rectify the problem efficiently.
8. Use a Wet-Dry Vacuum

Did you know you could transform a common household appliance into a plumbing lifesaver? The secret weapon is a wet-dry vacuum, giving you the upper hand with challenging clogs.
For instance, a child’s toy mistakenly takes a trip down your drain. Instead of that high-quality plunger you’ve invested in, as recommended earlier, grab your trusty wet-dry vacuum.
You’ll achieve the best results with a vacuum model featuring a long hose and elongated end, allowing you to pull out the object powerfully, even from a nasty drain.
Think work smarter, not harder. Avoid the mess that can arise when dislodging a small, hard foreign object, like a toy or toothbrush. The primary takeaway is that the vacuum is brought out when a drain clog involves small, hard items.
9. Plumber’s Tape, The Most Trusted Secret Weapon of Plumbers

Plumber’s tape, often called Teflon tape, is a secret weapon for homeowners and professional plumbers. It’s a toolbox staple that aids in achieving a watertight seal on threaded pipe joints – a must for any common household plumbing project.
Regarding ease of use, plumber’s tape stands out due to its flexibility and adaptability. It requires a proper wrap around the pipe threads before tightening a connection.
Using a plumber’s tape offers a significant advantage, but it invariably boils down to knowing when to pull out this secret weapon. Instances might vary from DIY enthusiasts finding it handy for minor adjustments and loose connections to professional plumbers swearing for its efficacy during intricate installations and repairs.
10. Annual Water Heater Inspection & Maintenance
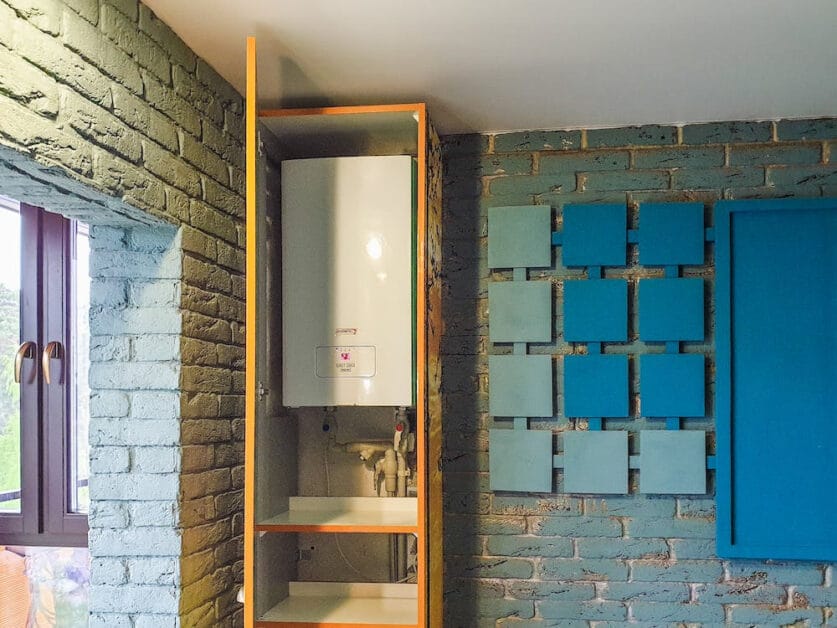
Your water heater is a trooper that keeps the warm water flowing in your home. Hands down to a little TLC from an annual inspection and maintenance service. I’ve found it substantially boosts the efficiency and longevity of your heater.
Do you know manufacturers often require annual maintenance to keep warranties intact? This bit of information may have slipped past your radar. So, score one for the revelation today!
An inspection typically involves mechanism checks and a thorough flush to remove sediment and debris. Over time, these foreign particles can affect efficiency and lifespan. Checking the temperature and pressure relief valve gives an extra layer of assurance.
Is the water heater bothering you with a decrease in the hot water supply? Does something feel off? Don’t sweat it. Pick up the phone, call a plumber, and get a professional inspection. It’ll save potential heartaches down the line.
DIY or Pro: Making the Call
Getting hands-on with home repairs can be rewarding, but knowing when to call in the pros is key. Here’s the straight talk: some fixes are perfect for your DIY spirit, while others need a plumber’s touch.
The table below distinguishes between DIY-friendly plumbing tasks and those that should be left to the professionals:
| DIY-Friendly Tasks | Signs You Need a Professional Plumber |
|---|---|
| Replacing a faucet washer | Persistent water leaks after DIY fixes |
| Unclogging a drain with a plunger | No water in the house |
| Fixing a running toilet | Water spots on ceilings or walls |
| Installing a new showerhead | Frozen pipes |
| Adjusting the water heater temperature | Suspected sewer line issues |
| Replacing shower/tub caulking | Low water pressure throughout the house |
| Replacing toilet flapper or fill valve | Discolored water or rusty particles |
| Tightening connections under the sink | Gas odor around the water heater |
| Cleaning aerators on faucets | Sump pump failure |
| Replacing the anode rod in water heater | Inconsistent water temperature |
Remember: When it comes to plumbing, a small mistake can lead to many problems. If you’re not 100% confident, or if the problem persists after your initial fix, don’t hesitate to call in a pro. Investing in a professional job is better than risking further damage to your home.
Tools Recommendation
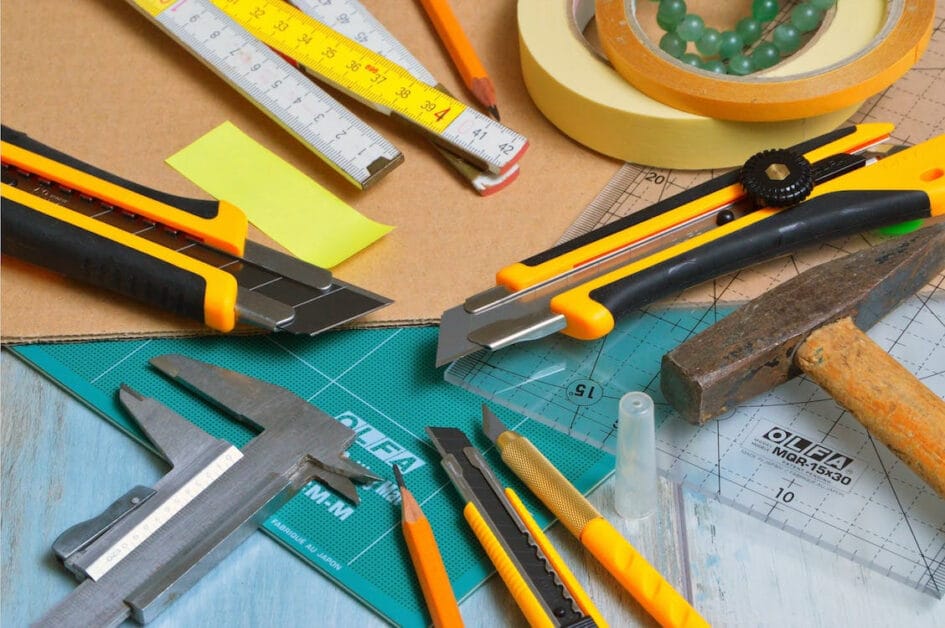
Here’s your straight-up, no-frills list of must-have tools to tackle those pesky plumbing issues like a pro:
- Adjustable Wrench: This is your go-to gripping tool when under the sink or behind the toilet. An adjustable wrench is a lifesaver for turning pipes and fittings with rounded corners.
- Pipe Wrench: The bigger, worse cousin of the adjustable wrench. You’ll need these for heavy-duty jobs when you have to hold one pipe in place and turn another.
- Hacksaw: Sharp and effective for cutting through metal or plastic pipes, screws, nuts, and bolts.
- Tubing Cutter: A tubing cutter is your best friend for cleaner, more precise cuts on copper pipe.
- Fire-Resistant Cloth: Safety first. When using a propane torch to solder pipes, use this to protect nearby combustible surfaces.
- Propane Torch: Required for soldering copper pipe fittings. Go for one with a self-igniting head to make life easier.
- Pliers: Tongue-and-groove pliers, often referred to by a brand name, Channellocks, are incredibly versatile for gripping, twisting, and turning.
- Basin Wrench: Its swiveling jaw and long handle reach behind a sink to turn nuts and fittings in tight spaces.
- Pipe Dope: This thread lubricant and sealant is used on pipe threads to create a watertight seal.
With these tools on deck, you’ll be ready to dive confidently into common plumbing tasks and emerge victorious against the drips and clogs in your home.
Frequently Asked Questions
- Should I Install Water-Saving Fixtures?
- Installing water-saving fixtures like low-flow toilets and showerheads can significantly reduce water usage and lower utility bills. They are an environmentally friendly update to any home.
- What’s the Best Way to Prevent Frozen Pipes?
- Insulate your pipes, especially those exposed to exterior walls or unheated spaces. Keep your home at a consistent temperature and allow faucets to drip slightly during extremely cold weather to prevent freezing.
- How Do I Choose the Right Plumber?
- Look for licensed, insured, and experienced professionals. Check reviews, request referrals from friends or family, and obtain quotes from multiple plumbers. A reputable plumber should clearly explain the work and provide a written estimate.
- How Can I Tell If My Toilet Is Leaking Internally?
- Listen for running water when the toilet isn’t in use. Place a few drops of food coloring in the tank and wait 30 minutes without flushing. If the color appears in the bowl, you have a leak that’s usually fixable by replacing the flapper or valve seal.
- What Precautions Should I Take With My Plumbing Before Going on Vacation?
- It’s wise to shut off the main water supply while away to prevent leaks or water damage. Also, consider draining your pipes, especially during winter, to avoid freezing. Have someone check on your home regularly if you plan to be away for an extended period.
- Is It Safe to Use Tablets That Clean the Toilet Tank?
- While in-tank toilet cleaners are convenient, some can damage the components inside your toilet tank over time. Use these products sparingly or seek alternative cleaning methods that are less corrosive.
References
Organizations:
- Plumbing-Heating-Cooling Contractors Association (PHCC). https://www.phccweb.org/
- American Society of Plumbing Engineers (ASPE). https://www.aspe.org/
Books:
- “Black & Decker The Complete Guide to Plumbing”
- “Plumbing 101” by David Griffin
Website Resources:
- This Old House – Plumbing. https://www.thisoldhouse.com/plumbing
- Family Handyman – Plumbing. https://www.familyhandyman.com/skills/plumbing/
Video References:
Silver Cymbal