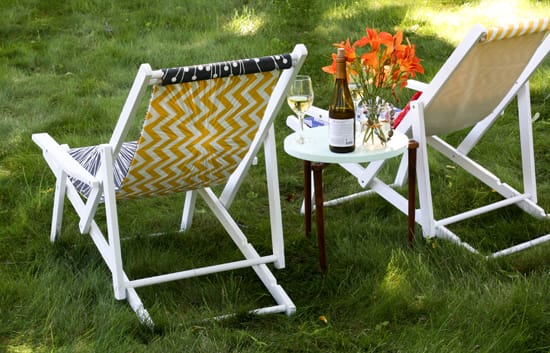
Make Anthropologie Inspired Beach Chairs

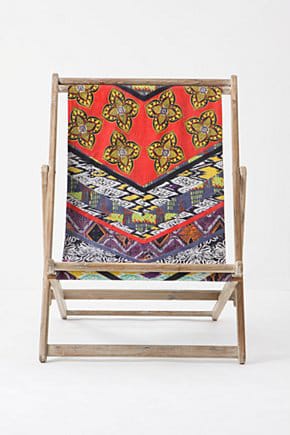
Have you seen how much Anthropologie is charging for their ethnic print fabric beach chairs? A whopping $268.00! Print magazines are also showing the sling chairs all dressed up in custom fabrics with a “custom” price tag.
Anthropologie Pemba Chair:
Photo Image: Anthropologie.com
I started out thinking I would try to copy this exactly, but decided I wanted to do it my own way.
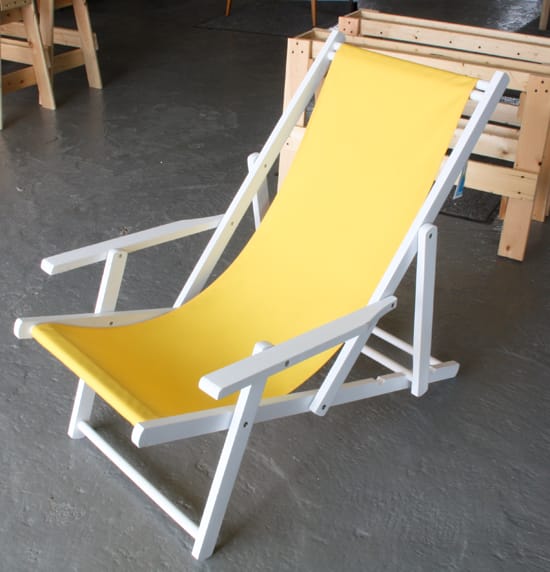
So, I got to wondering how hard this could be to convert an off-the-shelf nylon clad frame into a jaw dropping, guest worthy conversation piece. How hard??? Not hard at all.
First of all, you need a frame. I discovered a store called The Christmas Tree Shops that had a sale going on.
What’s more, there is a real CTS on the southside of Indianapolis. One beautiful late May evening, I trucked down to their store and picked up four chairs in plain nylon for $19.99 each.
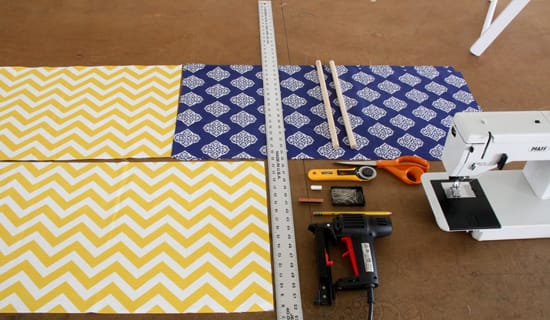
Now, here’s what you need:
1. Pliers and something to pry up staples
2. 1 1/2 yards of fabric
3. Scissors
4. Pins
5. Sewing Machine
6. Thread
7. Measuring tape
I have a stapler pictured, but you don’t need it.
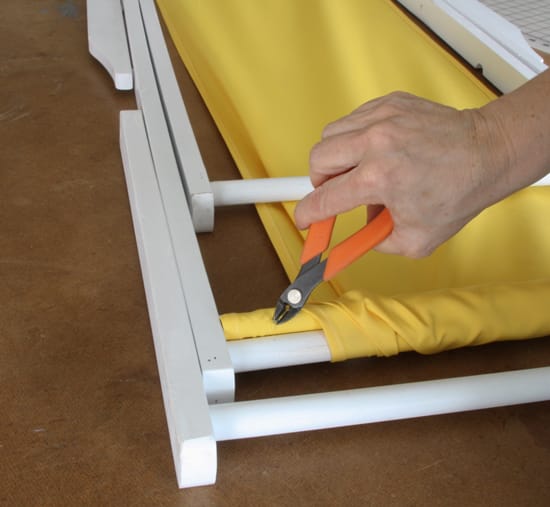
1. First of all, you have to remove pesky staples that anchor the nylon pocket onto the dowels.
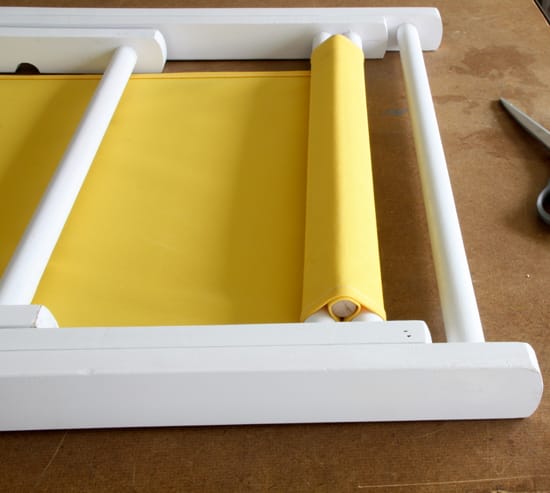
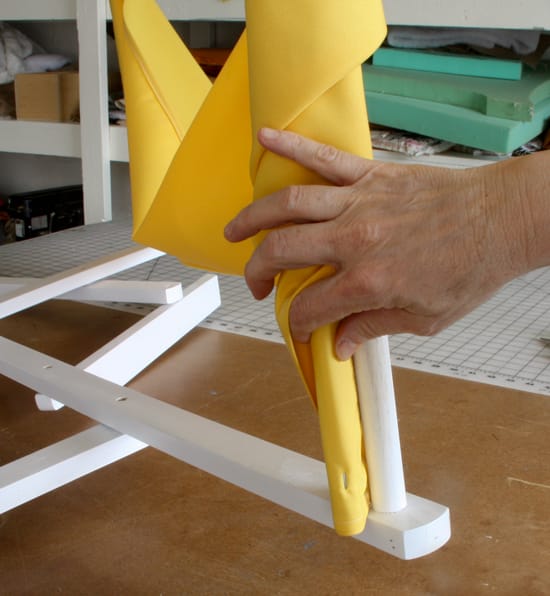
2. Remove the dowels. You may want to photograph how the fabric rolls around the top and bottom dowels of the chairs and how the pocket threads through the stationery dowels and the removable dowel holds the sling in place.
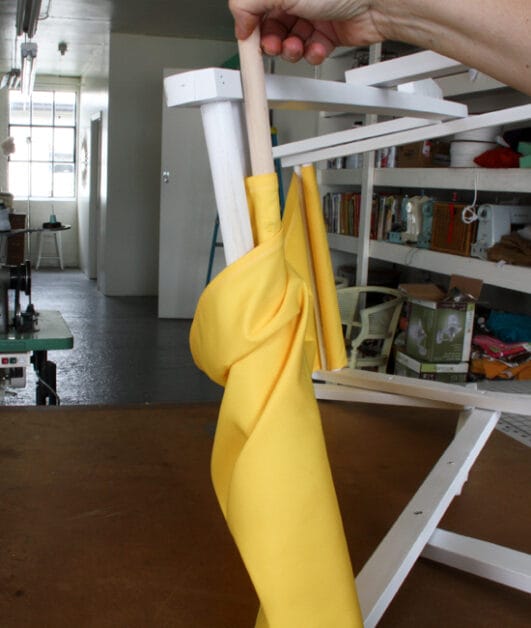
3. Unthread the sling from the dowels.
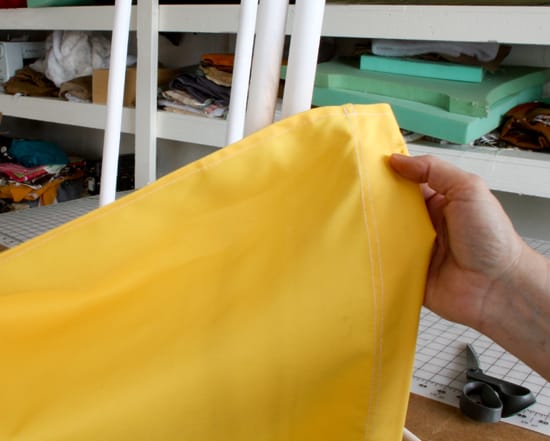
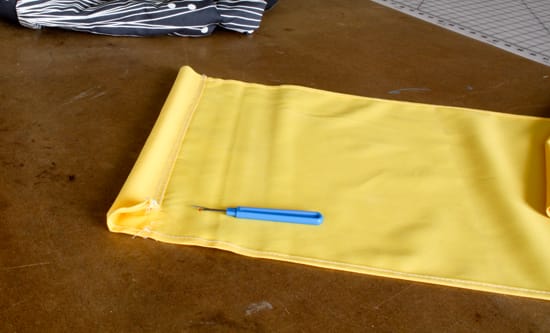
4. Remove the stitching from the top and bottom pockets, press with a cool iron and use for a pattern.
Now it’s time to make your own snazzy sling.
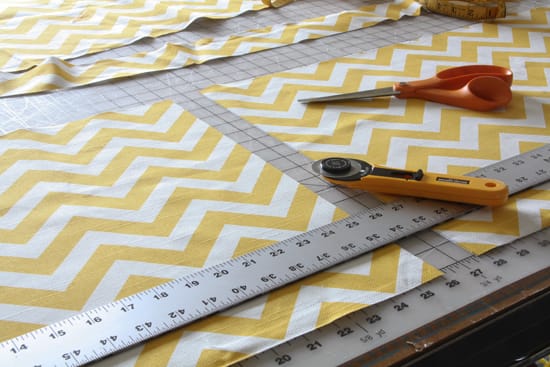
5. Measure, layout and cut your fabric. If you’re patching fabrics together, make sure and allow for 1/2″ seam allowances where pieces are stitched together.
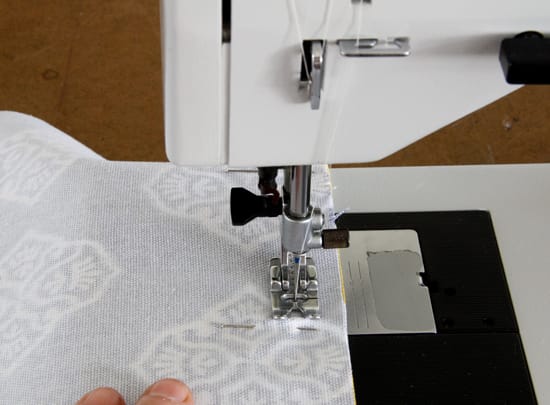
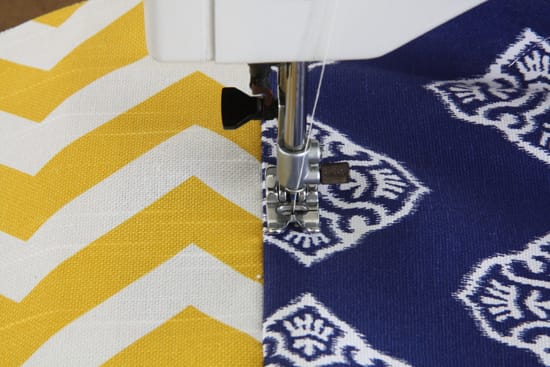
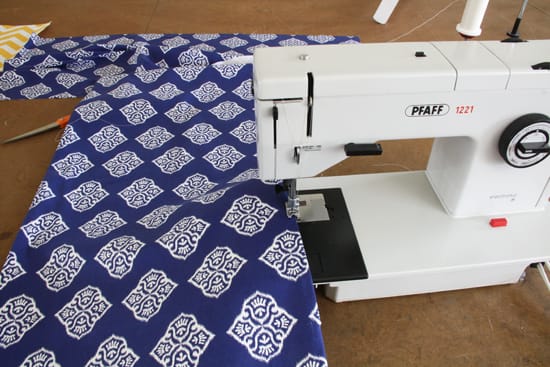
6. Stitch front pieces together if you’re using more than one fabric.
7. For extra strength and because it looks so good, I did some saddle stitching on top of the seamed fabric.
(Saddle stitching is just a cooler name for topstitching.)
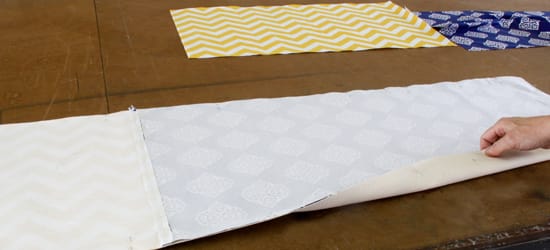
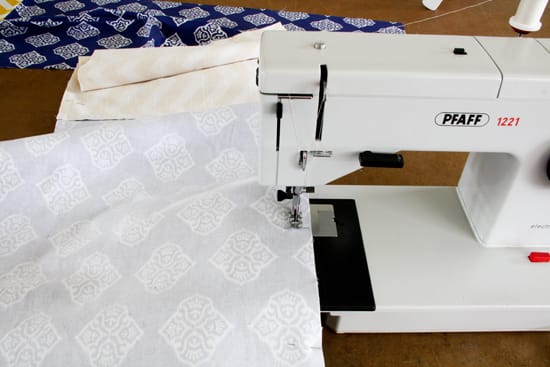
8. Cut and pin a lining fabric (right side to right side) onto the front of your sling fabric. Leave a 10″ to 12″ section open on one side in order to turn the fabric right side out.
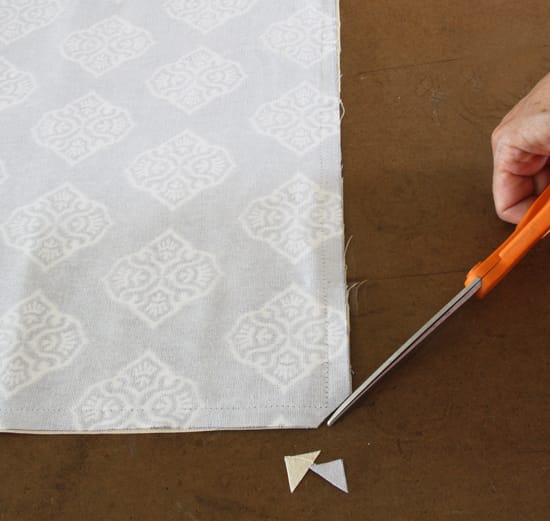
9. Clip off the corners to reduce the bulk.
10. Turn your sling right side out and press.
11. Stitch the opening closed about 1/8″ from the folded edge of the opening.
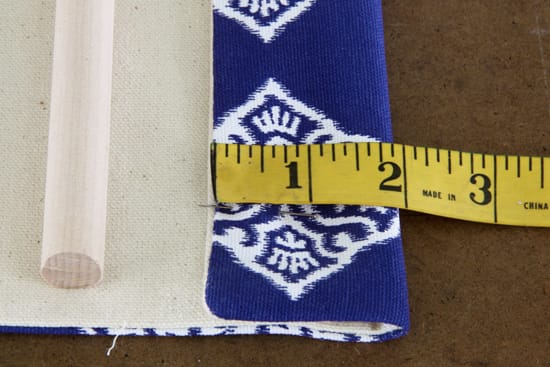
12. Fold the top and bottom over 2″ and topstitch the dowel pockets.
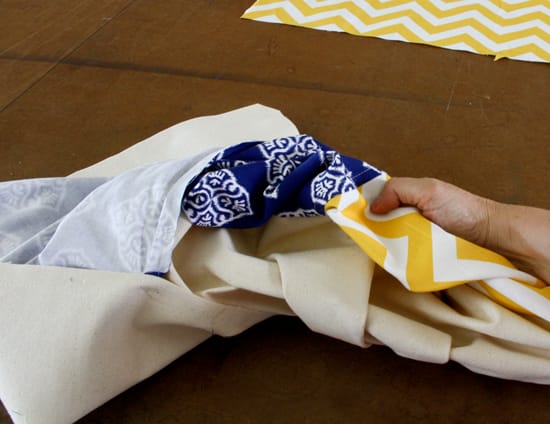
You’re finished! Refer to your first photos to see how those pockets thread through the top dowels so you can slide the removable dowels into the pockets. The first side you do is easy, it gets trickier to get the second side secured. You just have to wrestle with it.
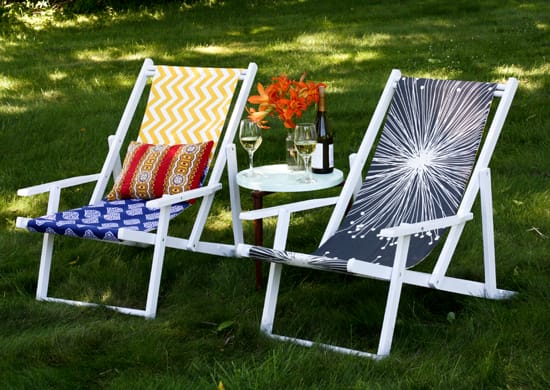
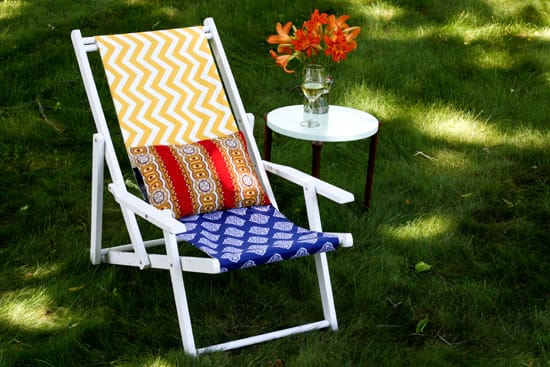
And here’s what it looks like when you use another print fabric for the back lining (chair on the left) vs. just using cotton canvas as the lining fabric (chair on the right).
You can always sand down the frames to get the old worn wood look. I decided to keep the finish for protective purposes.
You saw it here first. I’d love to see what you come up with. Be a good neighbor and link back to the step by step tutorial right here.

