12 min read
How to Thaw Frozen Pipes Before Disaster Strikes (4-Step Method)
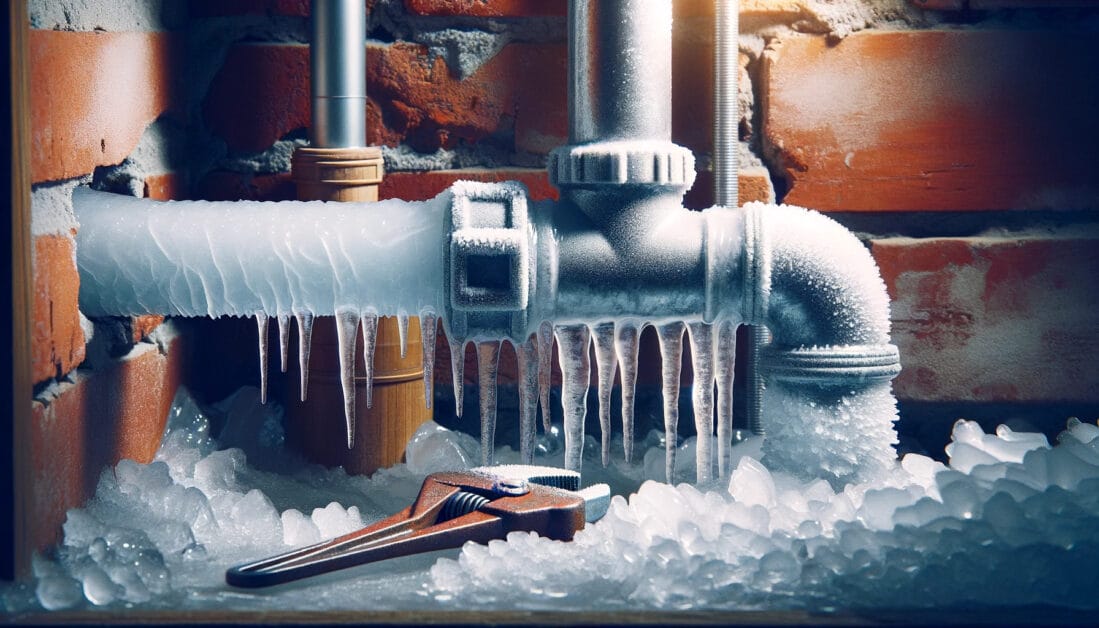
Hey homeowners, let’s talk about something that can give you the chills: frozen pipes. And if that pipe bursts, you’ve got a major problem on your hands. So, let’s get ahead of this icy issue before it becomes a homeowner’s nightmare!
In this article, I’ll guide you through a step-by-step process to thaw those pipes safely and efficiently. We’ll solve common hitches and keep your plumbing in top shape.
Project Overview
Perfect for beginners.
- Estimated completion time: About 1 hour.
- Budget-friendly: Costs no more than $35.
Materials and Tools Needed
Gearing up with the right tools and supplies is key to tackling any DIY project. Here’s a straight-up list to get your pipes from ice to nice:
Supplies for Thawing Frozen Pipes:
- Hair Dryer/Heat Gun: For applying controlled heat to the pipe.
- Pipe Insulation: To wrap around pipes once thawed, preventing future freezes.
- Towels: These can be heated and wrapped around pipes if you’re going the no-power-tool route.
- Bucket: Handy for catching any water from melting ice or potential leaks.
- Gloves: A pair of thick gloves to protect your hands from the cold and heat.
- Electric Heating Tape: An optional but effective tool for evenly distributing heat along the pipe.
- Pipe Locator: This can save the day if you’re unsure where the pipes are frozen.
- Pipe Repair Clamp: To temporarily fix any small leaks post-thaw.
- Adjustable Wrench: If you need to tighten fittings or deal with fixtures.
- Plumber’s Tape: Essential for sealing threaded joints after fixing any leaks.
- Portable Space Heater: Another method to gradually warm the area around a frozen pipe.
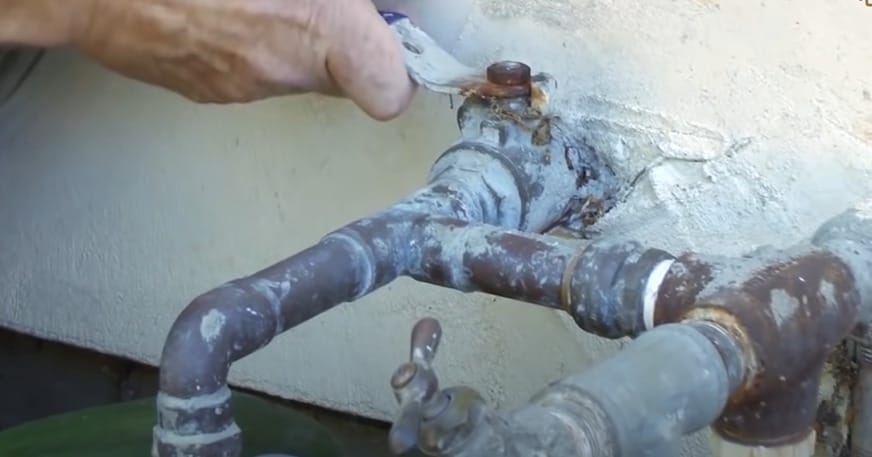
Step 1: Find the Frozen Pipe
The first step in thawing a frozen pipe is finding the location of the blockage. This can be done by checking all the faucets in the house to see if any are not producing water.
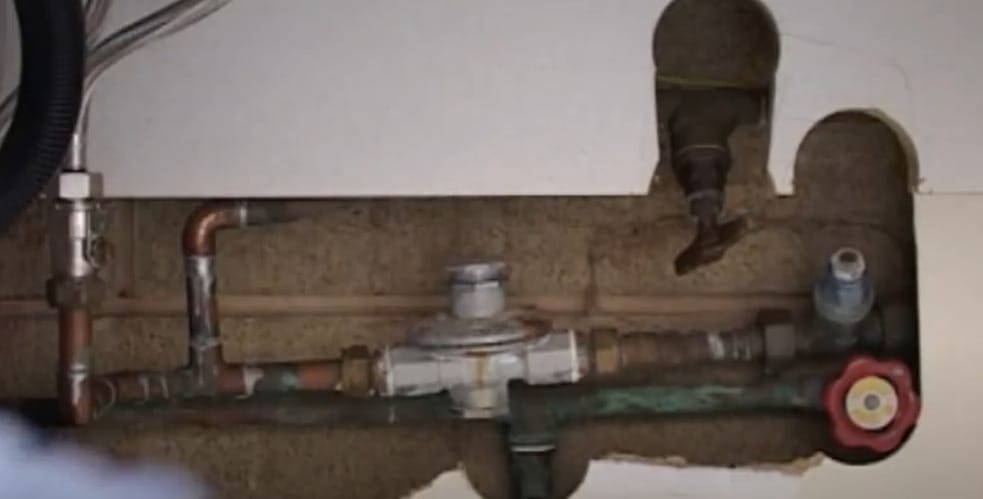
If only one faucet is affected, the blockage is likely close to that faucet. If multiple faucets do not produce water, the blockage is likely in a larger plumbing section.
It’s important to know where the frozen pipe is located to apply heat directly to the affected area. This will help to thaw the pipe more quickly and prevent damage to other parts of the plumbing system.
If you are unsure where the blockage is located, you can use a pipe locator or call a plumber to help locate the frozen pipe. Once you have located the frozen pipe, you can move on to the next step in the thawing process.
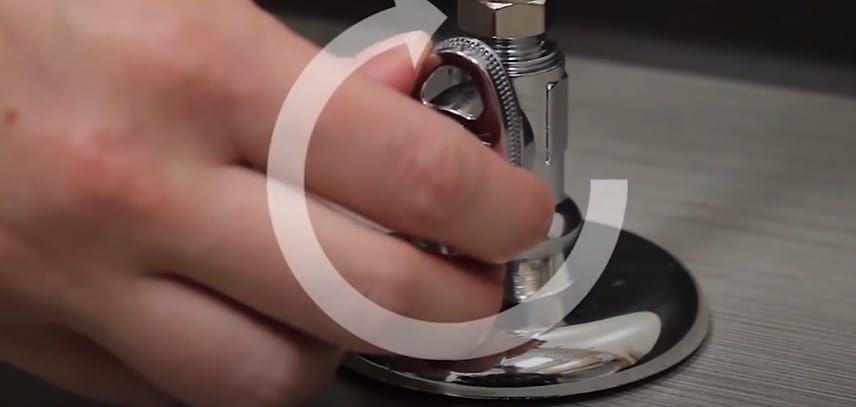
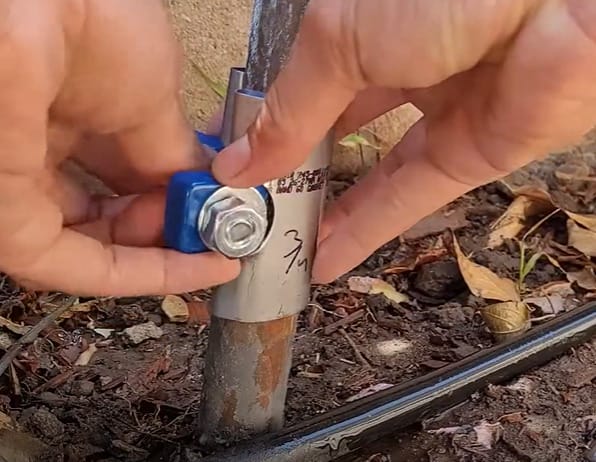
Step 2: Shut off the Water to the House
When dealing with frozen pipes, shutting off the water to the house to avoid further damage is important.

You can do this by locating the main water shutoff valve and turning it off by turning the handle or lever clockwise. The shutoff valve is usually located near the water meter or where the main water supply enters the house.
Make sure to inform everyone in the house that the water has been shut off and advise them not to use any water until the pipes have been thawed.
Remember, shutting off the water to the house is important to prevent further damage to your frozen pipes.
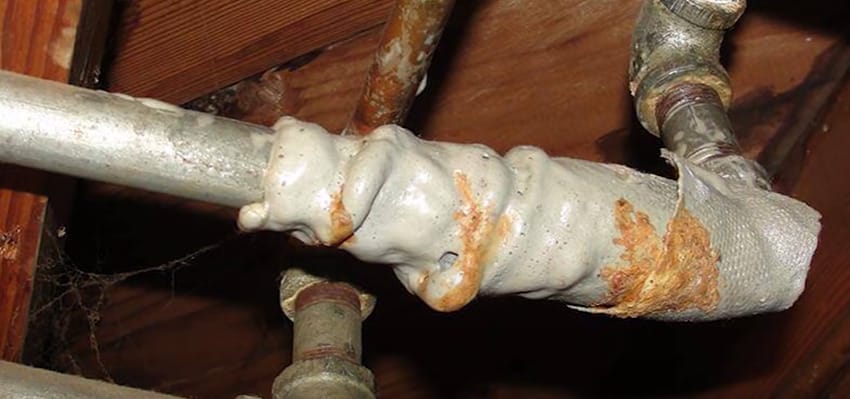
Step 3: Thaw Out the Frozen Pipe
Now that you have located the frozen pipe and identified the reason for the freeze, it’s time to thaw it out. Here are some methods you can use to thaw out the frozen pipe:
- Direct Heat: Direct heat is the most common and effective way to thaw a frozen pipe. Use a hairdryer, heat gun, or propane torch to apply heat directly to the frozen area. Make sure to keep the heat source moving to avoid damaging the pipe.

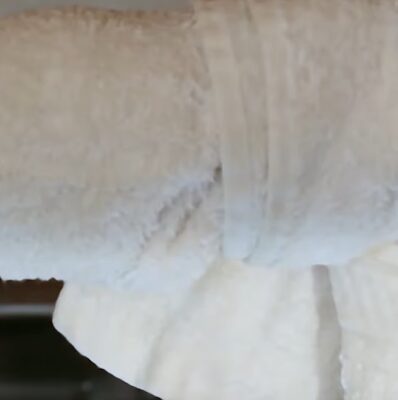
- Hot Towels: Soak towels in hot water and wrap them around the frozen pipe. This will help to thaw out the pipe gradually.
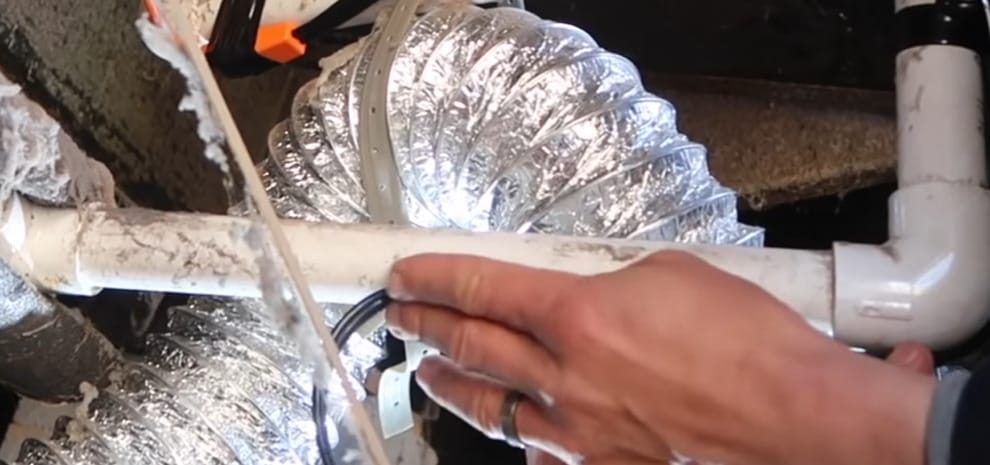
- Electric Heating Tape: Electric heating tape is a convenient and safe option for thawing out frozen pipes. Wrap the heating tape around the frozen pipe and plug it in.
- Hot Water: If the frozen pipe is easily accessible, pour hot water over the frozen area to thaw it out.

Remember never to use an open flame or blow torch to thaw out a frozen pipe, as this can be dangerous and cause damage to the pipe.
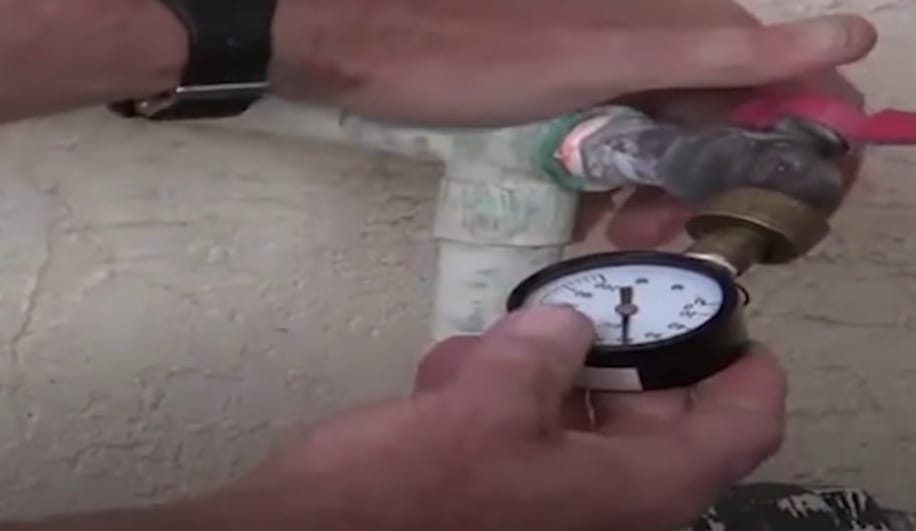
Step 4: Check for Leaks in the Pipe
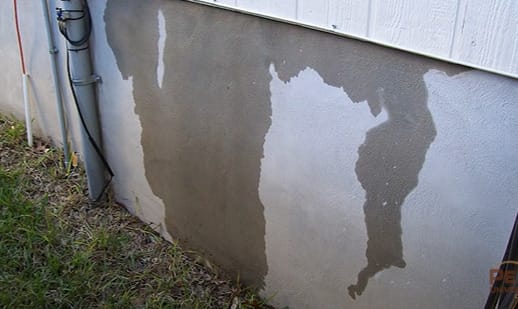
Once you have successfully thawed your frozen pipe, it is crucial to check for leaks. Leaks can cause significant damage to your property and can lead to costly repairs.
Here are the steps to follow to check for leaks in your pipe:
- Step 1: Turn off all faucets and appliances that use water.
- Step 2: Inspect the pipe for any visible leaks. Look for water dripping or pooling around the pipe.
- Step 3: Turn off the main water supply immediately if you notice any leaks. This will prevent any further damage to your property.
- Step 4: Use a dry cloth to wipe the area around the leak. This will help you identify the exact location of the leak.
- Step 5: Apply a pipe repair clamp or patch to seal the leak. Make sure to follow the manufacturer’s instructions carefully.
- Step 6: Turn the main water supply back on and check for any additional leaks.
Remember always to be cautious when dealing with plumbing issues. If you are unsure how to repair a leak or notice any signs of damage, it is best to contact a licensed plumber for assistance.
Troubleshooting Common Issues When Thawing Pipes
Encountering a hiccup or two when thawing your pipes is pretty standard. But no sweat, I’ve got your back with solutions to common problems you might face. Let’s get those pipes running smoothly again!
- Pipe Isn’t Thawing:
- Solution: Increase heat gradually. If using a hairdryer or heat lamp, adjust it closer to the pipe. Remember, patience is key. Never use open flames.
- Water Still Doesn’t Flow After Thawing:
- Solution: Check other sections of the pipe. Sometimes, ice can be lurking in multiple spots. Ensure the entire length of the affected pipe is thoroughly thawed.
- Pipe Starts Leaking During Thawing:
- Solution: Immediately shut off the main water valve to prevent water damage. This could indicate a crack or break in the pipe, requiring professional repair.
- No Access to Frozen Section:
- Solution: If the frozen section is behind a wall, try increasing the room temperature with a space heater. If this doesn’t work, it might be time to call a plumber.
- Pipe Bursts After Thawing:
- Solution: Shut off the main water supply immediately and call a plumber. Burst pipes need immediate professional attention to prevent extensive damage.
Seasonal Plumbing Maintenance Schedule: Staying Ahead of the Freeze
As we journey through the seasons, our homes need a little TLC to keep everything running smoothly. That’s especially true for your plumbing – a hero behind the scenes.
Let’s dive into this schedule and keep those pipes in tip-top shape all year round!
| Season | Maintenance Tasks | Details |
|---|---|---|
| Spring | Inspect for Leaks | Check all pipes, faucets, and hose bibs for leaks or damage from winter. |
| Test Sump Pump | Ensure your sump pump is working correctly to handle spring rains. | |
| Summer | Clean Gutters | Clear out debris to prevent water backup and potential basement flooding. |
| Inspect Hose Bibs | Check for leaks or damage, especially if they were used heavily in spring. | |
| Fall | Drain Outdoor Pipes | Remove hoses, shut off outdoor water supply, and drain pipes to prevent freezing. |
| Insulate Pipes | Insulate exposed pipes in areas like basements, attics, and garages. | |
| Winter | Monitor Indoor Heat | Keep your home heated to at least 55°F to prevent indoor pipes from freezing. |
| Open Cabinet Doors | Open doors under sinks on very cold nights to allow warm air to circulate around pipes. |
How to Prevent Frozen Pipes
As someone who has experienced frozen pipes, I know how frustrating and costly it can be. Fortunately, there are several ways to prevent pipes from freezing in the first place.
Here are some tips to help you prevent frozen pipes:
- Keep your home’s temperature above 55 degrees Fahrenheit, even if you leave for an extended period.
- Insulate pipes in unheated areas of your home, such as the attic, basement, and garage.
- Seal any gaps or cracks in exterior walls and foundation to prevent cold air from entering.
- Disconnect and drain outdoor hoses before the first freeze.
- Let faucets drip slightly to keep water flowing through the pipes.
By taking these preventative measures, you can avoid the headache of dealing with frozen pipes altogether. Remember, prevention is key!
Frequently Asked Questions
- What If The Pipe Is Behind A Wall?
- Try raising the room’s temperature with a space heater or use an infrared lamp. If the problem persists, it may be time to call a plumber.
- How Do I Know If A Pipe Has Burst?
- If you notice unexpected water damage or hear a hissing sound after thawing, shut off your main water supply and call a plumber immediately.
- Can I Use Salt to Thaw Pipes?
- Saltwater can lower the freezing point of water inside the pipes, but it’s not a practical solution for inside a house. It’s better suited for outdoor use.
- Can All Types of Pipes Be Thawed the Same Way?
- Different materials (PVC, copper, steel) react differently to heat. Be cautious with heat application, especially on PVC pipes, to avoid damage.
- Is It Necessary to Thaw the Entire Plumbing System?
- Focus on the frozen section. However, ensure no other parts are frozen, especially in severe cold weather.
References
Organizations:
- American Society of Plumbing Engineers (ASPE). https://www.aspe.org/
- International Association of Plumbing and Mechanical Officials (IAPMO). https://www.iapmo.org/
Books:
- “Plumbing Complete: Expert Advice from Start to Finish” by Rex Cauldwell. https://www.barnesandnoble.com/w/plumbing-complete-rex-cauldwell/1015845836
- “Ultimate Guide: Plumbing” by Merle Henkenius. https://www.abebooks.com/9781580114851/Ultimate-Guide-Plumbing-3rd-edition-1580114857/plp
Websites:
- This Old House. http://thisoldhouse.com/
- Family Handyman. http://familyhandyman.com/
Video References:
Yorkshire Water
Seejanedrill
Got2Learn
PEX Universe
Dragonbuilds