6 min read
How to Fix an Overcharged Battery (4 Steps & Tips)
An overcharged battery will supply more power than the vehicle’s parts and accessories need, which can damage them.
It’s also unhealthy for the battery itself and can shorten its lifespan. Using a voltmeter or multimeter, you can easily check it’s not overcharged. If this confirms the battery is overcharged, you can often do something about it, as long as it’s undamaged.
Key Takeaways: You can fix an overcharged battery by first disconnecting and cleaning the battery’s terminals. Then, carefully remove the electrolyte and refill it with a solution of Epsom salt dissolved in distilled water. Finally, recharge the battery, this time ensuring it doesn’t overcharge. The voltage reading should not exceed 12.2 -12.8 volts (ideally, ~12.5V) with the engine off or 13.5-14.7V with the engine running.
Only apply the fix if you have an overcharging battery problem and the battery is only experiencing a mild sign of overcharging, i.e., not a severe symptom. Below i’ve focused on lead-acid batteries, as used in vehicles.
An Overcharged Battery
The table below lists the main signs of an overcharged battery and the main causes.
If the sign you notice comes under the first column of mild signs, you can probably fix the overcharging issue, but not if it’s a severe symptom.
| Mild Signs of Overcharging | Severe Symptoms of Overcharging | Causes of Overcharging |
High voltage reading Overheating Low electrolyte levels Smell of acid Sharply reducing discharge periods | Swelling Melting Leaking Dying Exploding | Charging for too long Using a faulty charger Exposure to extreme heat Alternator problem Voltage regulator problem |
You can probably fix it. | Don’t attempt to fix it. | Avoid or check for these. |
Don’t attempt to fix a battery exhibiting a severe symptom of overcharging. Disconnect and recycle such a battery and replace it with a new one.
Checking the Voltage
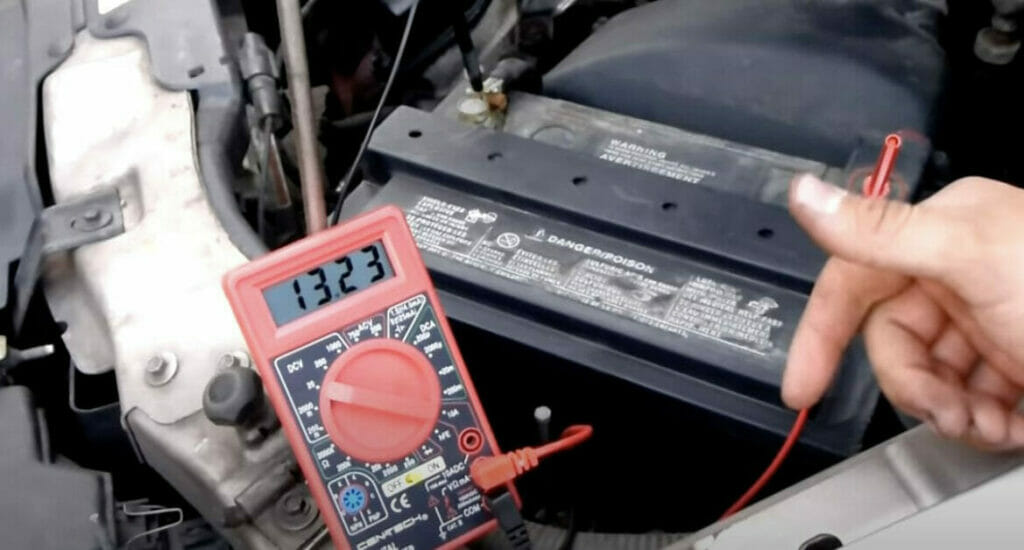
You can easily check whether a battery is normally charged, undercharged, or overcharged by checking the voltage across its terminals using a voltmeter or multimeter set to measure DC volts.
Connect the meter’s red probe to the battery’s positive terminal and its black probe to the negative one.
A battery in good condition, i.e., neither overcharged nor undercharged, will give a reading of between 12.2 and 12.8 volts (ideally, ~12.5V) with the engine off or 13.5-14.7V with the engine running. A value above these two ranges indicates an overcharged battery.
Proceed to the next step only if the voltage check confirms the battery is overcharged, i.e., if the voltage is above 12.8V with the engine off and above 14.7V with the engine running.

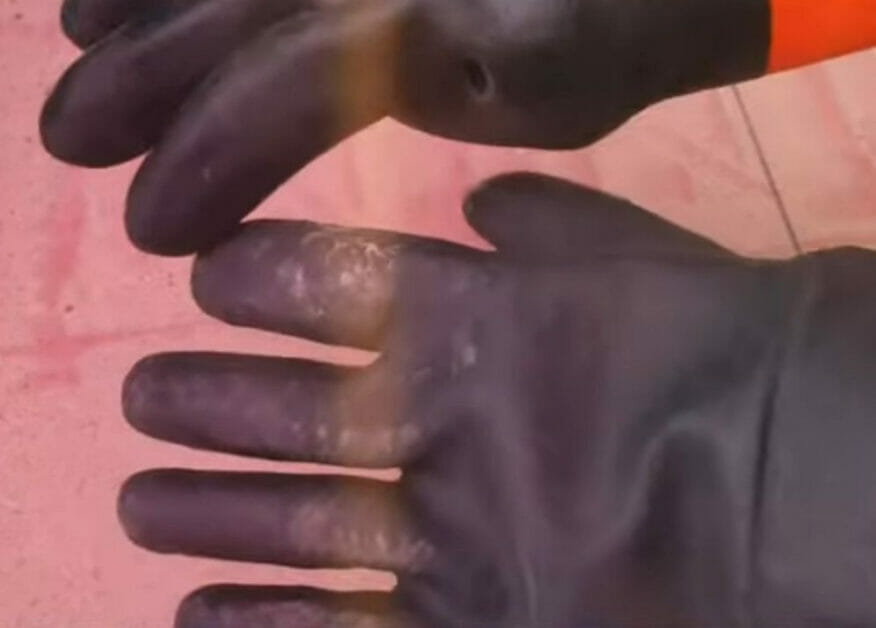
Battery acid is highly corrosive. It must be stored in a non-reactive container, such as glass. It can cause severe burns if it comes into contact with the skin. Skin and mucous membranes react very strongly to it. It can also burn through metal and plastic. Handle a battery with extreme care while reconditioning it and only while wearing safety gloves and goggles.
Fixing an Overcharged Battery
If you’re unsure whether the battery is overcharged, see the table above on the signs of overcharging.
If you’re sure it’s overcharged, apply the steps below to fix it. We will clean the battery and replace the electrolyte when reconditioning a battery.
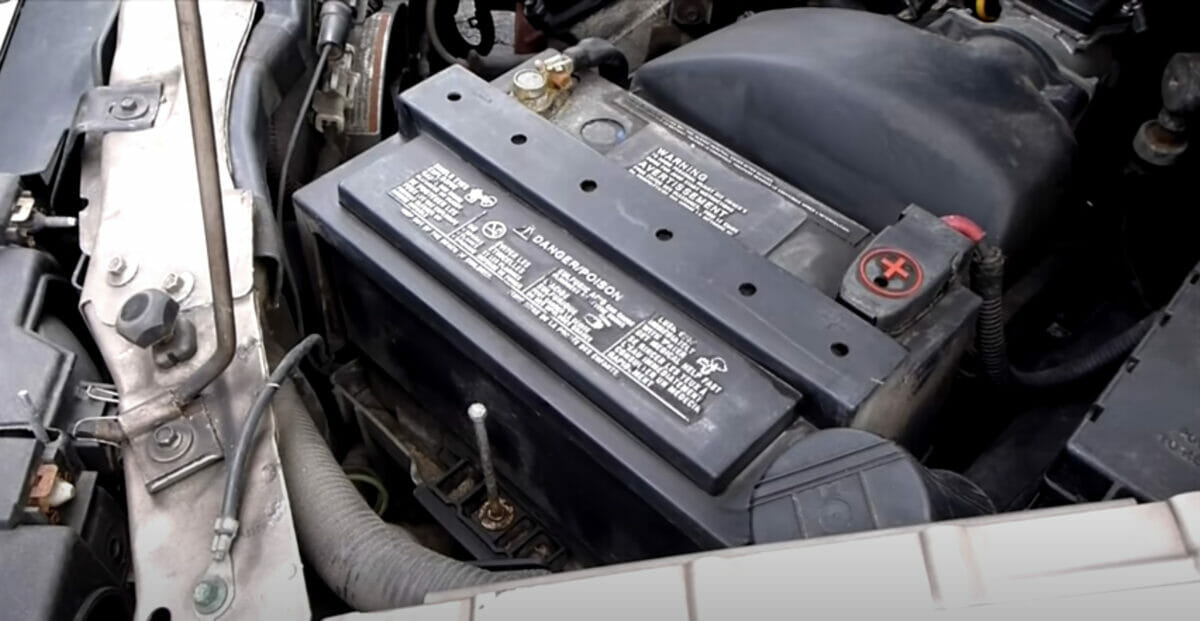
Step 1: Clean the Battery
Disconnect and clean the battery in a well-ventilated area.
Have a bucket of water and a mug nearby to wash off any acid you may come into contact with. Ensure the terminals are clean and there is no buildup of corrosion.
To clean the corrosion on a battery’s terminals, use a toothbrush to apply a solution of baking soda and water in a ratio between 1:1 and 2:1. Use a steel brush or steel wool only if the corrosion is severe. Wipe the terminals clean with a tissue or cloth when done, and apply grease or jelly on them.
Step 2: Remove the Electrolyte
Remove the battery caps and turn the battery over above a bucket to remove all the electrolytes.
Only do this while wearing safety gloves because the acid is highly corrosive and dangerous to the skin.
When all the cells are empty, you can use the same baking soda solution to neutralize the acid and clean its cells. Allow this solution to soak for about a minute.
Step 3: Refill the Electrolyte
Removing and refilling the electrolyte will effectively recondition the battery.
Dissolve about 120 grams of Epsom salt in 1 liter of distilled water. Ensure the salt is properly dissolved and that the water is lukewarm.
Carefully pour the distilled water into each of the battery’s cells until the water reaches the bottom of the plastic opening.
Step 4: Charge the Battery
You’re ready to recharge once you’ve refilled the battery with fresh electrolytes and closed the caps.
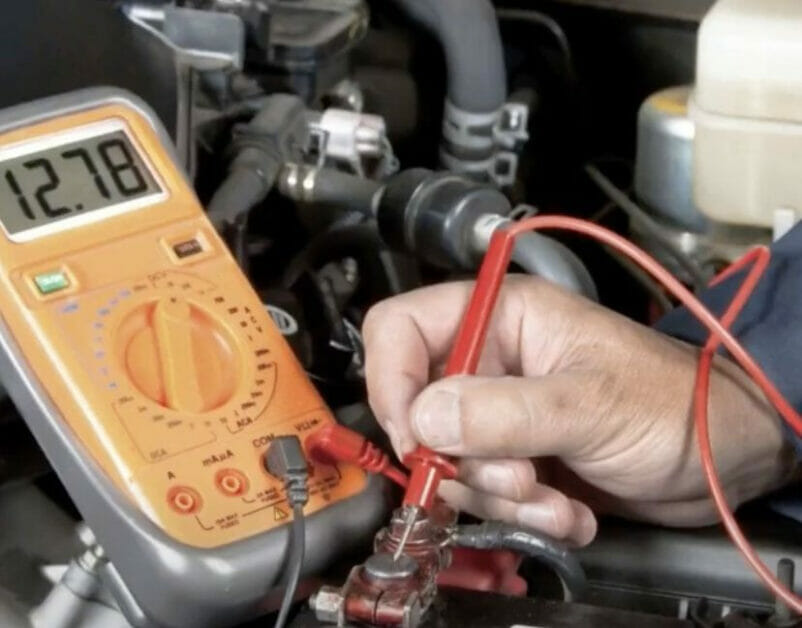
Remember to connect the red wire to the battery’s positive terminal and the black one to its negative terminal. Charge the battery at two amps for up to 24 or 36 hours.
Test the battery’s voltage at the end of each interval, i.e., after 24 hours and, if necessary, again at short intervals until no more than 36 hours have elapsed since the start of charging.
This time, you must only recharge the battery without overcharging it. Disconnect the charger when the voltage reaches 12.5-12.8 volts. Continue charging if it’s below 12.2-12.4 volts.
References
Video References
ChrisFix
Desi Ideas & Creativity
Electric Frugal