9 min read
Voltage Drop Test Alternator (Guide with Photos)
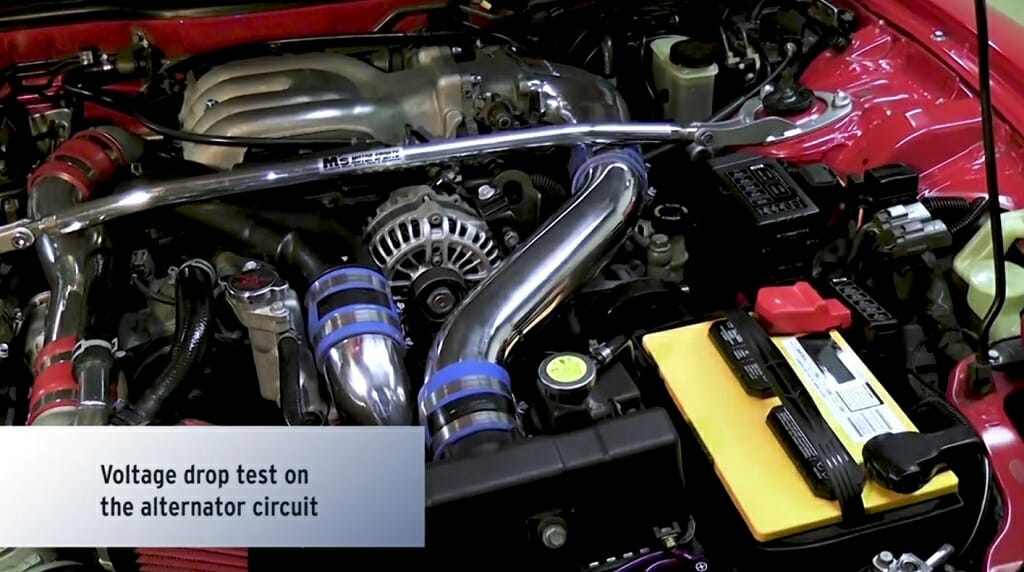
An excessive voltage drop can cause some serious issues for any circuit. If this situation occurs in your vehicle’s charging circuit, the result can be disastrous. It can lead to a dead battery or an electrical system issue that might cost you serious money. To avoid all of this, do a voltage drop test.
With a voltmeter, you can easily complete a voltage drop test on your alternator, and we will cover this below.
To initiate a voltage drop test:
- First, connect the voltmeter’s red lead to the battery’s negative terminal.
- Then, connect the black lead to the alternator housing. Note down the reading.
- Next, connect the red lead to the positive post of the alternator.
- Now, connect the black lead to the positive terminal of the battery. For both tests, the voltage should be between 0.3V and 0.5V.
- During this process, the engine speed should be 2000 rpm.
What Can Cause a Charging Circuit Voltage Drop?
Most of the time, an alternator is a reliable piece of equipment. It will work for years without giving you any trouble. But, you might experience voltage drops due to increased resistance of the charging circuit. For instance, increased load, extra connections, and high power-consuming electrical lights can increase the resistance. Eventually, it will lead to voltage drops over time.
However, wire size, length, and applied power can contribute to a voltage drop. For instance, long wires with higher gauges will drop more voltage than shorter wires with smaller gauges. This happens because the resistance equals the wire’s cross-sectional area over the length. Smaller gauge wires have a larger cross-section, and it will reduce the resistance.
For a proper understanding:
- V = IR
- R = ρl /A
- V – Voltage
- I – Current
- R – Resistance
- ρ – Resistivity(constant)
- l – Length of the wire
- A – Cross-sectional area of the wire
Apart from that, alternator charging circuit issues can occur due to many reasons. Here are some of those reasons.
- Frayed wires
- Loose wires
- Faulty ground connection
- Bad battery
- Corroded wires and connections
- Blown fuses
As you can guess, there are several reasons for a faulty alternator. So you don’t have to replace the battery or the alternator.
First, check the charging circuit with an alternator drop test and then decide what needs to be fixed.
Process of Finding the Circuit Voltage Drop
The process of a voltage drop test can be categorized into three parts. I’m hoping to discuss each part in detail. So, let’s get started.
Things Needed
- Voltmeter
- Vehicle’s repair manual
Part 1 – Getting Ready for the Voltage Drop Test
Before the actual testing, there are several factors that you need to check first. For starters, check the battery voltage.
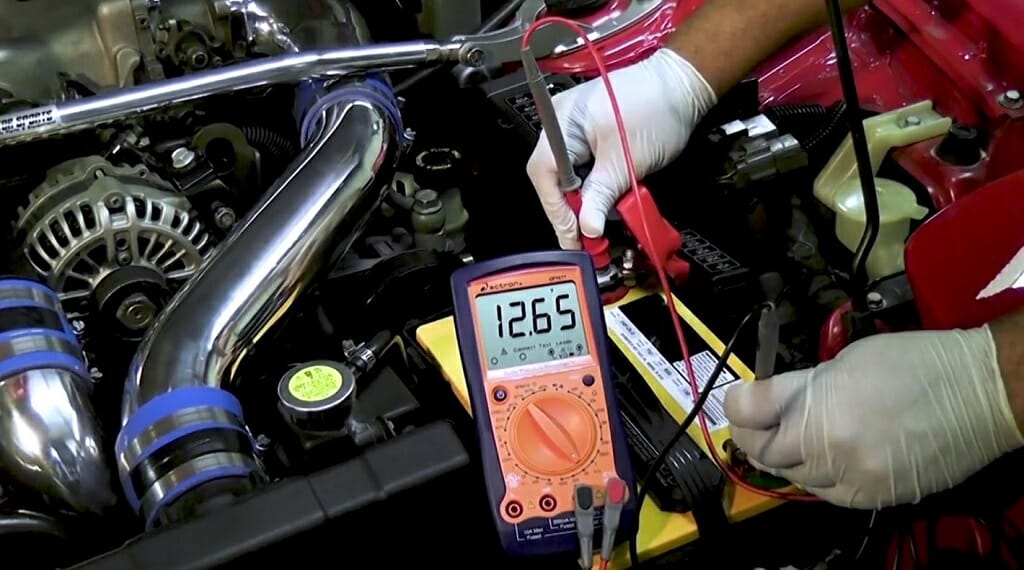
The voltage should be above 12.4V. If the battery does not have the expected voltage, charge it. Apart from that, follow these steps too.
- Put on parking brakes.
- Adjust the transmission to neutral or automatic
- Remember to start the engine.
- Maintain the 2000 rpm engine speed during the test.
- Turn on the headlights, wipers, AC, and other electrical accessories (adjust each one to its highest level)
The steps above will ensure high current flow in the charging circuit.
Remember: You don’t have to turn the vehicle on when you check the battery voltage.
Part 2 – Testing the Ground Circuit
Ground and Power Circuits
In this testing process, you have to check the voltage for two different circuits: the ground and the power circuits. For the ground circuit, measure the negative connections of the battery and alternator. For the power circuit, measure the positive sides of both types of equipment. So, here is how you can measure the ground circuit voltage.
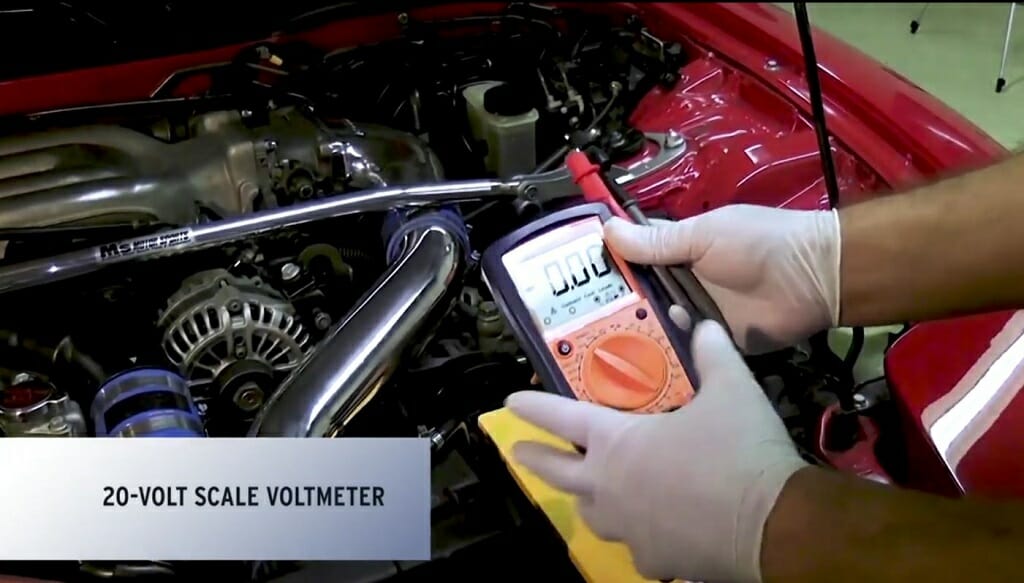
Step 1 – Set Up the Voltmeter

First, set the voltmeter for DC Volts settings. Adjust the voltage scale to 2V.
Step 2 – Connect the Alternator
Then, connect the voltmeter’s black lead to the alternator housing.
Step 3 – Connect the Battery
Now, connect the red lead to the negative terminal of the battery.
Remember: Don’t let the voltmeter leads touch the moving engine components.
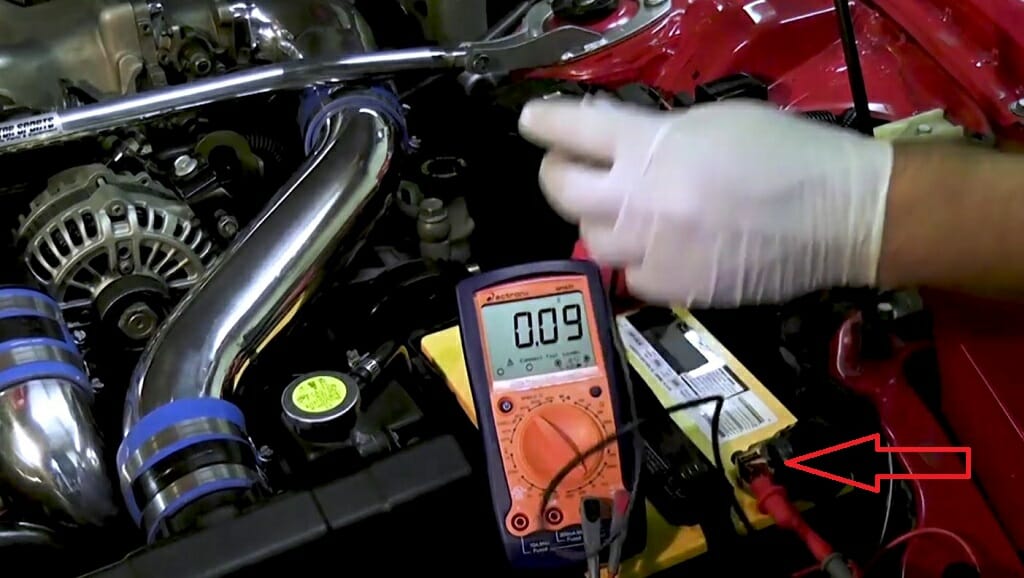
Step 4 – Check the Reading
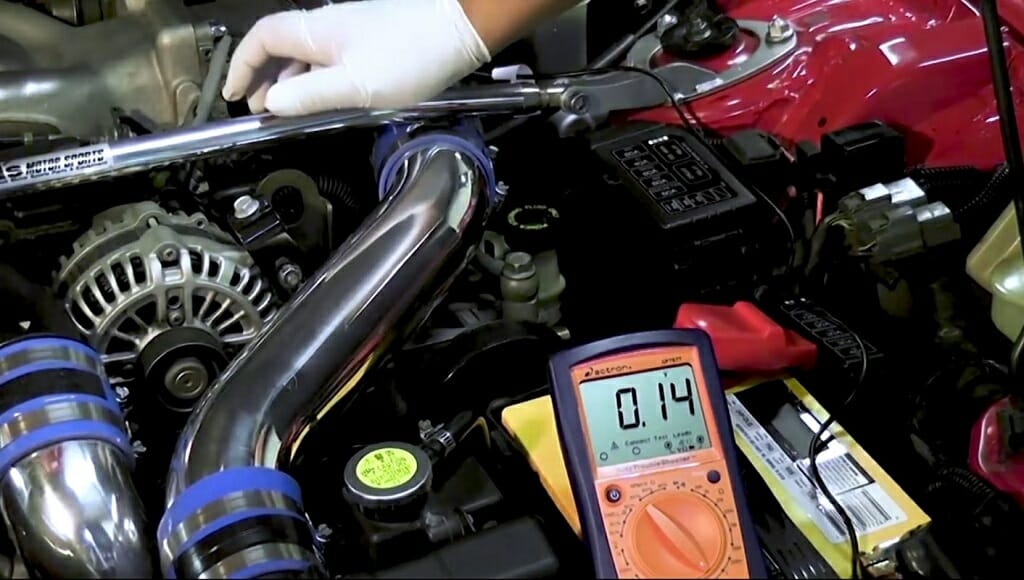
Check the reading on the voltmeter. It should be between 0.3V – 0.5V.
Step 5 – Finalize the Results
Check whether the alternator is charging if the dropped voltage is below 0.3V. However, some models have a maximum voltage drop of 0.2V or less. So, remember to refer to the repair manual.
The ground circuit might have faulty connections if the reading surpasses the 0.5V mark. So, make sure to tighten the mounting bolts and remove any corrosion on the mounting brackets and bolts. Also, you’ll have to check the engine ground connection.
Part 3 – Testing the Power Circuit
After checking the ground circuit, move on to the power circuit voltage drop test. To do that, follow these steps.
Step 1 – Check the Voltmeter Settings
Even though you already set the voltmeter to DC Volts settings in Part 02. Remember to check the settings before starting the voltage drop test.
Step 2 – Connect the Alternator
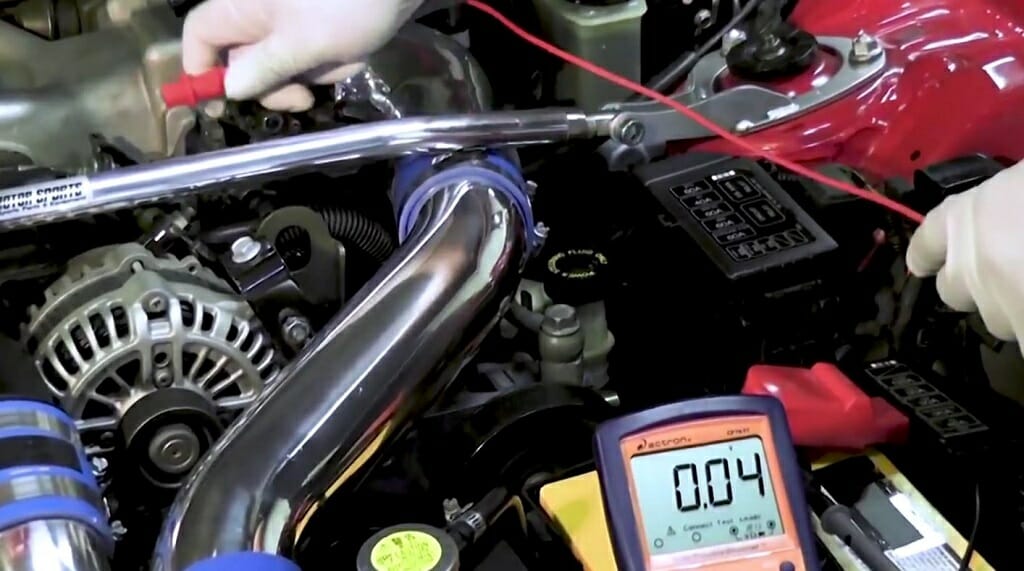
First, connect the red lead of the voltmeter to the alternator output stud (positive post).
Step 3 – Connect the Battery
After that, connect the black lead to the positive battery terminal.
Remember: Don’t let the voltmeter leads touch the moving engine components.
Step 4 – Check the Reading

Check the reading on the voltmeter. It should be between 0.3V – 0.5V.
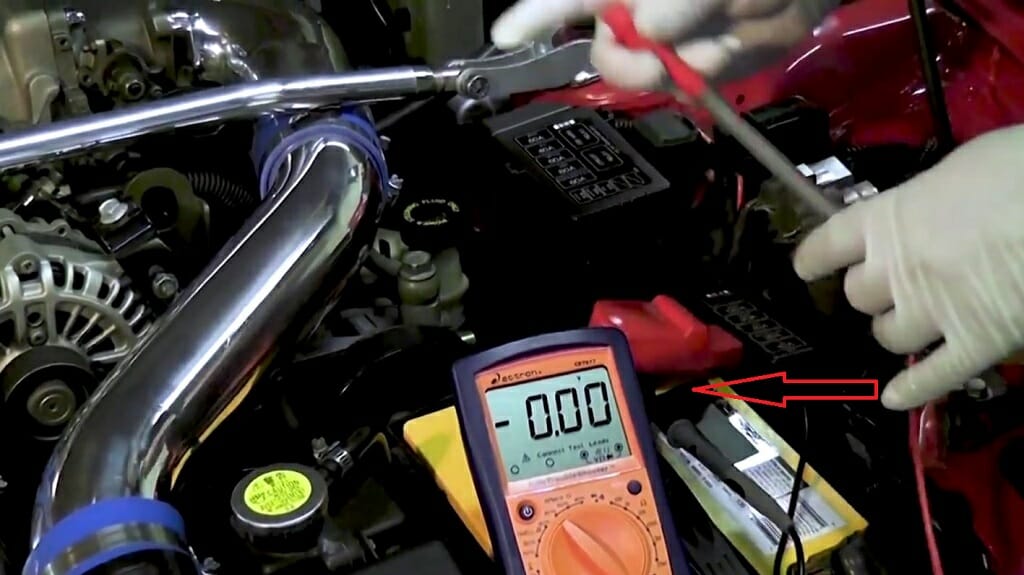
Step 5 – Finalize the Results
Check whether the alternator is charging if the dropped voltage is below 0.3V. If not, let it charge. Also, refer to the repair manual to get the maximum voltage drop. This value might vary according to the model.
If the voltage is above 0.5V, you’ll have to find the problematic points. To do that, follow these steps.
Step 1: Connect the lead to the alternator output stud (positive post).
Step 2: Now, check every connection using the black lead. For instance, start with the fusible link and go to the battery terminal (+).
Step 3: Note the points that exceed the recommended voltage drop value.
Step 4: Find out the issue for the voltage drop in those troubling points.
Must-Know Voltage Drop Values
A perfectly working wire or connection can run electricity trouble-free. However, a certain amount of resistance exists on those wires and connections. So, circuits will always show some voltage drop. Here are the most common voltage drop values.
| Type of Device | Voltage Drop |
| Ground | 0.1 |
| Wire or Cable | 0.2 |
| Switch | 0.3 |
| Connection | 0.0 |
Tip: Use the above voltage drop values as reference points. Besides, remember to check the repair manual.
Using the Voltage Drop for Diagnostic Purposes
Most of the time, a charging system voltage drop is considered a minor concern. But, these types of sudden voltage drops can cause issues such as poor electrical system performance or low charging voltages. As mentioned, these situations often occur due to poor or corroded connections. You can fix these issues quite easily. But, most people waste their money and time trying to replace motors, relays, bulbs, and other related components.
If the above testing process does not show a voltage drop (less than 0.3V or, in some cases, less than 0.5V), the issue might lie in the battery or the alternator. So, you might have to look into a battery or an alternator replacement. But do not worry. Most auto parts repair shops will check the battery and the alternator for free.
Tips on How to Prevent a Voltage Drop
Prevention is the best solution for excessive voltage drop. Besides, the process of prevention is not that difficult at all. So, here are some valuable tips on how to prevent voltage drops.
Use Shorter and Thicker Wires
As you already know from the “What Can Cause Charging Circuit Voltage Drop” section, shorter and thicker wires produce a lower resistance. That means fewer voltage drops in the circuit. So, replacing those unwanted long wires with short ones is always better.
Parallel Circuits
If you encounter an excessive voltage drop in a lighting system, using a parallel circuit lighting system reduces the voltage drop considerably. A parallel circuit system contains multiple closed circuits. So, it will reduce the overall voltage drop for each circuit. This method is good for home use. Not for a vehicle’s charging circuit.
Wrapping Up
Unnecessary voltage drops can occur because of loose or corroded wires. So, don’t make any irrational decisions. Always remember to do a voltage drop test. It will certainly make your life much more relaxed.
References
Website Resources:
- electrical system. https://www.sciencedirect.com/topics/engineering/electricalsystem
Video References:
Motorcar Parts of America – MPA