
14 min read
This IKEA Hack Changed My Whole Kitchen—Easy, Affordable Upgrade Under $50


Ever feel like your kitchen could use a serious facelift, but your wallet says otherwise? You’re not alone. With just $50 and a quick trip to IKEA, you can completely transform your kitchen—no renovation crew required. Whether you’re a renter or you just want to see what a little creativity can do, this hack might be exactly what your space needs.
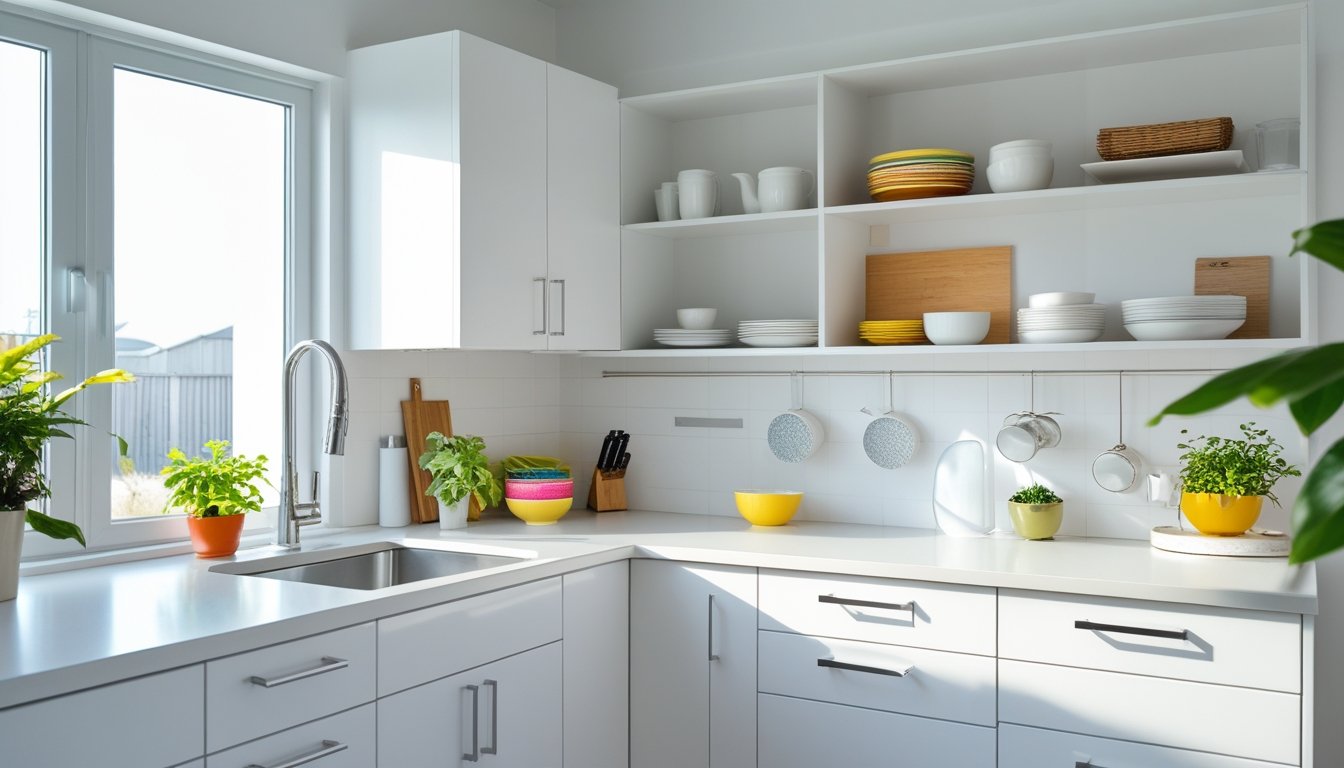
You’re about to discover one simple project that reimagines basic IKEA products for maximum impact. This hack adds storage, style, and function without taking up precious counter space, making your kitchen feel fresh and organized. If you’ve ever wished for a kitchen “glow up” on a shoestring budget, you’ll want to see how easily you can pull this off.
Discovering the IKEA Hack
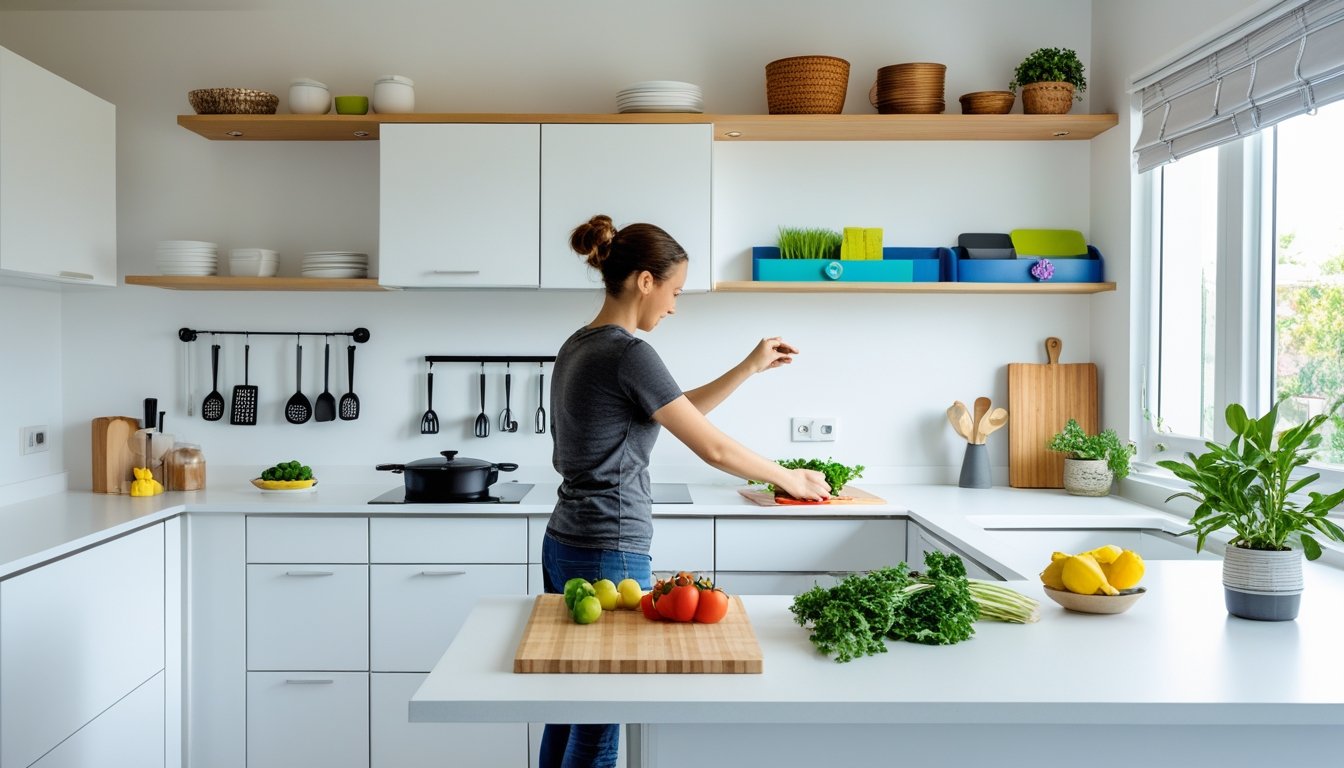
Getting a stylish kitchen makeover doesn’t have to empty your wallet. With a clever approach and the right resources, you can create a space that feels both fresh and practical—all for less than $50.
Inspiration Behind the Makeover
When you look at your kitchen and crave a change, it often starts with a spark—maybe a photo, a visit to a friend’s house, or scrolling through social media. For many, the desire for more efficient storage and a clean design comes from seeing others transform their spaces with simple solutions.
You might notice unused wall areas, drab cabinets, or cluttered countertops. These everyday frustrations inspired me to find a quick and affordable fix. Sometimes, just the thought of turning a bland corner into a coffee bar or adding extra hanging space for utensils is all the motivation you need.
The aha moment often hits when you realize the answer could be something as basic as a rail, shelf, or basket to keep things organized and within reach. That’s where the IKEA hack comes in—it’s about real solutions to real-life annoyances.
Why Choose IKEA Products
If you’re hoping for functionality, minimalist design, and a low price tag, IKEA stands out. Their kitchen solutions—like the FINTORP rail system or GRUNDTAL shelves—are specifically designed for customization and easy installation.
You don’t need to be a master builder. Most IKEA products are modular, so you can mix, match, or expand them. The build-it-yourself aspect lets you adjust dimensions, layouts, and even finishes to fit what you want.
Table: Common IKEA Kitchen Essentials for Hacking
| Product Name | Use Case | Price Range |
|---|---|---|
| FINTORP Rail | Hanging utensils/cups | $15-$25 |
| GRUNDTAL Shelf | Extra counter space | $10-$30 |
| VARIERA Boxes | Drawer organization | $5-$20 |
With options like these, your kitchen can evolve as your needs change—all without breaking the bank.
Budget-Friendly Kitchen Updates
One of the best parts of a good IKEA hack is the cost. For less than $50, you can totally shift how your kitchen looks and functions. Here’s the secret: focus on small changes with big impact. Swapping out cabinet handles, adding a rail for mugs, or mounting a sleek shelf can make your kitchen work better for you.
Don’t overlook IKEA’s open storage solutions. They make it easy to reduce clutter and maximize even the tiniest spaces. All you need is a plan, a few key pieces, and some simple tools, and you’ve got yourself a mini-makeover.
Look out for clearance deals and multi-packs to stretch your budget further. Even if you’re not a DIY pro, IKEA’s straightforward instructions help you finish the job in under an hour, so you’re enjoying your new kitchen by dinner.
Planning Your Kitchen Transformation
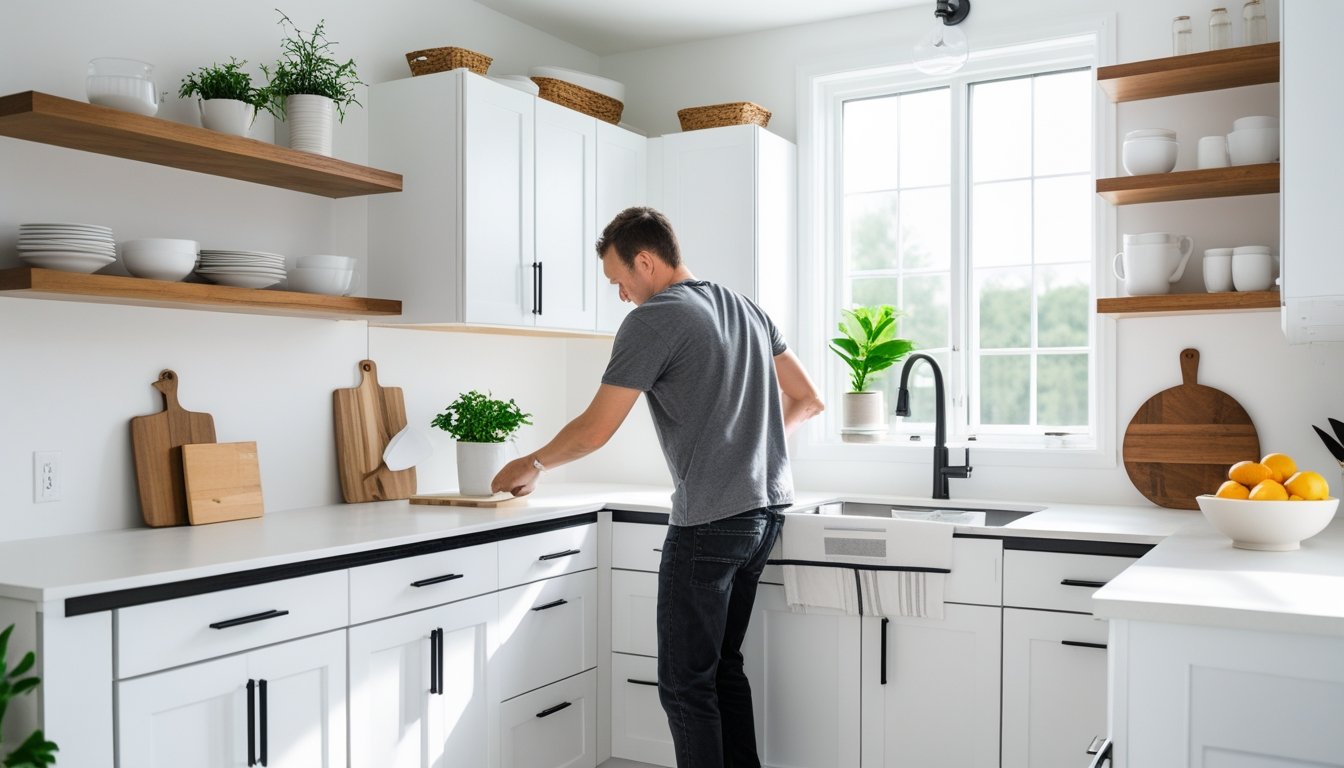
Before you get to work, you’ll want to make the most of your project by getting the basics nailed down. Mapping out measurements, picking the best IKEA pieces, and rounding up your go-to tools can make your hack as smooth as possible.
Measuring Your Space
Start by grabbing your measuring tape and getting the exact dimensions of the area you want to upgrade. Jot down the height, width, and depth, so you don’t buy something that’s too big or too small. Pay close attention to things like door swings, electrical outlets, and the way your cabinets open.
If you have appliances nearby, give them about 2 inches of clearance for proper airflow. Use this quick-reference table as you measure:
| Measurement | What to Record |
|---|---|
| Width | Wall-to-wall |
| Depth | Front-to-back |
| Height | Floor-to-ceiling |
| Clearance | Hinges, doors, gap |
Snagging those numbers first means you’ll avoid last-minute returns—trust me, you’ll thank yourself later!
Selecting the Right IKEA Items
IKEA has loads of options that work for kitchen upgrades, but picking the right ones saves money and headaches. Look for pieces that fit your dimensions and offer flexibility, like the METOD rails for custom shelving or VARIERA organizers for drawers. Focus on items made for kitchens, since they’re built to handle heavy use and are easy to customize.
Keep function in mind—do you want more storage, better organization, or a fresh look? Once you’re clear on that, use the IKEA website or app to check stock and read reviews. If you’re mixing finishes or colors, see them side by side in-store or order sample pieces to compare at home.
Organizing Tools and Materials
With your plan in place, gather everything you’ll need before unpacking a single IKEA box. Lay out assembly tools like a screwdriver, hammer, and a level. You might even want to have a drill on hand for those tricky corners. Keep extra screws or anchors for wall mounting.
Use a materials checklist to keep track:
- IKEA item packaging
- Instruction manuals
- Measuring tape
- Pencil for marking spots
- Level for straight lines
- Basic hand tools (screwdriver, hammer)
- Drill and bits (optional)
- Cleaning cloth for dust
Set up a clean, open area to work in, and keep your tools within reach. Staying organized at the start will keep you from scrambling for that one missing screw!
Step-by-Step Guide to the IKEA Hack

Before you grab your screwdriver, know that this kitchen hack is all about smart prepping, clever customization, and fast, no-sweat installation. You’ll be amazed at what you can achieve with a limited budget and a few simple IKEA finds.
Preparation and Setup
Start by measuring your kitchen space accurately. You want to maximize every inch, especially if you’re working with a small or awkward kitchen layout. Use painter’s tape on your floor or wall to map out dimensions—it helps you visualize the final placement and avoids any “oops” moments.
Pull together your tools: a drill, screws, measuring tape, level, and a pencil. Gather all IKEA pieces needed for your hack—this might be shelves, racks, organizers, or even a different product used in a new way.
Jot down a checklist to make sure nothing is missing. Double-check that walls are clear of wiring or pipes before drilling. Taking these steps now makes the rest of the process smooth and stress-free.
Customizing IKEA Pieces
Now comes the creative part. Many IKEA items are designed to be modular or adjusted, so you can cut shelves to fit, change up handles, or paint surfaces to match your décor. Sand down any rough edges before painting or staining, and use painter’s tape for clean lines.
For example, a basic KUNGSFORS rail can become a custom pot rack by adding S-hooks or attaching wood panels for a warmer look. Swap out standard knobs with drawer pulls that fit your style. Small changes, like using different finishes or adding adhesive vinyl, can make the hack look higher end.
Always test-fit your pieces before attaching. This keeps your project moving and prevents surprises. Don’t be afraid to mix IKEA parts with hardware store finds for a truly unique touch.
Installation Process
Begin installation by marking drill points according to your layout. Use a level to avoid crooked shelves or racks—nothing throws off a kitchen faster than a tilted line. If you’re attaching to drywall, invest in proper anchors to support weight, especially for storing pans or appliances.
Here’s a quick reference table for key installation tips:
| Step | Tip |
|---|---|
| Marking | Use pencil lightly for corrections |
| Drilling | Go slow, avoid over-tightening |
| Mounting | Check weight specs for brackets and rails |
| Final Checks | Ensure no wobble, re-tighten as needed |
Place items on your new setup carefully and make small adjustments until everything feels stable. Step back, admire your work, and enjoy the boost in kitchen efficiency and style!
Personalizing the Look
If you want your kitchen to really stand out, small details make a major difference. Even with a tight budget, you can give flat-pack cabinets character, style, and a quality feel by making a few targeted updates.
Choosing Paints or Finishes
A fresh coat of paint or a new finish is often the quickest upgrade you can give to any IKEA piece. Lots of kitchen hackers swear by laminate-friendly primers—they’re designed to help paint stick to those smooth cabinet surfaces. Go with a quality primer, then select a color that suits your space.
Matte finishes tend to hide fingerprints and smudges better than glossier ones, making them family-friendly. If you love a modern look, soft grays, dusty blues, or creamy whites rarely disappoint. For a bold statement, consider forest green or deep navy, which contrast beautifully with brass or gold hardware.
You can also try faux wood finishes or even peel-and-stick contact paper for a quick transformation. Always check that your paint or finish is labeled as kitchen-safe and easy to wipe down.
Adding Stylish Hardware
Swapping out standard knobs and pulls can make your cabinets feel brand new and completely custom. There’s a massive selection of affordable hardware available online and at local hardware stores.
Hardware comes in a range of shapes and materials—think brushed gold bar pulls, sleek black handles, or even colorful ceramic knobs. Changing up the hardware is an easy update with a huge visual impact, especially on IKEA’s simpler doors. Just remember to measure the distance between screw holes so you choose compatible pieces.
Mixing and matching is totally fine. Some people go for uniformity, but adding two or three styles in one space looks intentional and adds interest. Install a few cup pulls on drawers and contrasting T-bar pulls on cabinets for a designer touch.
Incorporating Unique Touches
Personalizing goes beyond paint and hardware. Add flair by attaching decorative trim, under-cabinet lighting, or even stick-on decals to highlight certain areas. For open shelving, display your favorite mugs or cookbooks to make the space more inviting.
If you’re feeling crafty, consider swapping out a plain panel for a glass insert or using adhesive cane webbing for a natural texture. Open up cabinet doors and line the inside with a fun, wipeable wallpaper for a pop of color every time you grab a plate.
Little details such as custom shelf risers, removable organizers, or even a handmade wooden toe-kick can really make the kitchen feel tailor-made for you—no huge tools or carpentry skills required.
Before and After: Kitchen Transformation Results
Your kitchen won’t just feel bigger, it’ll finally function like you’ve always wanted. The $50 IKEA change-up delivers a striking difference in both style and storage—giving you a space you’ll want to show off and actually use.
Visual Changes and Improvements
Right away, you’ll notice how much brighter your kitchen looks. The budget-friendly IKEA additions reflect light and create a clean, cohesive look that pulls the space together.
Outdated pieces are replaced, mismatched clutter disappears, and even tiny details like hardware feel refreshed. The table below shows the shift:
| Element | Before | After |
|---|---|---|
| Cabinet Appearance | Worn, mismatched | Coordinated, seamless |
| Countertop Clutter | Visible, crowded | Minimal, organized |
| Sense of Space | Cramped | Open, airy |
You get a designer vibe without expensive renovations. The difference is instant, and friends and family will notice the polished, unified style that makes the whole kitchen feel new.
Enhanced Storage Solutions
More than just looking nice, your new setup solves everyday storage headaches. The IKEA hack puts extra shelves, hooks, and racks exactly where you need them, freeing up counters and drawers.
You can use baskets and bins in clever ways, so you’ll actually have space for both grocery hauls and small appliances. Quick-access storage means no more hunting for utensils or stacking pans.
In just a day, your cabinets and surfaces get purpose-built zones for cooking, cleaning, and storing. Now, everything from spices to snacks is within arm’s reach—making meal prep, cleanup, and organization a breeze.
Tips for Maximizing Your $50 Budget
Stretching your dollars at IKEA is totally possible if you keep a sharp eye out for deals and get a little creative with materials you already have on hand. By putting a little elbow grease into planning, you can pull off a kitchen update that’s both practical and stylish without breaking the bank.
Smart Shopping at IKEA
IKEA’s best deals are often found in the As-Is section, where you can snag returned or display items for a fraction of the price. Keep an eye out for drawer organizers, spice racks, and shelf inserts—they can totally transform your kitchen’s functionality.
Bring a clear shopping list to avoid impulse buys. Focus on affordable essentials like VARIERA trays, BEKVÄM spice racks, and GRUNDTAL racks. These pieces work together for more storage without taking up more real estate.
Look out for multi-packs or bundle deals, like sets of hooks and rails. Sometimes, buying one larger item to cut down and use for several spots is cheaper than buying multiples.
To make every dollar count, check the weekly promotions or download the IKEA app for digital coupons. Even picking up your purchases in-store, instead of shipping, can help keep you under $50.
Repurposing Existing Materials
Before heading out, take inventory of what you already have that’s not being used to its full potential. Unused drawer organizers, baskets, or even small shelves can be re-imagined for new functions—like turning an old utensil tray into a wall-mounted spice holder.
Don’t be afraid to modify what you find. With a bit of sanding, a coat of paint, or some adhesive hooks, an outdated tray or a cut-down shelf can look completely new and blend into your kitchen style.
Mixing IKEA finds with repurposed materials—like attaching an IKEA rail to a reclaimed wood board—can elevate your storage game without spending more. Getting creative here isn’t just resourceful; it lets you personalize the makeover while sticking to your budget.
Common Mistakes to Avoid
Skipping out on precise measurements is a classic pitfall. Even a half-inch off can leave you wrestling with pieces that won’t line up later. Double-check your space before making any cuts.
Don’t ignore the weight limits of IKEA products. Those BILLY bookcase shelves and LACK shelves have specific weight ratings. Overloading them can cause unexpected sagging or damage. If you’re adding custom doors or panels, make sure you’re not going overboard on weight.
Not all paints or finishes bond well with IKEA’s laminate surfaces. Using the wrong type can lead to chipping or peeling down the road. Here’s a quick reference:
| Surface | Best Primer | Paint Type |
|---|---|---|
| Laminate | Shellac-based | Latex or Acrylic |
| Solid Wood | Any Primer | Any Paint |
Mixing up IKEA parts or hardware is an easy slip-up. Lay everything out and group pieces before you start. This simple step will save you the dreaded mid-project confusion.
A lot of folks forget about wall mounting. If your hack involves attaching cabinets or shelves to the wall, check for studs and use the right anchors. Drywall alone won’t cut it for heavy projects.
Finally, don’t rush assembling and installing. Stay patient, follow the instructions closely, and you’ll avoid common DIY headaches!
Maintaining Your IKEA Kitchen Upgrades
Keeping your IKEA kitchen hacks looking fresh isn’t tough, but a few simple habits make all the difference. Wipe surfaces regularly with a soft, damp cloth—no harsh chemicals needed. Your upgrades will keep their shine without the risk of damage.
For moving parts like drawer slides and hinges, a little routine care goes a long way. Lubricate hardware yearly with a silicone-based spray to keep everything opening and closing smoothly.
Spills happen, but immediate cleanup is your best friend. Especially for items like peel-and-stick backsplashes or particleboard cabinets, moisture can sneak in and cause trouble over time. Here’s a quick table to help:
| Upgrade Type | Quick Maintenance Tip |
|---|---|
| Peel-and-stick surfaces | Wipe spills immediately; avoid excess water |
| Cabinet doors | Clean with mild soap and a soft cloth |
| Drawer organizers | Remove and hand-wash as needed |
Don’t forget about little fixes. Keep an eye out for any loose screws or wobbly handles. Tighten hardware as needed to prevent wear and tear from turning into a bigger headache.
Custom paint or coatings may need a touch-up over the years. Store a little leftover paint for quick fixes, so your kitchen always looks like you just finished the project.