
11 min read
Temporary Home Upgrades That Look Expensive


Edited by: Louise (Editor In Chief)
Fact/quality checked before release.
Fact/quality checked before release.
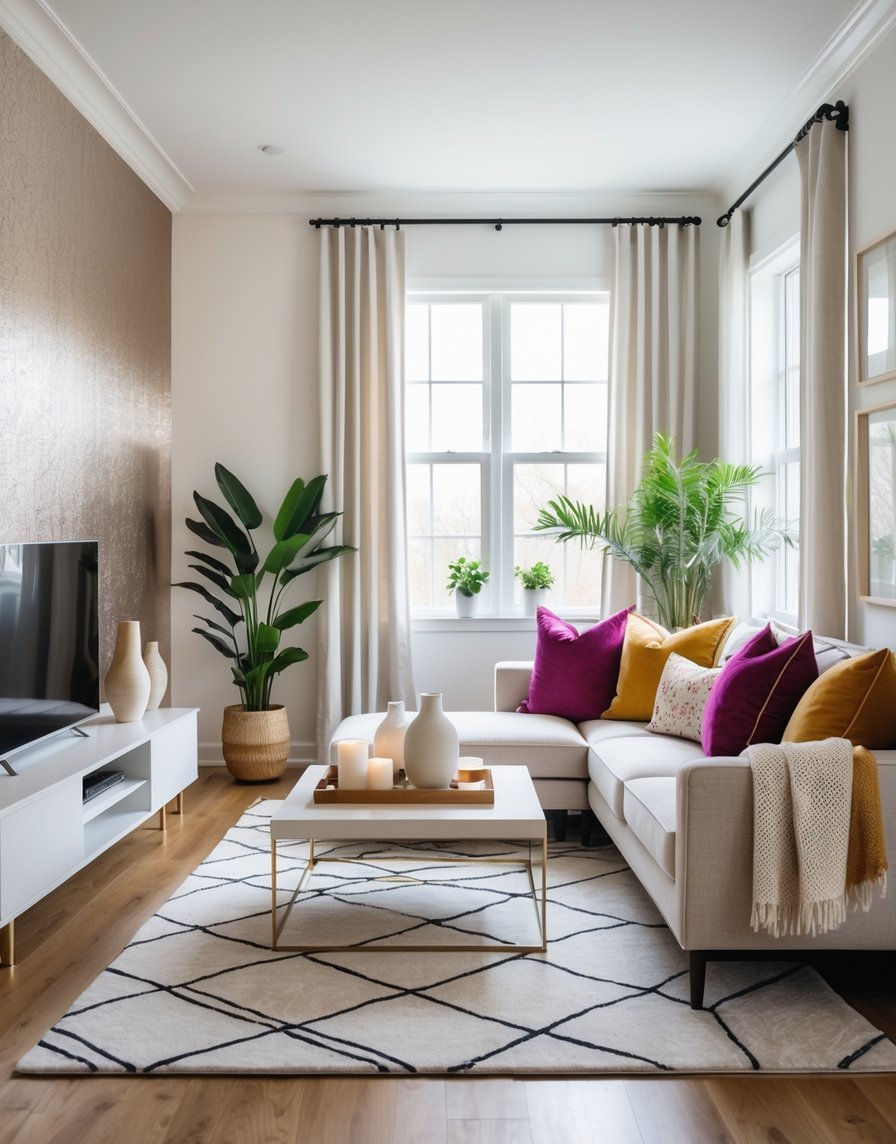
I love a good makeover, especially when it looks high end but stays easy to undo. I once helped a friend fake a full remodel in a weekend before a party, and nobody believed it was temporary. That’s the fun part. You get the wow without the long-term commitment.
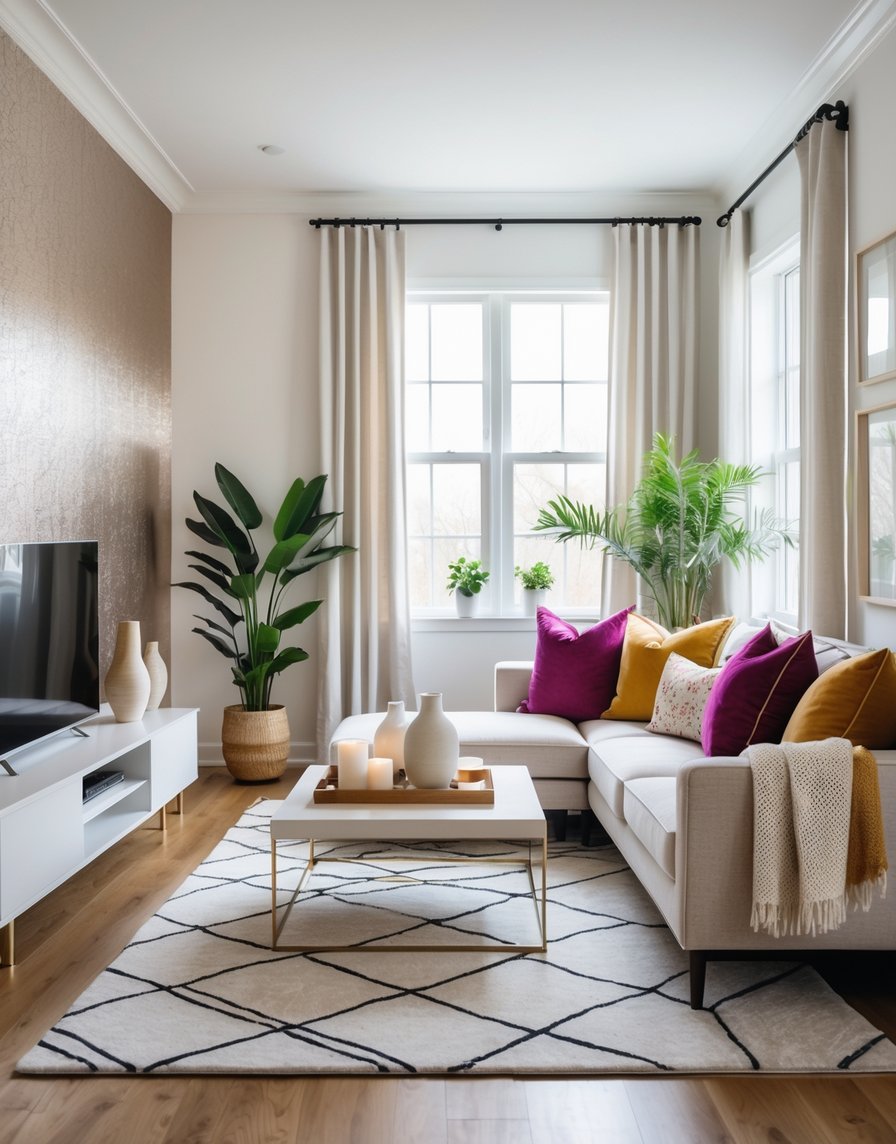
Temporary home upgrades look expensive when you focus on visible details like lighting, wall finishes, textiles, and small hardware changes that add polish without permanent work. I lean on simple swaps that clean up lines, improve light, and add texture where your eyes land first. These changes don’t scream temporary. They just look smart.
I’ll walk you through small details that pull a room together, easy wall and ceiling upgrades, lighting tricks that change the mood fast, and fabrics that instantly feel better. We’ll also hit kitchens, bathrooms, and even the outside, because curb appeal matters too. Stick with me, this stuff works and it’s actually fun to do.
Small Details That Make a Big Impact
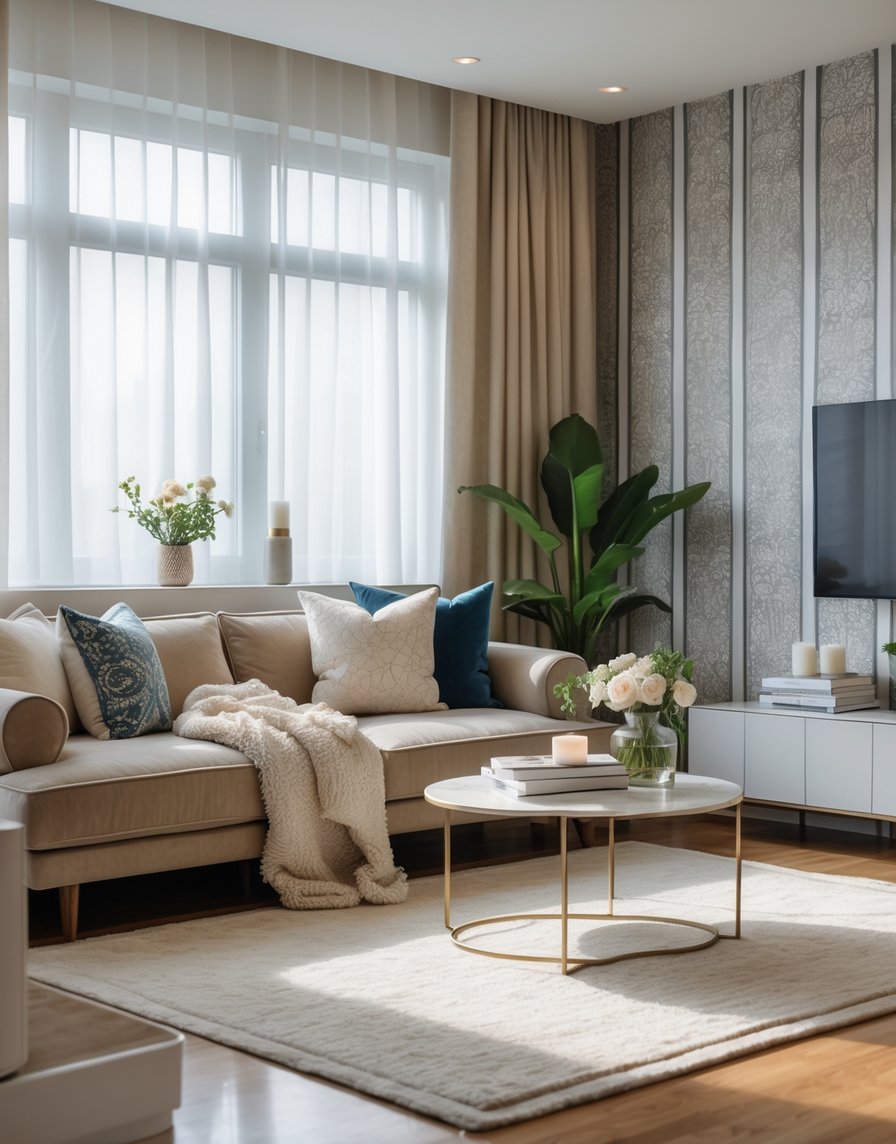
I’ve learned this the hard way. The smallest touches change how a room feels fast, and they don’t lock you into permanent decisions. Cabinet hardware, interior doors, and statement mirrors all pull way more weight than people expect.
Upgrading Cabinet Hardware
Swapping cabinet hardware is one of my go-to moves when I want instant payoff. I once helped a friend redo a kitchen on a weekend, and the hardware alone changed the whole vibe by Sunday night.
Stick with finishes that look intentional. Matte black, brushed brass, and soft chrome feel current without being loud. Keep the shape simple so it works with future changes.
Quick tips that matter:
- Match the new hardware hole spacing to avoid drilling
- Use a cardboard template to keep pulls level
- Replace hinges if they’re visible and dated
Small detail, big impact. You touch this stuff every day, so it should feel solid and clean.
| Hardware Type | Best Use | Temporary Friendly |
|---|---|---|
| Knobs | Upper cabinets | Yes |
| Pulls | Drawers | Yes |
| Edge pulls | Modern kitchens | Yes |
Replacing Interior Doors
Interior doors change how a house feels more than most people realize. I once walked into a rental with hollow slab doors everywhere, and it felt flat. Swapped in paneled doors, painted them, and wow. Different house.
You don’t need custom builds. Prehung or slab interior doors work great, and you can store the originals if needed. Paint makes the biggest difference. Soft white, warm gray, or even a muted color adds depth.
Focus on doors people see often. Bedrooms, bathrooms, and closets near main areas matter most.
Details to upgrade at the same time:
- Door knobs and backplates
- Strike plates
- Simple trim touch-ups
It’s a little work, yeah. But the visual payoff hits fast.
Adding Statement Mirrors
A statement mirror fixes a boring wall in about five minutes. I learned this while staging a house that felt dark no matter what we did. One big mirror, problem solved.
Go oversized when you can. Large mirrors bounce light and make rooms feel more open. Framed mirrors feel more finished than frameless ones, especially in living areas or entryways.
Hang mirrors where they reflect something good. A window, artwork, or even a clean hallway works.
Easy places to use them:
- Entry walls
- Above a console table
- Across from windows
Use wall anchors or lean floor mirrors if drilling is limited. It still counts, trust me.
Easy Wall and Ceiling Upgrades for a Luxe Look
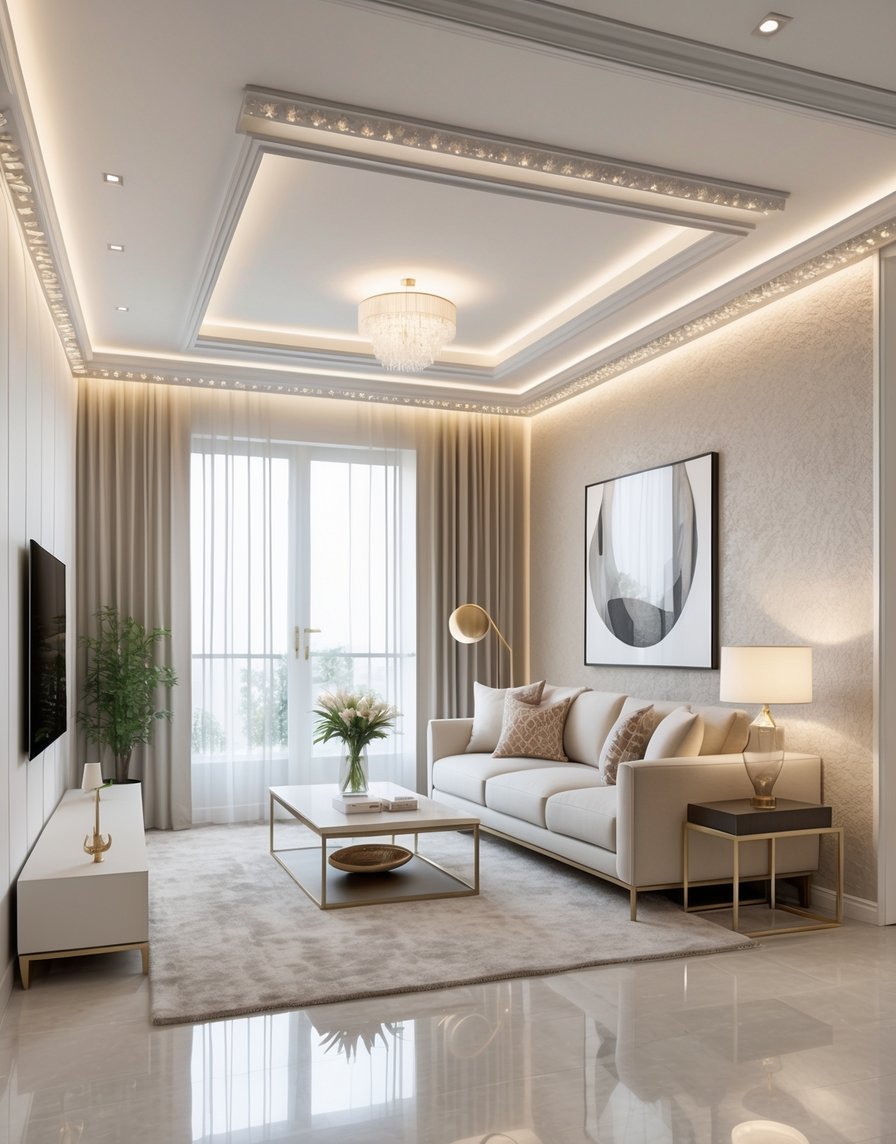
I love wall and ceiling upgrades because they change how a room feels without touching the floor or furniture. These ideas use simple molding and removable finishes to add structure, depth, and a high-end look you can undo later.
Installing Crown Molding
Crown molding sits where the wall meets the ceiling, and that line matters more than people think. I once added basic crown molding to a rental dining room, and guests swore I raised the ceiling. I didn’t, I just framed it better.
Use lightweight foam or MDF crown molding so installation stays simple. Most styles install with adhesive and a few brad nails, which makes removal easier later. Paint it the same color as the ceiling for a clean look, or match the wall for subtle contrast.
Quick tips I use:
- Keep profiles simple in small rooms
- Caulk seams, even if they look fine
- Paint after installation for crisp lines
Adding Wall Paneling and Board and Batten
Wall paneling and board and batten add instant architecture. They work great in bedrooms, hallways, and dining rooms where walls feel flat and boring. I added board and batten to a plain stair wall once, and it turned into the star of the house.
You can use thin MDF strips attached with construction adhesive. Space them evenly and keep the layout simple. Paint everything one color to avoid visual clutter and make removal easier later.
Common layout styles:
| Style | Best Height |
|---|---|
| Board and batten | 40–60 inches |
| Full wall paneling | Floor to ceiling |
Applying Picture Frame Molding
Picture frame molding gives walls a tailored, finished look without heavy materials. It works best on large, empty walls that need structure, like living rooms or home offices. I messed this up once by eyeballing spacing. Measure it. Trust me.
Use thin molding strips and adhesive to create rectangular frames. Keep spacing consistent and frames proportional to the wall size. Paint the molding the same color as the wall to keep it elegant and not busy.
This style shines with:
- Matte paint finishes
- Neutral colors
- Simple furniture nearby
Using Peel-and-Stick Wallpaper
Peel-and-stick wallpaper delivers pattern and texture with zero commitment. I used it on a ceiling once during a weekend project, and yeah, my neck hated me, but the room looked custom.
Focus on one surface, like an accent wall or powder room ceiling. Smooth walls matter, so clean first. Use a squeegee and work slow to avoid bubbles.
Best spots for peel-and-stick wallpaper:
- Behind a bed or sofa
- Inside shelving backs
- Small bathrooms
It removes clean when you pull it straight down and slow. That part still amazes me.
Lighting Tricks for High-End Ambiance
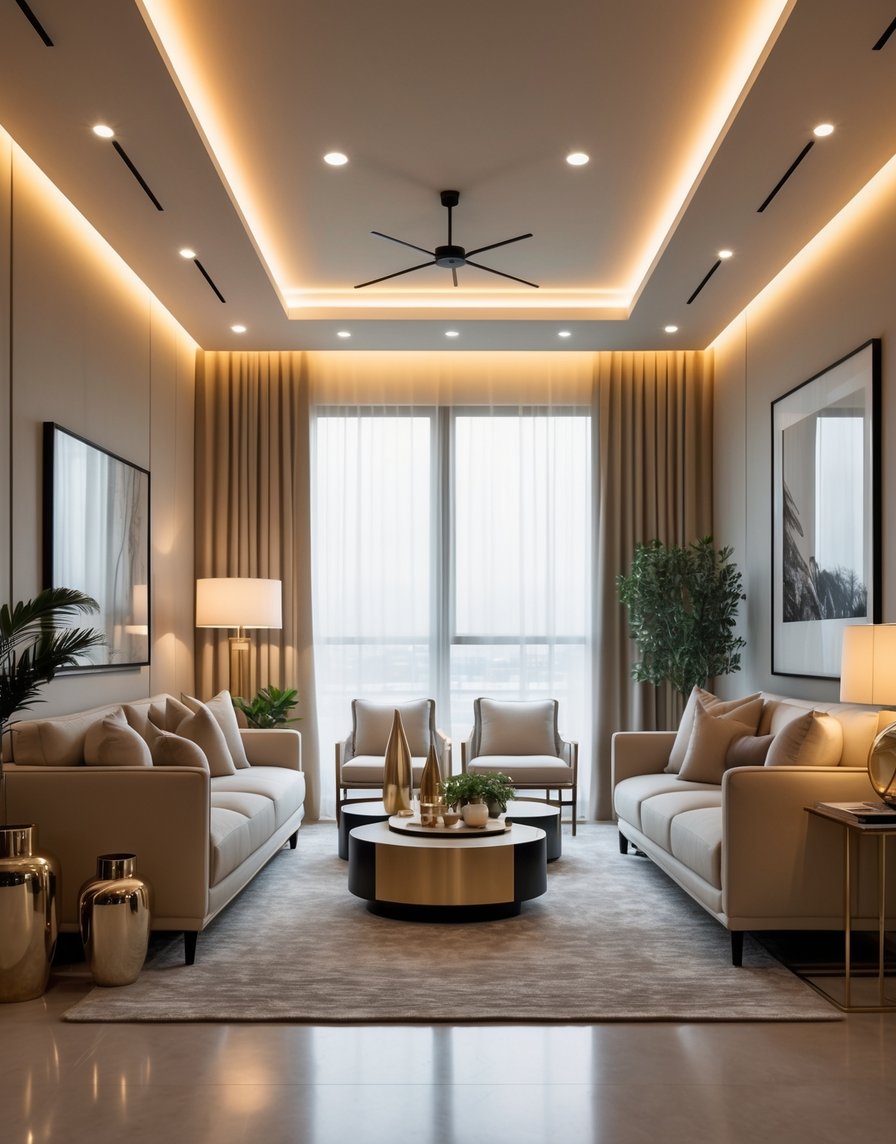
Lighting changes how a room feels faster than almost anything else. I lean on targeted light, flexible LED options, and small architectural details that install without permanent work. These moves read custom, but they stay renter-safe and reversible.
Installing Under-Cabinet Lighting
Under-cabinet lighting cleans up shadows and makes counters look intentional. I’ve installed it in a rental kitchen at midnight before a dinner party. Took less than an hour, and yeah, I felt like a genius.
I stick with plug-in or battery-powered under-cabinet lighting so I don’t touch wiring. Warm white works best for food prep without going yellow. Aim for even spacing to avoid bright spots.
Quick tips I use:
- Mount lights toward the front edge to reduce glare.
- Choose diffused covers for a smooth look.
- Hide cords with paintable channels.
| Area | Color Temp |
|---|---|
| Kitchens | 2700K to 3000K |
| Baths | 3000K |
Updating With LED Strip Lights
LED strip lights add depth where flat light falls short. I like them under floating shelves, behind a headboard, or tucked along crown lines. They bend, cut, and stick, so mistakes stay fixable.
Pick high-CRI LED strip lights so colors don’t look off. Dimmers matter. I always add one, even a remote, because full blast looks cheap fast.
I once lined a bookcase with strips and forgot to test first. Rookie move. Still, once I dialed it in, the shelves looked built-in.
Placement I trust:
- Back of shelves for glow.
- Toe-kicks for nighttime paths.
- Behind TVs to reduce eye strain.
Adding Ceiling Medallions
A ceiling medallion frames a light fixture and makes it look custom. I added one in my first apartment with just adhesive and a prayer. It stayed put for years.
Choose lightweight foam or polyurethane so removal stays easy. Size matters. The medallion should extend a few inches past the fixture canopy.
I paint it the ceiling color for subtle polish. White-on-white reads clean and expensive without shouting.
What to check before buying:
- Ceiling height.
- Fixture size.
- Adhesive rated for ceilings.
A ceiling medallion costs little, installs fast, and quietly upgrades the whole room.
Textiles and Fabrics That Feel Luxurious
Textiles do a lot of heavy lifting in a temporary home. I lean on smart fabric choices and simple placement to get that expensive look without touching the walls or floors.
Choosing Linen Curtains
Linen curtains change a room fast, and they do it without tools or drama. I learned this the hard way in my first rental when I hung short polyester panels and wondered why the place felt cheap. Swapped them for linen, hung them high and wide, and boom. The room looked taller by morning.
I stick to neutral linen curtains in white, flax, or soft gray. They filter light instead of blocking it, which keeps the space bright but calm. Always choose panels long enough to hit the floor. No floating hems.
A few rules I follow every time:
- Use lined linen for better drape and privacy
- Mount rods close to the ceiling, even in rentals
- Skip heavy patterns and let texture do the work
Linen wrinkles a bit. That’s fine. It reads relaxed, not sloppy.
Layering Rugs and Textures
Layering rugs adds depth, and it hides boring rental floors. I once covered cracked vinyl with a jute rug and tossed a flatwoven wool rug on top. Friends asked if I remodeled. I didn’t.
I start with a large, simple base rug, usually jute or sisal. Then I add a smaller rug with color or pattern. Keep the top rug thinner so doors still swing.
My go-to rug pairings:
| Base Rug | Top Rug | Why It Works |
|---|---|---|
| Jute | Wool flatweave | Natural + soft contrast |
| Low-pile neutral | Vintage-style cotton | Adds character |
| Sisal | Patterned kilim | Sharp texture mix |
This setup stays renter-friendly and feels intentional. Rugs do more than warm up floors. They anchor the whole room.
Kitchens and Bathrooms: Transformations That Shine
I love how small, temporary changes can flip the whole feel of a kitchen or bathroom fast. Peel-and-stick surfaces and simple swaps bring that polished look without tearing anything out.
Adding Subway Tile
Subway tile works because it feels classic and clean, even when it’s temporary. Peel-and-stick subway tile installs in an afternoon, and you can remove it later without wrecking the wall. I used it behind my sink once, spilled coffee on it the same day, and wiped it clean. That sold me.
Stick to a tight grid pattern to keep it looking sharp. White brightens dark kitchens, while soft gray adds depth in bathrooms. I always recommend a matte finish because it hides seams better.
A few quick tips I swear by:
- Clean the wall with rubbing alcohol first.
- Use a level every few rows.
- Trim edges with paintable caulk for a built-in look.
Highlighting Hardware Finishes
Cabinet hardware changes faster than paint and costs way less. Swapping knobs and pulls takes about an hour, even if you drop a screw or two. I do that every time.
Focus on finish and scale. Bigger pulls feel more custom, especially on flat cabinets. Match finishes across the room so it doesn’t feel random.
Here’s what works most often:
| Finish | Best For | Why It Looks Expensive |
|---|---|---|
| Brushed brass | White cabinets | Warm contrast |
| Matte black | Modern spaces | Clean and bold |
| Polished chrome | Bathrooms | Reflects light |
Keep the old cabinet hardware in a bag. You’ll thank yourself later.
Simple Exterior Updates for Extra Curb Appeal
When I want fast curb appeal without a long-term commitment, I focus on entry points and how people move toward the door. Small, temporary tweaks in these spots change how the whole house feels from the street.
### Refreshing Entryways
I once helped a friend swap out a faded doormat and suddenly the place looked cared for. That stuck with me. Entryways set the tone, so I keep changes simple and removable.
Start with temporary hardware like a stick-on door knocker or a peel-and-stick kick plate. They install fast and come off clean. Add battery-powered sconces to frame the door. They give symmetry and light without wiring.
A quick checklist I use:
- Neutral outdoor rug with texture
- One tall planter, one shorter planter
- Seasonal wreath on a removable hook
Fresh paint on the door helps too. I stick to bold but classic colors, then save the leftover paint for touch-ups. It feels expensive, but it’s just a weekend job.
### Upgrading Walkways
Walkways guide the eye, so I clean and define them. I learned this after tripping on my own cracked path during a shoot. Not my best moment.
I edge existing paths with solar stake lights or temporary metal edging. Both boost curb appeal and pull the look together. For renters, interlocking pavers work great because they lift right out.
Here’s a quick comparison I share a lot:
| Option | Cost | Removal |
|---|---|---|
| Solar lights | Low | Easy |
| Rubber pavers | Medium | Easy |
| Gravel with edging | Low | Moderate |
I finish by power washing. It’s loud, messy, and weirdly satisfying. The path looks new, and nothing permanent changed.