
7 min read
Repairing Common Roof Problems: Quick Fixes for Leaky Roofs


Edited by: Louise (Editor In Chief)
Fact/quality checked before release.
Fact/quality checked before release.

Roof repair can seem daunting, but with the right approach, it doesn’t have to be. Your home’s shelter is only as reliable as the condition of your roof, and let’s face it, the elements are not always kind.
Whether it’s a pesky leak after heavy rainfall, damaged shingles from the last windstorm, or a gutter that’s seen better days, these common mishaps can lead to bigger headaches if not tackled promptly.
But hey, with some basic know-how and a can-do attitude, you’ll be ready to fix up that roof and keep your castle cozy.
Key Takeaways
- Regular inspections are crucial for early problem identification.
- Basic repair knowledge protects your home and saves money.
- Preventive measures are key to extending your roof’s lifespan.
Identifying Common Roof Problems
Your roof is the main barrier against the elements, and keeping it in ship shape is critical to protect your home. Let’s note a few telltale signs that your roof may need some TLC.
Leaks and Water Damage
When you spot stains on your ceilings or walls, you could be looking at evidence of leaks. These can result from a variety of issues, like broken shingles or compromised seals.
If you notice dampness or mold, act fast! As water damage can lead to more significant problems, it’s vital to address these leaks promptly.
Damaged Shingles
Shingles are your roof’s main defense. They can become cracked, curled, or even go missing after weathering a storm or simply because of age.
A once-over of your roof can tell you a lot; keep your eyes peeled for shingles that look out of place. A shortage in your shingle armor could mean your roof’s vulnerability is heightened.
Flashing Issues
Flashing is the unsung hero, keeping water from sneaking into your roof’s nooks and crannies. If the flashing is damaged or improperly installed, it’s like rolling out the red carpet for water damage. Check the areas around vents, chimneys, and other protrusions where flashing is used to ensure they’re watertight and in good condition.
Tools and Materials for Roof Repair

Ready to get your hands dirty and fix that roof? You’ll need the right gear to seal the deal and dry your castle. Let’s dive into the essentials to tackle common roof repair problems.
Basic Roof Repair Kits
You’ll want to start with a basic repair kit when you’re gearing up for some roof repair action. Like a chef needs their kitchen prepped with the basics, your roof repair kit is your go-to toolbox to handle most shingle shenanigans.
- Ladders or scaffolds for access
- Fall protection kits for safety
- Chalk lines for alignment
- Hammers, nail guns, or staple guns for securing materials
Remember, a well-prepared roofer is a smart roofer, so make sure your kit is stocked!
Choosing the Right Sealant
Sealant isn’t just the sticky stuff that keeps your roof from leaking; it’s the hero that defends your home from water damage. You’ll need to pick the right one, so pay attention to the job at hand.
| Type of Sealant | Best Used For |
|---|---|
| Asphalt Sealant | General shingle repair |
| Rubberized Asphalt | Flashing and weather-prone areas |
| Silicone | Metal roofs and extreme temperatures |
| Urethane | Tile roofs and heavy traffic areas |
Choosing a sealant is like choosing your armor in battle—it’s got to be tough and tailored to the enemy, which in this case is the relentless weather. So, choose wisely and apply generously!
Performing Basic Roof Inspections
Before embarking on a ladder-climbing adventure, let’s review the essentials of roof checks. It’s like giving your roof a physical—a little precaution goes a long way!
Routine Maintenance Checks
You’ve got to keep an eye on your roof, just like you would on any other part of your house. Regular maintenance is key to a long-lasting roof. Check out these pointers for a DIY inspection:
- Clear Debris: Sweep or blow off leaves, sticks, and anything else that’s made your roof its home.
- Gutters and Downspouts: Make sure they’re not just decorative! Clear them out to prevent water damage, and inspect them for signs of rust or breakage.
Make a habit of doing these checks at least twice a year. It’s like brushing your teeth – do it regularly, and you’ll prevent all sorts of trouble.
Professional Inspection Recommendations
Now, for those times when you need to call in the pros. Here’s when you should reach out for a professional inspection:
After Severe Weather:
- High winds can turn loose items into projectiles that damage your roof.
- Intense rain or hail can compromise the integrity of roofing materials.
When You Suspect Damage:
- Visible Damage: Missing or damaged shingles, noticeable wear on roofing materials.
- Internal Signs: If your interior ceiling has leaks or water stains, it’s time to call an expert.
Professionals have the expertise and equipment to diagnose issues that might not be visible from the ground or to the untrained eye.
Remember, it’s better to catch a small problem before it invites you into your living room during the next rainstorm!
Step-by-Step Repair Guides
Before you start, remember safety is your number one priority. Use a sturdy ladder, wear slip-resistant shoes, and never work on a wet roof. Ready? Let’s tackle those common roof issues one by one.
Fixing Roof Leaks
Detecting the leak is step one. Inside your home, look for water stains or mold as clues to where the problem might be.
On the roof, check for damaged flashing, missing shingles, or penetrations. Small leaks can often be patched with roofing cement. However, it’s best to replace the damaged section for larger leaks.
- Clear debris from the area.
- Apply roofing cement liberally.
- Press a piece of flashing or shingle firmly over the cement.
Remember, it’s wise to call a professional if you’re unsure about the leak’s origin.
Replacing Damaged Shingles
Got a few shingles giving you grief? You can handle this!
- Remove the broken shingles by lifting the edges and pulling out the nails.
- Slide in the new shingle and align it with those adjacent.
- Nail the new shingle into place and seal the nail heads with roofing cement.
A quick tip: Do this on a warm day because shingles are more flexible and easier to work with.
Repairing Roof Flashing
Flashing is key to a watertight roof, especially around chimneys, vents, and skylights.
- Use your pry bar to lift any shingles around the flashing gently.
- Remove old flashing and clean the area.
- Cut your new flashing to fit and secure it in place with roofing nails.
- Apply a bead of roof sealant along the edges of the flashing under the shingles.
Make sure everything’s flat and smooth. This is crucial to prevent future water intrusion.
Preventive Measures and Tips
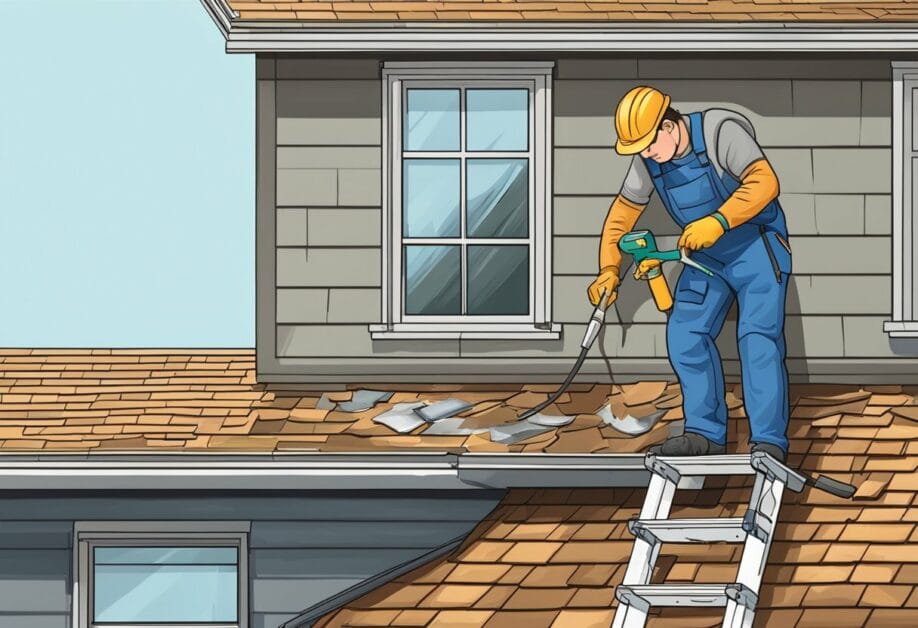
Before we discuss the specifics, it’s important to understand that prevention is your roof’s best friend. By taking proactive steps, you can save yourself a lot of hassle and, yes, even some dough!
Regular Cleaning and Maintenance
First, getting your roof in tip-top shape means sticking to a regular cleaning schedule. Debris, like leaves, twigs, and dirt, can pile up over time and lead to moisture buildup, which can be the archenemy of a healthy roof. Here’s what you need to focus on:
- Gutter cleaning: Clear those gutters to prevent water from pooling up and causing damage. Aim for a clean sweep at least twice a year.
- Debris removal: Get rid of any rubbish on your roof after storms or at least seasonally to prevent the accumulation leading to mold or mildew.
Immediate Action on Damage Detection
When you spot damage, it’s action time! This isn’t the moment to press pause; it’s gone time. Tackle issues promptly to avoid the snowball effect, where small problems roll into big, costly ones. Here’s a quick breakdown:
- Post-storm inspections: After harsh weather, give your roof a good once-over. If you’re unsure what to look for, getting a pro up there might be wise for peace of mind.
- Sealant checks: Regularly check areas with sealant or caulking. If you see cracks or deterioration, it’s time for a touch-up. A little fix here can prevent a big leak later on.