5 min read
How to Wire High and Low Beams Together (9-Step Guide)
By the end of this guide, you should be able to wire high and low beam lights together.
Low and high beam lights are useful in any traffic situation including poorly-lit or well-lit road conditions. Luckily most vehicles’ headlight wiring harnesses can accommodate high and low beams which allows one to wire them together easily.
Understanding Your Headlight Power Flow Diagram
The best way to understand how to wire high and low beams together is to know how the power flows through the headlight circuit.
In the American auto wire kits, the headlight and dimmer switches work jointly to control the high, and low beam feeds.
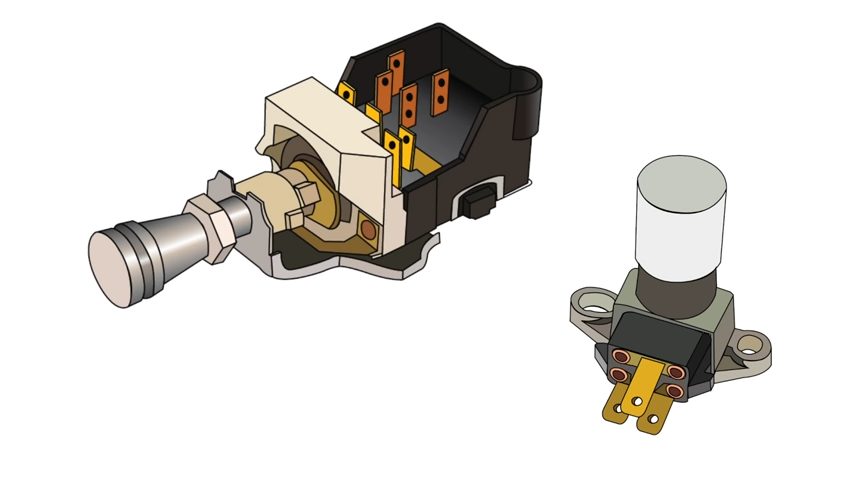
Power Flow Through the Headlight Switch in Vehicles:
- The headlights switch receives the battery feed from a classic update – harness.
- The yellow wire that threads from the headlight switch to the dimmer switch is equally important for what happens to the front lights.
- When the headlight switch is on, power travels via the yellow wire from the headlight switch to the dimmer.
- Then, the dimmer switch routes power to either the low beams or high beams based on whether or not the switch has been activated.
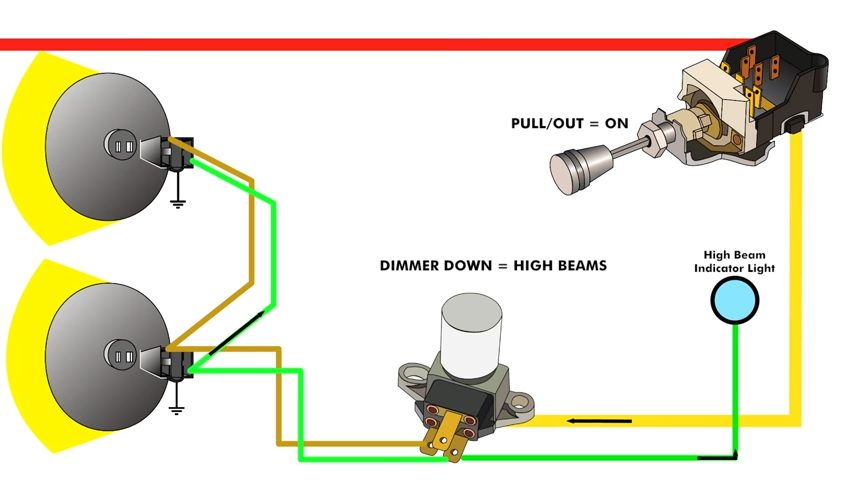
- The [tan] wire regulates the low beams and it maintains the default state until the dimmer switch is on for the high beams. (1)
- The light green wire regulates the high beams and the high indicator light in the gauge cluster.
A Diagrammatic Representation of The Above
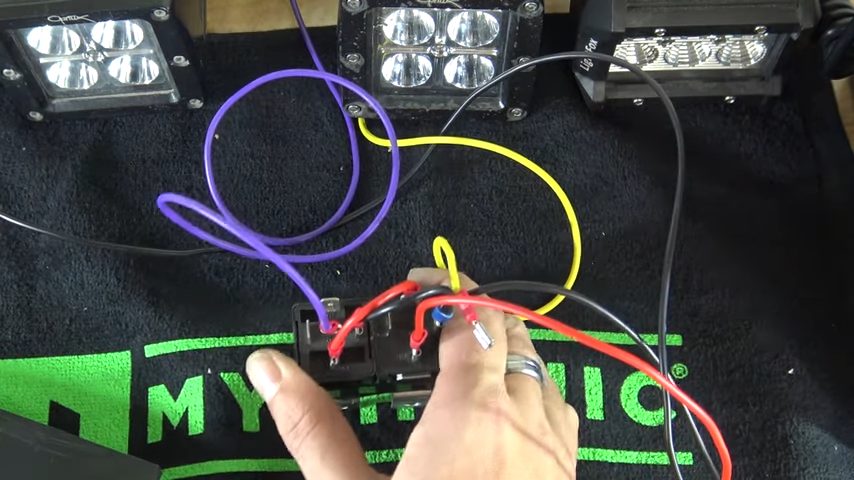
Connecting the High and Low Beam Lights Together
To link your high and low beam together, connect the wires of the low and high beam together at the column harness.
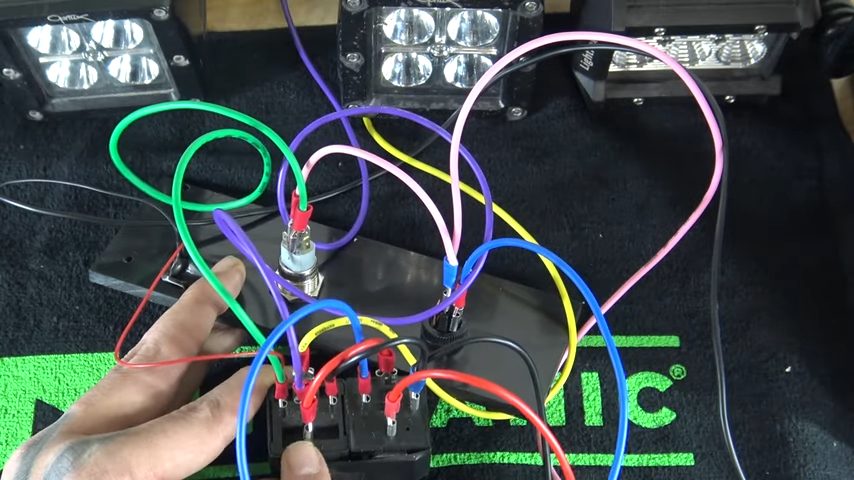
Step 1. Connect the Hot Wire
Connect the hot wire from the battery to pin 30 on a 4-pin relay.
Step 2. Use Jumper
Use a jumper to connect pin 87 on the 4-pin relay and pin 30 on the 5-pin relay.
Step 3. Connect High Beam
Connect high beam (yellow wire) to pin 87 on the 5-pin relay.
Step 4. Connect Low Beam
Connect the low beam light (purple wire) to pin 87 on the 5-pin relay.
Step 5. Attach Pink Wire
Attach a pink wire to the push button, then to the rocker switch, and finally to the battery.
Step 6. Run Trigger Wire
Run a trigger wire for the low beams from the rocker switch to pin 86 on the 4-pin relay.
Step 7.Hook 4-pin Relay
Next, hook the 4-pin relay to the battery’s positive terminal.
Step 8. Ground Relay
Then ground the relay with black wires.
Step 9. Attach Wires
Lastly, attach the wires of the low and high beams together at the column harness.
Adding More Lights to the Harness
Now that you know to wire these lights, you can easily add more lights to the harness.
Since most of the work is on the power feeds, we only need to add a ground wire and power wires to make the lights turn on and off at appropriate times.
I recommend using green wires to denote ground connections and red or black wires for the power wires. That way, you will avoid confusion with the wiring harness.
Use wire strippers to strip about an inch of the insulation coating of both wires before wiring them to the headlight switch.
Also, secure the spliced or twisted wire connections with duct tape or wire nuts. It is dangerous if the wire connections come off and contact unnecessary parts. So, always take precautions.
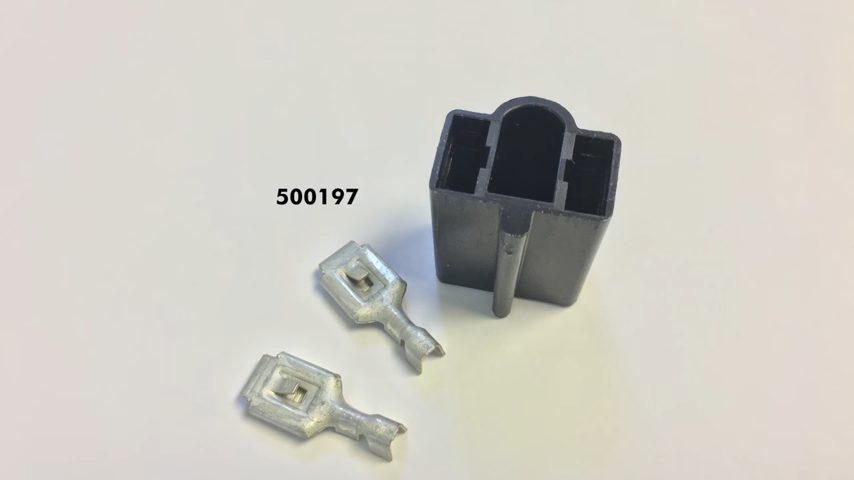
If you want to add these connections to a universal kit or sealed beam connector 500197, you can do it by wiring a single set of lamps.
Testing or Engaging the Beams
The low beam light should be engaged when oncoming traffic is within 500 ft.
Additionally, switch to low beam light in well-lit traffic to avoid blinding oncoming drivers. (2)
Take a look at some of our related articles below.
- How to hook up 2 amps with 1 power wire
- How to wire a 4 pin relay
- How to run wire through walls horizontally
References
(1) tan – https://www.healthline.com/health/how-to-tan-faster
(2) traffic – https://www.brookings.edu/research/traffic-why-its-getting-worse-what-government-can-do/
Video References
American Autowire
Rocky X TV