4 min read
How to Wire an Attic Fan Switch (4-Step Guide)
An attic fan improves ventilation in an attic so that, for instance, warm air does not melt snow on the roof. It can also help lower the house temperature during hot weather and reduce moisture levels. Although a thermostat or humidistat can control the fan automatically, you will need to add a switch in the circuit for manual control.
Adding a Switch
Many attic fans have a built-in thermostat, allowing you to connect them directly to an electrical circuit.
The fan will then be controlled automatically according to the set temperature or humidity level. Although you don’t need a switch, it is better to have one installed as a manual override, i.e., so that you can turn the attic fan on or off manually. A standard single-pole switch will do.
Thus, a switch is necessary to turn the attic fan on and off manually and set it on a higher or lower setting. Most switches trigger the fans based either on high temperature or high humidity.
Optionally, you can also install a humidistat, which detects humidity levels, which would require an extra switch to override it.
Circuit
A standard 15- or 20-amp circuit is sufficient for an attic fan. If there is spare capacity on an existing circuit, you can use that or else create a new circuit. It can be dedicated to the attic fan or shared with a few lights. (Popular Mechanics, 2000)
Types of Switches for Attic Fans
A few manual switches are available and installed separately (from the thermostat). Four different types are shown below.
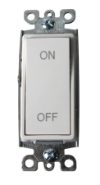 | ON-OFF Switch A simple two-way switch for turning the fan on and off |
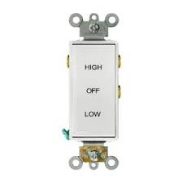 | HIGH-OFF-LOW Switch A three-way switch that allows one to choose a high or low-speed setting |
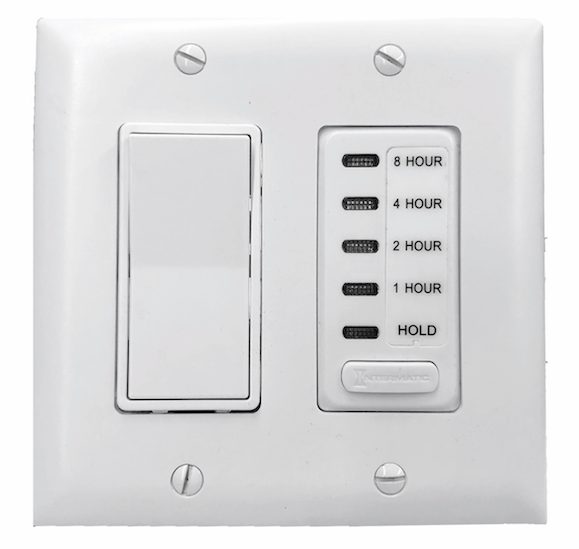 | A two-speed wall switch with a built-in timer (preset times) |
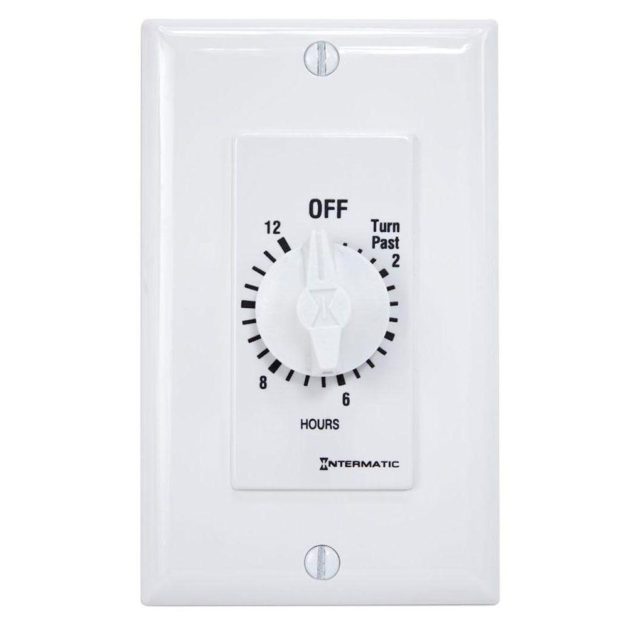 | A timer-based (dimmer type) switch with adjustable timing |
Wiring an Attic Fan Switch
Step 1: Switch the Power Off
Switch off the circuit breaker on the circuit you will be working on for the attic fan switch, whether a shared or dedicated circuit.
If it’s an existing circuit with a switchboard nearby, there will be less work involved, as you will not need to install a new one. Otherwise, you will need to buy a separate switch (see types of switches above).
Step 2: Wire at the Outlet (If Required)
This step only applies if you’re also wiring the attic fan to an outlet. Otherwise, you can skip it if it doesn’t apply.
Remove the screws holding the outlet’s cover (faceplate) using a screwdriver. Then remove the screws that hold the outlet to the wall so you can slide it out of the box.
Now run the wire behind the electrical box.
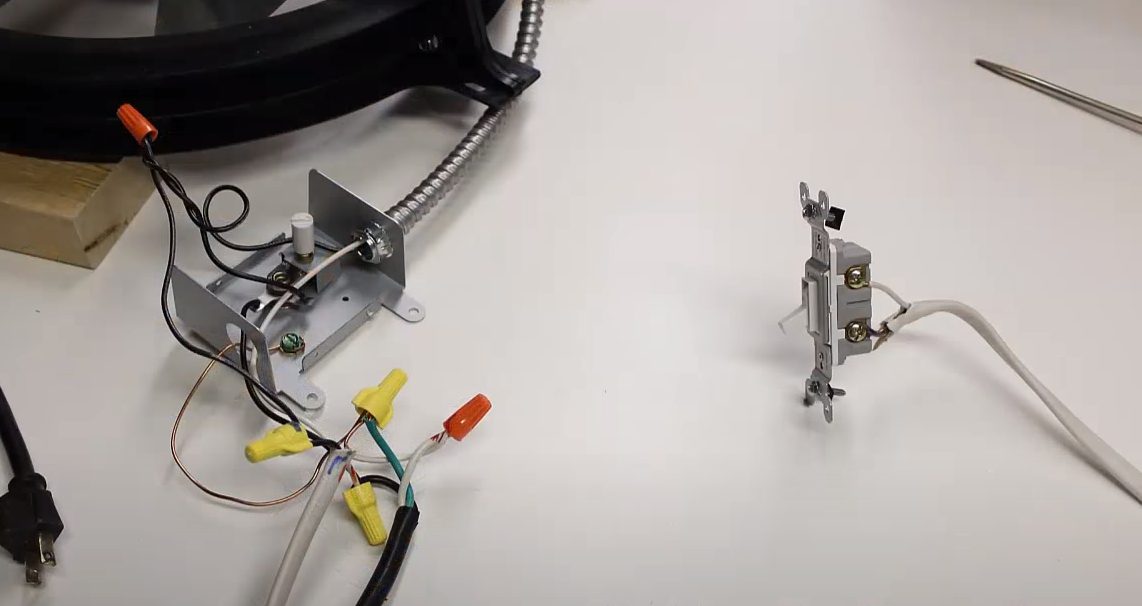
When wiring the attic fan, connect the bare ground wire to the green terminal, the white circuit wire to the white fixture lead, and the black circuit wire to the black fixture lead twist connectors. (Popular Mechanics, 2000)
If you have coded terminals, the green wire will connect to the green one, the white wire will connect to the silver terminal, and the black wire will connect to the bronze terminal.
Step 3: Wiring a Single-Speed Preset-Timer Switch
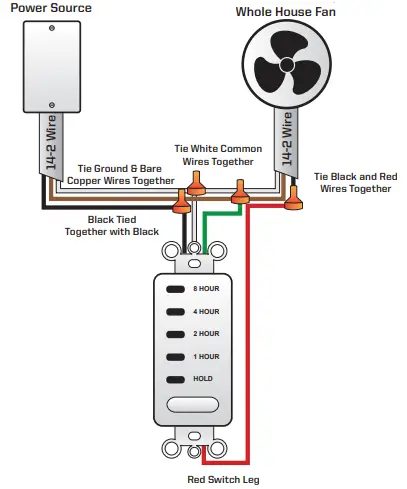
Follow these sub-steps:
- Tie the two black wires (from the power source and the timer) with a wire nut.
- Similarly, tie the black wire from the fan and the red wire on the timer.
- Tie the bare copper wires and the green ground wire on the timer.
- Tie the two white neutral wires.
Step 4: Wiring a Two-Speed Switch
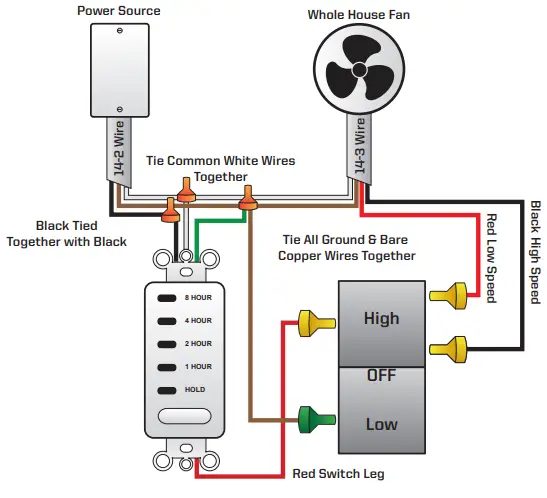
Follow these sub-steps:
- Attach the black wire to the bottom gold screw (for high speed) and the red wire to the top gold screw (for low speed).
- Attach the bare copper wire to the green ground screw and tie the bare copper wires to the ground using a wire nut.
- Tie the two black wires (from the power source and timer).
- Tie the two white neutrals (from the power source to the timer and the fan)
- Attach the red wire from the timer to the gold screw on the right.
References
Rob Lutes. Home repair handbook.
Popular Mechanics. Installing an attic fan. Hearst Magazines. September 2000.
Video Reference