5 min read
How to Use a Fieldpiece Multimeter
This article will teach you how to use a fieldpiece multimeter.
As a contractor, I have mostly used Fieldpiece multimeters for my projects, so I have some tips to share. You can measure current, resistance, voltage, capacitance, frequency, continuity, and temperature.
Read along as I walk with you through my detailed guide.
Parts of a Fieldpiece Multimeter
- Wireless RMS Clamp Meter
- Test Leads Kit
- Alligator Clips
- Type K Thermocouples
- Velcro Straps
- Alkaline Battery
- Protective Padded Case
How to Use A Fieldpiece Multimeter
1. Electrical Testing
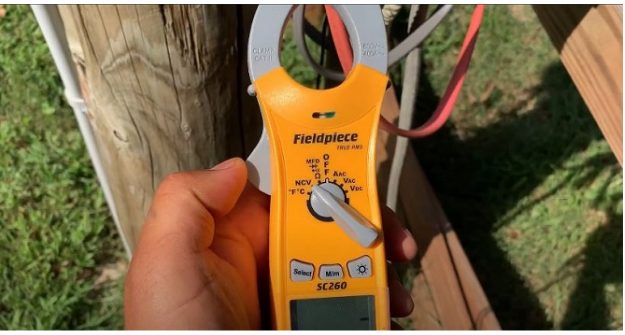
- Attach the test leads to the jacks. You should connect the black probe to the “COM” jack and the red probe to the “+” jack.
- Set the dial to VDC mode to test DC voltages on circuit boards. (1)
- Point and touch the probes to the test terminals.
- Read the measurements.
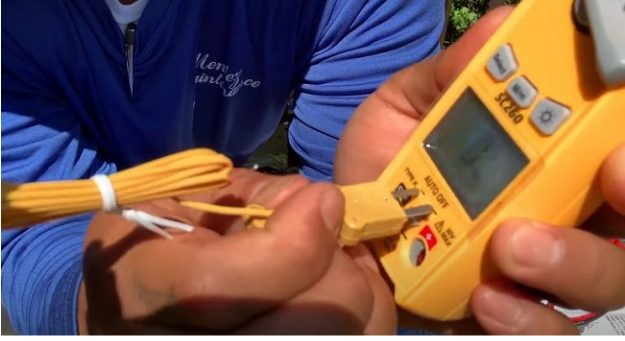
2. Using a Fieldpiece Multimeter to Measure Temperature
- Unplug the leads and move the TEMP switch to the right.
- Insert the Type K thermocouple directly into the rectangle holes.
- Touch the tip of the temperature probes (Type K thermocouple) directly into the test objects.
- Read the results.
The meter’s cold junction enables precise measurements even when the ambient temperature quickly fluctuates.
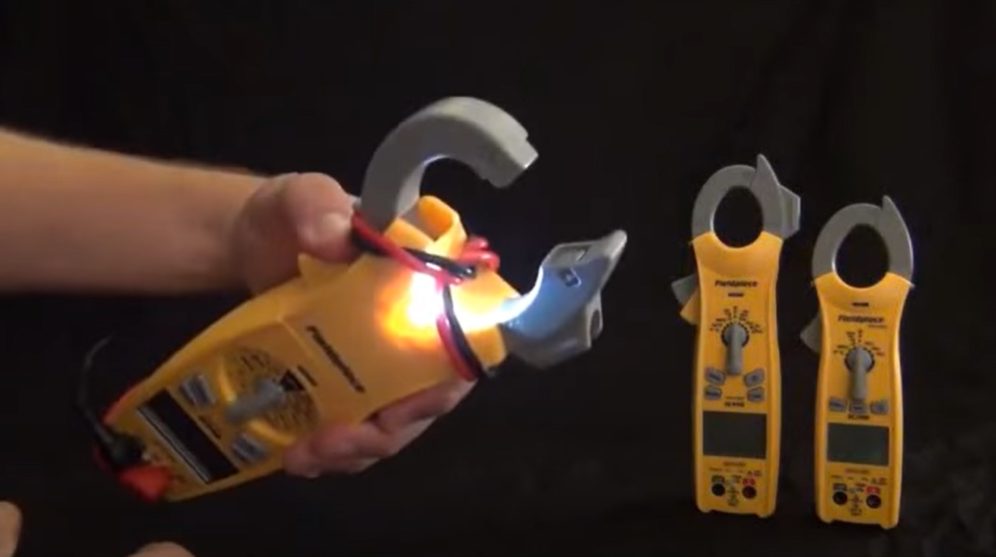
3. Using Non-contact Voltage (NCV)
You can check 24VAC from a thermostat or live voltage up to 600VAC with the NCV. Before use, always test a known live source. A segment graph will show the existence of voltage and a RED LED. As the intensity of the field increases, the loud beep changes from intermittent to constant.
4. Performing a Continuity Test Using a Fieldpiece Multimeter
The fieldpiece HVAC multimeter is also a perfect tool to check for continuity. Here is how you can do so:
- Power off the fuse. You only need to pull down the lever to switch the power off.
- Take your fieldpiece multimeter and set it to continuity mode.
- Touch the multimeter’s probes to each tip of the fuse.
- If your fuse does not have continuity, it will make a beeping sound. Whereas, the digital multimeter will refuse to beep if continuity is present in your fuse.
5: Testing Voltage Differences Using a Fieldpiece Multimeter
Voltage differences can be dangerous. Thus, it’s worthwhile to check your fuse and see if there is one. Now, get your fieldpiece multimeter and follow the instructions below:
- Power on your fuse; make sure it is live.
- Get your fieldpiece multimeter and set it to voltmeter mode (VDC).
- Put the multimeter’s probes to each end of the fuse.
- Read the results. It will show zero volts if there is no voltage difference in your fuse.
FAQs
What are the features of a fieldpiece multimeter?
– When measuring voltages greater than 16VAC/35VDC, you will notice a bright LED and a beeper sound an alarm. It’s a warning for excessive voltage.
– Set the clamping claw to NCV (non-contact voltage) and point it at the likely voltage source. To see if the source is “hot,” keep an eye on the bright RED LED and the beeper.
– The thermocouple will not plug after a while measuring voltage because of the temperature switch.
– It includes a power-saving feature called APO (auto power off). After 30 minutes of inactivity, it will automatically switch off your meter. It is already on by default, and APO will also appear on the screen.
What do the LED lights indicate?
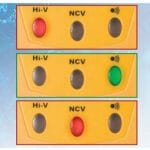
High Voltage LED – You can find it on the left side, and it will make a beeping sound and glow when you are testing high voltage. (2)
Continuity LED – You can find it on the right side, and it will make a beeping sound and glow when you are testing for continuity.
Non-contact Voltage LED – You can find it in the middle, and it will make a beeping sound and glow when you use the fieldpiece meter’s non-contact voltage feature.
What are the things to consider when using a fieldpiece multimeter?
Here are a few things to consider when using a fieldpiece multimeter:
– Avoid touching exposed metal pipes, outlets, fixtures, and other items while taking measurements.
– Before you open the casing, disconnect the test leads.
– Check the test leads for insulation damage or exposed wire. If there is one, replace it.
– Keep your fingertips behind the finger protections on the probes when taking measurements.
– When possible, perform one-handed testing. High voltage transients can permanently harm the meter.
– Never use fieldpiece multimeters during a storm.
– Do not pass the clamp’s rated 400AAC when measuring high-frequency AC. The RMS clamp meter may become unbearably hot if you don’t follow instructions.
– Turn the dial to the OFF setting, unplug the test leads, and unscrew the battery cover when replacing the battery.
Take a look at some of our related articles below.
References
(1) circuit boards – https://makezine.com/2011/12/02/different-types-of-circuit-boards/
(2) LED – https://www.britannica.com/technology/LED
Video Reference