10 min read
How to Use a Breaker Bar (Guide)
Breaker bars are a staple in both our homes and workshops. If you’ve handled a torque or socket wrench, you’re already on your way to mastering the breaker bar.
But let me tell you, this tool has more tricks than you might think. Here’s how you can use it:
- Step 1: Pick up a breaker bar from a hardware store; the longer it is, the better the leverage for tough nuts.
- Step 2: Securely attach the breaker bar to the lug nut to prevent slipping.
- Step 3: Stand in a way that lets you use your body weight for leverage, not just brute strength.
- Step 4: With your stance set, apply pressure to the bar, increasing effort if the nut is stubborn.
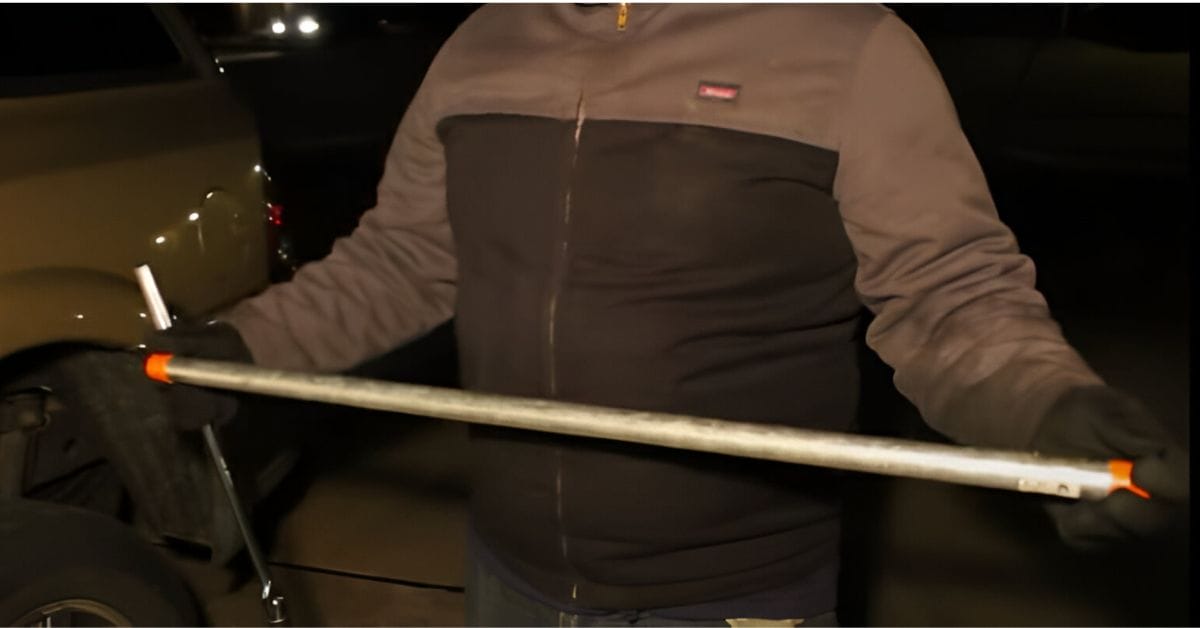
- Step 5: Extend the bar’s length with a long pipe for tight nuts to increase leverage.
Keep reading, and I’ll show you how to confidently and safely wield this tool. Need more power? Don’t worry; I’ve got you covered on how to amp up that leverage, too. Let’s get to it!
How to Use a Breaker Bar: A Step-by-Step Guide
Let me walk you through using a breaker bar with a neat little trick I picked up.
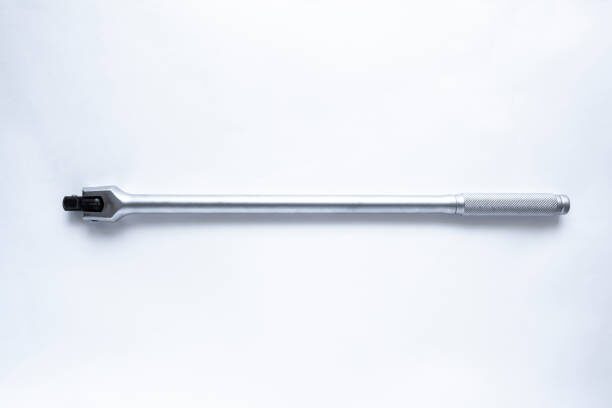
Step 1: Choose the Right Breaker Bar
First things first, grab a breaker bar.
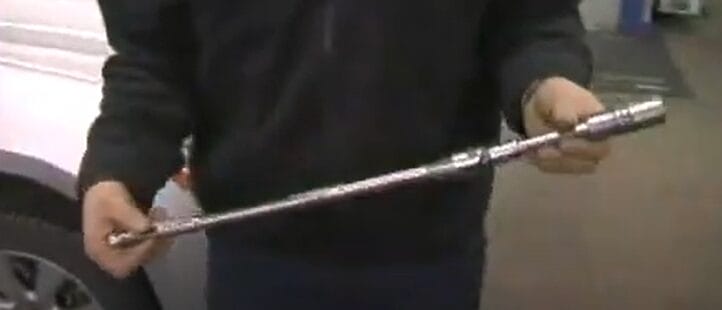
You can find these at any hardware store, parts house, or tire shop. The longer the bar, the more leverage you’ll have. It’s a must-have in your vehicle for those tough-to-loosen nuts.
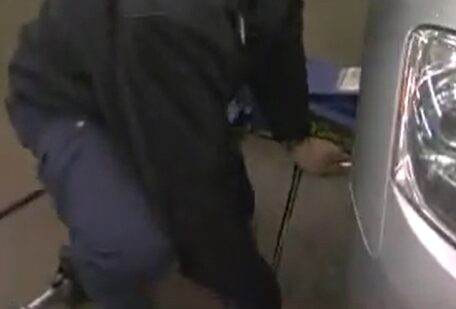
Step 2: Position the Breaker Bar
Now, take your breaker bar and attach it to the lug nut. Make sure it’s properly seated.
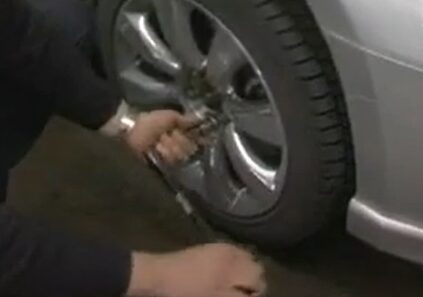
This is crucial to prevent slipping and potential injury or damage.
Step 3: Apply Your Weight Strategically
Here’s where your technique comes into play. Position yourself so that you can use your weight to your advantage.
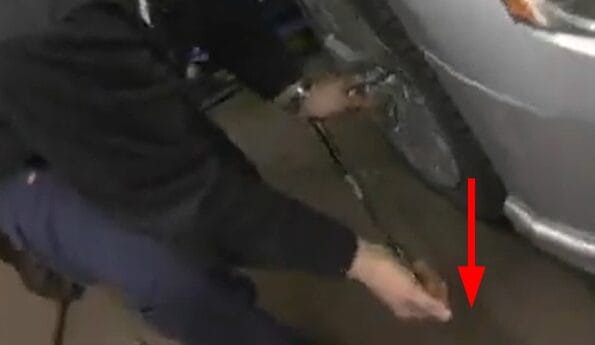
You’ll want to push down or pull on the breaker bar. The idea is to use leverage, not just brute strength.
Step 4: Loosen the Lug Nut
Once you’re positioned correctly, apply pressure to the breaker bar. If it’s a stubborn nut, you might need a bit of extra effort.
But remember, it’s all about the leverage.
Step 5: Use Additional Tools for Extra Leverage (If Needed)
You might need more leverage when dealing with an exceptionally tight lug nut. This is where a long pipe comes in handy.
Slip it over the end of the breaker bar to extend its length, and you’ll get that extra leverage to break the nut free.
Remember, using a breaker bar isn’t just about brute force but smart positioning and leverage. With this trick in your back pocket, you can tackle those challenging projects confidently. Happy wrenching!
Breaker Bars vs. Torque Wrenches vs. Impact Wrenches: Choosing the Right Tool
Let’s cut to the chase and talk about when to grab a breaker bar, torque wrench, or impact wrench. I’ve used all three in various projects, and each has its moment to shine.
Breaker Bars
- Best For: Loosening overly tight, stubborn, or rusted nuts and bolts.
- Why Choose It: It’s all about leverage. A breaker bar’s long handle gives you more torque without needing extra strength.
Torque Wrenches
- Best For: Tightening bolts to a specific torque specification.
- Why Choose It: Precision is the name of the game. When you need to apply a precise amount of torque, like in engine work, you can’t beat a torque wrench.
Impact Wrenches
- Best For: Quickly and effortlessly remove or tighten bolts, especially in high-volume situations like tire changing.
- Why Choose It: Speed and power. An impact wrench can make quick work of bolts that would take longer with manual tools.
Understanding these differences can make your work much smoother and your results more reliable. Trust me, I’ve been there!
Using a Breaker Bar Safely and Effectively
A torque or socket wrench can often be used in most situations, where a breaker bar is an alternative.
However, sometimes, you will encounter a situation when a torque wrench is inadequate for getting the job done. In this case, it might be better to use a breaker bar instead. A breaker bar, usually longer and non-ratcheting, can generate even greater torque.
Take the Right Safety Measures
Here are some safety tips before you start using a breaker:
- Wear gloves – If your palms feel rough or hurt when using tools, wear gloves when using a breaker bar. The greater force you need to apply will hurt even more unless you wear gloves.
- Wear safety glasses – Wearing glasses is a safety measure if the nut or bolt shears off or splinters fly in your direction. It is better to be safe than sorry.
- Inspect the nut or bolt – Inspect the nut or bolt you want to be loosened before using the breaker bar. If it’s damaged, clean off as much debris as you can. This will minimize the risk of slipping.
- Use the right socket – Use the right socket with the correct size. Please don’t use a slightly larger one, as it might slip.
- Place the handle at 90 degrees – Before turning the breaker bar, keep the handle at a safe 90 degrees from the drive.
Common Mistakes and Troubleshooting with a Breaker Bar
Let’s dive into some common hiccups you might encounter with a breaker bar and how to dodge them. I’ve had my fair share of oops moments, so let me guide you through this.
| Mistake | How to Avoid It |
|---|---|
| Overestimating Strength | It’s easy to think you need to use Hulk-like force. The trick is to apply steady pressure. Remember, it’s a marathon, not a sprint. |
| Incorrect Positioning | Keep your feet shoulder-width apart for stability. Also, position the bar so you’re pushing down, not pulling up – gravity is your friend here. |
| Using the Wrong Socket Size | Always match the socket size precisely with the nut or bolt. A size too big or small is a recipe for trouble. |
| Ignoring Rusty or Damaged Bolts | If a bolt is rusty, apply a penetrating oil like WD40 before going in with the breaker bar. |
| Overextending the Bar | Are you adding a pipe for leverage? Make sure it’s sturdy. Overextending can lead to breakage. |
| Not Inspecting the Tool | Regularly check your breaker bar for any damage or wear. A compromised tool can lead to accidents. |
Remember, the key to using a breaker bar effectively is to be smooth, steady, and smart. Take it from me: a little caution and the right technique go a long way in avoiding mishaps. Stay safe, and keep tinkering!
Keeping Your Breaker Bar in Top Shape: Maintenance and Care Tips
A well-maintained tool is reliable, and I’ve learned a few tricks over the years to keep my breaker bar ready for action.
Regular Cleaning
- Why It Matters: Dirt, grease, and rust can wear down your tool. Keeping it clean extends its life.
- How I Do It: After each use, I wipe down my breaker bar with a clean rag. If it’s grimy, I’ll use mild detergent and water, then thoroughly dry.
Proper Lubrication
- Why It Matters: Lubrication prevents rust and smooths the moving parts, like the swivel head.
- My Routine: I apply a light machine oil to the swivel head and other moving parts every few months. Just a drop or two does the trick.
Rust Prevention
- Why It Matters: Rust can weaken the metal and compromise the tool’s integrity.
- My Approach: I store my breaker bar in a dry environment. If I spot any rust forming, I gently scrub it off with steel wool and apply oil.
Safe Storage
- Why It Matters: Proper storage protects the tool from environmental damage and accidental drops.
- My Storage Solution: I keep my breaker bar in a toolbox or hang it on a tool rack. This keeps it off the ground and away from moisture.
Regular Inspections
- Why It Matters: Catching signs of wear or damage early can prevent tool failure.
- How I Inspect: I give my breaker bar a quick once-over before each use. I’m checking for any cracks, bends, or other damages.
Avoid Misuse
- Why It Matters: Using the tool for unintended purposes can damage it.
- My Rule of Thumb: I never use my breaker bar as a hammer or pry bar. It’s tempting but not worth the risk of damaging the tool.
Trust me, maintenance goes a long way in preparing your tools for any challenge.
Frequently Asked Questions
- Can I Use a Breaker Bar with Any Socket?
- Generally, yes, as long as the socket fits the drive size of your breaker bar. However, using the correct socket size for the bolt or nut you’re working on is crucial to avoid slipping or rounding off the fastener.
- What Length of Breaker Bar Should I Use?
- It depends on your needs. A longer bar provides more leverage, making it easier to loosen tight fasteners. I usually recommend a comfortable length for your strength and your working space.
- Can a Breaker Bar Break?
- It’s rare, but yes, if you apply excessive force or use a damaged bar. Regular inspections for any cracks or bends can help prevent this.
- Are Breaker Bars Expensive?
- The price can vary, but there are options for every budget. You don’t always need the most expensive things but don’t skimp on quality. A good breaker bar is an investment in your toolbox.
- What Size Drive Should My Breaker Bar Have?
- The drive size should match the sockets you plan to use. Common sizes are 1/2 inch and 3/4 inch. Think about what you’ll be working on most and choose accordingly.
References
Organizations:
- Society of Automotive Engineers (SAE). https://www.sae.org/
- The Automotive Service Association (ASA). https://www.asashop.org/
Books:
- “Automotive Technology: A Systems Approach” by Jack Erjavec and Rob Thompson. https://www.abebooks.com/9781337794213/Automotive-Technology-Systems-Approach-Erjavec-133779421X/plp
- “Auto Repair For Dummies” by Deanna Sclar. https://www.barnesandnoble.com/w/auto-repair-for-dummies-deanna-sclar/1100321754
Website Resources:
- The Drive. https://www.thedrive.com/
- Bob Vila. https://www.bobvila.com/
- Olsa Tools. https://olsatools.com/
Video References:
ExpertVillage Leaf Group