11 min read
How to Test Trailer Lights with a Multimeter (6-Step Guide)
If you’ve ever found yourself scratching your head, wondering why your trailer lights are giving you the silent treatment, you’re in the right place.
Today, I’m diving into the electrifying world of trailer lights and how a little gadget called a multimeter can be your best friend in times of darkness. Here’s how:
- Step 1: Identify the faulty lights, whether they’re your tail lights, running lights, or something else that’s not lighting up.
- Step 2: Understand the function of each pin, like which one is for grounding and which controls the tail markers, left turn, and right turn signals.
- Step 3: Set it to continuity to check for a solid electrical connection between points.
- Step 4: Remove the bulbs to ensure you’re testing with an open circuit for the most accurate results.
- Step 5: Test the other pins for continuity with your multimeter’s probe on the ground pin.
- Step 6: Look for any signs of damage, wear, or pinching, especially in areas where wiring is typically vulnerable.
I’ll walk you through the steps to diagnose and solve your trailer light woes. So, grab your multimeter, roll up your sleeves, and let’s get those trailer lights shining again!
What You Need
Before we dive into the nitty-gritty of getting those trailer lights back in action, let’s chat about the tools of the trade. So here’s what you’ll need to embark on this electrifying journey:
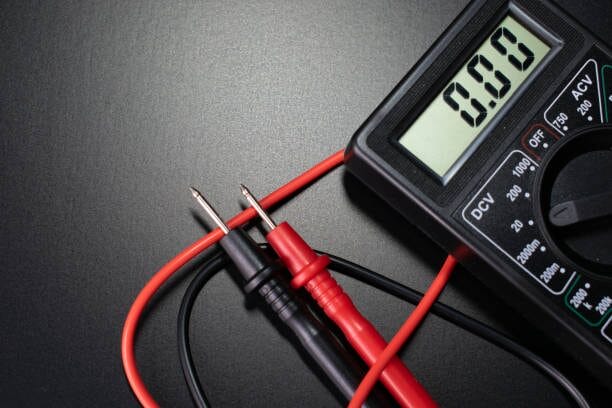
- Multimeter: This little gadget is your detective for solving the mystery of the missing lights.
- Trailer Pin Connection Diagram: Every trailer has its own setup, so snag a diagram or look up info online for your specific model.
- Light Bulbs: Have a spare set of bulbs on hand. Sometimes, the culprit is as simple as a burnt-out bulb, and having spares means you can test and replace it on the spot.
- Gloves and Safety Glasses: Safety first, folks. Gloves protect your hands from sharp edges or debris, and safety glasses are a must when peering into the innards of your trailer’s electrical system.
- Wire Brush or Sandpaper: This is for cleaning up those ground connections. We want them as shiny as a new penny for the best electrical contact.
- Electrical Tape or Heat Shrink Tubing: Once you’ve found and fixed any issues, you’ll want to ensure those repairs are snug and secure. Electrical tape or heat shrink tubing will keep those wires insulated and protected from the elements.
- Alligator Clips (Optional): These can be a real hand if you’re solo. Clip one end to the ground and use the other for testing. It’s like having an extra set of hands.
Remember, the key to success here is patience and attention to detail. So let us brighten those lights, ensuring you’re safe and seen on all your adventures. Let the troubleshooting begin!
How to Test Trailer Lights with a Multimeter
I’ll break down the steps I took to diagnose and resolve the lighting issue on my trailer. So grab your multimeter, and let’s begin this journey together!
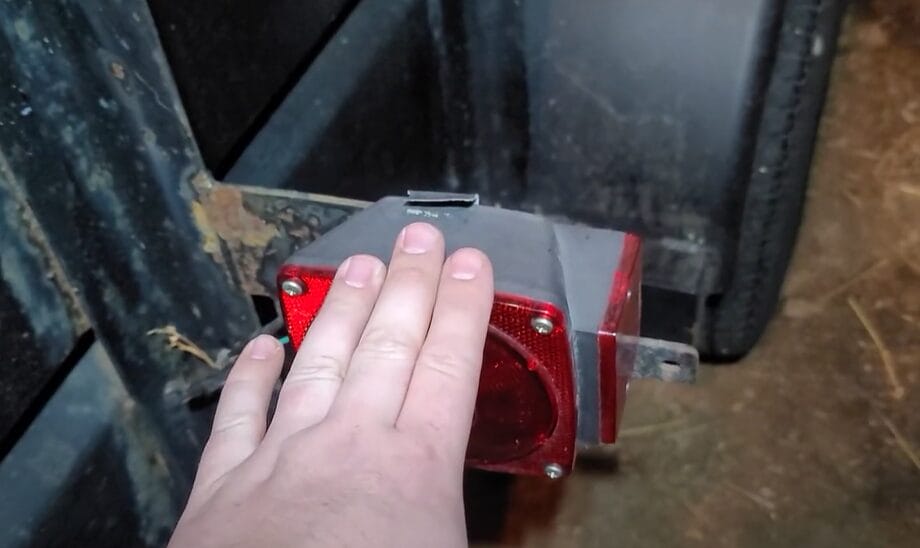
Step 1: Identify What’s Not Working
- It’s crucial to know which lights are giving you grief. For me, it was all about the tail lights and running lights not doing their job.
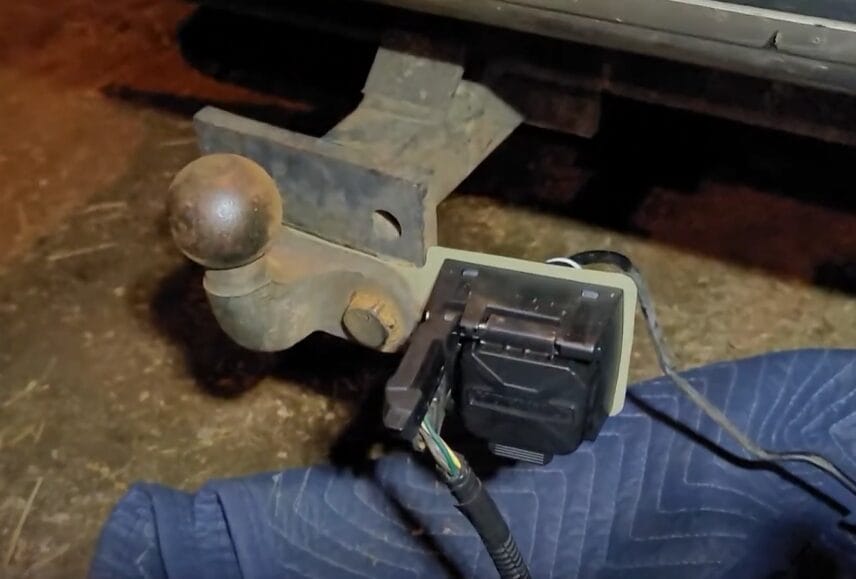
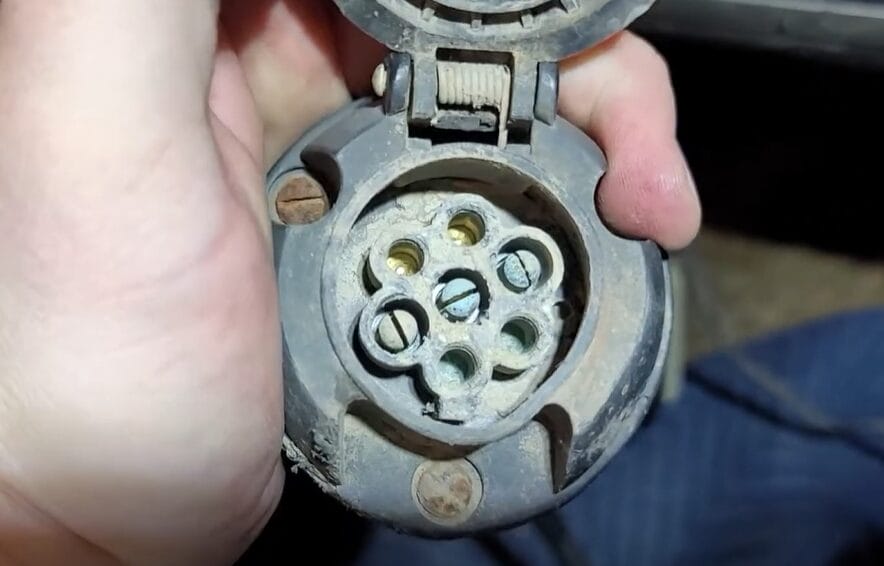
Step 2: Understanding Your Trailer Pin Connection
- Trailers come with this pin connection for lights, and it’s key to know what each pin does. There’s usually one for grounding and others for different functions like tail markers, left turn, and right turn.
- It’s a good idea to check a diagram or find info online for your specific connector.
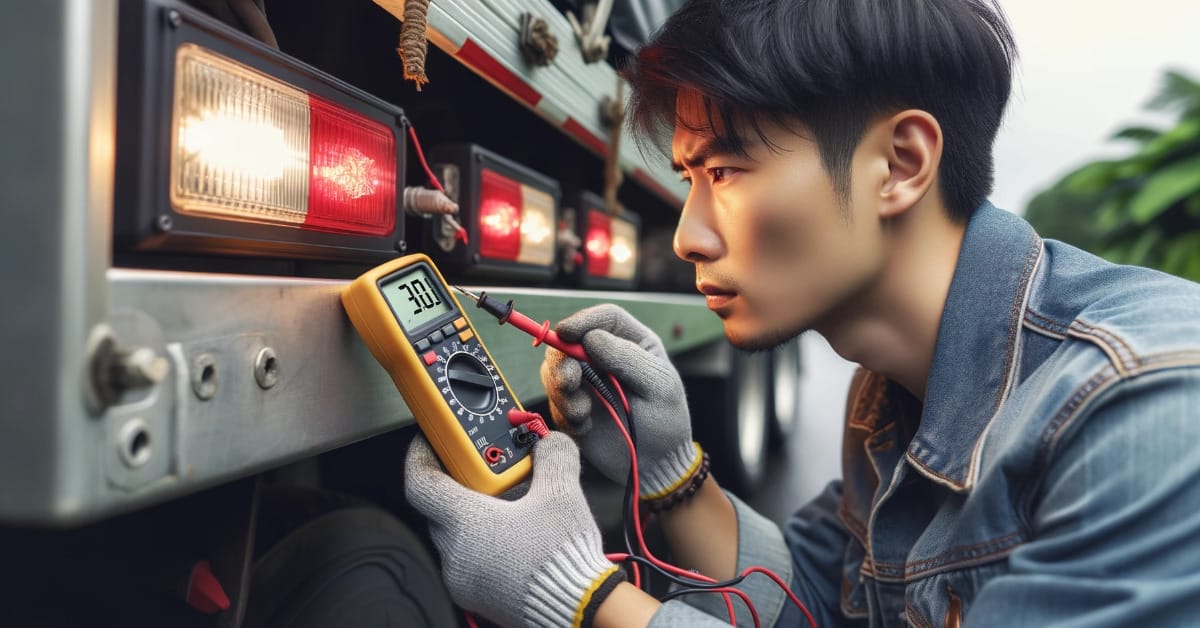
Step 3: Grab Your Multimeter
- This tool is your best friend for tackling electrical issues. Switch it to the continuity setting to test if there’s a solid electrical connection between two points.
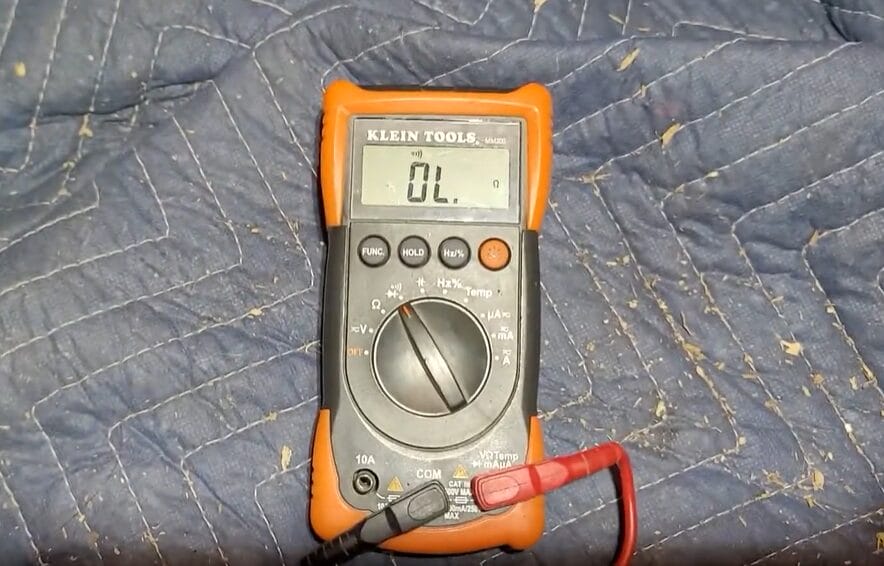
- If you’ve got continuity, you’ll hear a beep or see a reading that lets you know everything’s connected. No beep usually means no connection.
Step 4: Check Out the Trailer’s Light Bulbs
- Take out all the light bulbs from your trailer. This way, you’re working with an open circuit, which is what you want for accurate testing.
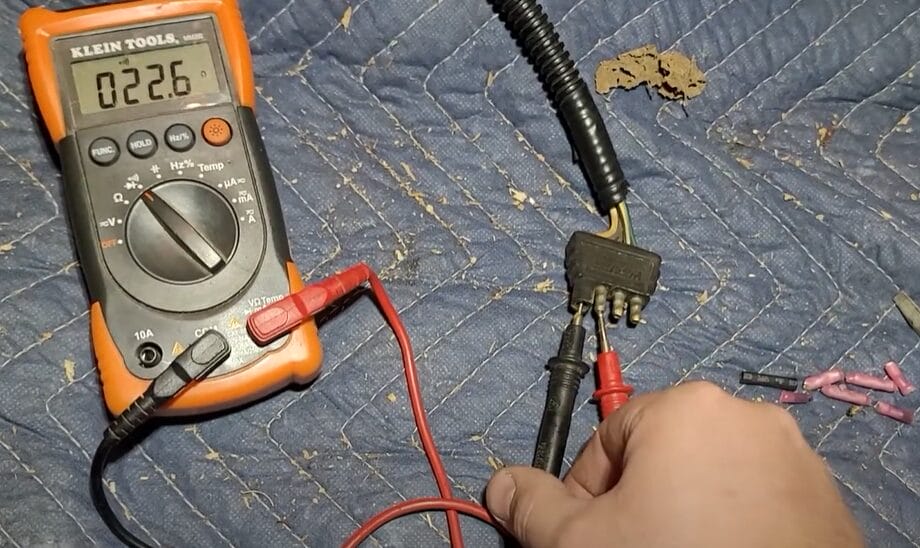
Step 5: Test Each Connection
- Test the other pins for continuity with the multimeter’s probe on the ground pin. Remember, you shouldn’t hear any beeps for continuity on these connections with the bulbs out.
Step 6: Inspect the Wiring
- Keep that probe in place and inspect the wiring all over the trailer. Look for any damage or areas where the wire might be pinched or worn out.
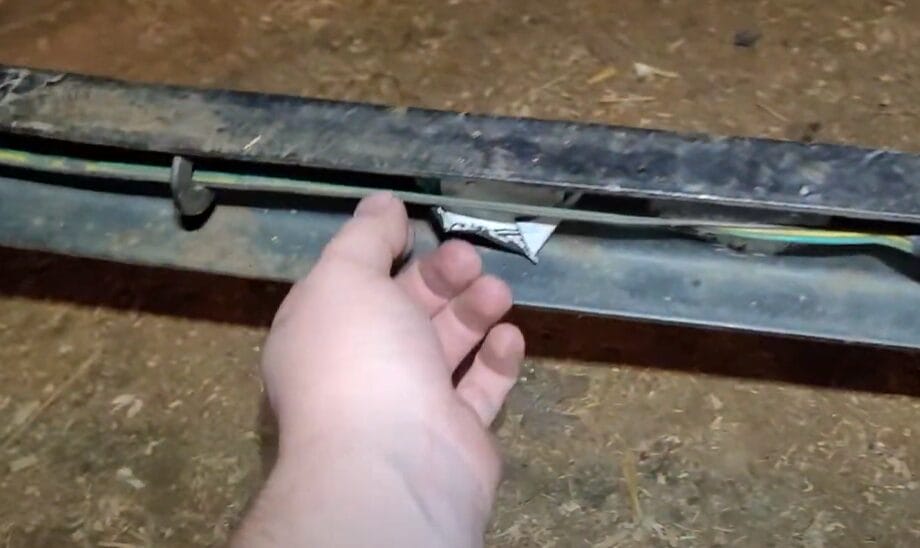
- It’s common for wires to be routed in less-than-ideal spots, so give everything a thorough check.
With your multimeter and a keen eye for detail, pinpoint where the issue lies. Whether it’s a grounding problem or a wire that’s seen better days, you have what you need to make things right.
Troubleshooting Common Issues
Let’s dive into the nitty-gritty of diagnosing those pesky trailer light issues with our trusty multimeter. We will break it down to guide you through common problems, what those multimeter readings might tell you, and how to fix them. So grab your tool belt, and let’s get started!
| Problem | Multimeter Reading | Solution |
|---|---|---|
| Faulty Wiring | Inconsistent or no continuity | First up, check for breaks or wear in the wires. It’s time to replace or repair the damaged section if you find any. Make sure to secure and protect the wiring to prevent future issues. |
| Bad Ground Connection | Continuity test fails on ground connection | Clean the ground connection point on both the trailer and vehicle. If that doesn’t fix it, check for rust or corrosion and scrub it well. Sometimes, you might need to relocate the ground to a cleaner, more reliable spot. |
| Blown Fuses | No voltage present | Pop open the fuse box; finding a blown fuse. Replace it with a new one of the same rating. Keep a few spares handy; you never know when you’ll need them. |
| Loose Connections | Intermittent continuity or voltage | Tighten up all connections, and make sure plugs are fully inserted. Dielectric grease can help keep moisture out and ensure a good connection. |
| Corroded Connectors | High resistance or no continuity | Clean off the connectors with a wire brush or electrical contact cleaner. If they’re too far gone, replace them to bring back the shine and functionality. |
Patience and attention to detail are the key to any good fix. Take your time, check each connection, and don’t be afraid to get a little dirty. Happy troubleshooting!
Preventive Maintenance Tips
Let’s talk about keeping those trailer lights in tip-top shape so you’re not left in the dark. Here are some of my go-to tips to keep your trailer lights shining bright:
Daily (or Before Each Use)
- Light Check: Before hitting the road, always do a quick check of your trailer lights – headlights, brake lights, turn signals, and hazard lights. It’s a simple step that can prevent big problems on the road.
Monthly
- Clean and Secure Connections: Dirt and corrosion can build up quickly, especially if you’re frequently on the road. Each month, take the time to clean the plug and socket with a brush and some electrical contact cleaner to ensure a strong connection.
Every Few Months
- Inspect and Protect Wiring: Regularly inspect the wiring for any signs of wear, chafing, or exposed wires. Use electrical tape or heat shrink tubing to protect vulnerable spots, and consider adding extra protection in high-risk areas.
- Grounding Check: Verify that the ground wire is securely attached to the trailer’s clean, rust-free surface. A solid ground connection is vital for reliable light operation.
Bi-Annually
- Bulb Replacement and LED Upgrade: If you still use traditional bulbs, consider upgrading to LED lights. This doesn’t have to be done often, but transitioning to LED can be a game-changer for longevity and reliability.
- Corrosion Prevention: Apply dielectric grease to the plug and socket contacts to prevent moisture from getting in and causing corrosion. This is especially important if you live in a wet or salty environment.
As Needed
- Regular Cleaning: Clean the light lenses with soapy water and a soft cloth. This task doesn’t have a strict schedule but should be done as needed to ensure maximum visibility.
- Monthly Light Check Reminder: It’s a small task but crucial for catching issues early. Make it a habit, like checking your vehicle’s oil level or tire pressure.
Remember, a little bit of TLC goes a long way. By keeping up with these simple maintenance tips, you’re ensuring your trailer lights work properly and making the roads safer for everyone.
Frequently Asked Questions
- Can I Test All Types of Trailer Lights with a Multimeter?
- Whether you have LED lights or traditional bulbs, your multimeter doesn’t discriminate. It’s all about checking the flow of electricity, so regardless of the type of light, your multimeter is up for the task.
- Is It Necessary to Remove the Light Bulbs When Testing?
- Removing the light bulbs ensures you’re testing the wiring’s integrity without the bulbs influencing the results. It gives you a clear picture of any potential issues in the wiring itself.
- What’s the Difference Between Voltage Testing and Continuity Testing?
- Voltage testing measures the electrical power available, which is essential for ensuring your trailer lights have the energy they need. Continuity testing, conversely, checks if the electrical path is unbroken, which is crucial for diagnosing wiring issues.
- What Do I Do If I Detect High Resistance in a Circuit?
- High resistance restricts flow. This could be due to corrosion, damaged wires, or loose connections. Identify and clean, repair, or replace the affected section to ensure smooth electrical flow, just like you’d clear that pipe to get the water flowing again.
- Can I Test Trailer Lights Alone, or Do I Need Help?
- Testing trailer lights is a task you can tackle solo, especially if you have alligator clips for your multimeter.
References
Organizations:
- National Highway Traffic Safety Administration (NHTSA). https://www.nhtsa.gov/
- Society of Automotive Engineers (SAE International). https://www.sae.org/
- American Automobile Association (AAA). https://www.aaa.com/
Books:
- “Automotive Wiring and Electrical Systems” by Tony Candela. https://valsec.barnesandnoble.com/w/automotive-wiring-and-electrical-systems-tony-candela/1013702545?ean=9781613250198
- “The Complete Trailer Handbook” by Richard Newton. https://www.abebooks.com/9780760333716/Complete-Trailer-Handbook-Motorbooks-Workshop-0760333718/plp
Website Resources:
- eTrailer.com. https://www.etrailer.com/
- RV.net. http://rv.net/
- TheHullTruth.com. https://www.thehulltruth.com/
Video References:
Quincy Projects