10 min read
How to Test a Voltage Regulator on a Tractor (5 Easy Steps)
A voltage regulator may need to be tested for various reasons, as too high or insufficient voltage can damage electrical equipment if not fixed.
To test a voltage regulator on a tractor, you need a multimeter and a short piece of wire.
Initially, you test the voltage across the battery’s terminals while the tractor’s engine is off, while it is idle, and while the engine is running.
A typical 12-volt battery should show a voltage a little higher than this rating, but while the engine is running, it should not exceed 14.5 volts. The voltage regulator’s job is to limit the voltage to not do this. If it does, it may be faulty, but there are a few more tests you can do.
This article explains all you need to know to test the voltage regulator before you decide whether it needs to be fixed or replaced.
Signs of a Faulty Regulator
You only need to test your tractor’s voltage regulator if you notice a sign that might indicate it is faulty.
Common signs of a faulty voltage regulator in a tractor are:
- The battery cannot maintain a charge (check the battery’s water level and terminals to ensure a good connection and no corrosion build-up). If this happens, the battery may not be charging.
- The battery is swelling or leaking voltage. If this happens, the battery is overcharging.
- Instrument clustering (when warning lights keep displaying on the dashboard). If this happens, the voltage level may be unstable, causing some gauges to behave erratically or malfunction.
- The lights flicker or are dimmed. This includes not only the headlights but also internal lights. If this often happens, it strongly indicates a possibly faulty voltage regulator.
- The check engine light is activated. This could indicate one of several problems, such as ignition system failure, transmission issue, or an emission equipment issue. But it can also happen if the tractor’s voltage regulator is faulty.
- Erratic performance of the engine. If the tractor’s engine performs erratically, you should test the voltage regulator, especially if it chokes or stalls frequently.
The Voltage Regulator and Things You Will Need
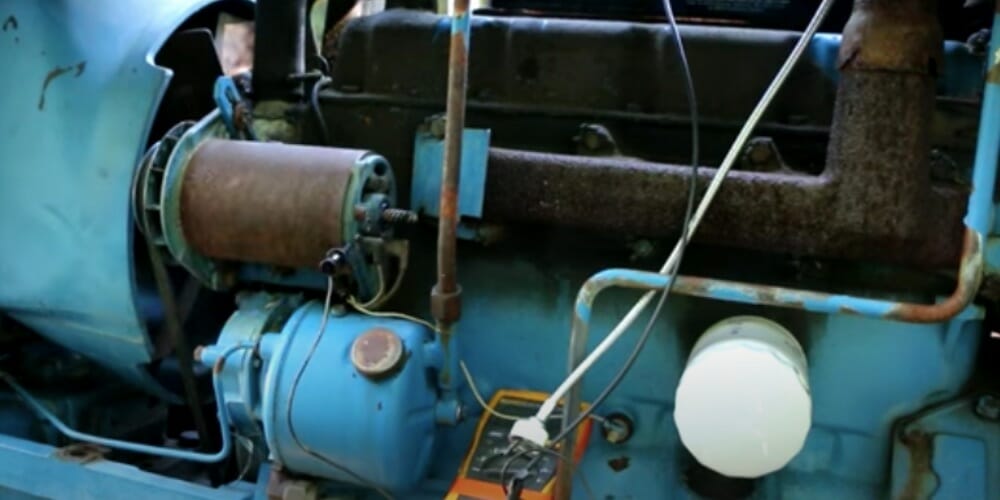
A Tractor’s Voltage Regulator
A tractor’s voltage regulator (also called an alternator voltage regulator) helps to maintain a more constant voltage level within the tolerance range of the electrical components in the tractor, including the battery and alternator.
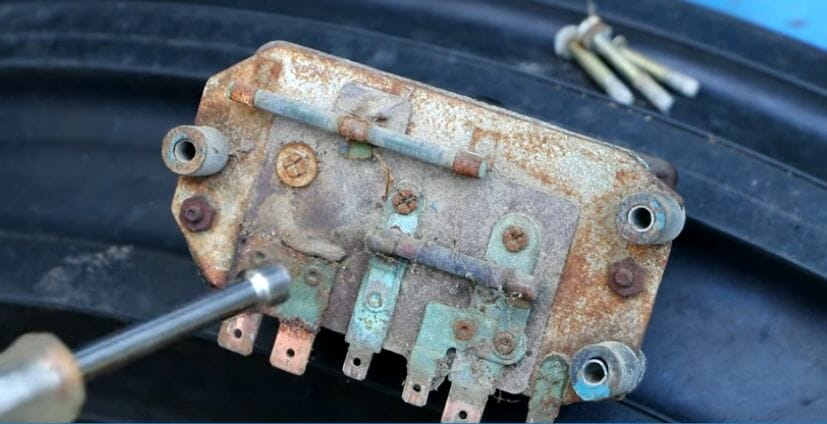
A typical voltage regulator used in a tractor
Pre-Requisites
The main thing you will need to test a voltage regulator on a tractor is a multimeter. Also, turn the tractor off before starting the test.
Additionally, ensure that the tractor’s fan belt is tight and functioning as it should. It should normally have a space of no more than ½” (half an inch).
If you need to check the voltage regulator, you will also need a short wire.
Testing a Tractor’s Voltage Regulator
Here is the procedure to test a tractor’s voltage regulator:
Step 1: Set the Multimeter
Set the multimeter to read the DC voltage that covers the battery’s voltage.
Note that some tractors have a 6-volt rather than a 12-volt battery. So make sure you know the voltage rating of your tractor’s battery. If it’s 6 volts, you will need to halve the values mentioned in this article, which apply to a 12-volt battery.
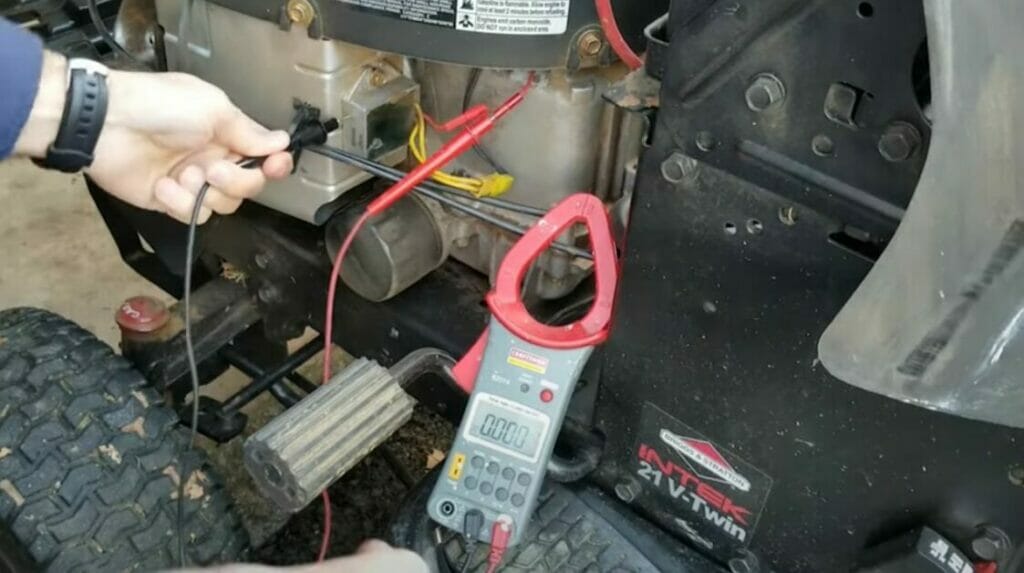
Step 2: Attach the Multimeter’s Clamps
Attach the multimeter’s clamps or probes to the tractor’s battery terminals.
The red clamp is attached to the battery’s positive terminal or node, and the black one to its negative terminal. The black clamp can also be attached to a ground connection.
Step 3: Check the Voltage Reading
Once the multimeter’s clamps are connected to the battery’s terminals, check the voltage reading shown on the multimeter’s display.
This step is for checking that the battery can maintain its charge.
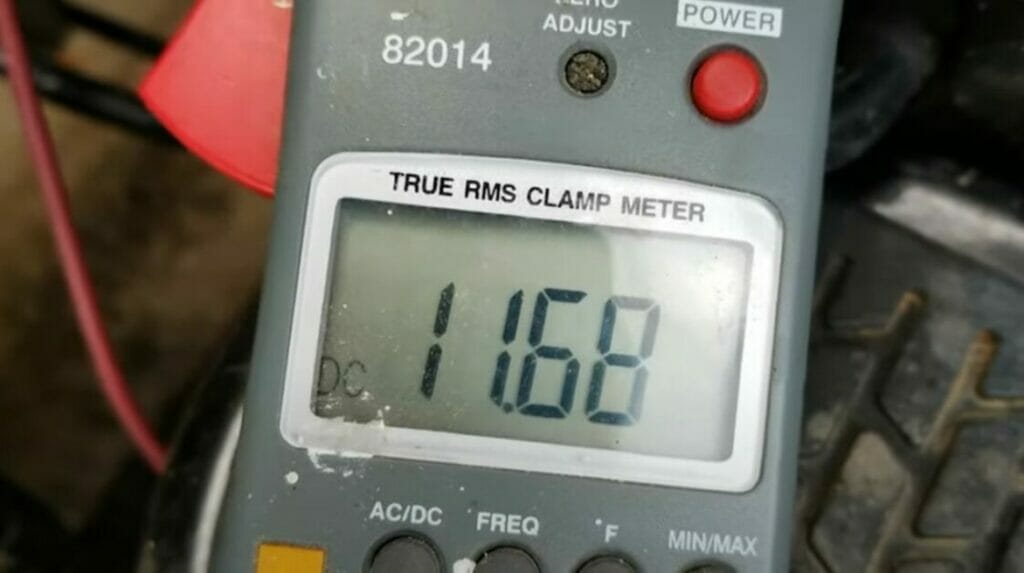
In the present state (with the engine off) or when the engine is idle, the reading should be a little above 12 volts. If it happens to be below 12 volts, the battery may not be charged properly, or it may be weak and need replacing.
If you suspect the battery is weak, the water level may need topping up, so check this first before declaring the battery dead and needing replacing. Also, clean the battery’s terminals if you see a buildup of corrosion and re-check the voltage reading.
Step 4: Check the Voltage Again at Idle
You will now have to repeat the third step above, except that you will turn the tractor’s engine on this time.
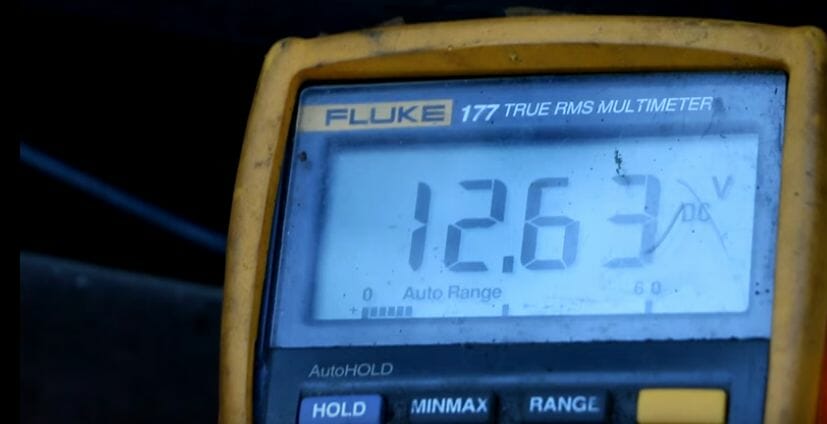
This time the reading on the multimeter should be somewhere around 13 volts.
If the voltage level rises a little after turning on the engine and does not exceed the above range, it means the regulator is working fine. It enables the alternator to charge the battery as normal without letting the voltage and current levels rise abnormally.
Step 5: Re-Check the Voltage while Revving
We will repeat the same process while revving the tractor’s engine.
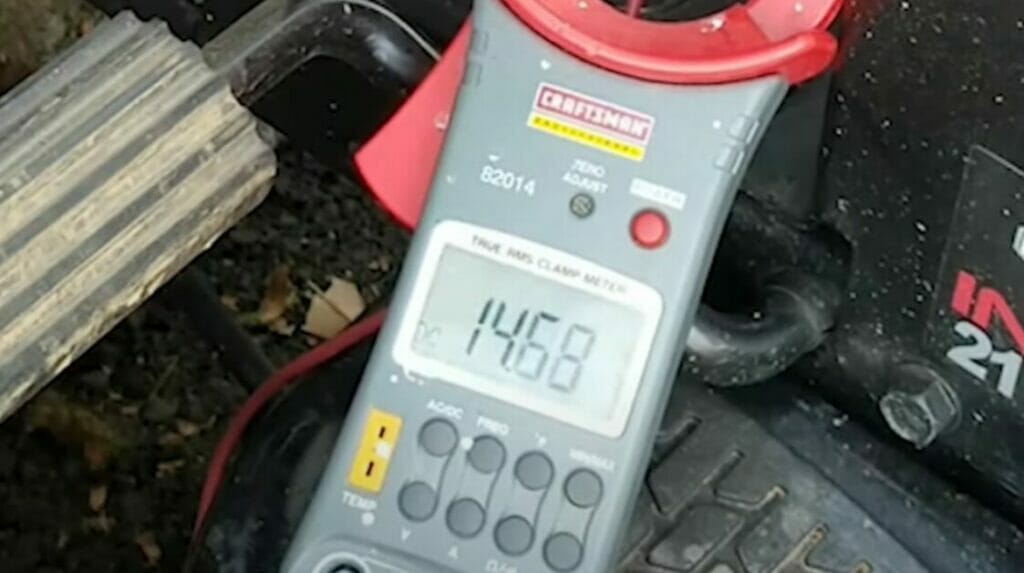
Press the tractor’s gas pedal to reach an RPM of around 1,600 to 2,000. This time, the multimeter’s reading should rise further to between 13.5 and 14.5 volts. It should not exceed the maximum value in this range.
If the voltage rises without exceeding this maximum, the regulator works fine.
In case the voltage exceeds this upper limit, it means the regulator is failing to do its job of limiting the voltage. Consequently, the high voltage and current levels could damage the electrical components in the tractor.
Checking the Regulator
If the above testing shows that the tractor’s voltage regulator may be faulty, you should check it to ensure.
Don’t simply discard the regulator without this further testing, for which you will need a small piece of wire.
We will first conduct a temporary ground connection test. If that fails, we will change the wire’s connections in two other tests.
Temporary Ground Connection
Firstly, connect a small wire between the regulator’s base and a suitable ground point on the chassis.
Now, re-start the tractor’s engine at medium speed and check the voltage level again, using the multimeter set to the same DC voltage range as before.
If the voltage level is normal this time (and it wasn’t before), this test confirms that the problem is with the regulator, which is not grounded properly.
To deal with this situation, you must ground the voltage regulator firmly.
If the temporary ground connection does not make a difference, proceed to conduct the next test.
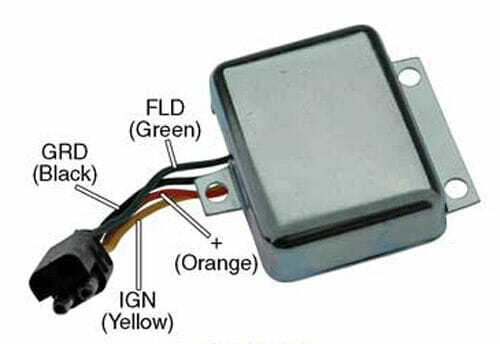
Voltage Regulator’s BAT-ARM/GEN Connectors
While the engine is still running at medium speed and using the same wire you used in the previous step, connect the wire between the voltage regulator’s BAT and ARM/GEN connectors.
Re-check the voltage level with the wire now connecting the BAT and ARM (or GEN) of the tractor’s voltage regulator.
If the voltage increases, the regulator is faulty and needs to be replaced.
However, if this test makes no difference, do one more final test.
Overcharged Battery Test
In this third test, we will check if the battery is overcharged.
Set the wires initially as in the temporary ground connection test. While the engine is running (at medium speed), disconnect the wire by removing the regulator from the ground connection. If the removal makes no difference to the charging rate, then the wires connecting the regulator to its normal ground are good. Otherwise, the ground connection is bad and needs strengthening.
Testing Variant Regulators and Batteries
A Six-Volt Battery
I mentioned that some tractors have 6-volt batteries.
If this is the case in your tractor, the initial or idle voltage reading across the battery should be slightly higher than 6 volts. With the engine running, the alternator needs around 7.2 volts to charge the battery properly. The maximum voltage is around 8 volts, so while doing the tests, the voltage should not exceed this level.
The Kohler Voltage Regulator
The Kohler voltage regulator can provide a smooth electrical charge throughout the circuit.
If the voltage regulator malfunctions, it can lead to overcharging or draining the battery. In either case, this situation can cause damage to electrical components in the tractor. So you must test the voltage regulator.
To test a Kohler voltage regulator, set the ignition in the on position for fifteen seconds. This is to put a small load on the battery without running the engine.
Now, attach the multimeter’s probes or clamps like before and check the voltage using the multimeter. The reading should be around 12 volts.
A and B Type Voltage Regulators
The voltage regulators used in tractors generally come in two types: A Circuit and B Circuit.
The A type sends full power to one brush while the regulator controls the voltage output. It does this by modifying the ground connection on the other brush. It is possible to use either brush for the field connection and ground.
In the B type, one brush is grounded inside the alternator. The voltage regulator controls the power (positive) to the other brush while the rotor coil operates.
The tests details in this article apply to both types because both functions are the same, which is to regulate the voltage level supplied to the battery.
Video References
Michael Lorello
Steve Watroba