12 min read
How to Test a Pressure Switch (3 Methods)

Pressure switches are like the unsung heroes in our systems, quietly doing their job unnoticed until something goes awry. They play a crucial role in ensuring everything runs smoothly monitor and manage the pressure in your system.
When they’re off, things can go haywire. That’s why knowing how to test them is a must-have skill. Here are the 3 methods on how you can test pressure switches:
- Method 1: Checking for Continuity – This method uses a multimeter set to continuity mode to check if the pressure switch closes correctly.
- Method 2: Checking for Voltage – This method uses a multimeter set to measure AC voltage to check the switch’s operation.
- Method 3: Using a Manometer – A more advanced method using a manometer to measure the pressure differential that triggers the pressure switch.
We’ll walk through the steps together, discuss the tools, and even delve into common troubleshooting tips. It’s all about empowering you with the knowledge to tackle these issues head-on.
Tools and Materials for Pressure Switch Testing
You need the right tools and materials to tackle pressure switch testing like a pro. Here’s a handy list to get you all set:
- Multimeter: This is your best friend for electrical testing. Make sure it can measure both continuity and voltage. It’s like having a Swiss Army knife in your toolkit.
- Manometer: This one’s for the advanced testing. A manometer measures the pressure and helps you get super-accurate readings. It’s a bit of an investment but worth it if you’re serious about getting things right.
- Pressure Switch Tubing: These small hoses connect to the back of the pressure switches. They’re key players in making sure you’re reading the right pressures.
- Barbed Tee Fitting: This gadget helps you connect your manometer to the system. It’s like the middleman between your pressure switch and the manometer.
- Screwdriver Set: During testing, you’ll need these to disconnect and reconnect wires. A good set of screwdrivers always comes in handy.
- Hand Pump (Optional): A hand pump can be a great tool if you’re manually applying pressure. It’s like having a mini gym workout while you work!
- Safety Gear: Don’t forget your safety goggles and gloves. Safety always comes first; protect yourself from unexpected sparks or pressure changes.
- Notebook and Pen: Keep track of your readings and observations. A little note-taking goes a long way in keeping things organized.
You can test pressure switches like a pro with these tools and materials. Remember, the right tools make the job easier, safer, and more efficient. Happy testing!
Testing a Pressure Switch
If you’ve ever wondered if your pressure switch is acting up, I’ve got you covered with three solid methods to test it out. Let’s get to it!
Step 1: Understanding the Pressure Switch
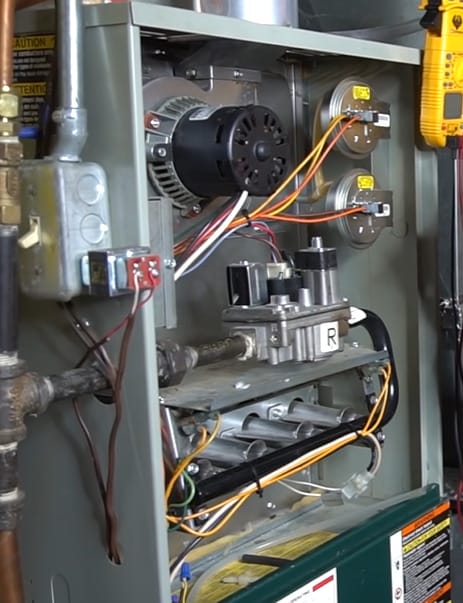
A pressure switch is a key player in systems like HVAC. It’s a switch that gets triggered by pressure changes – pretty straightforward, right?
In a typical sequence, when your thermostat calls for heat, the inducer motor kicks in, and that’s where our pressure switch enters the picture.
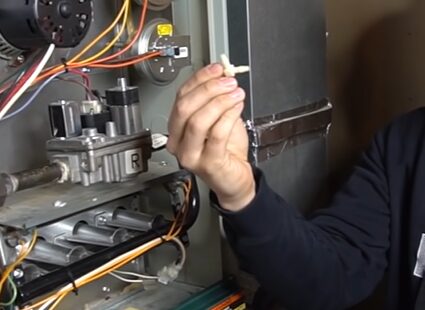
Step 2: Prepping for the Test
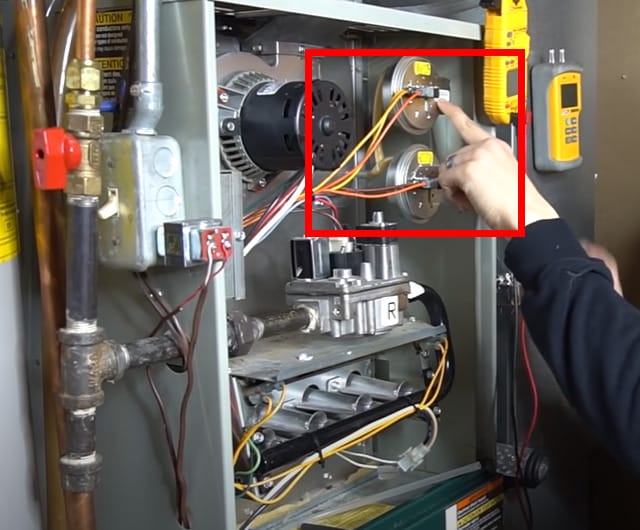
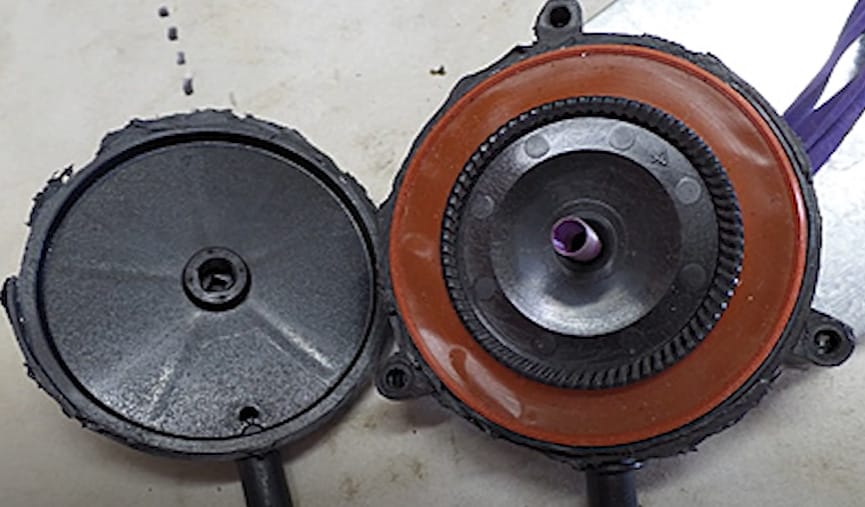
Before testing, you need to know what you’re dealing with. I’ve got two pressure switches because my furnace is a two-stage one.
You might have just one, and that’s fine. Each switch will be labeled (like ‘low’ and ‘high’ for me). This labeling helps identify which switch to test first.
Method 1: Checking for Continuity
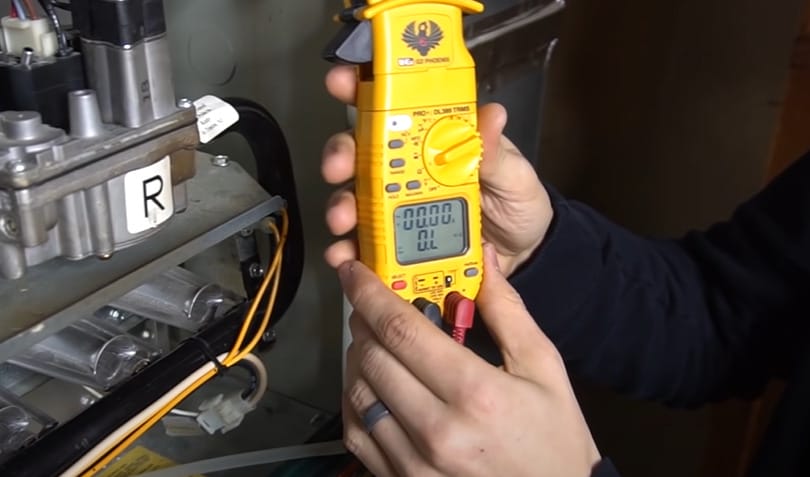
Step 1: Set Your Multimeter
Grab your multimeter and set it to the ohm symbol or continuity mode. We’re checking if the switch closes or not.
Step 2: Disconnect Wires
Ensure the power is off, and disconnect the wires from the pressure switch.
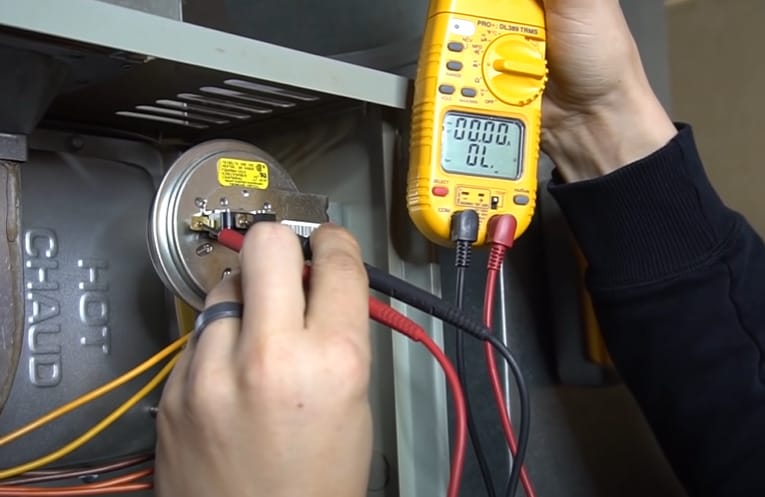
Step 3: Test for Continuity
With your multimeter ready, check for continuity across the switch terminals.
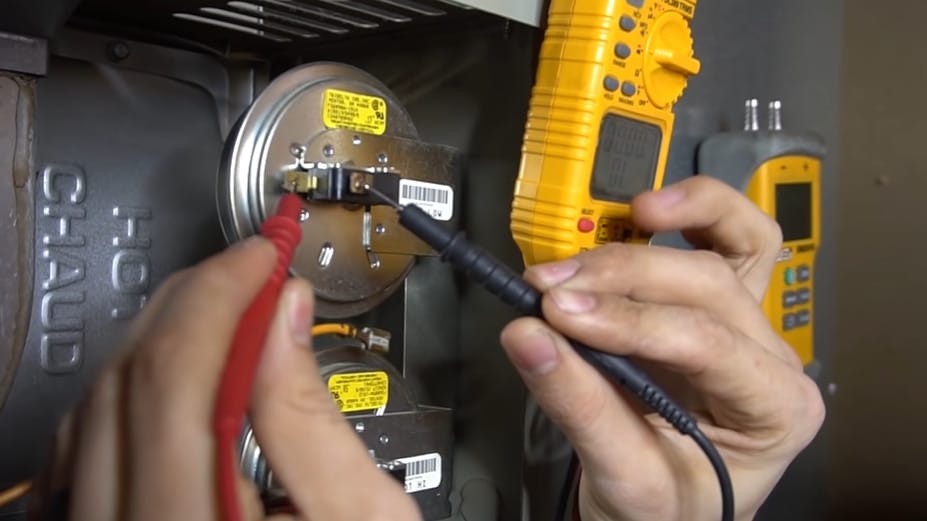
A good switch will show no continuity when the inducer motor is off. If it shows continuity (or beeps in continuity mode), the switch might be stuck closed – not a good sign.
Method 2: Checking for Voltage
Step 1: Switch to Voltage Mode
Change your multimeter to measure AC volts.
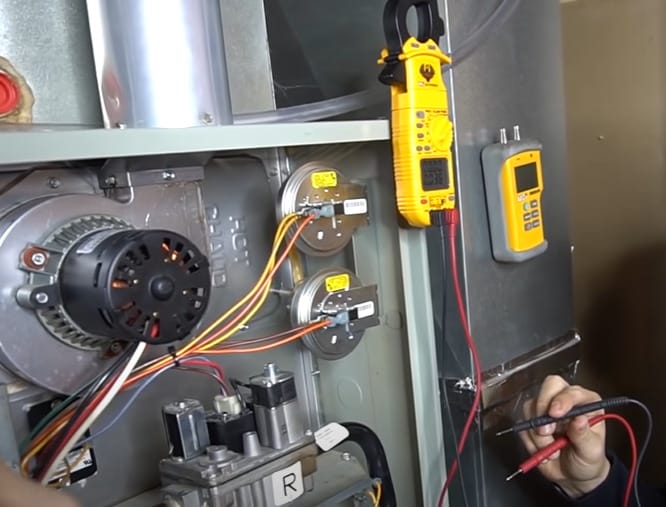
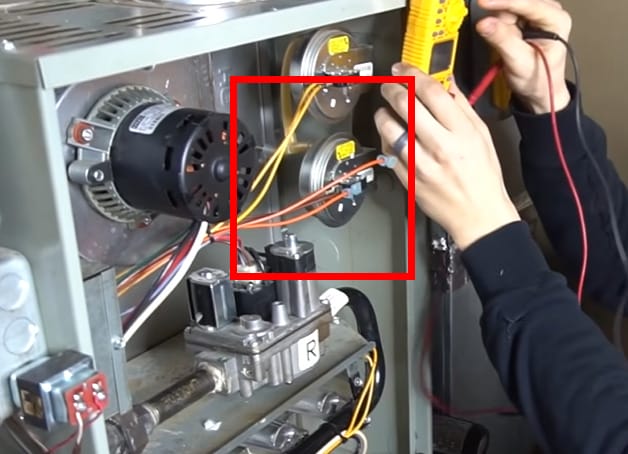
Step 2: Reconnect Wires and Power Up
Keep the wires connected for this test. Power on the furnace and place your multimeter leads across the switch terminals.
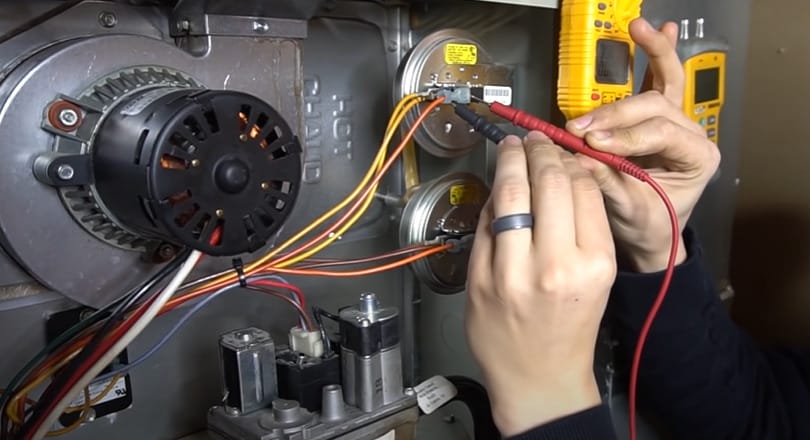
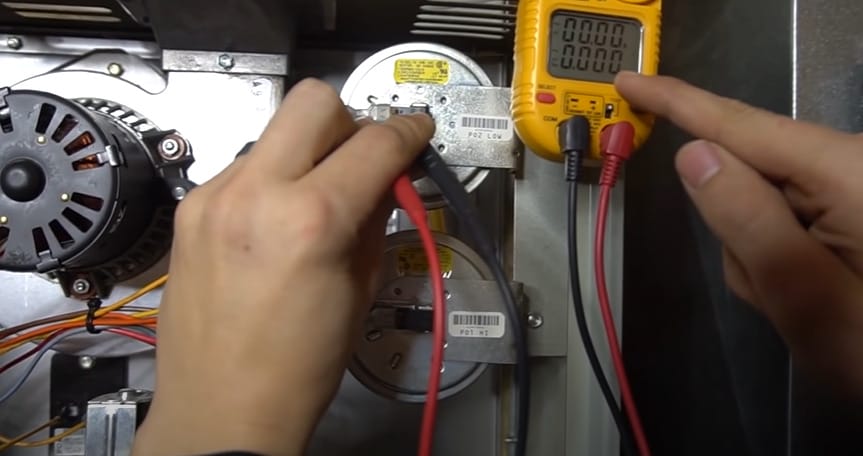
Step 3: Read the Voltage
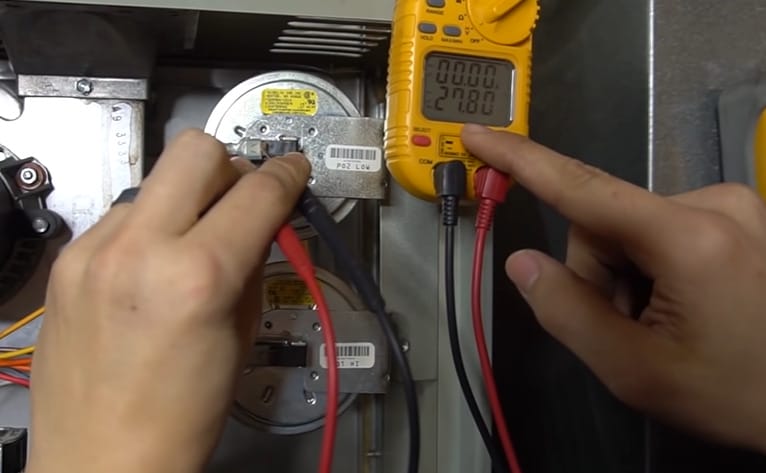
An open (good) switch shows the voltage (around 27 volts in my case), and a closed (also good) switch shows zero volts. If the voltage doesn’t change when the inducer motor runs, there might be an issue.
Method 3: Using a Manometer
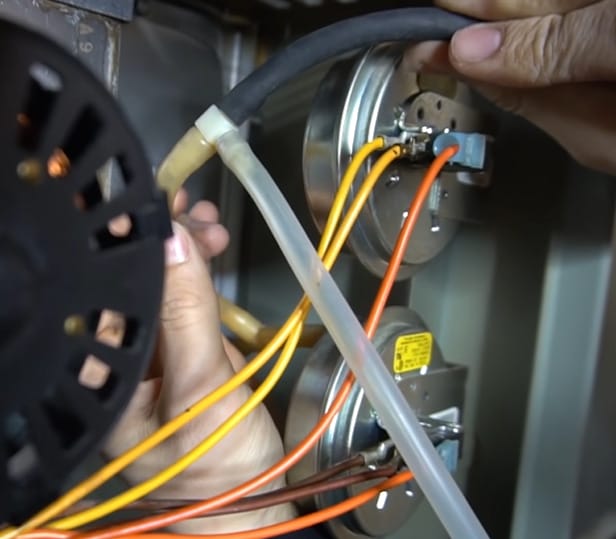
Step 1: Set Up Manometer
This is a bit advanced, but it’s the best way to get accurate readings.
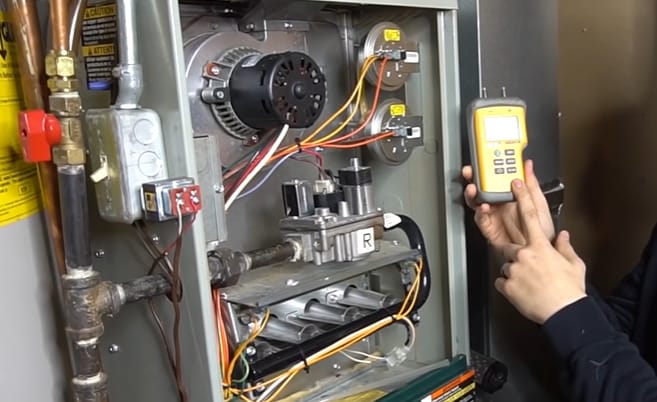
You’ll need a manometer, pressure switch tubing, and a barbed tee fitting.
Video | Word of Advice TV
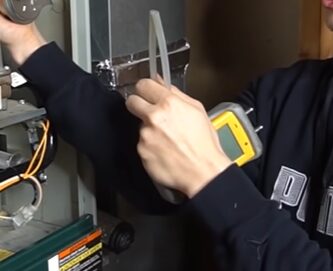
Step 2: Connect the Manometer to the Pressure Switch
Connect your manometer in series with the pressure switch using the tee fitting.
Video | Word of Advice TV
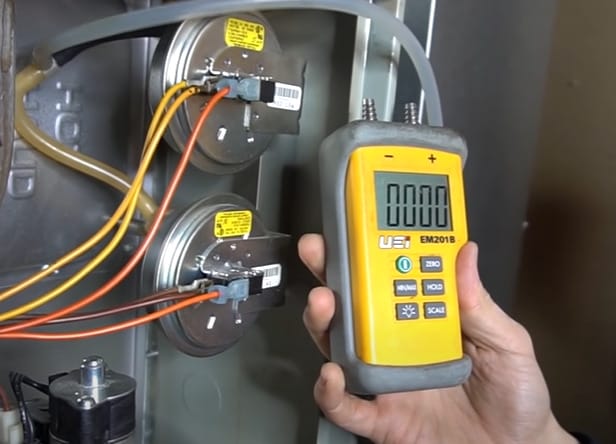
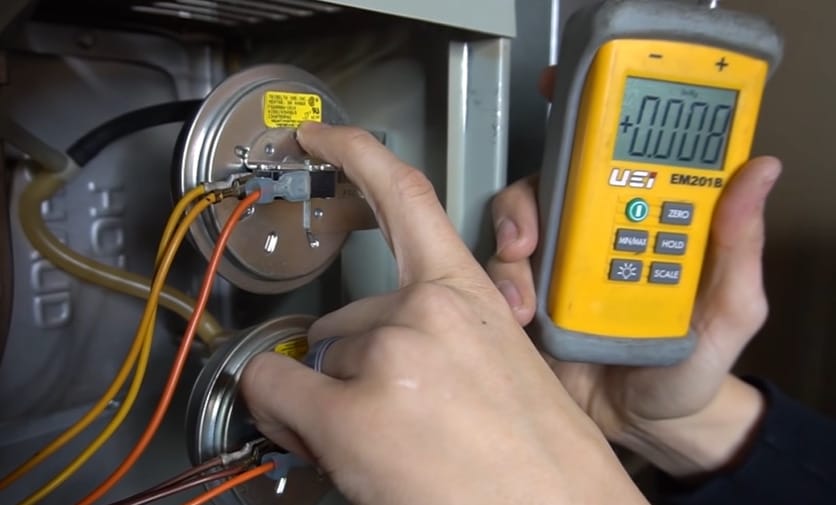
Step 3: Monitor the Pressure
Turn on your furnace and watch the pressure readings on the manometer. The pressure should match or exceed the rating on the pressure switch for it to close properly.
So there you have it! These methods will help you pinpoint if your pressure switch works. Remember, safety first; if you’re ever unsure, it’s best to call in a pro. Happy testing!
Comparing Methods for Testing Pressure Switches
Let’s break down the different ways you can test a pressure switch. I’ve tried several methods, each with pros and cons. Understanding these can help you pick the right approach for your situation.
Manual Pressure Application with Gauge
This is the method I’ve detailed earlier. You manually apply pressure using a hand pump and monitor the switch’s response with a gauge.
- Pros: Precise control over pressure application; great for specific readings.
- Cons: Requires physical effort and time, especially when dealing with multiple switches.
Automated Pressure Testers
These are more advanced tools that automatically apply and measure pressure.
- Pros: Faster and requires less manual effort; great for repetitive testing.
- Cons: More expensive than manual methods; might be overkill for small, one-off jobs.
Using Built-In System Testing
Some modern systems come with built-in testing features for their pressure switches.
- Pros: Super convenient as it’s integrated into the system; no extra tools needed.
- Cons: It is unavailable for all systems and might not be as thorough as manual testing.
Pressure Switch Testers
These are specialized tools designed specifically for testing pressure switches.
- Pros: Designed for this specific task, it can be accurate and easy to use.
- Cons: Another tool to buy if you don’t have one; it might not be worth it for occasional use.
Multimeter Testing
A multimeter is used to test the electrical continuity of the switch during pressure changes.
- Pros: Great for checking electrical functionality; a multimeter is a versatile tool.
- Cons: It doesn’t directly measure pressure; it is more about the electrical side of things.
The manual hand pump and gauge method is great for accuracy and control, especially if you’re dealing with a few switches or want precise measurements.
Troubleshooting Tips for Pressure Switch Testing
Let’s dive into some common hiccups you might encounter while testing your pressure switch and how to tackle them head-on. I’ve faced these issues myself, so I’ll share my go-to fixes.
| Common Issue | What It Means | How to Fix It |
|---|---|---|
| No Reading on the Gauge | This could mean your gauge is not properly connected, or there’s a leak. | Double-check all your connections. Ensure the gauge is securely attached and there are no leaks in the system. |
| Inconsistent Readings | Fluctuating readings can be due to an unstable pressure source or a faulty gauge. | Ensure your pressure source is stable. If the problem persists, try using a different gauge. |
| Switch Not Changing States | It might be stuck or damaged if the switch doesn’t change from open to closed (or vice versa). | Gently tap the switch. Sometimes, it’s just a bit of mechanical sticking. If it still doesn’t work, the switch might need replacing. |
| Deadband Too Wide or Narrow | This indicates an issue with the calibration of the pressure switch. | Recalibrate the switch. If recalibration doesn’t work, the switch might be worn out and need replacement. |
| Erratic Electrical Output | This could be a sign of internal switch damage or a wiring issue. | Check the wiring for any loose connections or damage. If the wiring looks good, the problem might be internal, requiring professional repair or replacement. |
Remember, safety comes first! Always ensure you work in a safe environment and wear appropriate protective gear. Happy troubleshooting!
Frequently Asked Questions
- How Often Should Pressure Switches Be Tested?
- It depends on the usage and environment, but a good rule of thumb is to check them during regular maintenance intervals or if you suspect any issues.
- Can Weather Affect a Pressure Switch?
- Extreme temperatures and humidity can impact the switch’s performance. It’s something to consider if you’re working in really harsh conditions.
- Is It Safe to Test a Pressure Switch?
- Yes, following the correct procedures and using the right tools is safe. If you’re ever in doubt, though, don’t hesitate to call in a professional.
- Is There a Standard Pressure Range for Pressure Switches?
- It’s not a standard range, as it varies based on what they’re used for. Some are for low-pressure applications, while others are designed for higher pressures.
- What’s the Importance of the Deadband in a Pressure Switch?
- The Deadband prevents the switch from constantly flicking on and off around the set point. It creates a range of pressure where the switch won’t change states, adding stability to your system.
References
Organizations:
- HVAC Excellence. https://www.escogroup.org/hvac/
- Refrigeration Service Engineers Society (RSES). https://rses.org/
Books:
- “HVAC Equations, Data, and Rules of Thumb” by Arthur A. Bell Jr. https://www.barnesandnoble.com/w/hvac-equations-data-and-rules-of-thumb-third-edition-arthur-bell/1124320928
- “Refrigeration and Air Conditioning Technology” by Bill Whitman, Bill Johnson, John Tomczyk, and Eugene Silberstein. https://www.abebooks.com/9781305578296/Refrigeration-Air-Conditioning-Technology-Tomczyk-1305578295/plp
Website Resources:
- HVAC-Talk.com. https://hvac-talk.com/vbb/
- ACCA (Air Conditioning Contractors of America) Website. https://www.acca.org/
Video References:
Word of Advice TV