3 min read
How to Test a Halogen Bulb with a Multimeter (Guide)

There are times when you flip your switch but your bulbs do not light up! Well, it’s not always your lightbulb. It could also be your light fixture.
In this guide, I will teach you how to do a continuity test on a halogen bulb with a multimeter. Halogen bulbs are incandescent lights that use halogen gas to boost both light output and their lifespans.
To test if your bulb has a continuous electrical connection, set your multimeter to ohms. Touch one probe on the button at the bottom of a normal incandescent light bulb. Set the other probe to the metallic part of the casing. In the case of a fluorescent tube, attach the probes to the pins on both ends of the bulb. Note the multimeter readings, any reading that’s either not zero or close to zero means your bulb does not have a continuous electrical path – continuity. The bulb is ‘dead’.
Bulbs that do not have continuity are burnt-out. You will need to replace them. Otherwise, if the bulb has continuity, then the problem is most likely to be the lighting fixture. You need to seek help from an electrical engineer. (1)
So, How Do You Test a Halogen Bulb?
To test your halogen bulb, perform a continuity test procedure to determine if the bulb has a continuous electrical path. To perform a continuity test for your halogen bulb, you will require a multimeter (preferably digital), and a halogen bulb that you want to test.
Let’s Configure the Multimeter
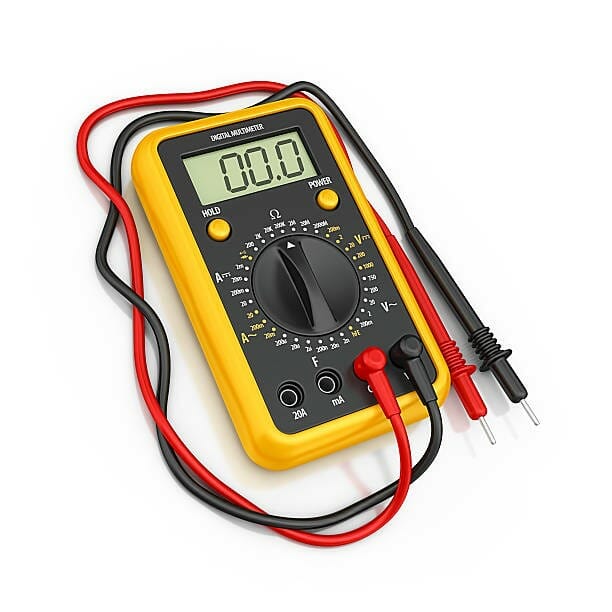
- Rotate the selection knob dial to the ‘ohms section’ – this part is labeled as ‘Ω’ on the multimeter.
- Connect the leads. Plug the probes in their respective ports, the red probe goes into the port labeled ‘V’ and the black one into the port marked ‘COM’. These labels are conventional for most multimeters.
- Ping the probe leads together to calibrate the multimeter. The beeping sound of the multimeter means the multimeter is functional.
Now Let’s Get the Readings
After configuring the multimeter, get the readings as follows:
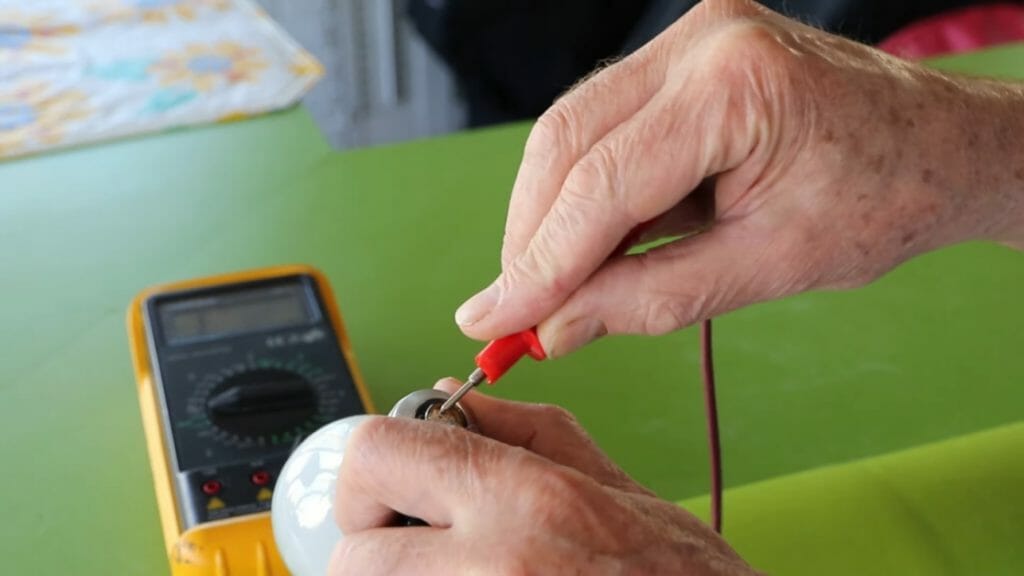
- Attach one of the probes leads to the button at the bottom of your halogen bulb.
- Connect the other probe to the metallic casing on the side of the bulb.
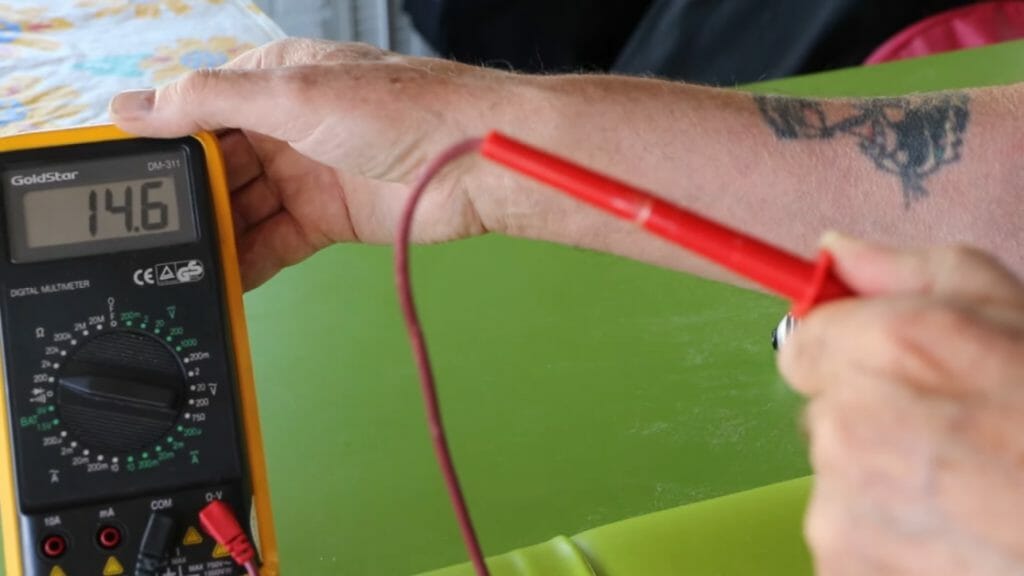
- Check the display unit to obtain readings. If the readings exceed 1.0 then the bulb filament has burnt out. Replace it. If the bulb has continuity (i.e. registers either 0 or a value close to zero) then the lighting fixture requires fixing.
Light Bulb Disposal
Improper disposal may result in accidents. It may fall on something and fracture, scattering sharp and tiny glass fragments. These glass fragments are very dangerous; someone may step on them and get injured. (2)
To properly dispose of damaged bulbs, reach out to the service center. You may also dispose of them at the nearest bulb stores.
Take a look at some of our related articles below.
- How to test electric fence with multimeter
- How to test a fluorescent light bulb with a multimeter
- Power Probe multimeter review
References
(1) electrical engineer – https://online.engineering.arizona.edu/news/
careers-electronics-engineer-vs-electrical-engineer/
(2) glass fragments – https://study.com/academy/lesson/glass-as-forensic-evidence-purpose-collection-preservation.html
Video Reference