How to Test 7-Pin Trailer Plug with Multimeter (4 Steps)
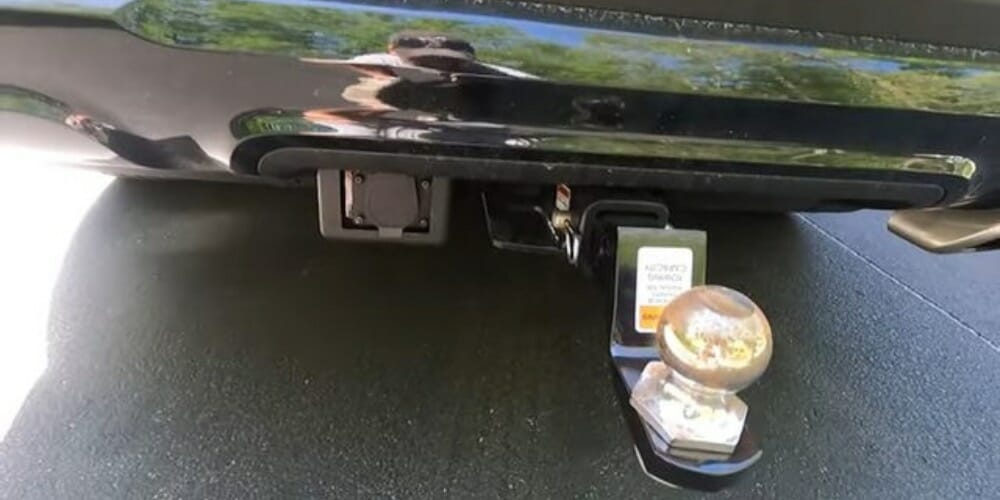
I will teach you how to test your 7-pin trailer plug with a multimeter in this guide.
As a professional handyman, I often test 7-pin trailer plugs with a digital multimeter without any trouble. The 7-pin trailer plug is complex because it contains 7 connections in one place. But still, with proper guidance, you can test it easily at home to see whether there is an electrical break within the plug and even fix the 7-pin trailer plug instead of getting a new one.
In general, testing a 7-pin trailer plug with a multimeter only takes a few minutes:
- Get the right tools and materials
- Understand the 7-pin trailer plug configuration
- Ready your multimeter
- Connect the multimeter probes to the bottom left and the top right slots in the 7-pin trailer plug
- Test each light to see whether any of its wirings is malfunctioning
- Test the blinkers, brake lights, and reverse lights
I’ll cover more details below.
Tools and Materials
The following things are required to test properly:
- 7-Pin trailer plug
- A multimeter with black/red probes — for testing voltage
- Two individuals: one to operate the car and one to operate the multimeter
- Changeable Light Bulbs (Optional)
- Sandpaper (Optional)
- Cleaner for Electrical Contacts (Optional)
The 7-pin Trailer Plug’s Configuration
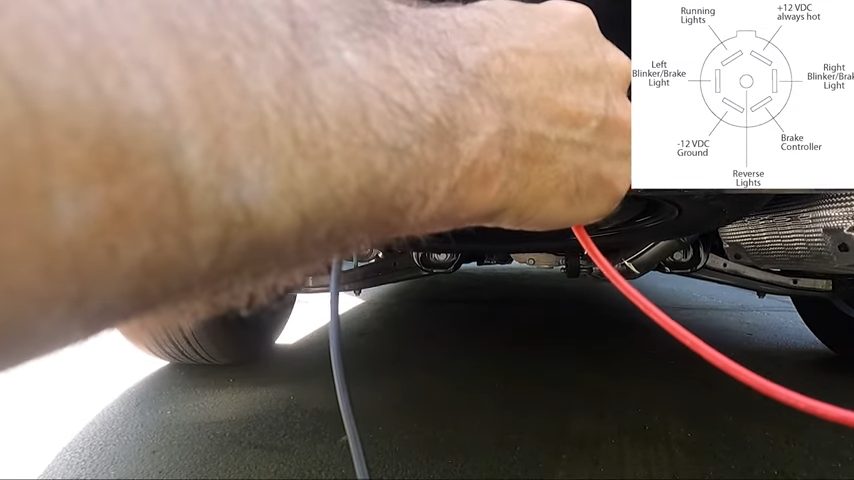
The 7-pin trailer plug is challenging since it contains 7 connections in one place.
Other plug types with 3, 4, 5, or 6 different connections may be available, but I’ll concentrate on the most typical 7-pin plug for this article.
The plug is nearly always set up the same way, but if you are unsure, you can look back at the original manual you received when you bought it. The following configuration will be used for a standard 7-pin plug:
- Top right — 12-volt hot lead
- Middle right— right turn or brake light
- Bottom right — brake controller output
- Bottom left — ground
- Middle left — left turn or brake light
- Top left side— tail and running lights
- Center — reverse lights
Testing a 7-pin Plug with a Multimeter — Procedure
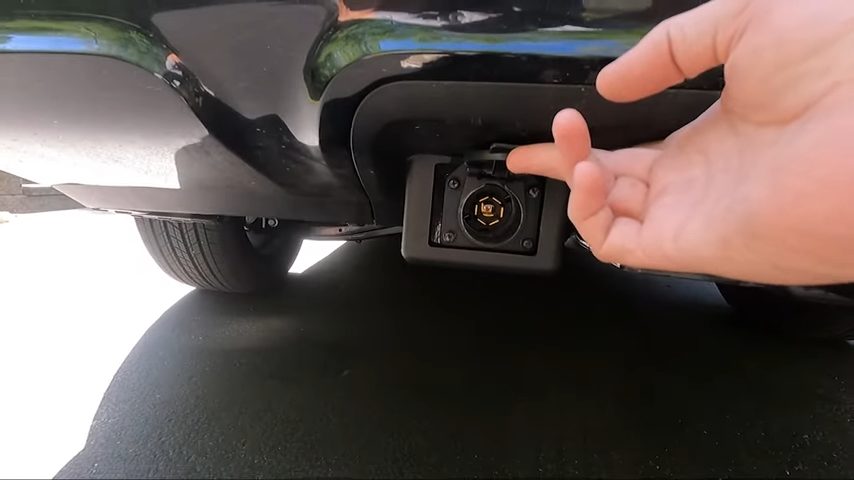
Use your digital multimeter (and make sure it can test for volts) to see if any of the wirings in the 7-pin plug is malfunctioning.
Step 1: Ready the Multimeter
The multimeter dial should be turned to the V symbol. Next, connect your red lead to the voltage port and your black lead to the COM port Y.
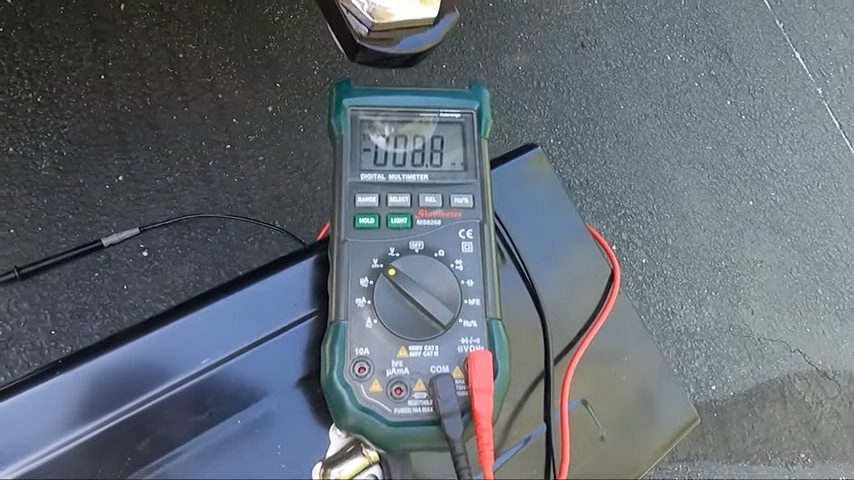
Step 2: Connect the Multimeter Probes to The Bottom Left and The Top Right Slots.
The black probe, the grounding wire, should be inserted into the 7-pin plug’s bottom left slot. The top right slot of the plug should receive the red probe. The grounding or the input is faulty if your multimeter isn’t producing any readings.
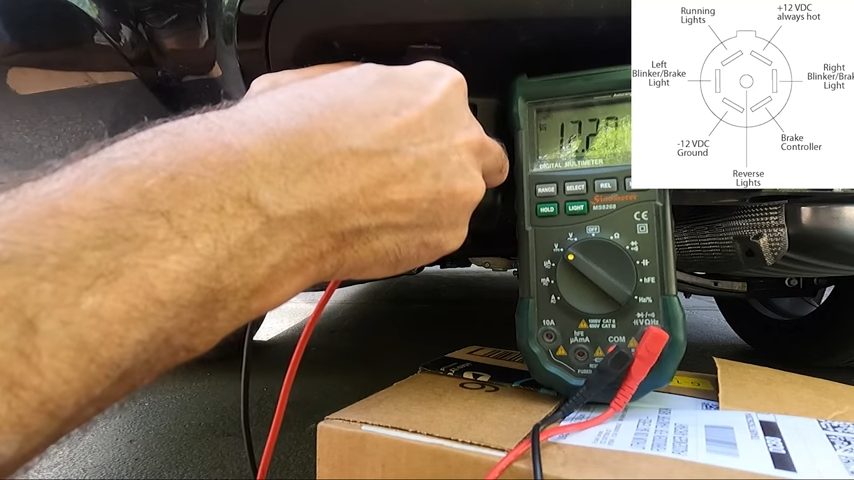
Step 3: Test Each Light
Leave the black probe in the grounding slot of the plug as you test each light to see whether any of its wirings is malfunctioning. After that, insert the red probe into the first light socket. For the right brake light, use the middle-right socket.
Then, request your partner to turn on the brake light. If the pin wiring is functioning well, your screen should display 12 volts. If no results appear, the wiring for that light is no longer functional.
Step 4: Test the Blinkers, Brake Lights, and Reverse Lights
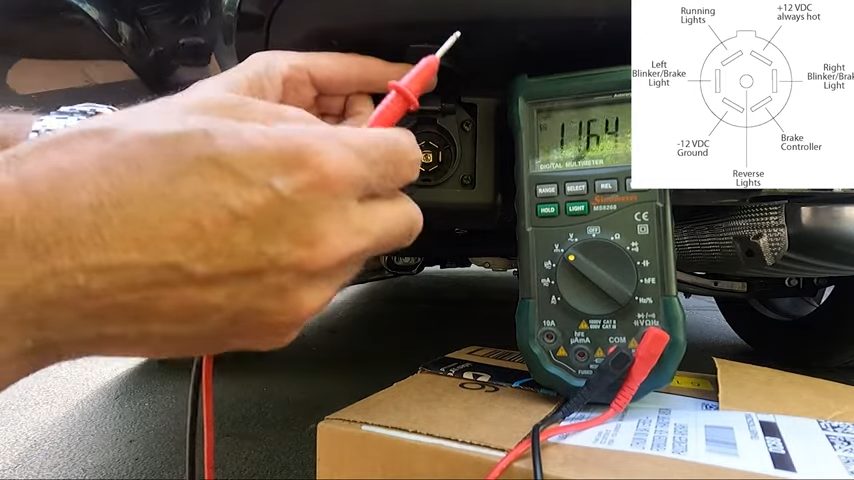
If the wires (in the previous test) are functioning, slide the red probe to the next plug position and test the blink, brake lights, and reverse lights one at a time until you have ruled out all other potential problems.
Wrapping Up
Consult an expert if the previous continuity test and 7-pin trailer plug multimeter test are unsuccessful in resolving your issue. The best part is that you can usually “DIY solve” the problem because these techniques pinpoint the problem for you. (1)
The 7-pin trailer plug can be fixed. This is how a 7-pin trailer plug is fixed. Purchase a premium 7-pin trailer plug first. To see the wires, remove the old plug.
Every cable needs to be insulated. Plug in the cable after connecting the central wire. Cable wires should be connected to the plug terminals. The plug assembly must now be fitted together. Verify the plug housing’s stability. (2)
Take a look at some of our related articles below.
- How to test trailer lights with a multimeter
- How to test a fluorescent light bulb with a multimeter
- How to test 3 wire coil on plug with multimeter
References
(1) DIY solve – https://www.instructables.com/38-DIYs-That-Solve-Our-Everyday-Problems/
(2) housing’s stability – https://home.treasury.gov/policy-issues/coronavirus/assistance-for-state-local-and-tribal-governments/emergency-rental-assistance-program/promising-practices/housing-stability
Video Reference
