5 min read
How to Test a 3-Wire Cam Sensor with Multimeter
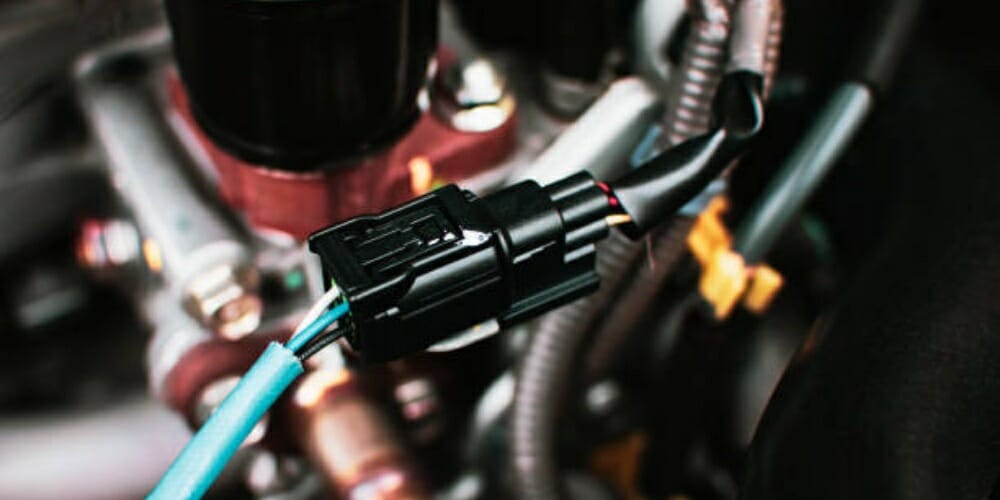
When you feel that your vehicle shows signs of instability such as stalling when accelerating, running quickly and intermittently it may be that your camshaft position sensor has been damaged. The Camshaft Position Sensor, commonly abbreviated as CMP, uses the Powertrain Controlling Segment to boost fuel synchronization.
When using a motor equipped with a 3-wire sensor, the CMP may hesitate the sensor(when you push the gas pedal down and it’s not smooth). The highest point on the camshaft projection causes the CMP to hesitate the sensor. The 3-wire cam sensor is used to calculate the rotational movements of the Camshaft and determine its position.
The process of testing a three-wire sensor with a multimeter consists of 3 main steps:
- Locate the ground, power, and signal wires
- Turn off the engine and measure the 3-wire sensor with a multimeter
- Read the results on the multimeter, compare them with the manufacturer’s parameters
How to Test a 3-wire Sensor
Below is a detailed guide on the process of testing 3-wire sensors with a multimeter, it includes 9 steps:
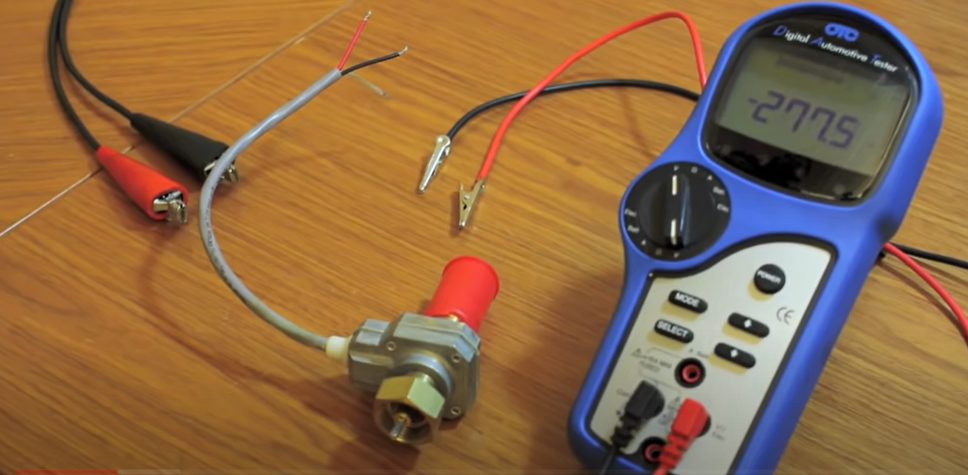
- Locate the ground, power, and signal wires using your car’s repair manual. Set your multimeter to DC volt mode to test the sensor’s circuit.
- Turn on the ignition but leave the engine OFF.
- Touch the black cable on your multimeter with the ground and the other probe cable to touch the power cord.
- Check the readings on the multimeter and compare them to the manual’s specifications.
- Have a helper start your car’s engine.
- Fixing of the ground wire with black cable and thereafter plugging signal wire with the red wire.
- Check your readings and compare them to the specifications of your car’s owner’s manual.
- In case the voltage reading is lower than your car’s specifications or there is no signal from your car, the sensor is most likely faulty.
- Uninstall sensors and diagnose physical damage symptoms.
How to Diagnose a CMP Sensor with a 3-Wire Sensor
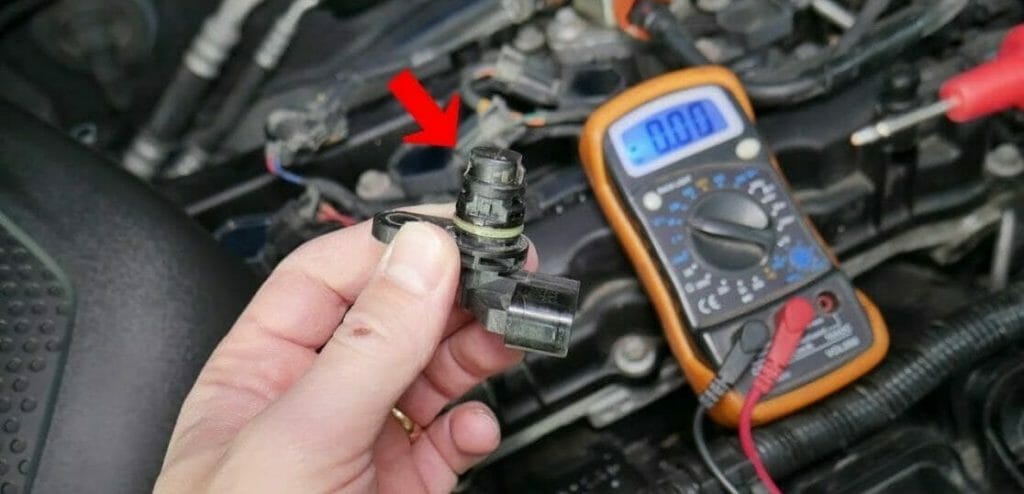
- Turn off your car
- Disconnect camshaft position sensor
- Power on, engine off
- Measure continuity between terminals and sensor terminals with an appropriate multimeter
- Check the results. If the voltage is 10.5 or more, then the CMP sensor is working fine. If the multimeter shows a different result, continue to the next steps.
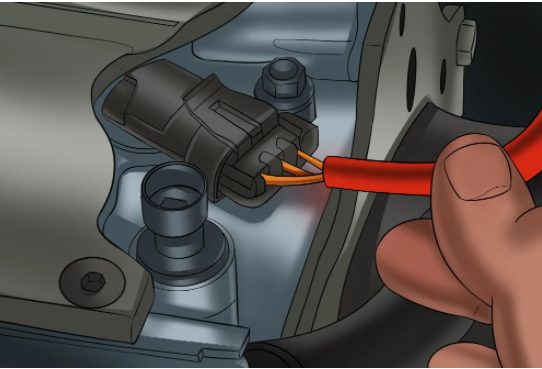
- Turn off the igniter.
- Fix a box that was cut off between PCM and CMP.
- Scale the display of your multimeter to a scale under 5 voltages.
- Check volts between breaker box terminals with the motor running at different RPMs.
- Check the result. If the volt changes above 0.1 volts, the sensor is in perfect condition. If it’s different, then your sensor is faulty.
You may also consider replacing the Camshaft Position Sensor. Here are the simple steps to perform the replacement procedure.
- Remove the black wire of the battery.
- Disconnect the starter coil, starter coil frame, and radio capacitor.
- Disconnect the wire from the sensor.
Note: Before removing the CMP sensor, place the cylinders number 1 to number 10 after the Top Dead Angle of the thumb stroke. To make sure it stays the same after installation, be sure to learn the electrical connection arrangement of the sensor
- Place cylinder 1 at 10 degrees behind the top center.
- Match the CMP sensor terminal connector to the engine assembly.
- Remove the camshaft position sensor to maintain the sensors and screws.
- Disconnect retaining bolts and retaining clamps.
- Remove the oil transfer pump hose together with the camshaft sensor housing.
- Remove the CMP sensor housing from the front engine housing.
After removing the existing and faulty Camshaft Position Sensor, here’s how to install a new one.
- Locate the plastic cap attached to the new crankshaft sensor. The plastic cap must be in contact with the top end of the camshaft.
- Change the oil pump shaft from the front camshaft position to the new sensor housing.
- Fix the camshaft housing to ensure that gear interaction occurs when the positioner tool pointer is 30 degrees counterclockwise.
- Make sure there is alignment of the sensor terminal connection to its joints.
- Connect retaining bolts and clamps and tighten bolts properly.
- Remove the sensor housing and repeat the above procedure from the first step.
- Screw in the sensor tightly
- Turn the screws to 2-4 Nm
- Connect the motor control sensor wire to the sensor.
- Attach the starter coil, radio starter capacitor, and starter coil holder. (1)
- Repair black lead battery. (2)
The 3-wire sensor is applicable when the car’s computer requires a constant 5.0 voltage and the generated signal is very small and needs to be amplified for use. These signals can be affected by interference from radiated signals. The current flowing through the spark plug radiates to other nearby conductors. So, it’s always a good idea to put the harnesses where they belong.
Wrapping Up
Here we detailed instructions on how to test a three-wire sensor and how to diagnose a CMP sensor with a 3-wire sensor. We hope these tips will help you.
Other multimeter testing guides are listed below. You may want to check them or bookmark them for later reading.
- How to test O2 sensor with multimeter
- How to measure amps with a multimeter
- How to test a car ground wire with a multimeter
References
(1) coil – https://www.britannica.com/technology/coil
(2) black lead – https://www.britannica.com/science/graphite-carbon