11 min read
How to Run Overhead Electrical Wire to Garage
Are you building a new garage or remodeling an old one?
One of the things you have to factor into the structure is the electrical wiring. Yes, I know it can be daunting, especially if you are a DIY enthusiast. In this article, I will share a comprehensive guide to help you install your electrical wire in your garage.
Below we will go into more detail.
Getting Started
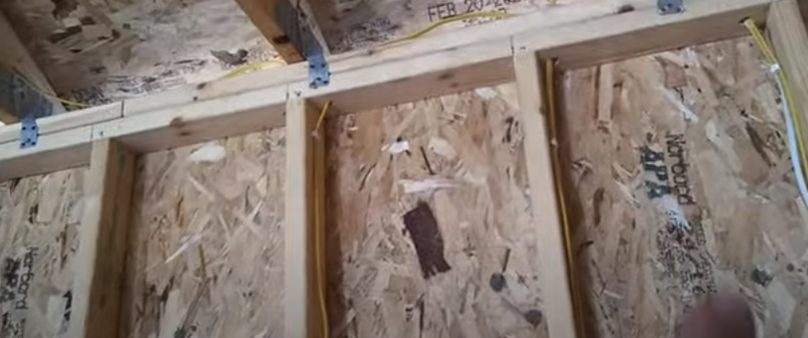
The first thing I would point out is that you shouldn’t make your overhead cable pass through studs or joists. Instead, secure all wires to the joists, panels, and studs in the ceiling.
This prevents any misuse and also protects your home from a faulty circuit breaker. Having said this, let’s get into the details of how to run overhead electrical wire to the garage.
Part 1: Situating the Box and Routing the Cables
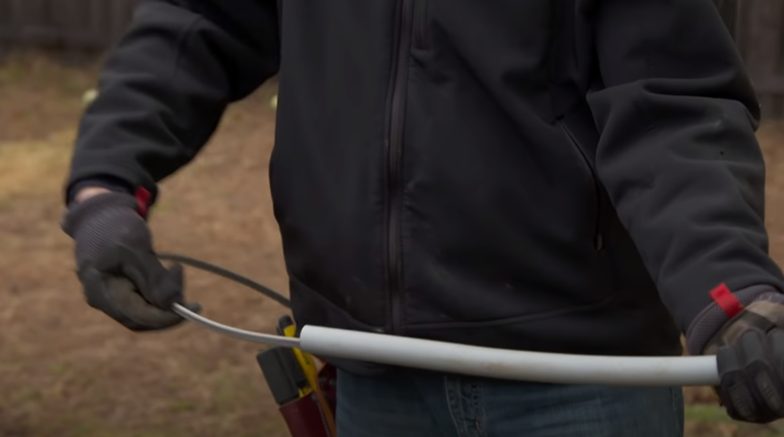
Slot in the cables into the Box: Pick your cable and remove about 8cm of the plastic covering from the end of the cable. Carefully insert the wire via the grommet of the box and make sure it is properly routed.
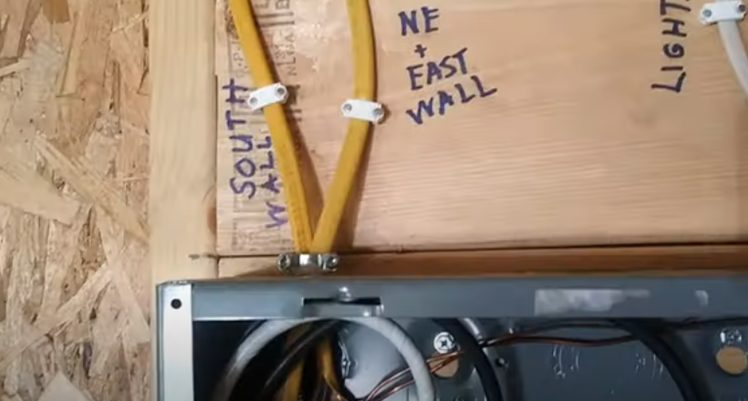
Make sure that the exposed plastic covering at the lower part of the conductor sticks out by about 1.5cm.
Next, insert the wire by about 8 inches of the electrical box and make sure that the wire is about 1.5 inches from both the front and back of the framing.
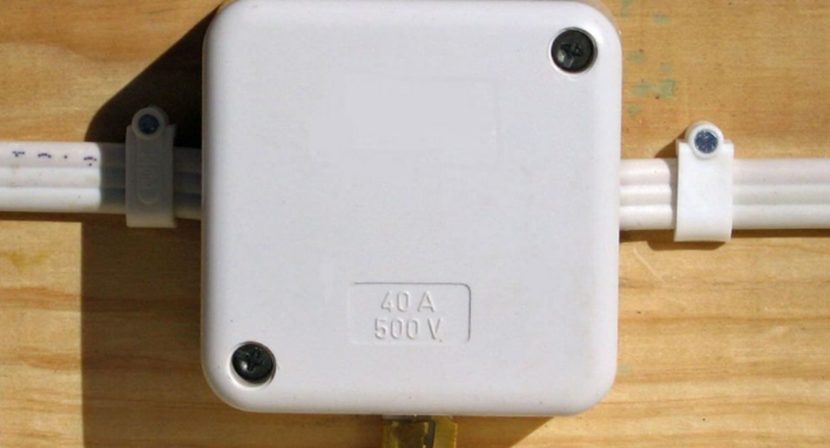
Plan the Electrical Wiring and Nail the Boxes shut: The next thing is to remove the cable out of the reel to run it from box to box.
First, remove about 8 inches of the electrical coiled cable and measure about a half inch, and run it through the holes in the box.
Next, loosen the cable a bit and fix it to the frame giving it a space of at least ten feet.
Continue fixing it to the frame this way until you get to the next box.
When you get to the next box, carefully unclip the cable and mark the point of insertion on the cable.
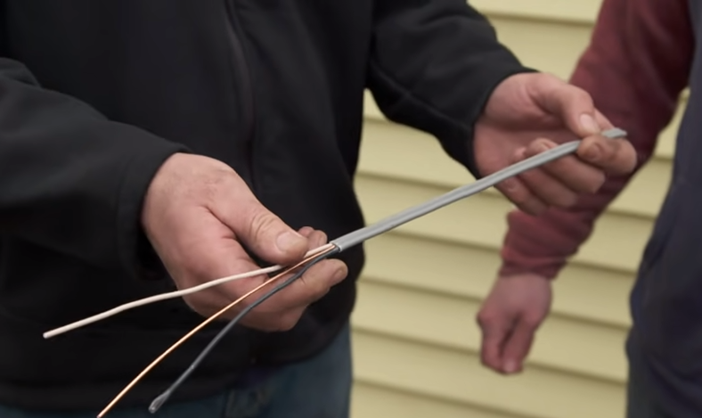
Next, cut the cable to about 1 meter long and remove the covering.
Now slot the cable into the box and fix the clips to the box. Note that all cables must be a minimum of 1.5cm away from both the front and back of the rafters and posts.
In case you are using up to three wires or more, you would need some special clips to hold them together. You can get these at a nearby hardware store or electrical store.
Note that electrical boxes sometimes come with built-in plastic staples or metal. (1)

Part 2: Steps to Install Surface Wires within a Solid Wall
When you affix surface wires on solid walls, it is best to cover them with a metal conduit or PVC. This will protect them from wandering hands.
When choosing items to use, make sure you get the correct tape, socket, and plug for each of the cables.
If the cable is installed through the open end of a conduit, you should use plugs to connect them. You should also cable-duct all cables on the surfaces for maximum protection.
I recommend that you use a sturdy PCV conduit to protect them. Here are steps to install wires in a solid wall:
- Get a half-inch conduit for one cable and three-quarters of an inch conduit for two. It doesn’t matter the type of cable you are using, connectors, straps, and cans, all have unique designs for the cable. So, make sure you check the accessories you are picking with the type of cable you want to use.
- From the backing place, set the electrical box on the wall and secure it in place.
- Next, install the conduit about three meters away from the box.
- Follow the manual that comes with the cable to install it after routing it via the open slots.
- Make sure you don’t route the cable via the cutout because the sharp edges of the metal can pierce its covering and damage it.
- Make sure you thread the cable via the connector before you route it.
Part 3: Highlights of the Contested Code
Let me mention that the International Residential Code does not enforce the wiring of a detached garage.
By the way, the International Residential Code is the most accepted building code within the borders of the United States. However, specific prerequisites are associated with electrical services.
Before you start working with an overhead electrical wire, make sure to check the regulations of your state. That is because there are minimum requirements and each state has its specific requirements. Here are the minimum requirements that your electrical wiring must fulfill:
Indoor Light
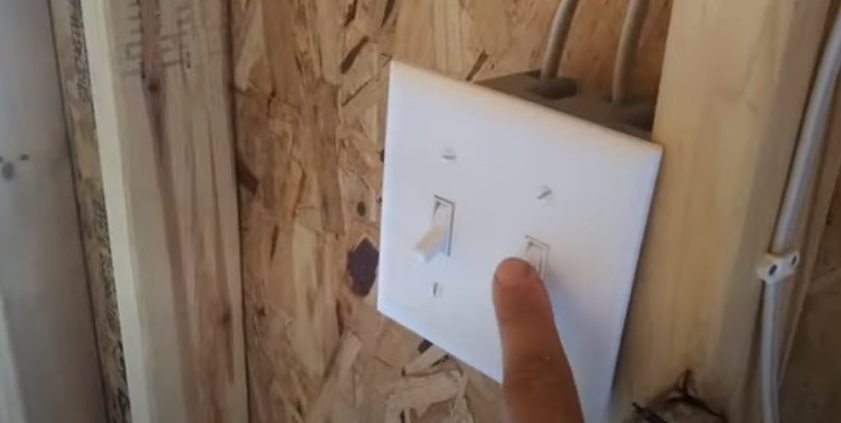
If you are installing electricity in your garage, it must have a minimum of one interior light with a controllable wall switch.
Note that the garage door opener with illumination, even with separate control for the light does not fulfill this prerequisite.
Outdoor Light
In a power-operated garage, you must have a floor switch in front of the exit doors and they must be controlled by a motion sensor or wall switch.
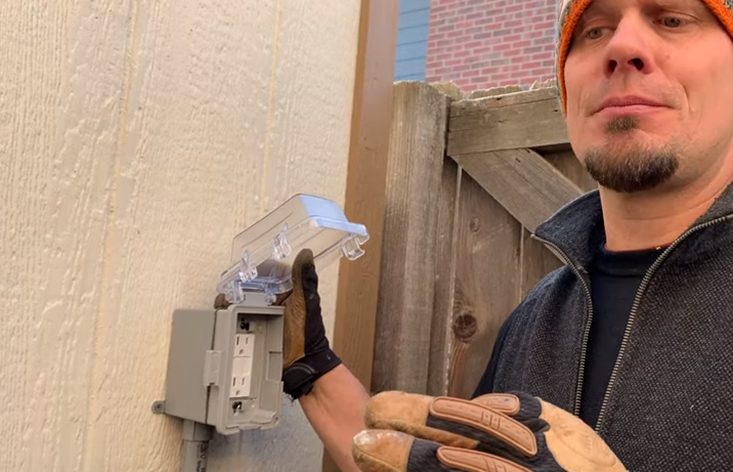
GFCI Protection
It is recommended that you protect your garage electrical outlets using a GFCI (Ground Fault Circuit Interrupter). This will not only protect your structure but also prevent any hazards in the building.
Sockets
You must have a minimum of one electrical outlet if you plan to install electricity in your garage. There is no restriction to the location of the socket.
Part 4: How to Install Service Wiring from the Main Building to the Garage
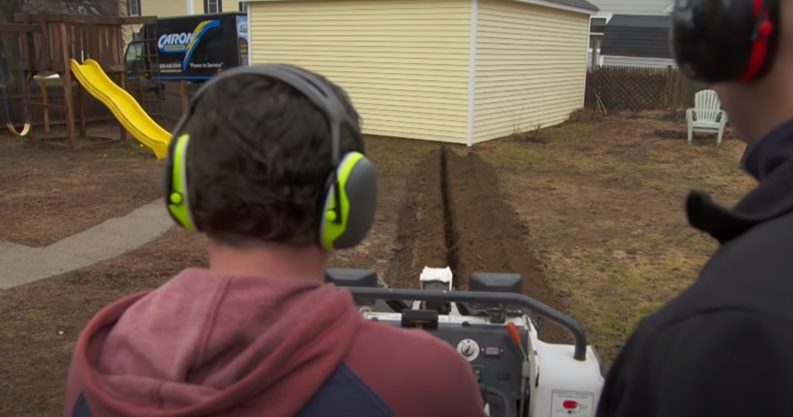
- From the primary panel to the sub-panel of the garage, dig a trench of about 18 inches to run the outdoor cable.
- Using about an inch+ of PVC cable for up to 50 amps substations or an inch and a quarter for 100 amps, route the overhead wiring to the primary junction box from the garage. You can install the wires on the floor if your garage is not concrete. (2)

- Route the cable with a 90-degree broad-angle plug and when you are done, run the conduit via the exterior wall of the garage and use the PVC connectors to fix the flush box.
- Using this same method, fix the header box.
- Next, fix a plywood piece to where you want to install the tile on the wall. Make sure that the plywood is about 15cm bigger than the tile. Now screw a box to the center and fix an air hose to the box.
- Using #8 THHN wire on a 50-amp side panel and #2 THHN wire on the 100-amp side panel, connect the electrical wires to the side panel from the primary panel. Next, route the green, white, red, and black wires to the primary distribution box on the side. You can maintain the right temperature for the wires inside even if the weather is cold outside.
Part 5: How to Provide Power Supply for a Detached Garage or Building
Underground wiring may not be practical in some instances because obstructions are sometimes across the house. For instance, you may have patios, driveways, or other structures that may prevent you from running underground wiring.
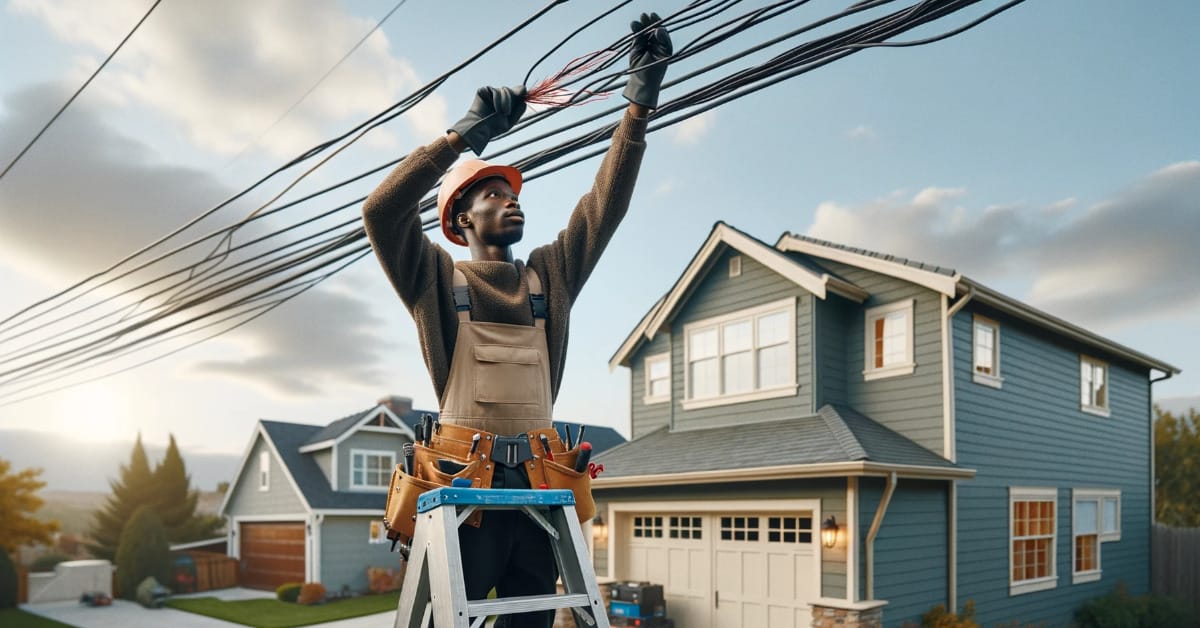
For this scenario, you have to use an overhead electrical cable as a feeder to the detached garage. Here are the steps to complete this process:
Step 1: Ensure that you don’t have any overhead service lines in the public areas of the house, such as the patio or driveway. Try to avoid this because they can pose major safety hazards.
Step 2: Install one 13-inch pipe on the side where you have electricity in the building and the other on the side of the garage that has electricity. Make sure you correctly install the pipes.
Step 3: Next, fix the fastening ropes on two supports, such as between the pipes attached to the garage and the house. Ensure that the cable is strong and perfectly insulated to hold up the weight of the electrical wire. You may consider using cable N276-013 2573BC
Step 4: Carefully wrap the power cord over the support wires and ensure that the wires are not loose. To make it better, use a zip tie to secure the cable in place.
Step 5: Make the conduit weatherproof to prevent water from getting to the primary junction box.
Part 6: Air Ducts in Your Garage: How to make it Efficient
Most homes with a garage already have power connected to the garage. However, if the garage or shed in your home is not equipped with this, you will need a different electrical connection to create air ducts across the garage.
One of the options I recommend is to install an overhead electrical wire right from your main building to the garage. This ensures your garage has the right electricity for the efficiency of air ducts.
Wrapping Up
Before you commence this project, make sure you check the building codes in your area. This is to ascertain that you have permission to install and run electrical outlets in your garage. Also, check the conditions and regulations associated with the project before you start.
Take a look at some of our related articles below.
- How to run electrical wire in unfinished basement
- How to test a circuit breaker with a multimeter
- How to cap off electrical wires
References
(1) metal – https://www.visualcapitalist.com/prove-your-metal-top-10-strongest-metals-on-earth/
(2) PVC – https://www.sciencedirect.com/topics/materials-science/polyvinyl-chloride
Video References
Peterson Electric
homeschool homesteaders
This Old House