6 min read
How Best to Organize Your Drill Bits
Once you start getting more and more drill bits, the need will arise to organize them so you can easily find the one you need.
There are many different ways you can do this. For example, you could simply put them all into a tin container. But when you have so many and need to pick the right one of the exact type and size you need for a particular job, it could be almost like finding a needle in a haystack!
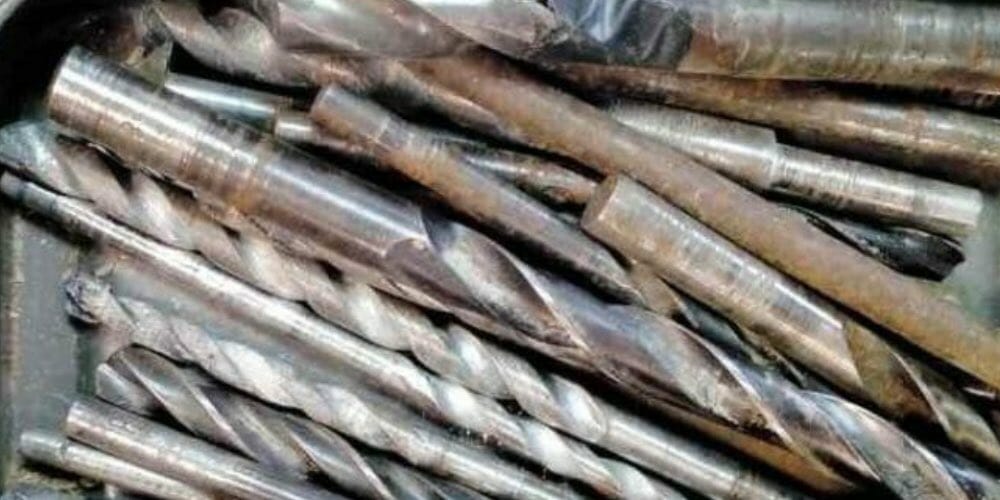
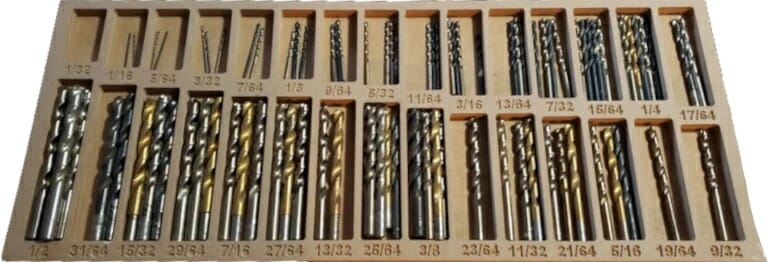
If your drill bits are somewhat like in the picture below and you have several tin containers full of drill bits lying around, you will find this guide useful. Save yourself time by spending just a little time organizing all your drill bits. We’ll show you how.
You can either buy ready-made, purpose-built ones, saving you time, or make your own. Either way, you will have to first organize all your drill bits by type, and then put them in order of size.
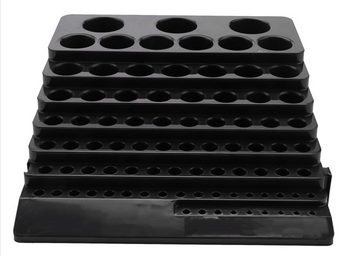
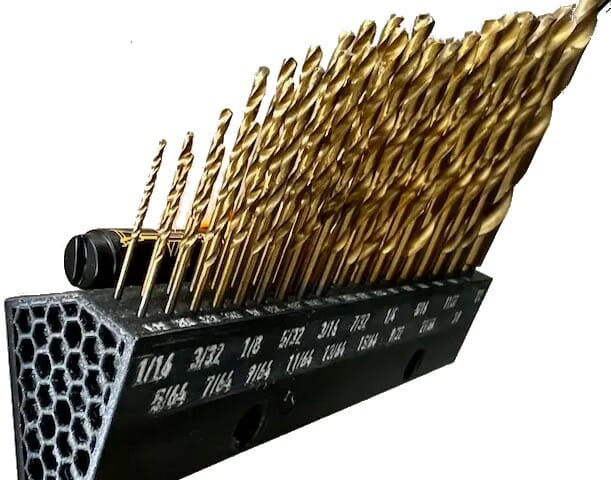
Ready-Made, Purpose-Built Drill Bit Organizers
Various drill bit organizers are available in the market, but a good organizer would be one in which you can easily store all your drill bits and retrieve the one you want.
You might prefer one that has labels for each different size. Below are two examples of purpose-built drill bit storage solutions.
Steps to Organize Your Drill Bits
If you decide to buy a ready-made, purpose-built drill bit organizer, you can start organizing your drill bits immediately. We suggest you organize your drill bits this way:
Step 1: Gather All your Drill Bits
Gather together all the drill bits you have from wherever they are.
Step 2: Separate the Drill Bits by Type and Size
Separate all your drill bits according to their type and then by size from smallest to largest.
Step 3: Place the Drill Bits in Order
Finally, put all your drill bits into the organizer as you ordered them.
That’s all there is to it! Whether this makes things convenient depends on how many drill bits you have and how suitable your drill bit organizer is. Of course, you can also put the different types into different organizers or use multiple organizers per your need.
RELATED Can You Drill into Wood Filler?
Make a Drill Bit Organizer
Why not make your own if you can’t find a suitable drill bit organizer for all your drill bits?
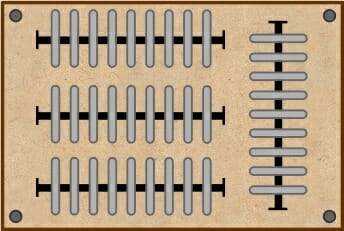
Here, we will show you how you can do that. This idea below is a very versatile design that utilizes magnetic strips. We assume you have already gathered and ordered all your drill bits. The number of drill bits will give you an idea of what sized board you will need to prepare.
Things Required
Required: A block of thin wood (or other suitable material), magnetic strips, and your ordered drill bits
Maybe: Drill machine, drill bit, wall plugs, screws
Optionally: Stickers
Step 1: Find a Suitable Piece of Wood
Find or cut a suitable piece of wood to a shape and size that can accommodate all your drill bits.
Either chipboard, plywood, MDF, OSB, etc. will do. It can be fitted as the base of a container or box, allowing you to carry it around, or attached permanently to a wall, as suits you. On this board, you will attach magnetic strips to hold your drill bits.
Step 2: Attach the Magnetic Strips
Place as many magnetic strips as you need or can fit them onto the board. Choose any layout that suits you (see a sample layout below). If they need screwing, drill small pilot holes into the board and screw them firmly.
Step 3 (Optional): If You Want to Attach the Board Permanently
If you prefer to mount the board permanently, drill holes into the board and wall, insert the wall plugs, and screw the board onto the wall firmly.
Step 4: Attach Your Ordered Drill Bits
Finally, attach all your ordered drill bits. If you’re a perfectionist, you can label each drill bit slot using number stickers. (1)
More Ideas for Your Drill Bit Organizer
If the magnetic drill bit organizer does not suit your needs, here are two more ideas you can explore.
A Drill Bit Block or Stand
If you have more time on your hands or just enjoy drilling holes, you can make a drill bit block or stand. All you need is a long piece of thick wood (e.g., 1-2” by 2-4”). Drill holes along one side (as shown). Either use it as a stand or attach the whole piece to the wall.

A Drill Bit Tray
Another option, especially useful if you have drawers for your drill bits, is to make a drill bit tray. For this, you can use two thin layers of rectangular wood blocks.
Method: Cut rectangular holes in the top one, and then glue them together.
It should look somewhat like the one below.
Use and Enjoy
Whether you bought a ready-made, purpose-built drill bit organizer or made one of your own, you will have noticed that having your drill bits well organized makes a big difference. It’s a lot more convenient and saves time. Now you can start working on your DIY projects with greater pleasure and convenience, and you can enjoy the saved time with your family and friends. (2)
Take a look at some of our related articles below.
References
(1) perfectionist – https://www.verywellmind.com/signs-you-may-be-a-perfectionist-3145233
(2) DIY projects – https://www.bobvila.com/articles/diy-home-projects/