8 min read
How to Open Outdoor Outlet Covers (Steps & Tips)
Hey folks! If you’re like me, you’ve probably encountered pesky outdoor outlet covers that don’t want to open up.
Well, fear not, as we’ll walk through how to open them, so you can get that power flowing without breaking a sweat.
Firstly, it’s important to identify the type of cover you have. Some covers are designed to be lifted, while others are designed to be removed by unscrewing them. If your cover is screwed in, you need a screwdriver to remove the screws. If your cover is designed to be lifted, look for a small indentation or gap on the cover.
By this end, you’ll be a bona fide outdoor outlet-opening pro. Now, let’s get started!
Opening Different Outlet Covers
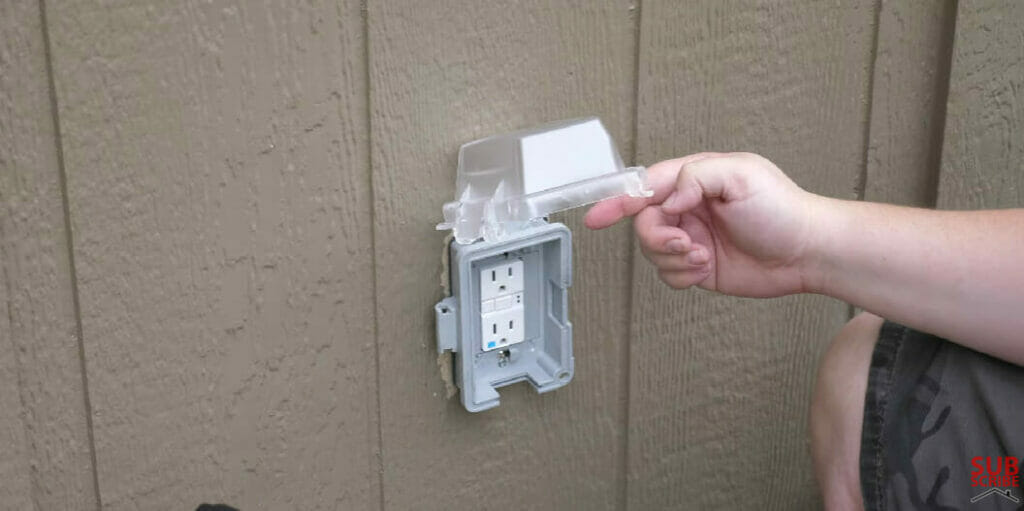
Standard Flip Covers
When working with standard flip covers, the first thing I do is stand in front of the outlet and take a look at the fixture.
- Step 1. I inspect for any screws on the outside of the cover; if there are any, they need to be removed.
- Step 2. I take a screwdriver and remove the external screws.
- Step 3. Once I’ve removed the screws, I gently flip open the cover.
- Step 4. In some cases, there might be a small latch holding it in place. I gently press or slide it to release the cover if there is.
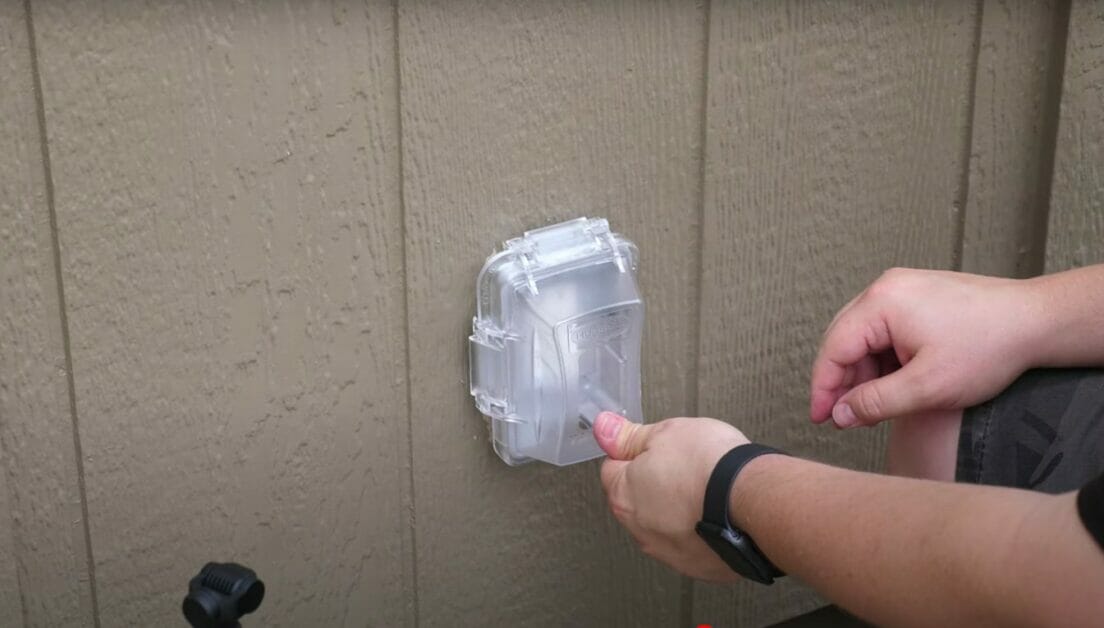
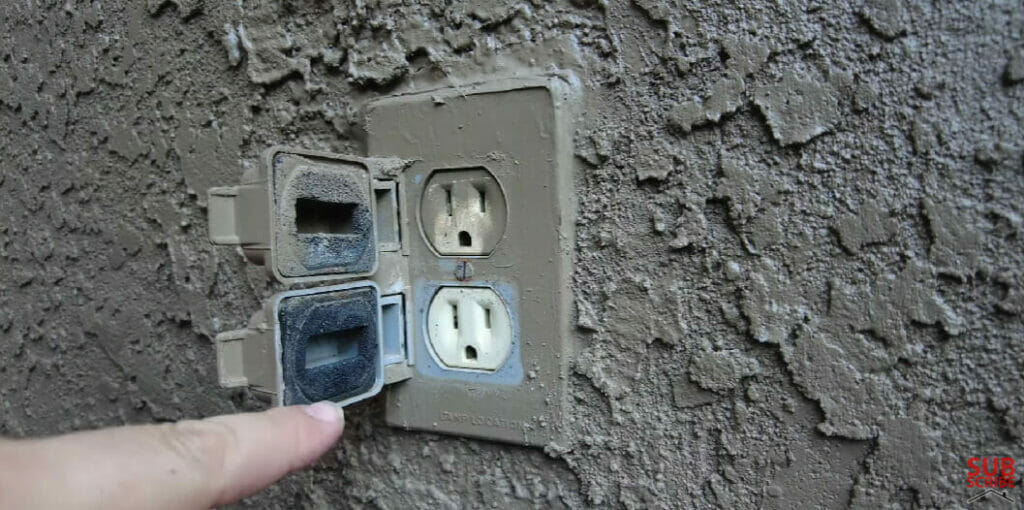
In-Use Covers
The process is slightly different but still quite simple for in-use outlet covers.
Usually, these covers have a door that can close around electrical cords while the outlet is in use. This helps to keep the outlet weatherproof and safe.
- Step 1. First, I look for any latch, hinge, or hook holding the door in place.
- Step 2. Once I find it, I carefully open the door to access the outlet.
Since these covers are designed to close when a power cord is connected and open when not in use, I make sure not to open them during rainy weather to prevent moisture from contacting the outlet.
Lockable Covers
Lockable outlet covers can be a bit trickier. These covers usually have a padlock or a key lock to secure them, protecting the outlet from unauthorized use.
- Step 1. If I’m dealing with a padlock, I unlock it with the correct key or combination
- Step 2. Then follow the same steps as with the standard flip cover (removing any outer screws and opening the cover).
- Step 3. If it’s a key lock, I insert the appropriate key, turn it to unlock the cover and follow the same process.
With all these outlet cover types, remember that safety is paramount!
Whenever you’re opening an outdoor outlet cover, ensure you never force it open, and the power is turned off before working on the outlet itself.
Troubleshooting Common Issues
Stuck Cover
I’ve encountered my fair share of outdoor outlet covers that seem like they don’t want to budge. Don’t worry; it happens! In this case, you want to inspect the cover first.
- Start by checking for any visible screws on the outside that might keep it in place.
- Next, see if any debris or dirt is wedged around the edges of the cover – sometimes, a little cleaning can make all the difference.
- If it still doesn’t open, give it a little (gentle) pressure with a flathead screwdriver under one of the edges.
Don’t forget to be patient during this process and avoid applying too much force, as it might damage the cover or the outlet itself.
Damaged Cover
It can be a pain to deal with a damaged cover, but I’ve got you covered. First and foremost, take a good look at the cover and assess the damage. Is it cracked, bent, or simply not closing properly?
- I recommend removing the damaged cover from the wall for cracked or broken covers.
- Once removed, it’s time to shop for a new one! Just get a weatherproof replacement that will stand up to the elements.
- Now, if you’ve got a bent cover or one that won’t close, we may be able to salvage it. Carefully remove the cover and lay it on a flat surface.
- Using a rubber mallet or similar tool, gently tap on the bent areas to help reshape the cover.
Check the fit periodically as you work, and once you’re happy with the results, reinstall the cover onto the outlet.
There you have it, folks – a quick and easy guide to opening tricky outdoor outlet covers and addressing some common issues.
Remember, when tackling projects like these, always prioritize safety and consider contacting a professional.
Safety Considerations
Switch Off Power
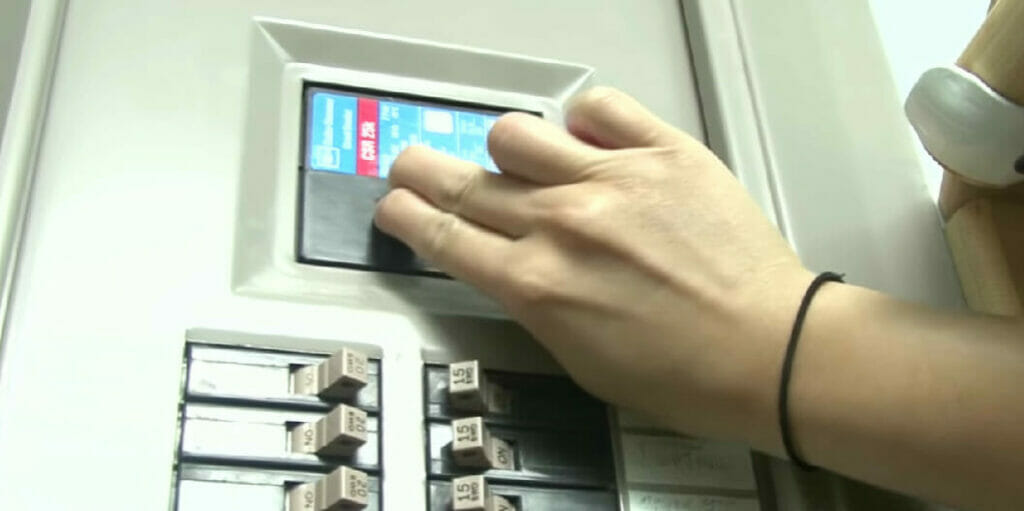
One of the crucial safety considerations when dealing with outdoor outlets is to switch off the power supply before doing any maintenance or repairs.
This may seem obvious, but it’s a step many overlook, especially if they’re unfamiliar with electrical work.
By doing this, you can avoid the risk of electric shock or electrocution while working on the outlet.
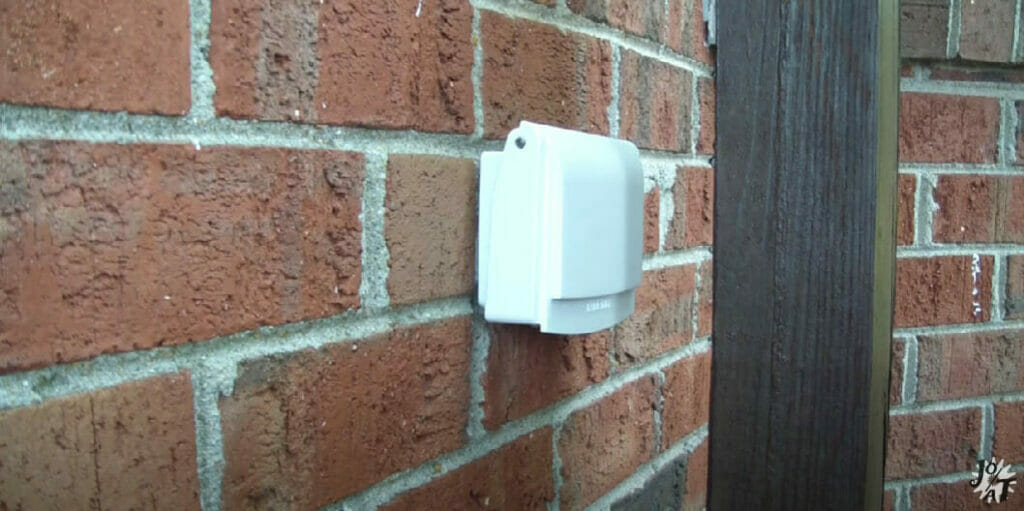
Weather and Moisture Resistance
One thing I always keep in mind when dealing with outdoor outlet covers is their resistance to weather and moisture. Trust me; you don’t want to mess with the elements.
Ensure your outlets have a weatherproof cover to protect them from rain, snow, and humidity.
These bad boys are designed to protect the electrical connections from the elements regardless of the condition.
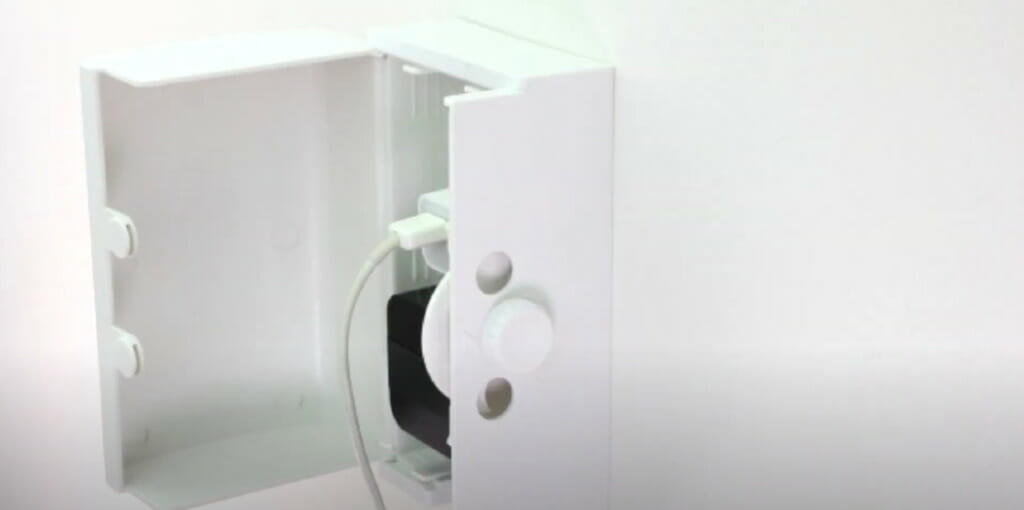
If you’re unsure about your outlet cover’s weather resistance, look closer. You’ve got to ensure that it can close over an electrical cord while it’s in use.
A well-designed cover should also include a gasket or seal to prevent water from sneaking in. Trust me, water and electricity don’t mix!
Child Safety
As someone who has been around many tools and construction projects, child safety is always a priority.
Little rascals can be curious around those outdoor outlets, so we’ve got to keep them safe. Here are a few things I always check for:
- Tamper-resistant outlets: These nifty outlets have spring-loaded shutters that require equal pressure from both plug prongs to open the shutters. Kids can’t just stick something in one hole and cause a shock.
- Outlet covers: I can’t stress this enough – always replace the cover after using an outdoor outlet. This simple step goes a long way in keeping little fingers away from the dangerous stuff.
To sum it up, always take the necessary precautions when dealing with outdoor outlet covers. Keep it weather-resistant and prioritize child safety.
Wrapping Up
There you have it, folks! I hope my guide on how to open outdoor outlet covers has been helpful to you.
I’m a big believer in making things simple and accessible for everyone, so I’ve made sure to include all the key steps in a clear and concise way.
Remember, inspecting your outlet cover thoroughly before attempting to open it is crucial. You want to ensure your safety, and you also want to prevent any potential damage to your outlet.
Regarding outdoor outlets, there’s no such thing as being too careful. Take your time and follow the instructions I’ve provided. You’ll be a pro at dealing with outdoor outlet covers in no time!
References
Organizations:
- Upstate Electrical Solutions: https://www.upstateelectric.com/technical_articles
Website:
- Review Journal: https://www.reviewjournal.com/life/
Video References
Josh Of All Trades
Top Homeowner
Wappa Baby
MonkeySee